Human curiosity is a marvelous thing, and it’s the driving force behind our shared need to know the end of the story – which is something we fabric artists can put to work for us when we’re creating quilting stories. The more curiosity’s used and trained the healthier it gets. In fact, it becomes almost magical when it’s coupled with a healthy imagination. This may seem like a hard thing to achieve, but in reality – curiosity and storytelling are both skills that can be trained.
As we all know, the sooner you start training a character trait in a child, the stronger that trait becomes.
Michael and I raised our 3 kids on an isolated ranch with no neighbors and homeschooled them to boot. Because the kids weren’t getting a lot of outside stimulus, I worked very hard making sure that their minds were constantly engaged with:
- Made-up stories
- Books – by the hundreds
- Games
- And all sorts of verbal stimuli.
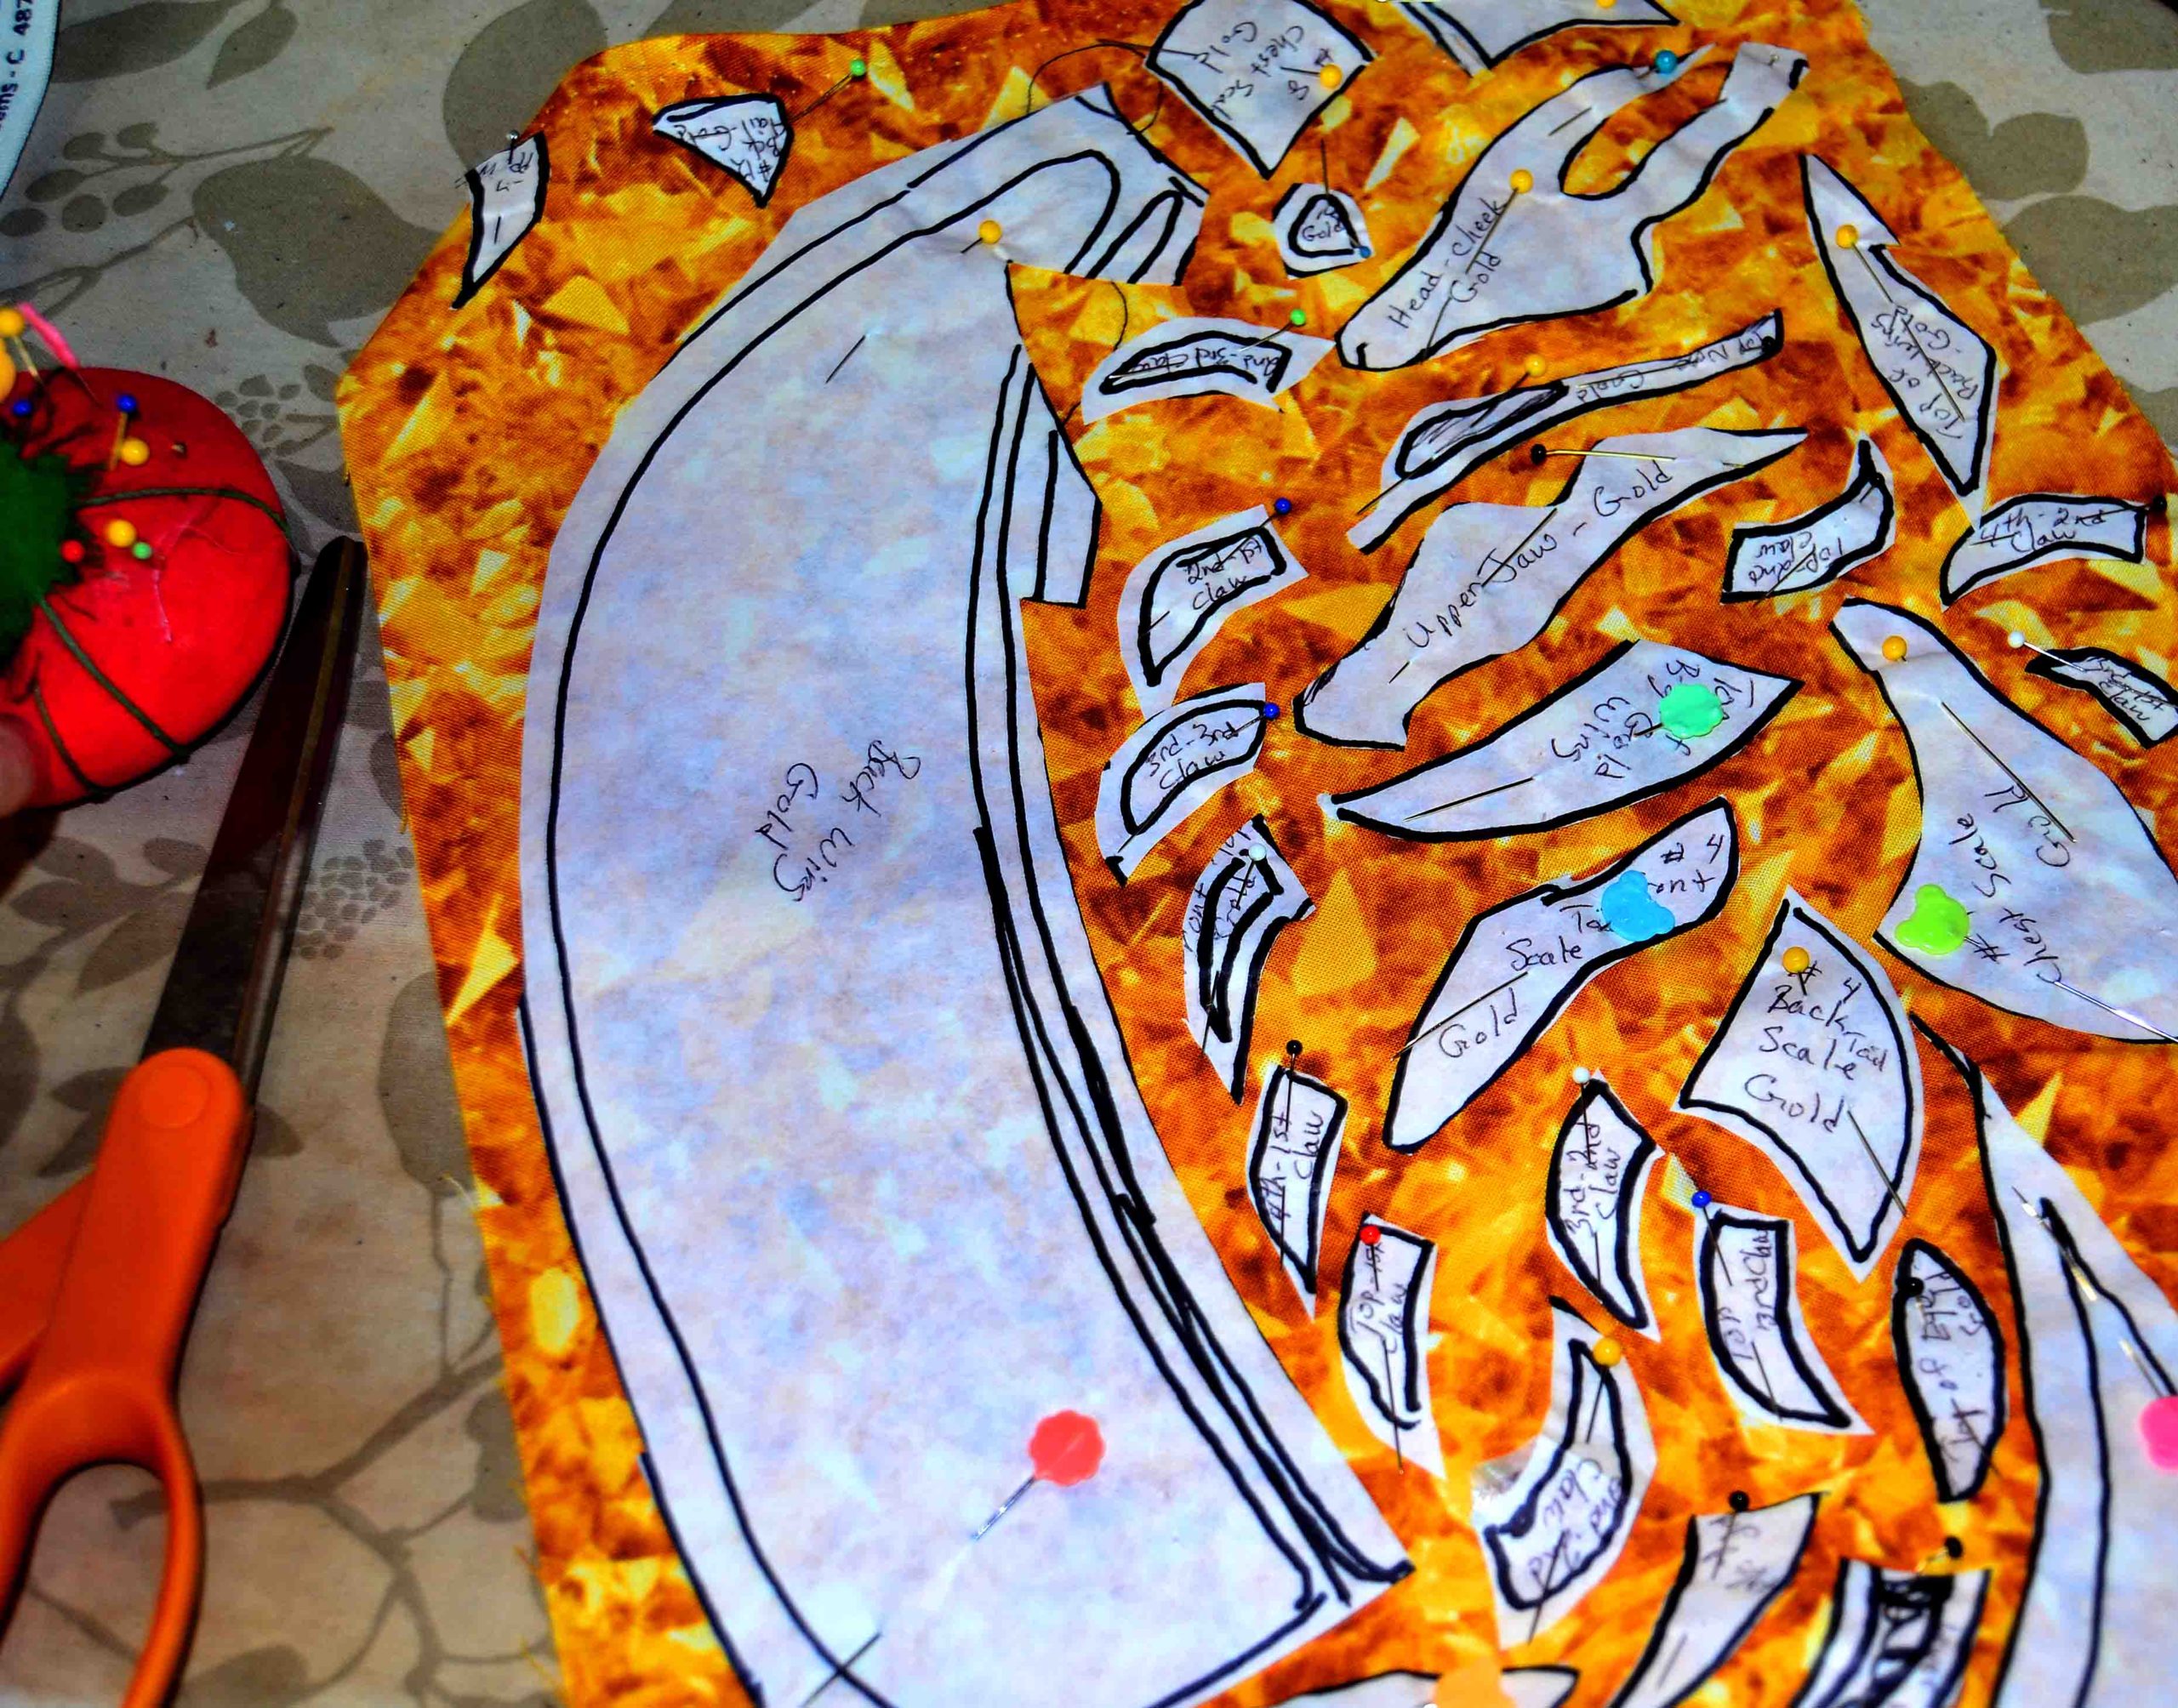
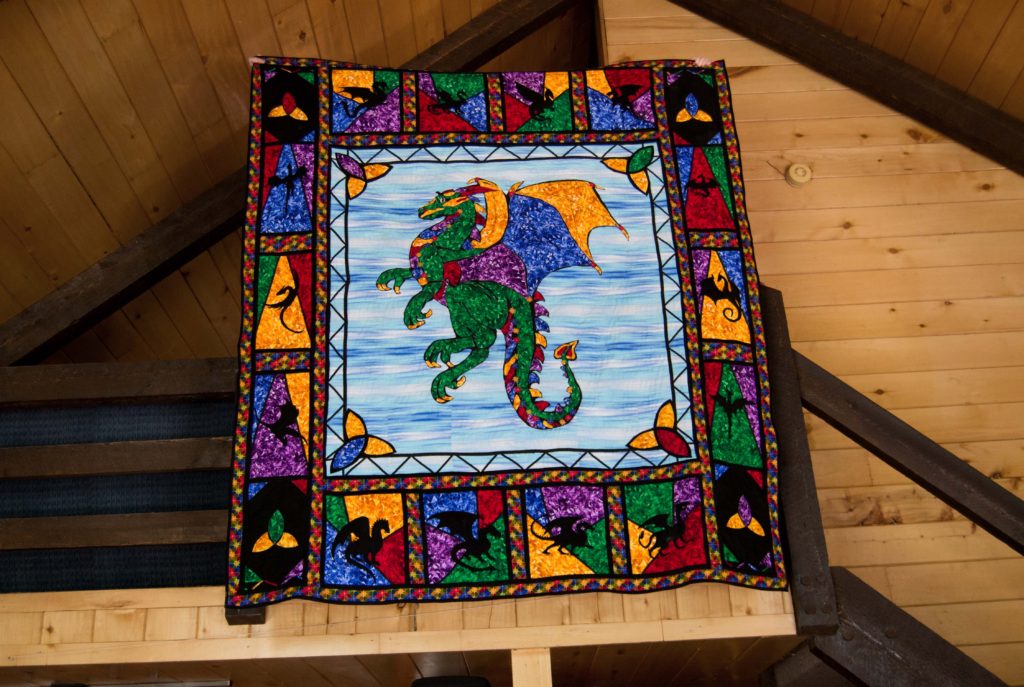
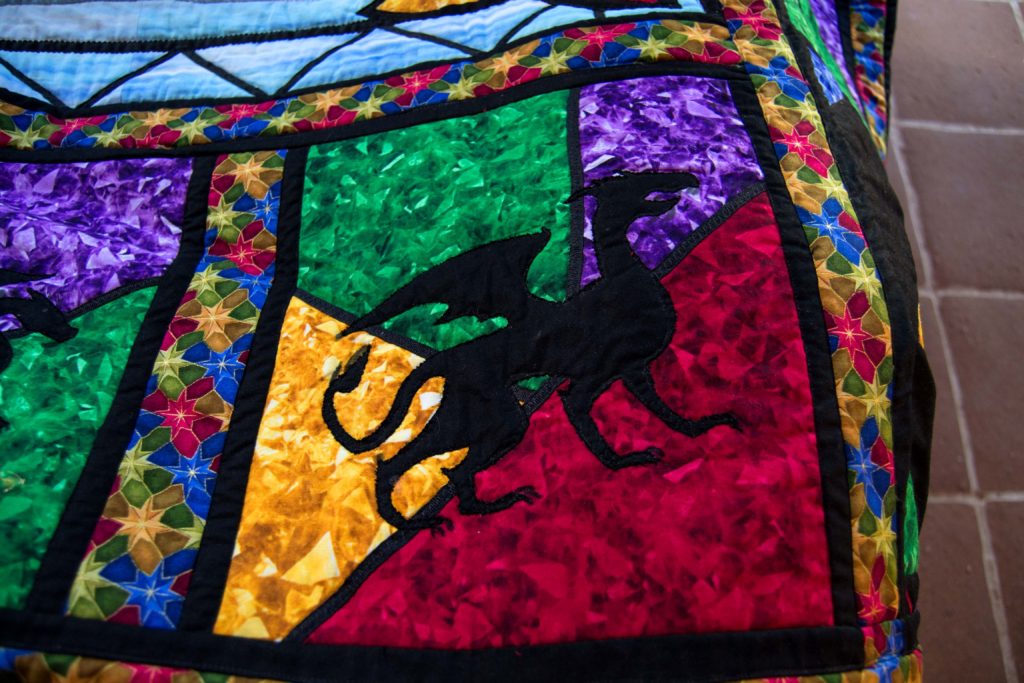
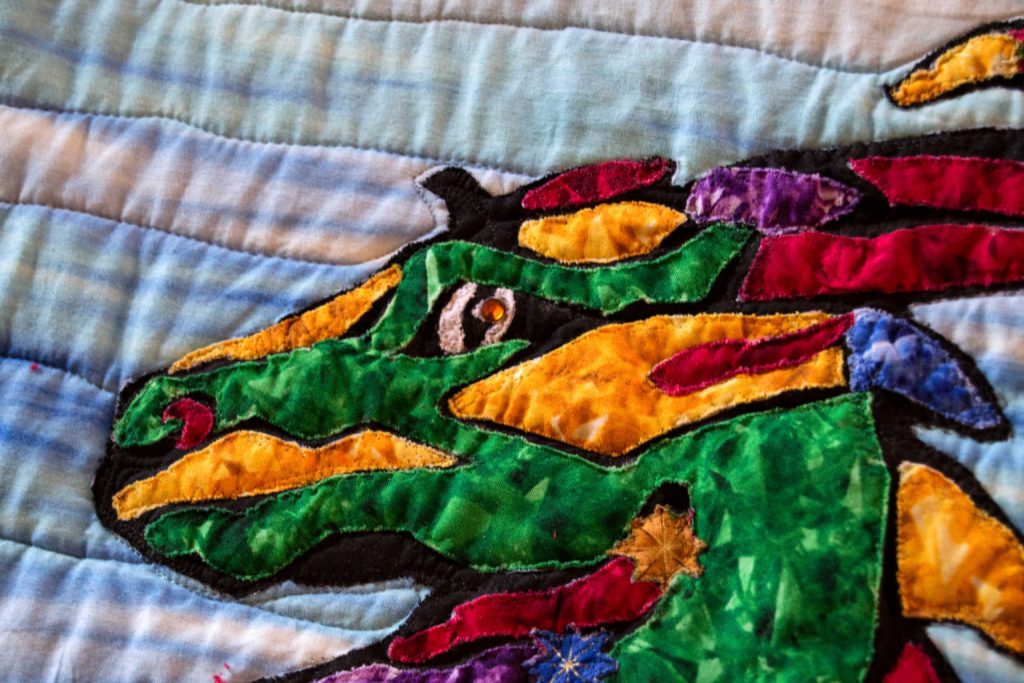
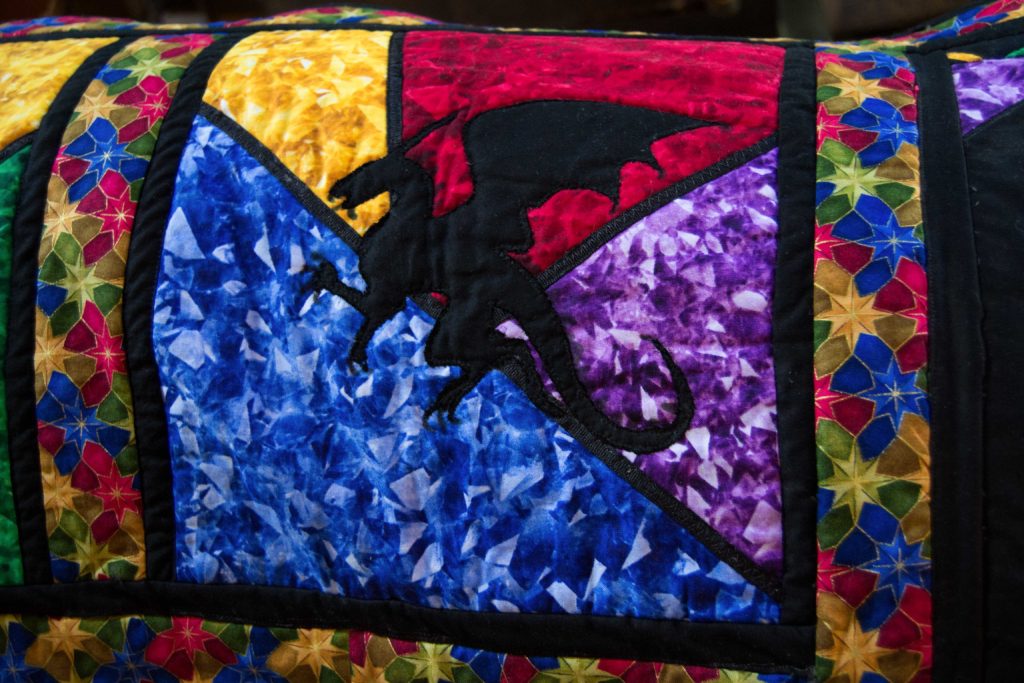
I knew I had succeeded when they finally took me to their favorite outdoor play place that they had named Dragon Rock. It looked like a boring old ditch to me, but they confidently assured me they could see the scales of a petrified dragon wing and proceeded to enthrall me with all the stories they had come up with about it. (This was the inspiration for my dragon quilt, by the way).
This is my family – I think we turned them into an imaginative bunch!
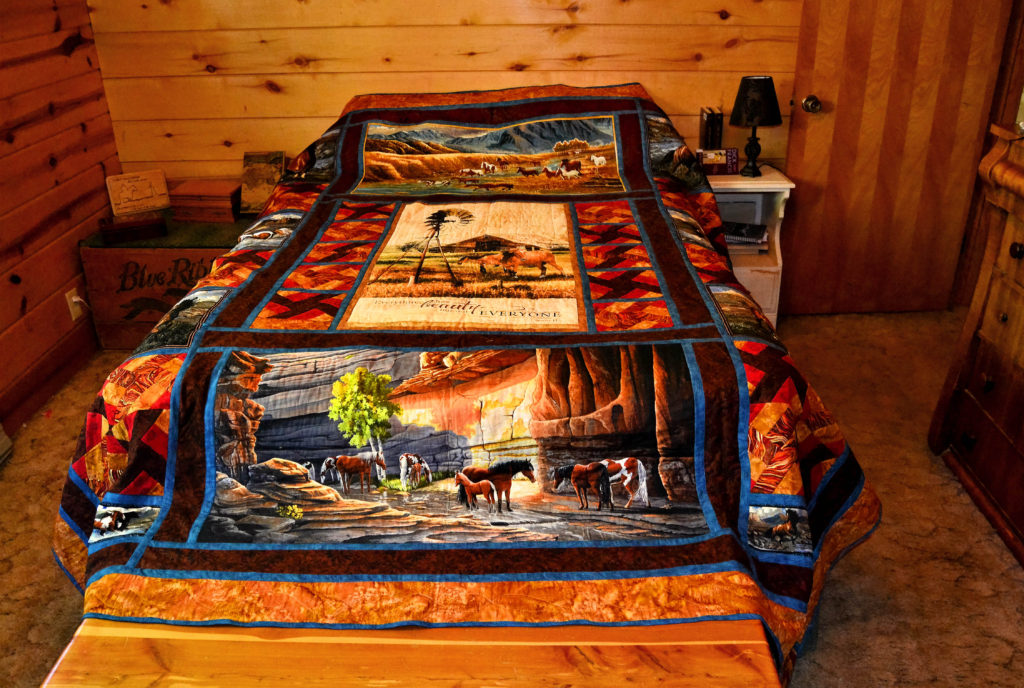
Wanting their imagination muscles to continue developing, I took a long look at the quilts I was thinking of making them, and decided they were really blank canvasses just waiting to spring into life.
How to Develop Your Imagination Muscles
There are ways to begin developing your imagination muscles faster so that you can start creating quilting stories, rather than just ordinary quilts.
Add Heroes to Your Quilts
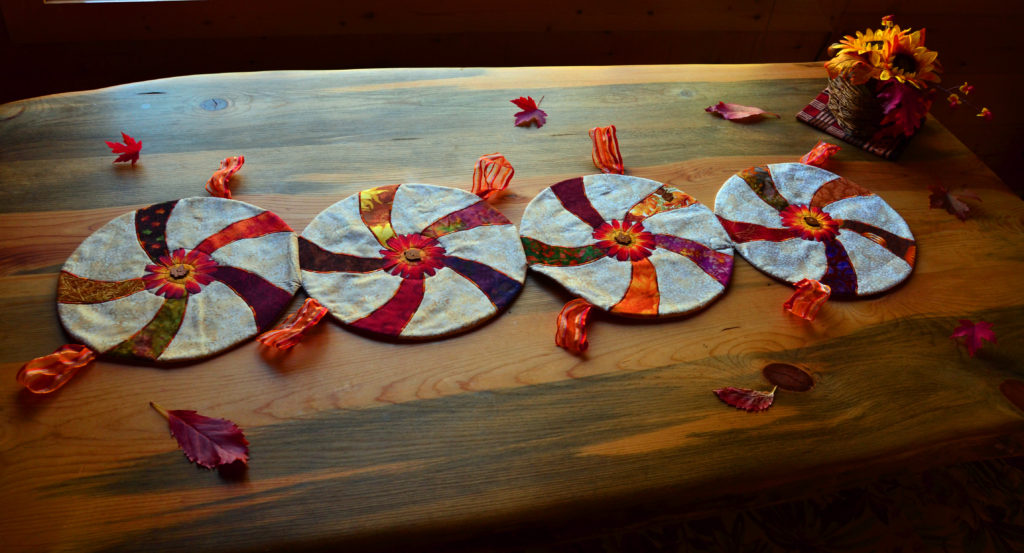
I’ve found that it’s a lot easier to tell a story about a character you love and are inspired by. If you’re in love with the main hero of your quilt – people who see it will be, as well. This holds true for everything from butterflies, to a traditional Lazy Susan quilt, to some of my wilder creations.

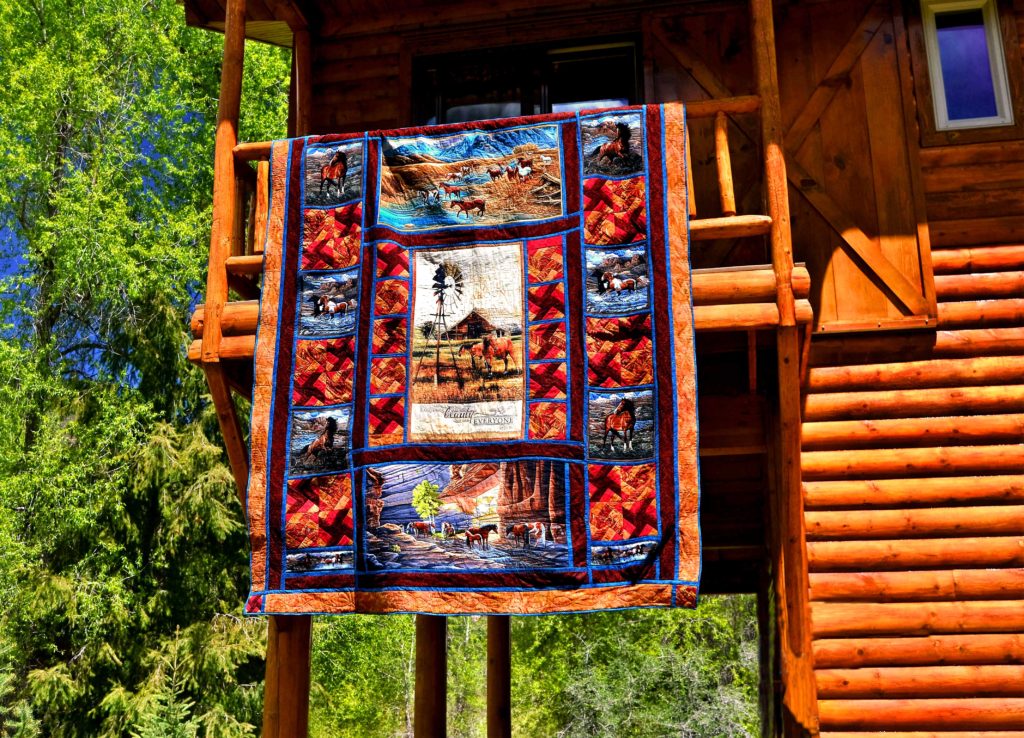
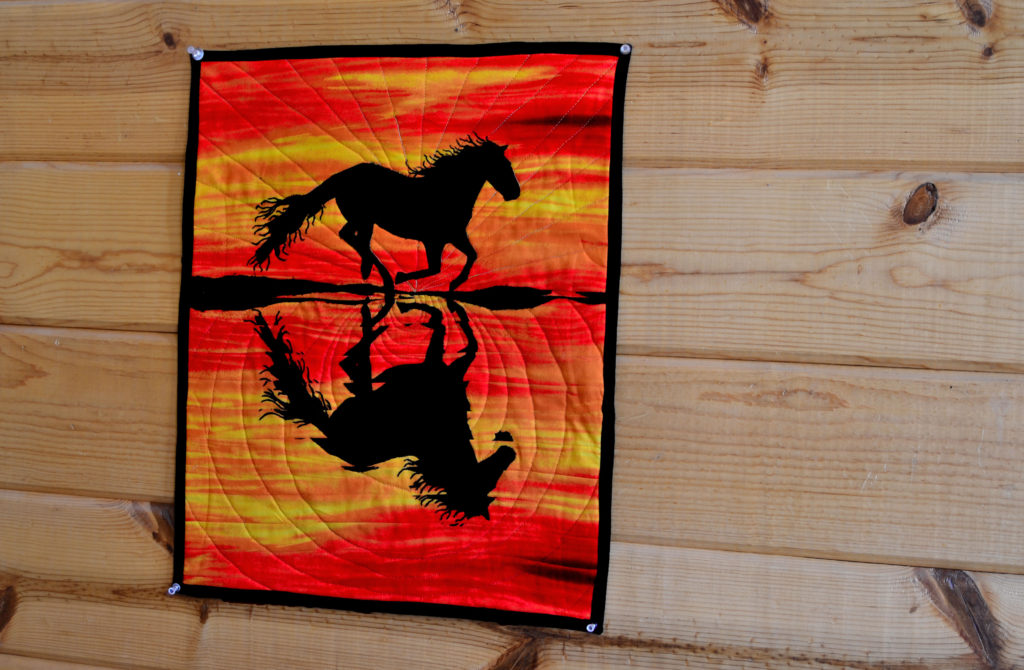
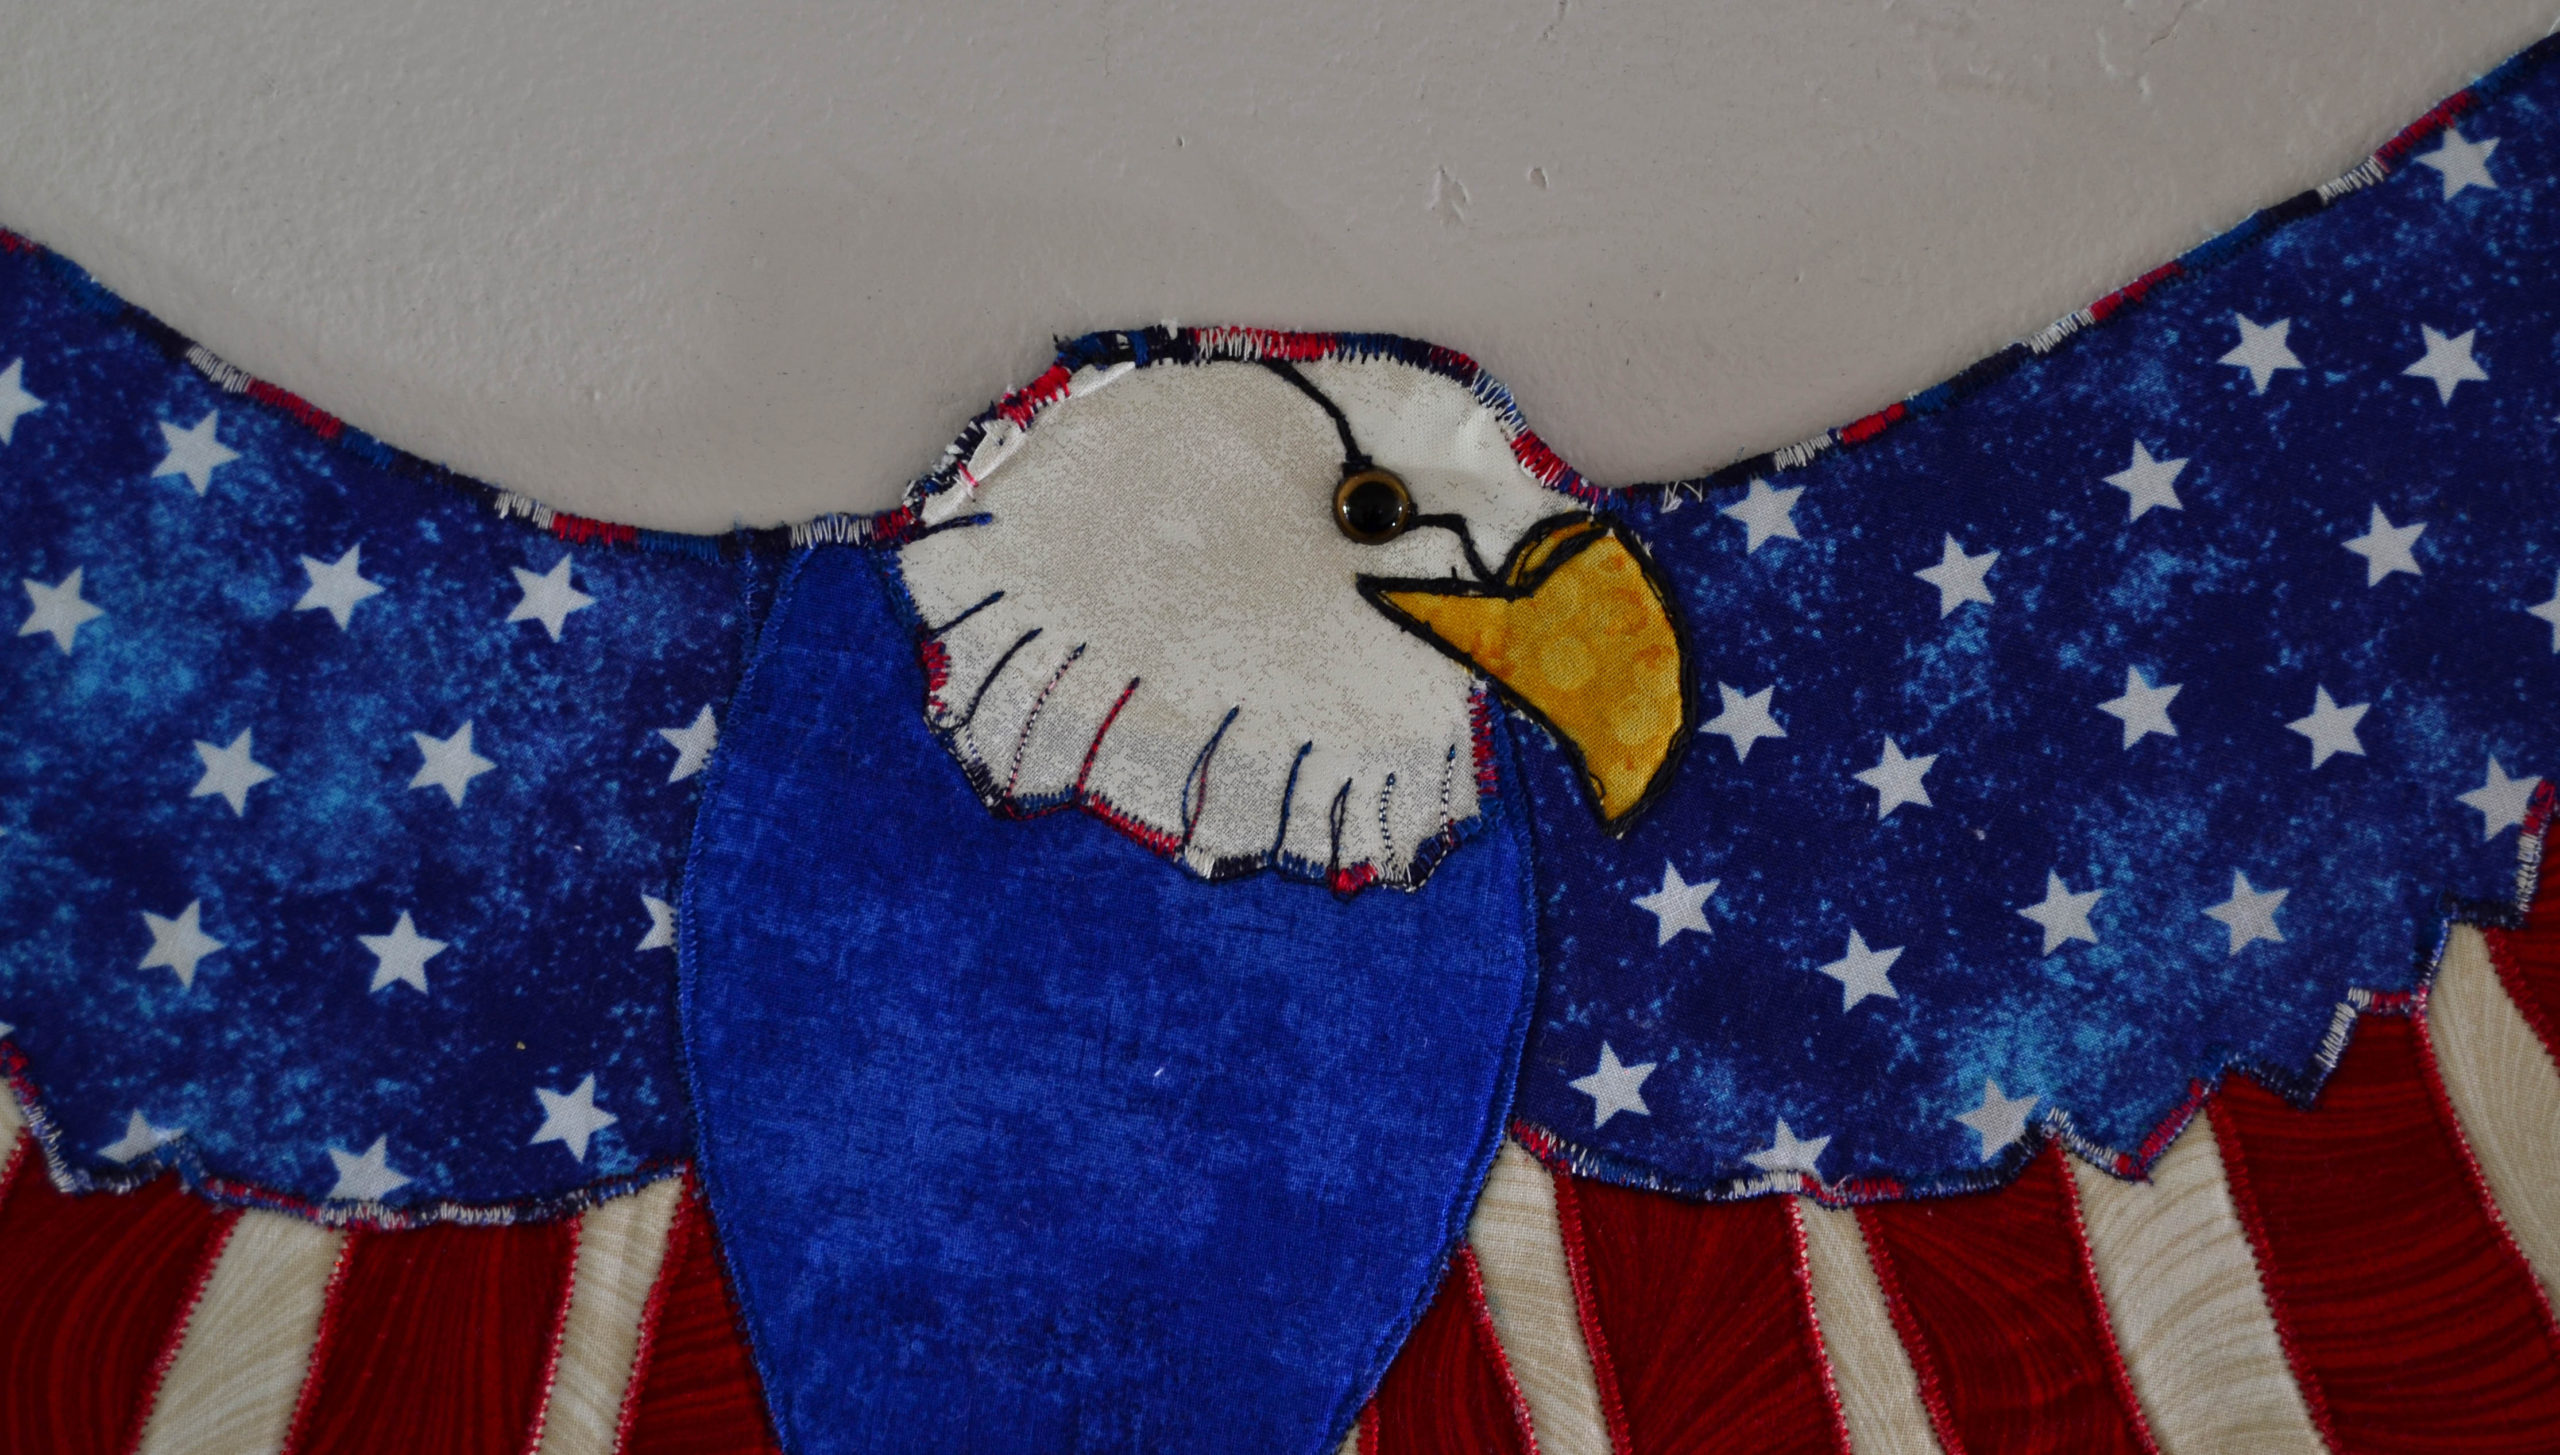
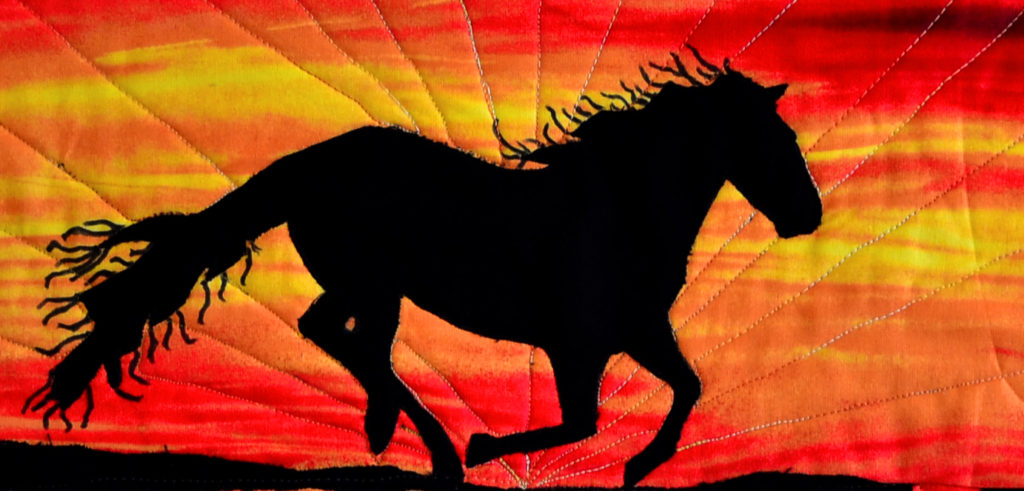
This is a stock photo we found on Google Images – please do not attribute ownership to us! This was labeled FREE for REUSE… 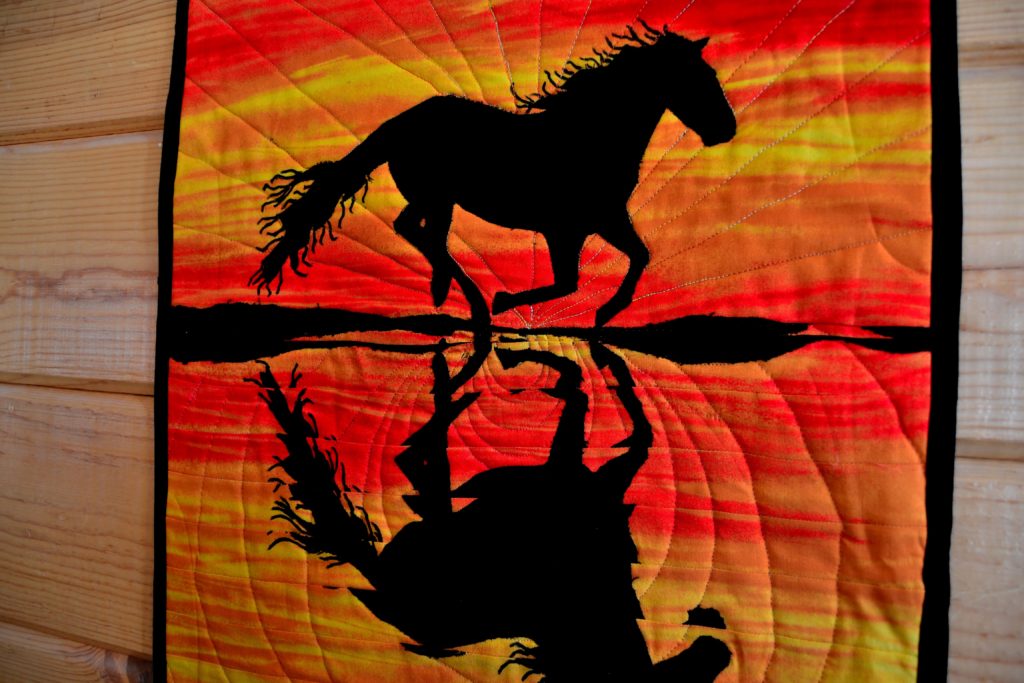
From that photo – and others – we created our “Running Wild” panel
Finding these heroes is a lot easier than it sounds…trust me.
FIRST – I think about what I want the piece I’m working on to say or do
Are there characters that can fire the imagination and generate stories or is there only movement? Keep in mind that ‘characters’ does not necessarily mean ‘human’. They can be anything, from mermaids, dragons and fairies, to puppies, vehicles or fish.
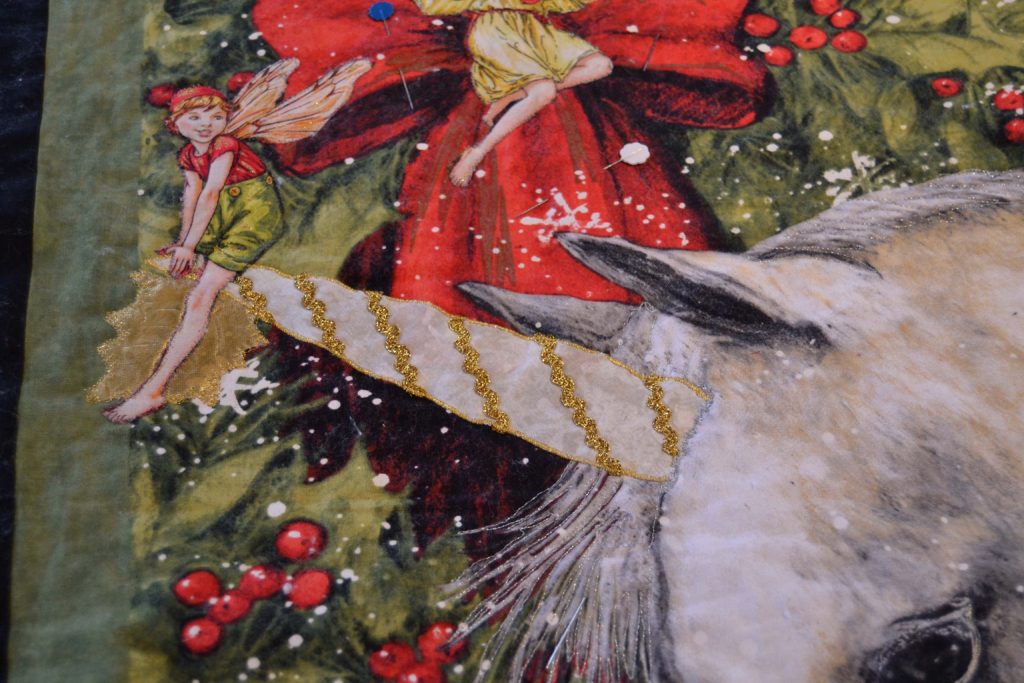
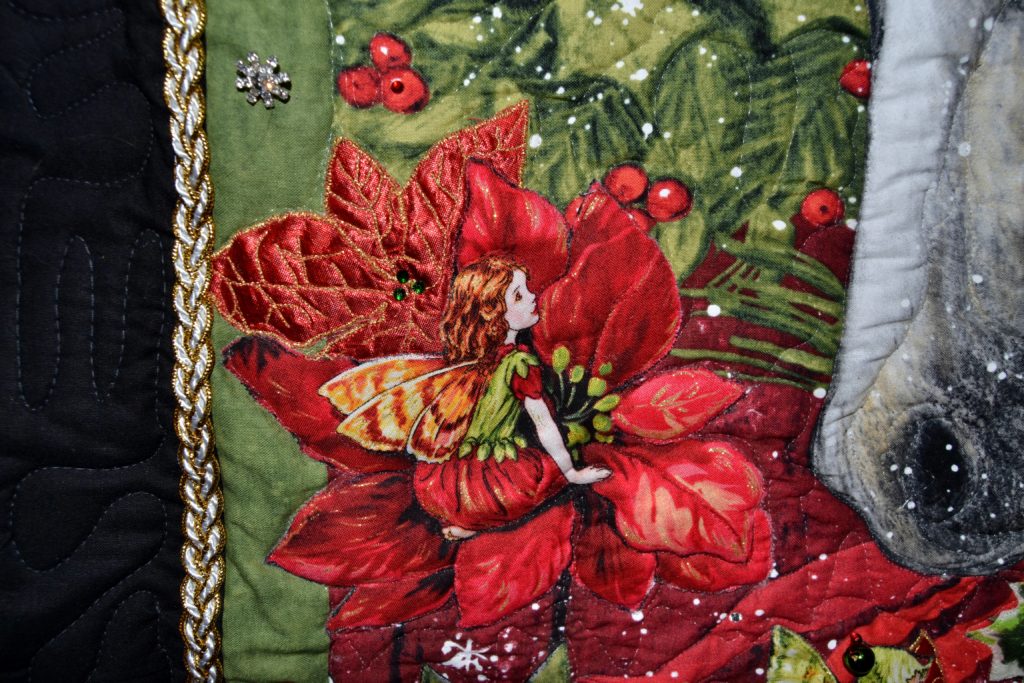
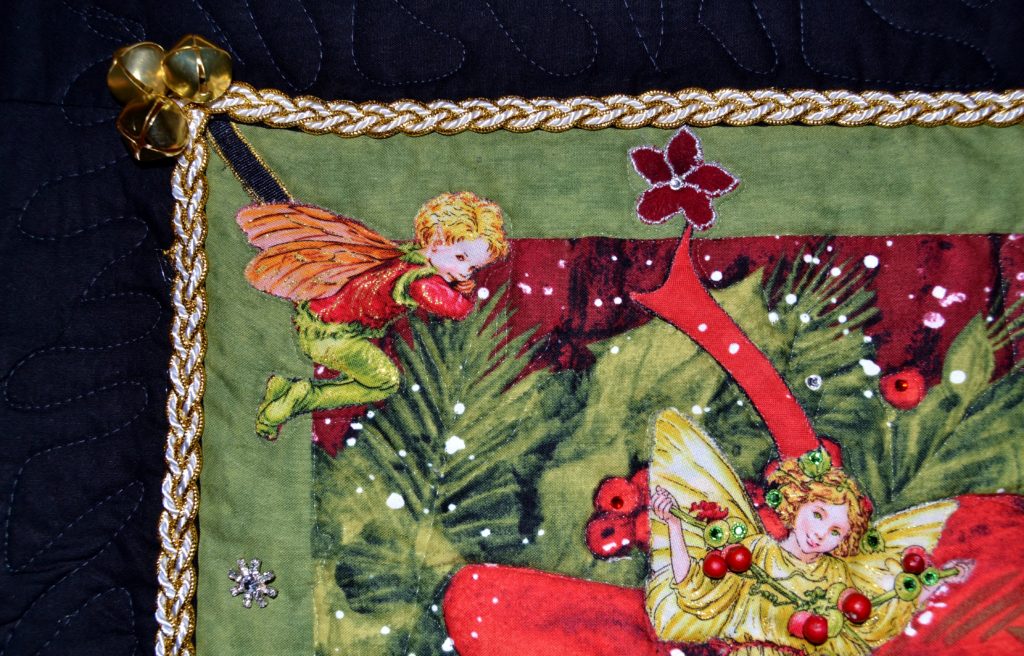
The main focus should always be on this main character with the movement and story going on around them. Look at my ‘Christmas Delivery” Panel. The main character is the unicorn (and he’s only a unicorn because I added the horn).
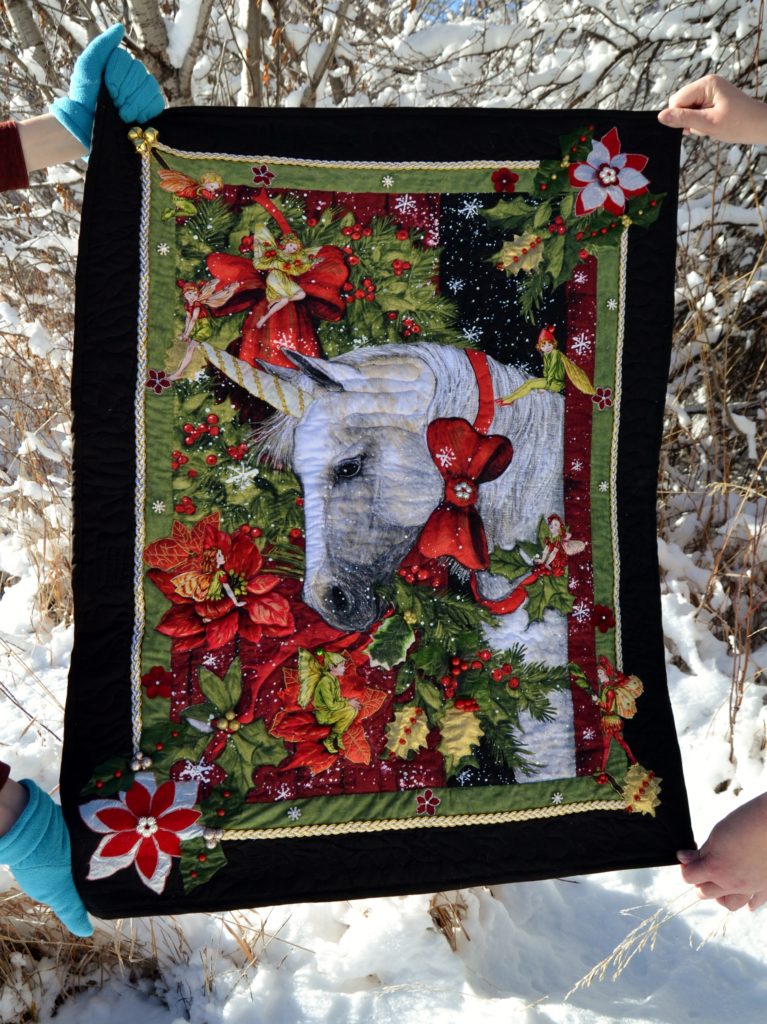
I also added 7 fairies engaged in different activities; but they’re there in support of the unicorn.
Now, instead of having a plain white horse with some Christmas greenery around it (pretty but typical); you have a unicorn (magical) that is being delivered to someone – (part of creating quilting stories is in letting your imagination come up with that someone) by other magical creatures – the fairies.
You can see that the unicorn is having a chat with one of the fairies, while the rest are busy getting him ready for the Christmas Delivery.
SECOND – I create countless unanswered questions
The Christmas Delivery scene generates multiple questions in my mind, such as:
- What are they chatting about?
- Where are they?
- Who is receiving this magic gift and why?
- What is the unicorn’s mission? Will only the recipient be able to see him, or everybody else as well?
- Etc.
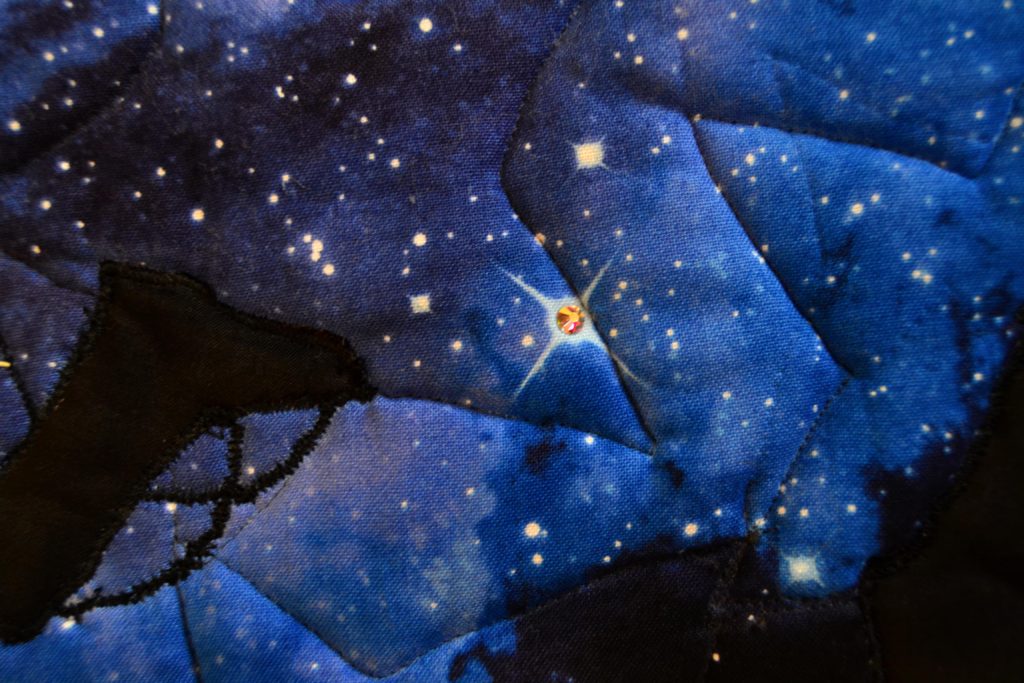
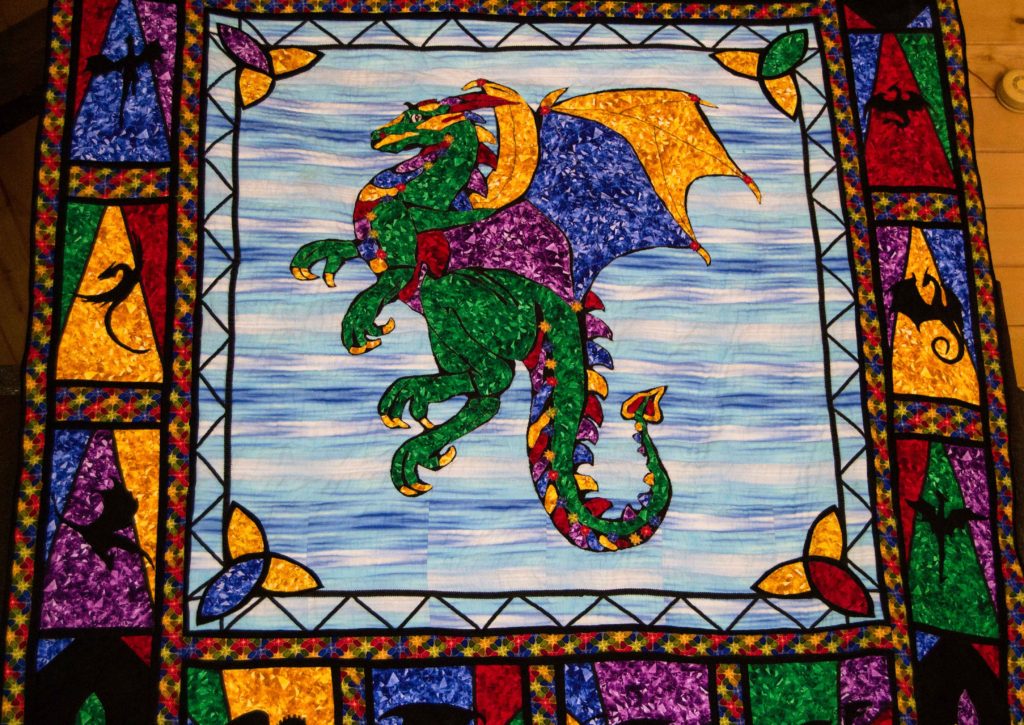
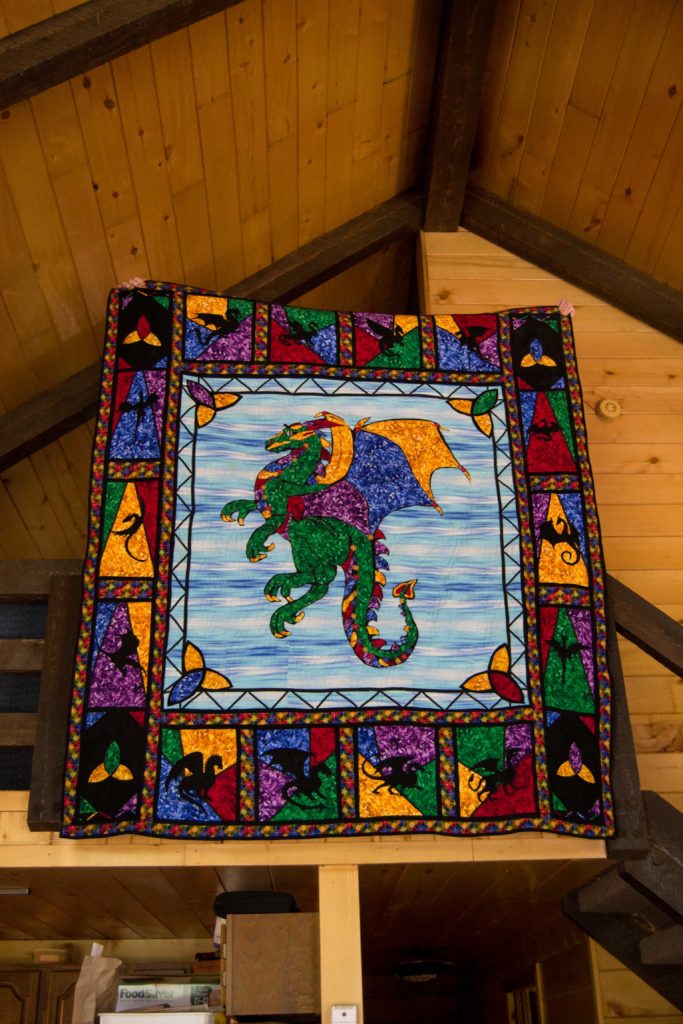
In my dragon quilt – which is stunning, by the way – if you have any imagination at all, you begin to wonder why there are dragons on an old abbey window.
- Were there ever real dragons there?
- What happened to them?
- Why is the focus all on the big one in the middle?
- What did it do…accomplish…destroy?
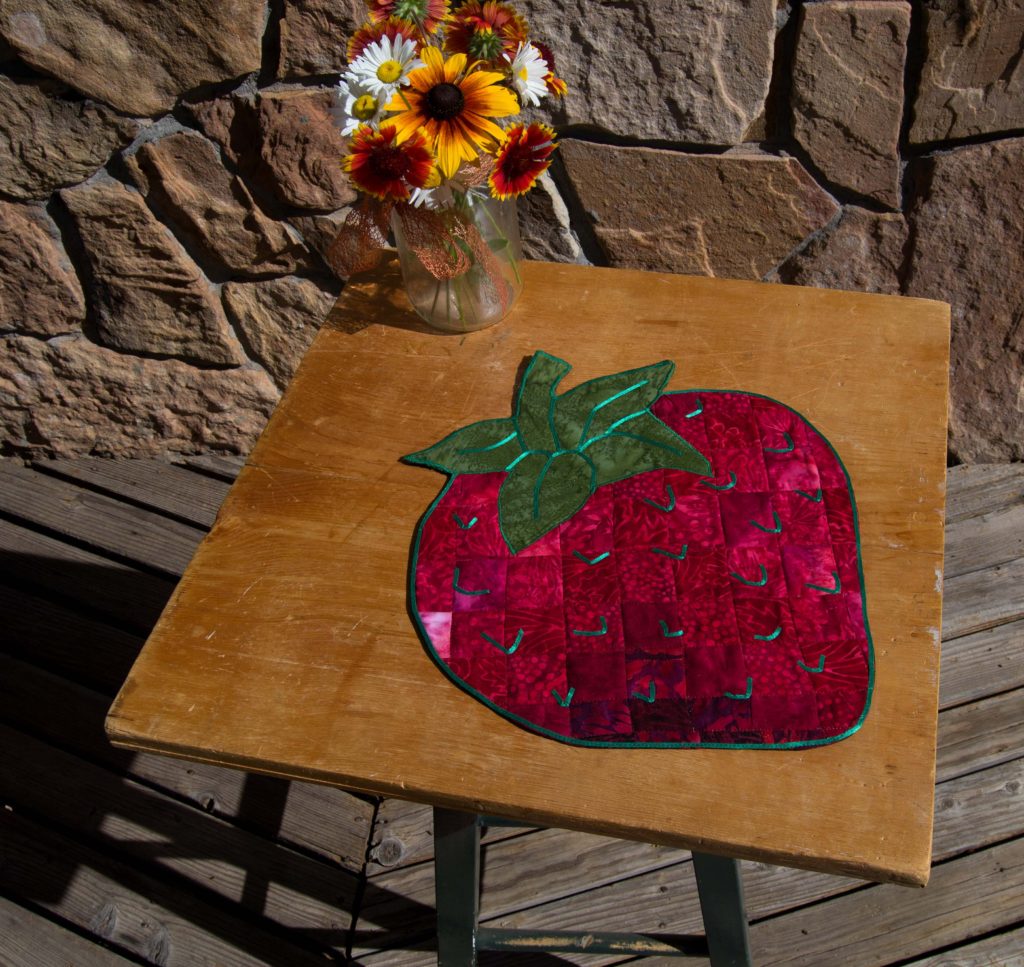
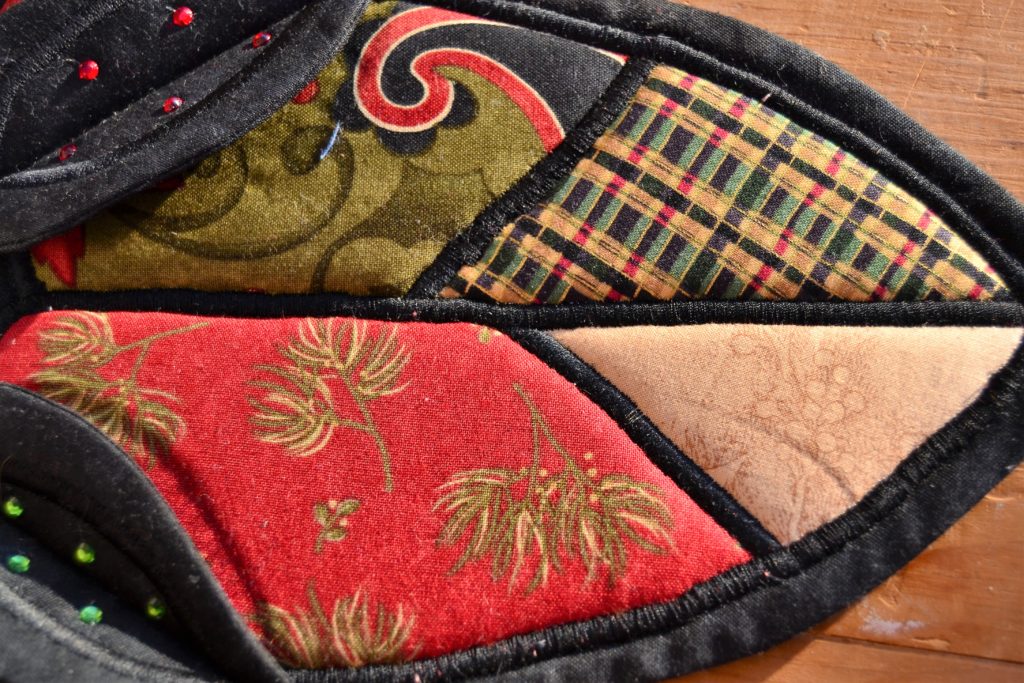
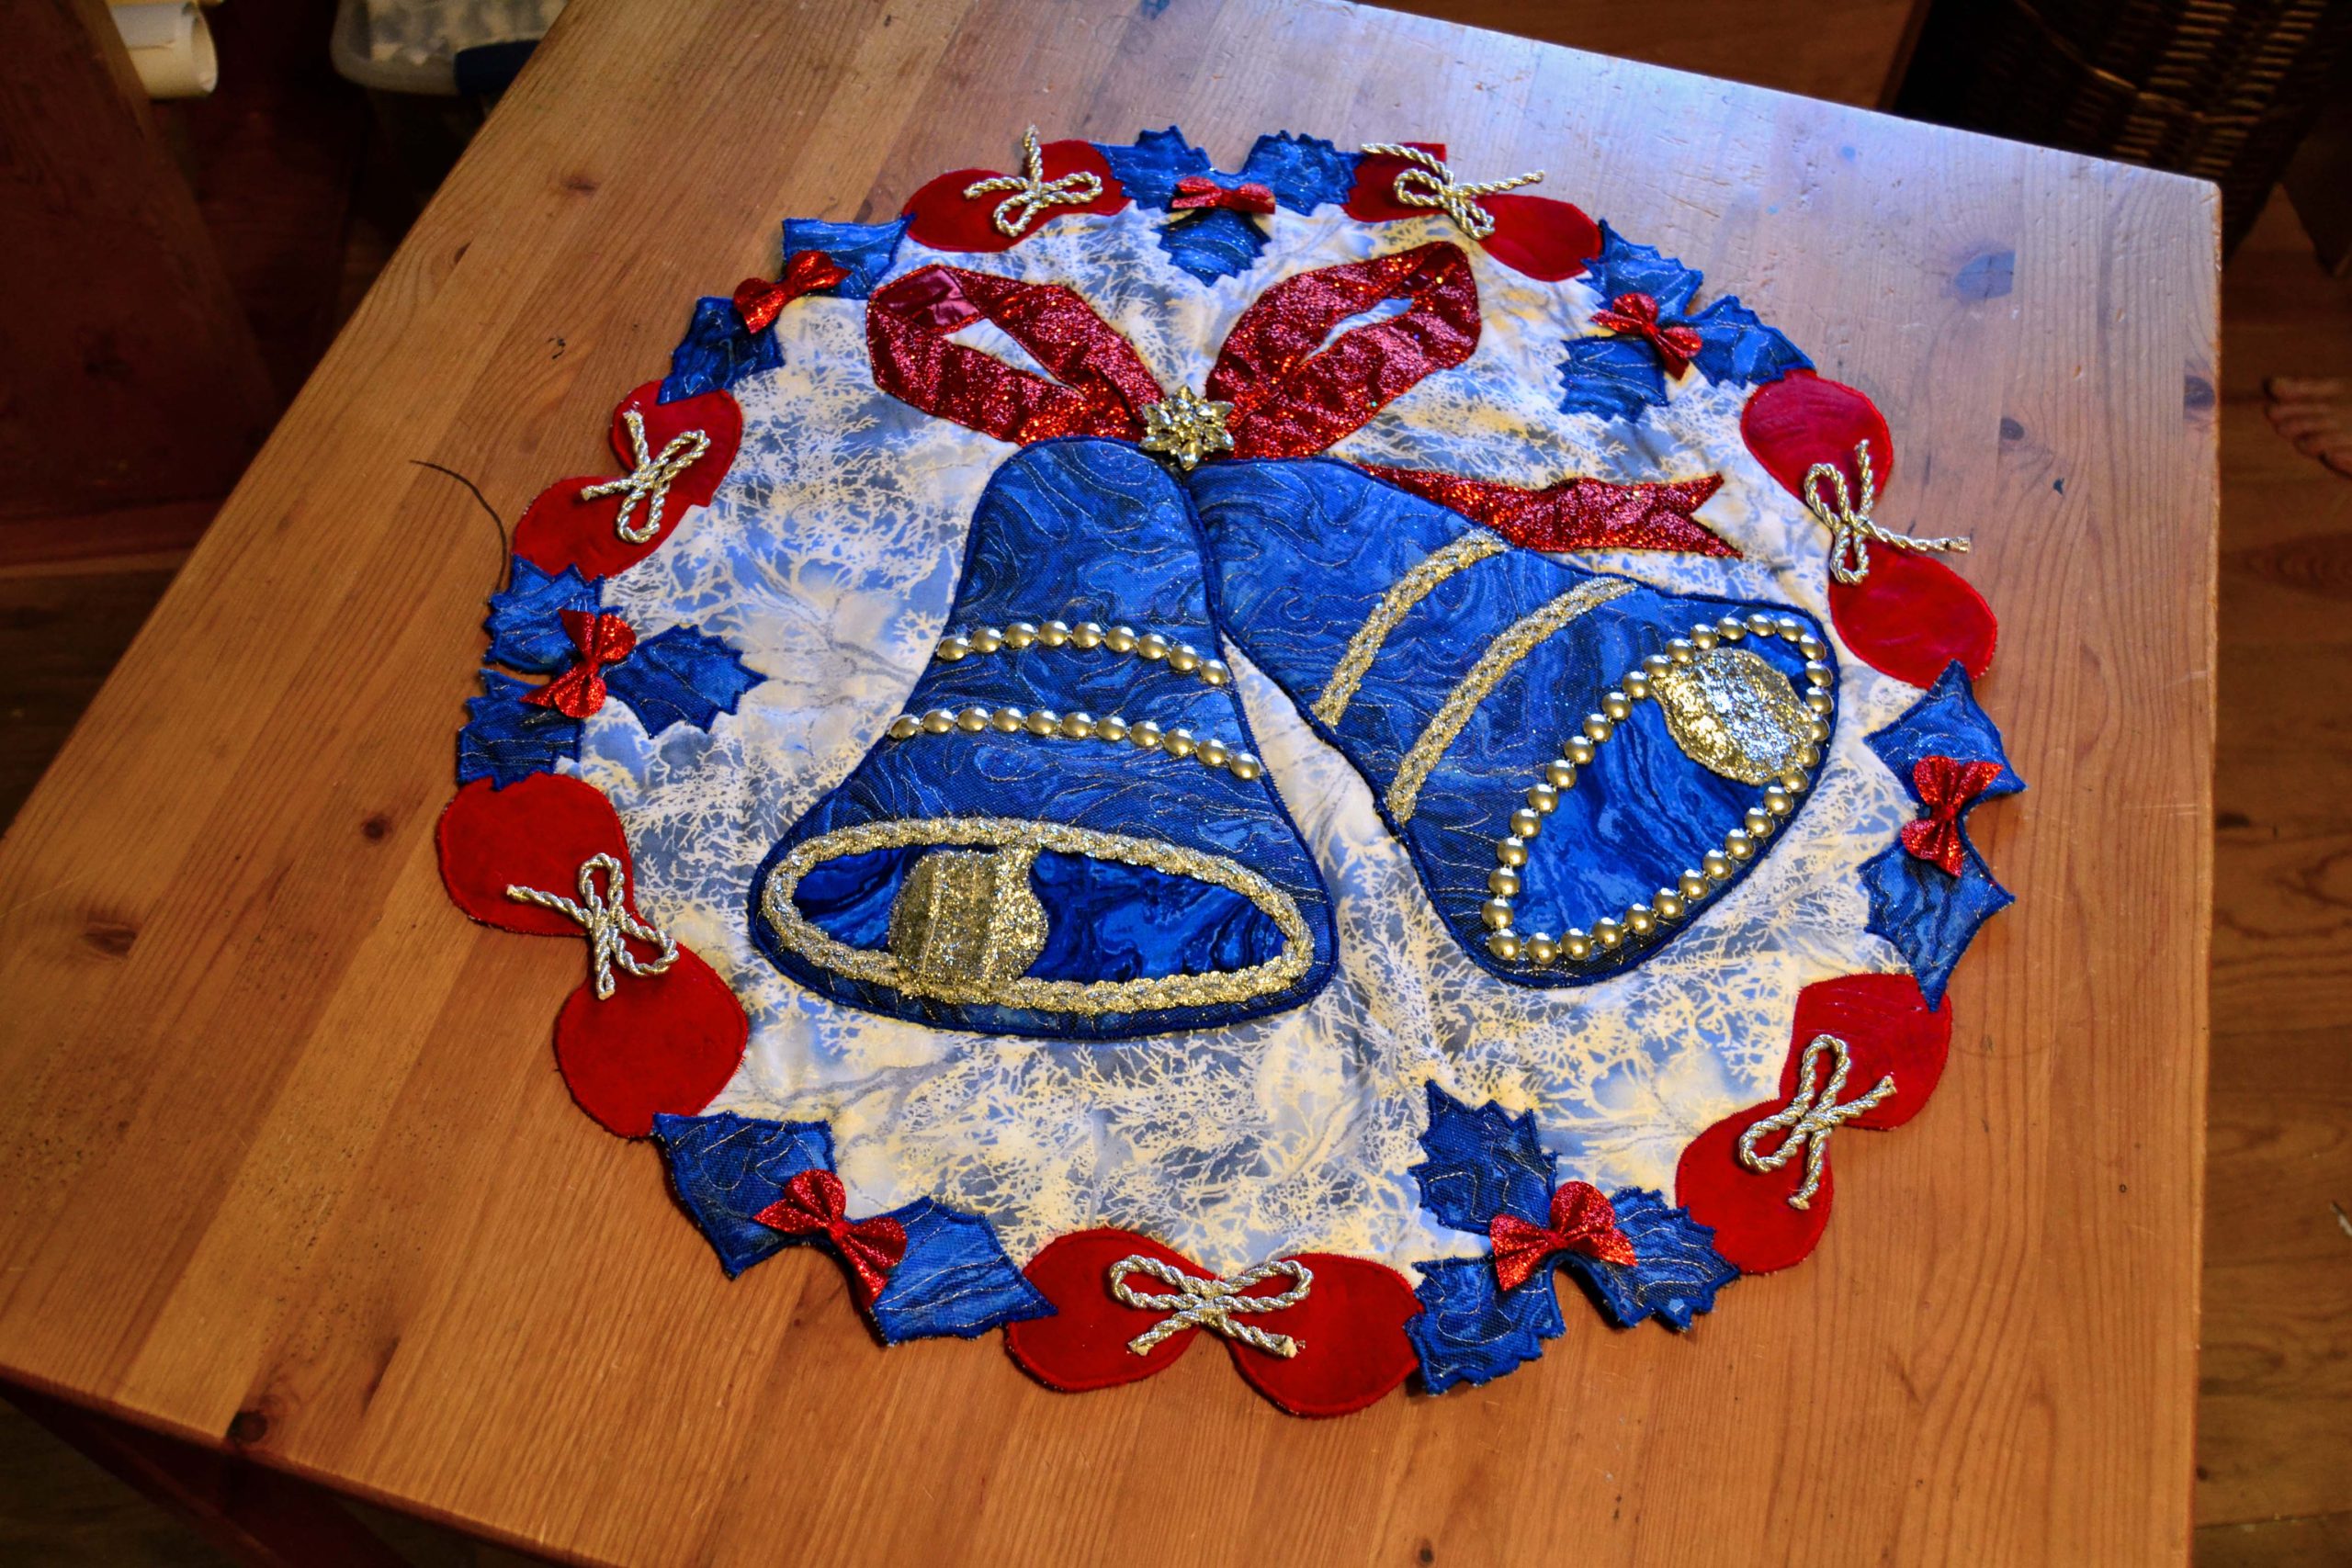
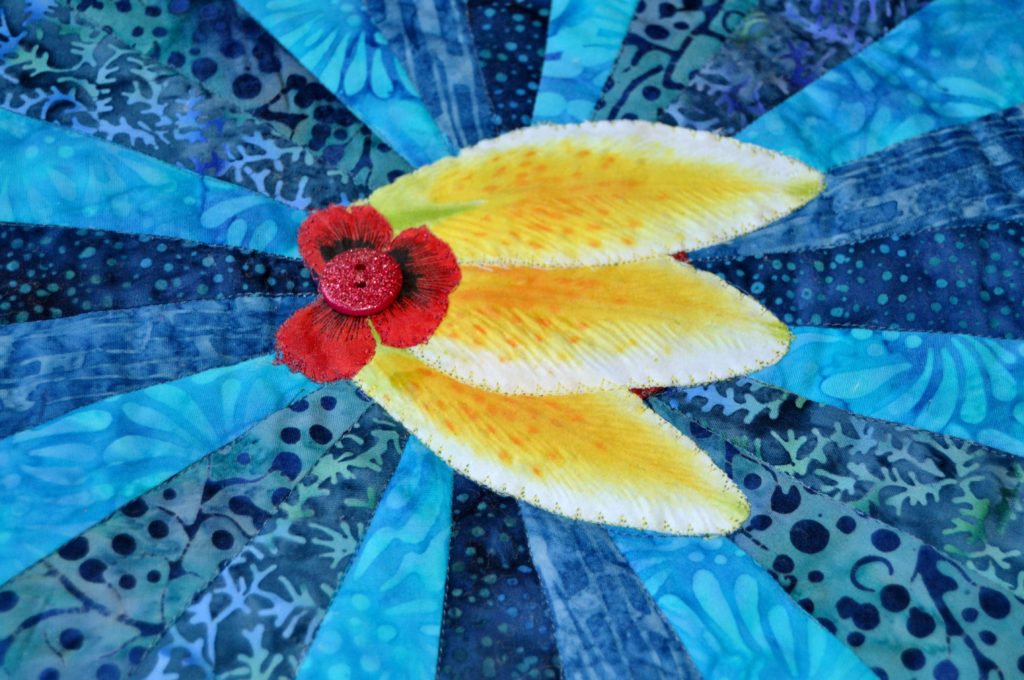
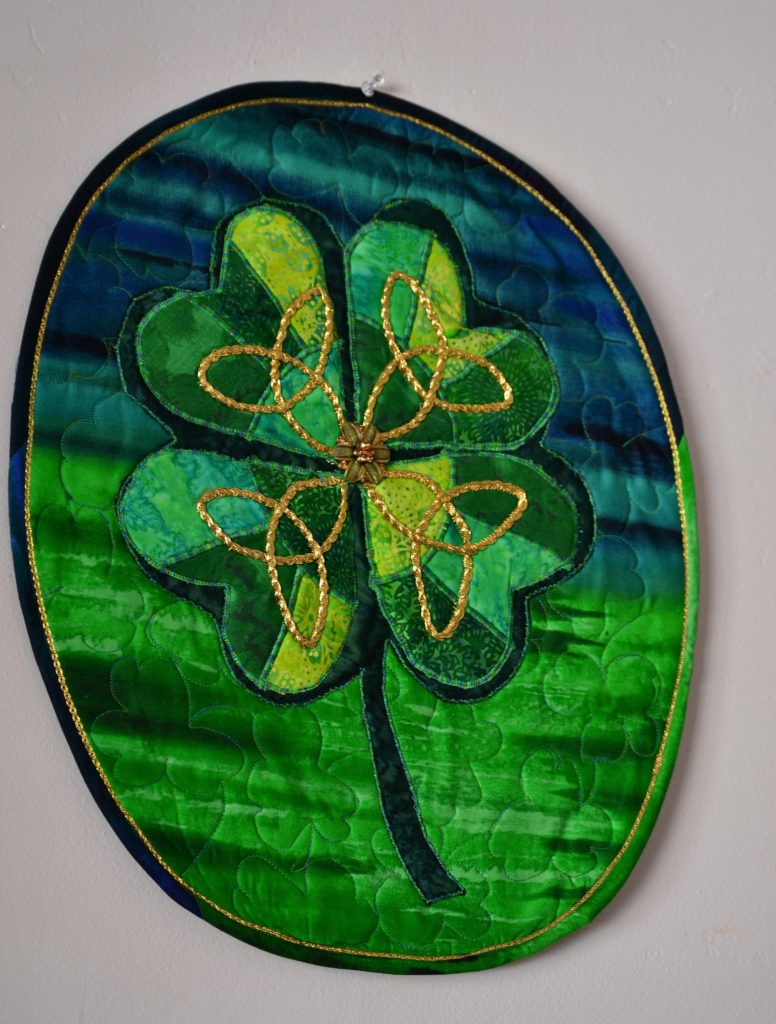
Even inanimate objects, such as my Shamrock Table Topper can make you stop and think. Why is this four-leaf clover special? Will anyone find it? What magic can it create?
Engaging your viewer in the story brings it to life, and makes it much more interesting (to my mind) than a regular patterned quilt.
Let Your Project Have a Hand in Creating Quilting Stories
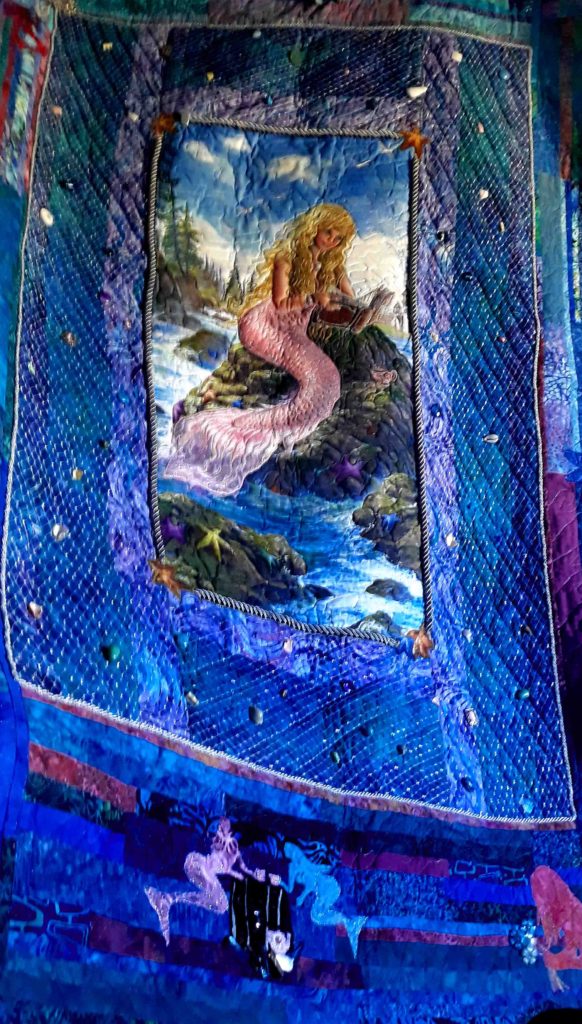
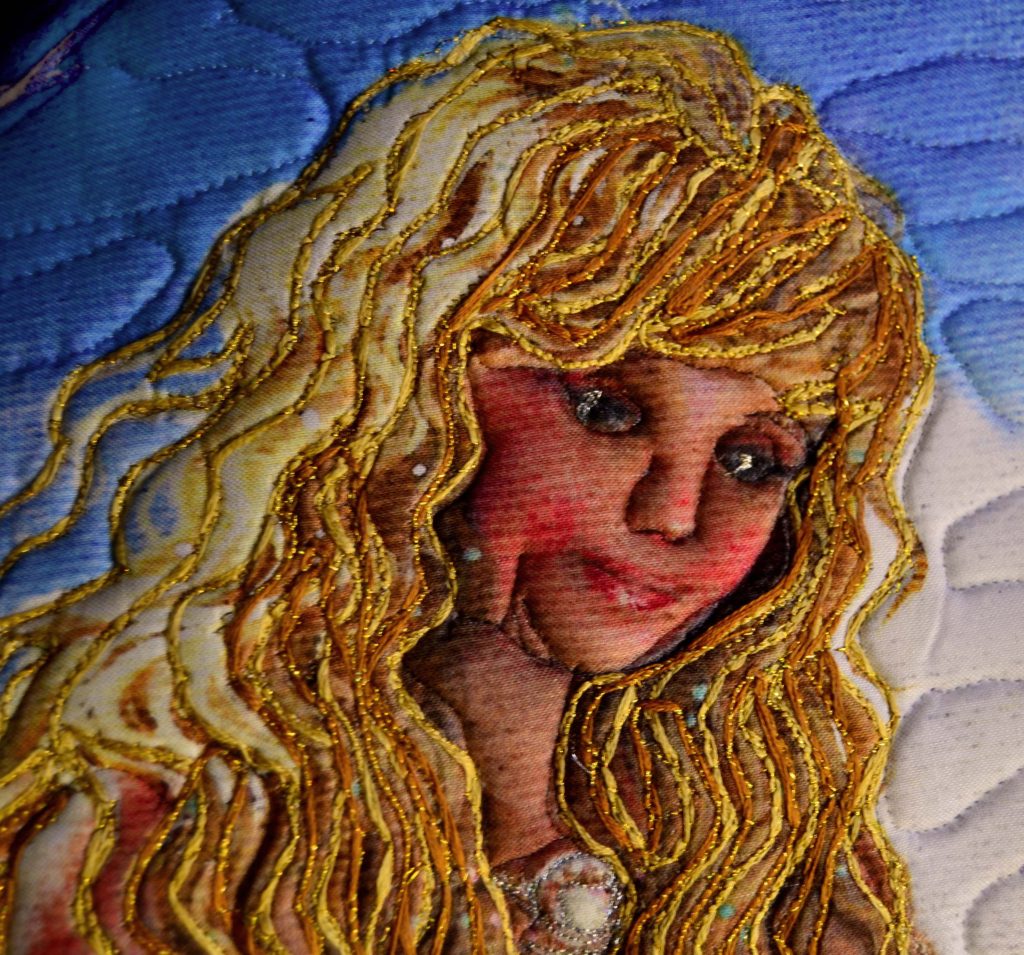
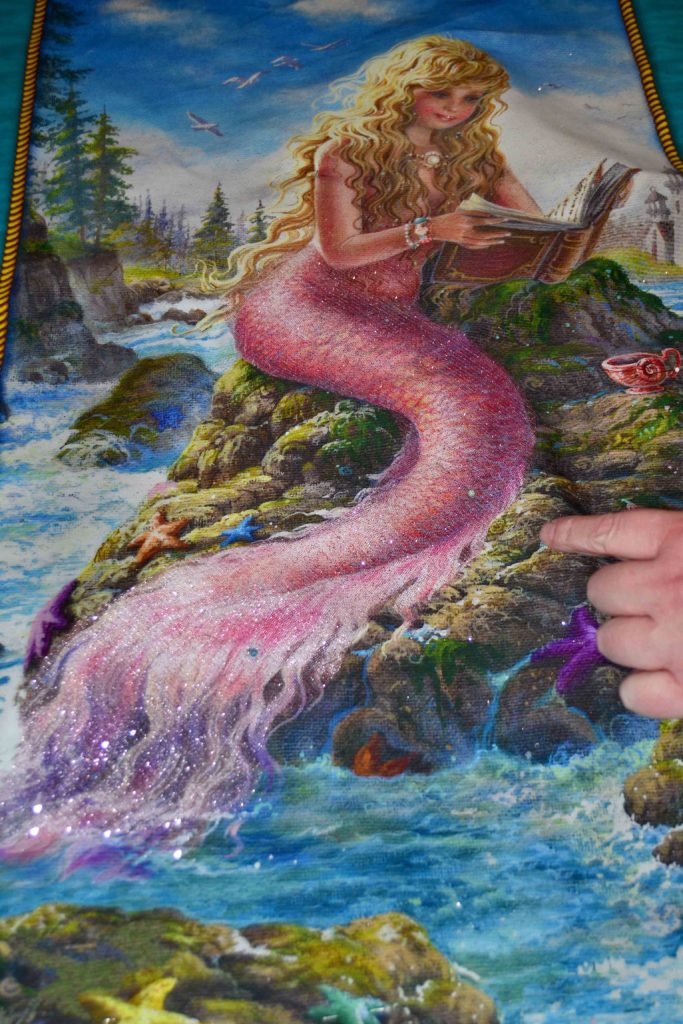
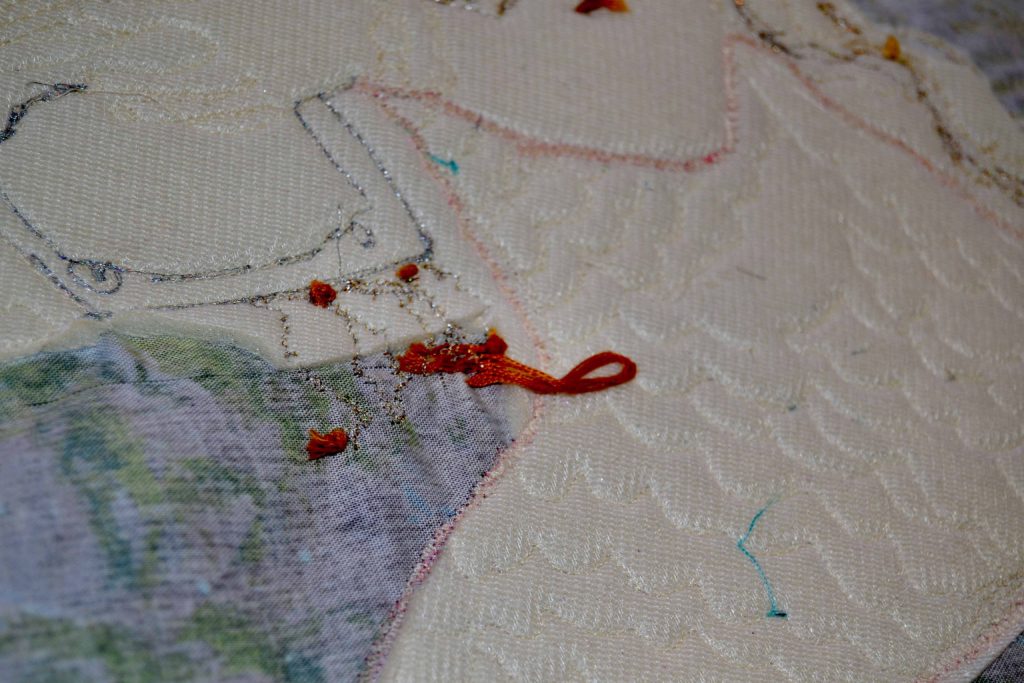
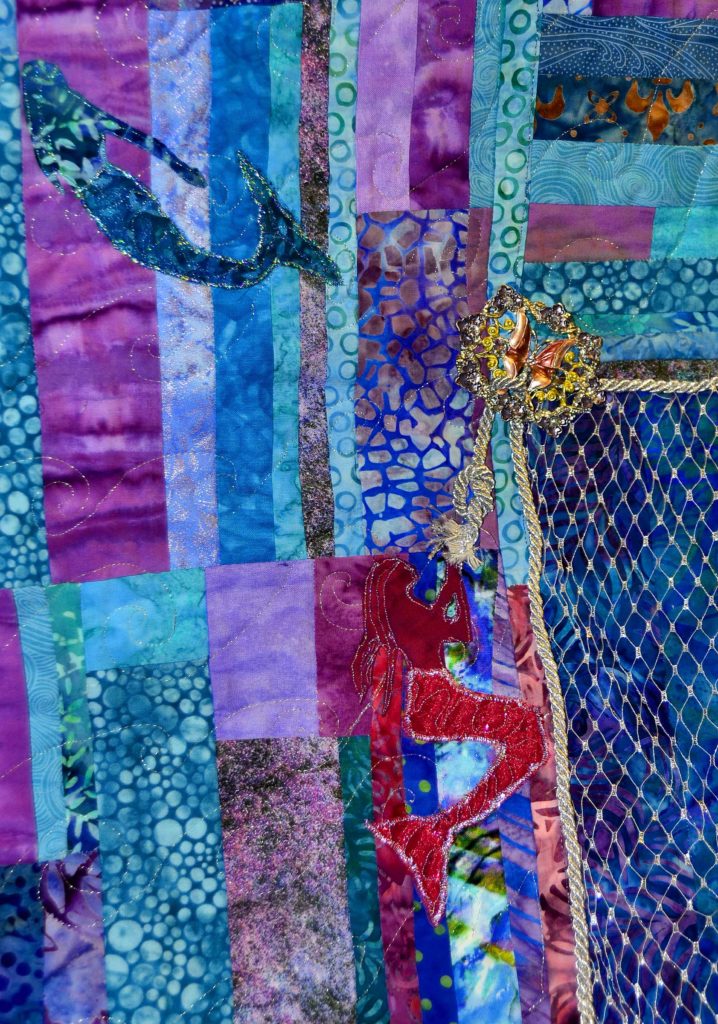
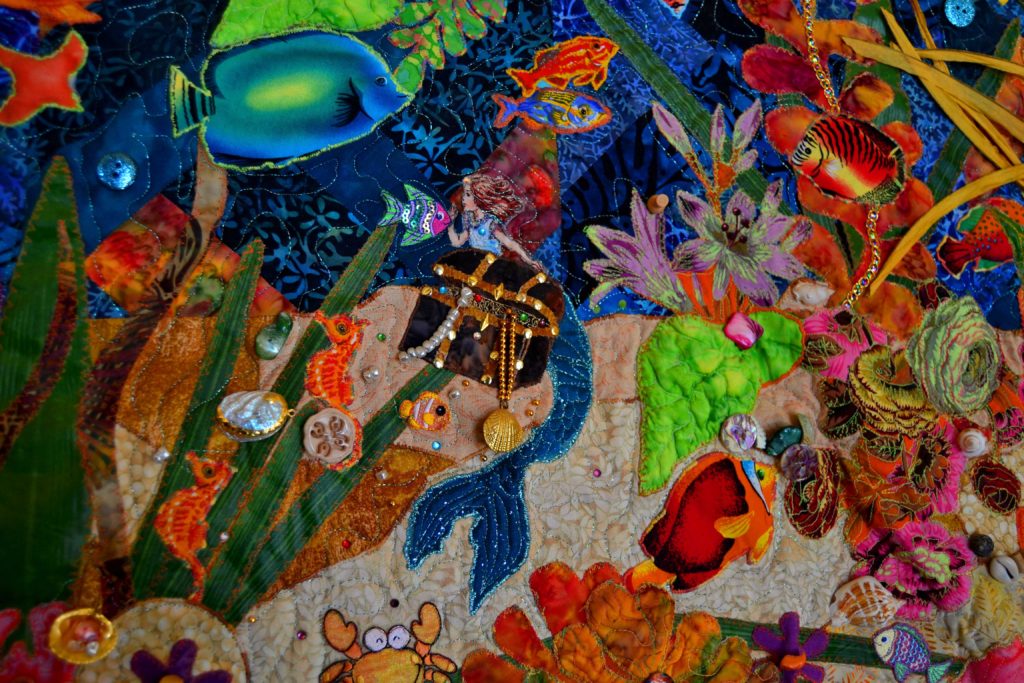
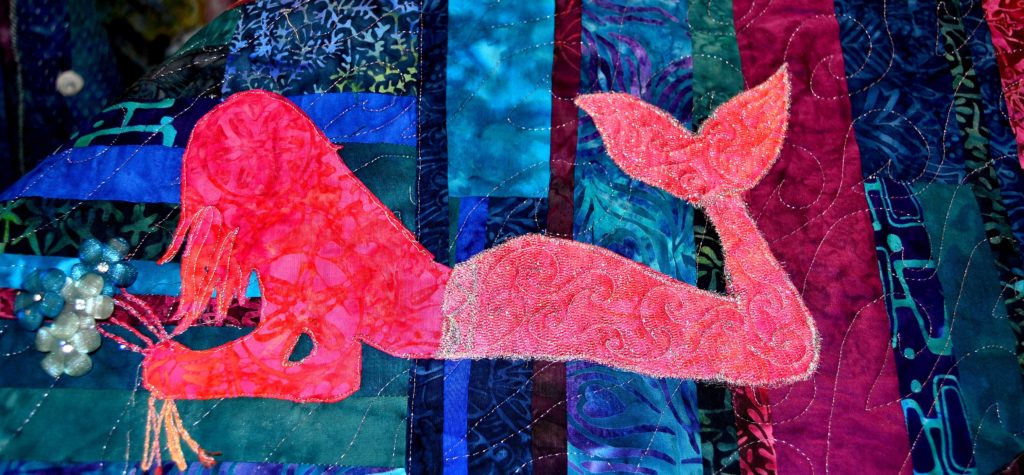
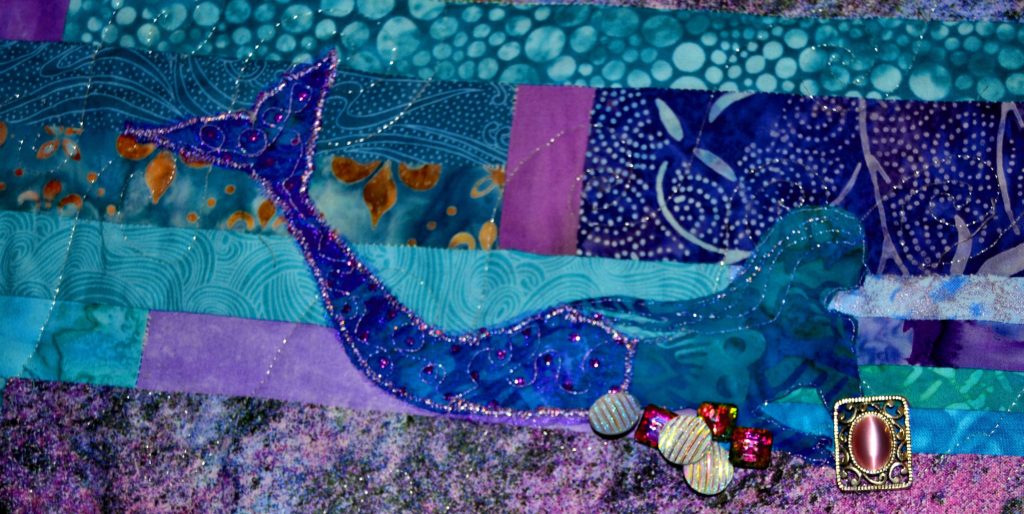
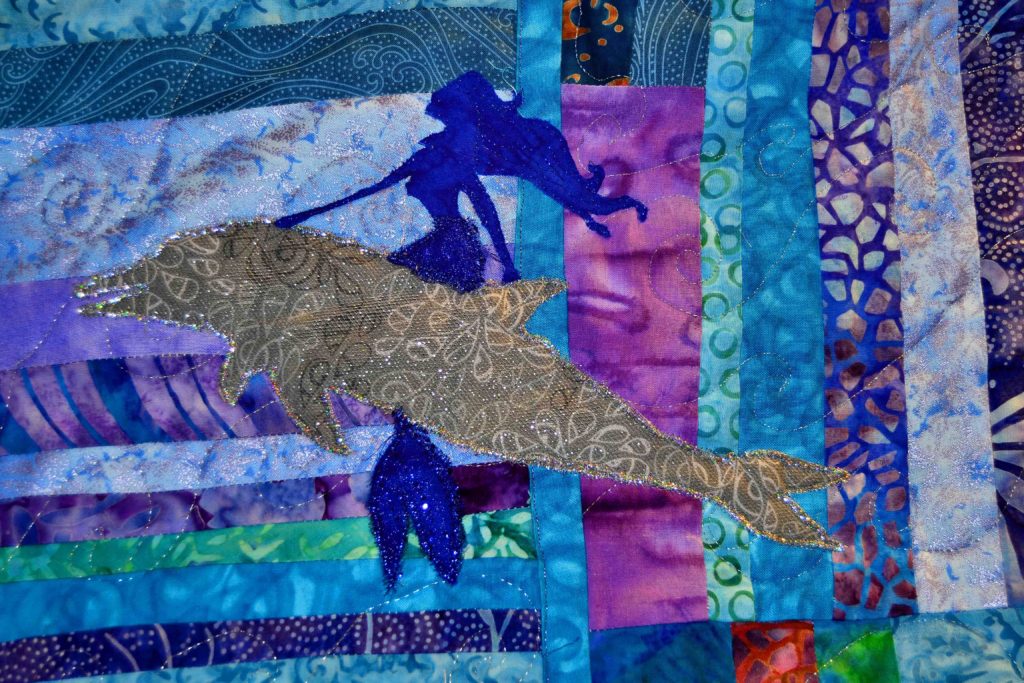
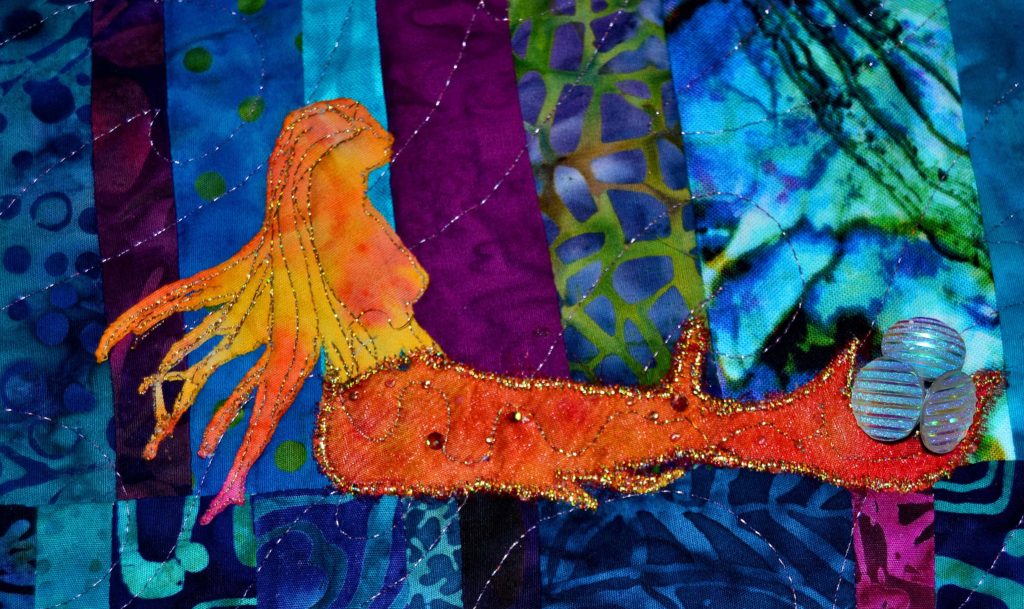
I’ve just finished the Ocean Maidens quilt and Suzanna has lamented numerous times how much she would have adored this quilt when she was young, and the endless stories she could have made up from it.
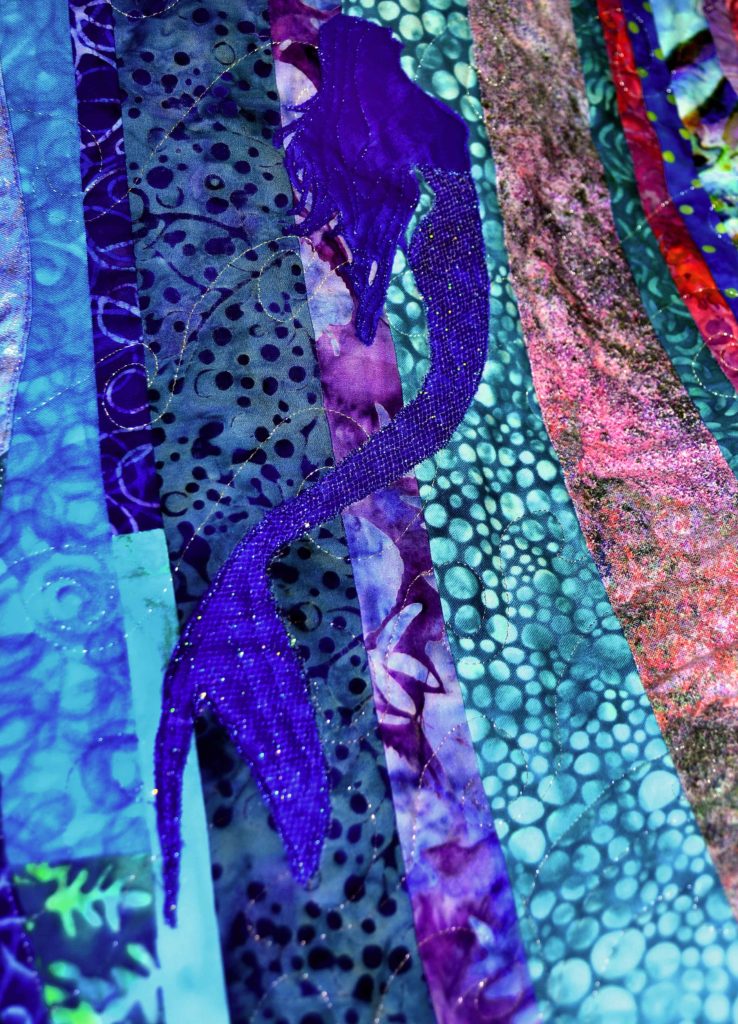
With just a few mermaid silhouettes and accessories, I turned a basically pretty border into a mermaid sea where mermaids swim…read books…have tea parties…ride dolphins…collect jewels…pick bouquets…and blow bubbles. Much more interesting than just a funky-strip border with endless scope for the imagination.
Suzanna’s also made me promise never to sell the Coral Reef panel because she wants to use it to stimulate her future children’s’ imaginations.
Creating curiosity leads in a project is relatively easy to do.
The Easiest Way to Add a Curiosity Point to a Quilt
Start by taking a good, long look at the project you’re contemplating sewing. What does it say to you? Is it begging for more ‘pop?’
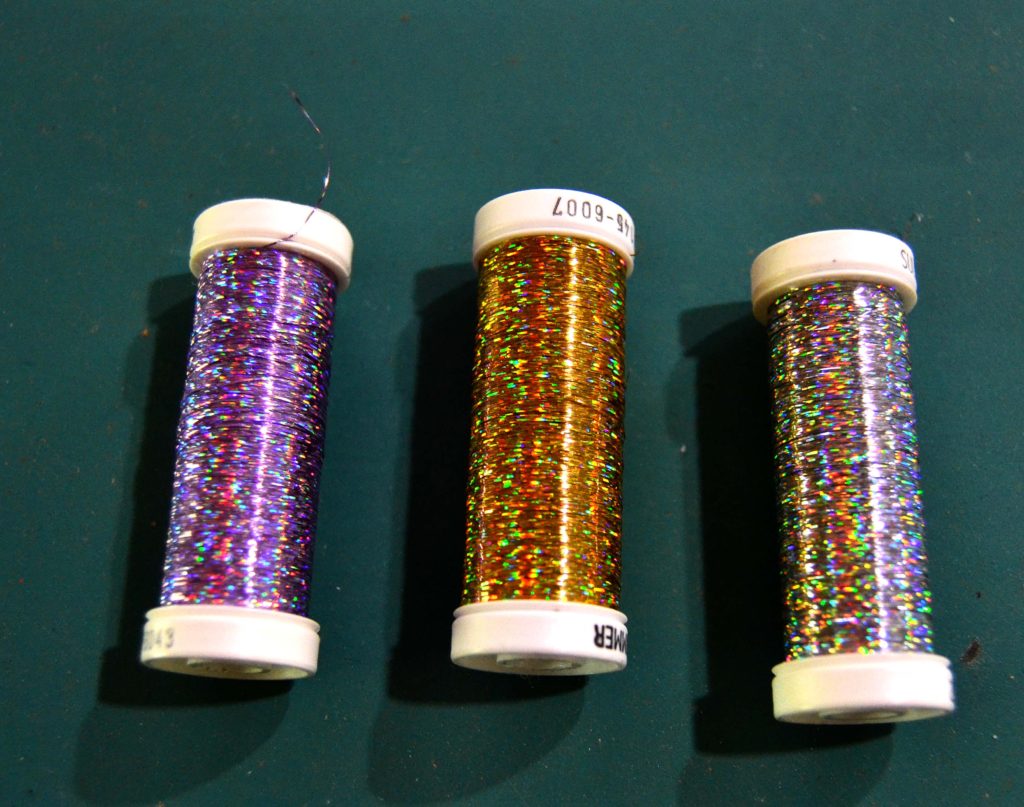
- More glitter
- Something magical?
- A story?
- Etc.
How can you improve the quilt without too much trouble? How can you make it completely individual from the million other Log Cabin quilts or whatever your pattern is?
But if you want to fastest, easiest way to add a character or a curiosity point… I have one word for you – appliques. With the right appliques, you can change an everyday quilt pattern into Shazzam!!!
Appliques
Once you have your hero character, and the corresponding pattern and colors chosen, think about what else should be in this picture.
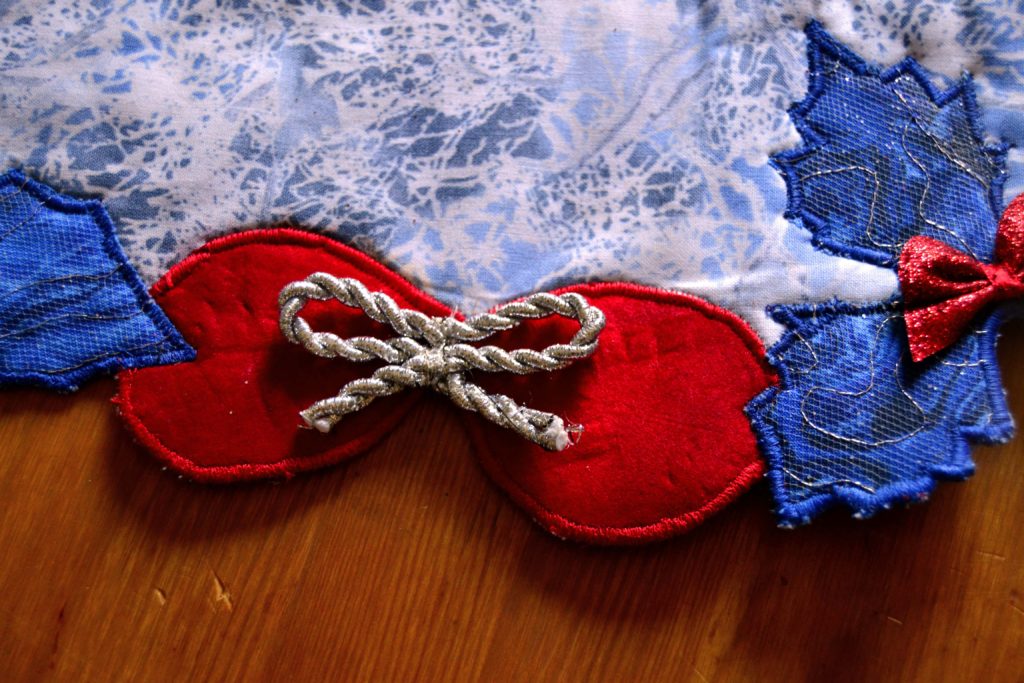
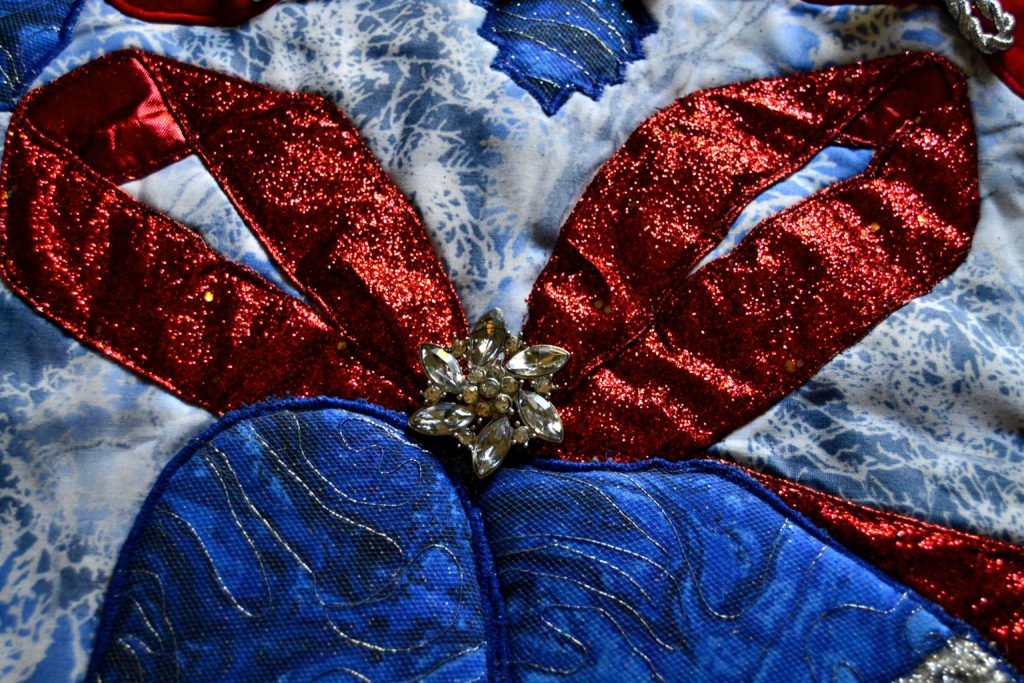
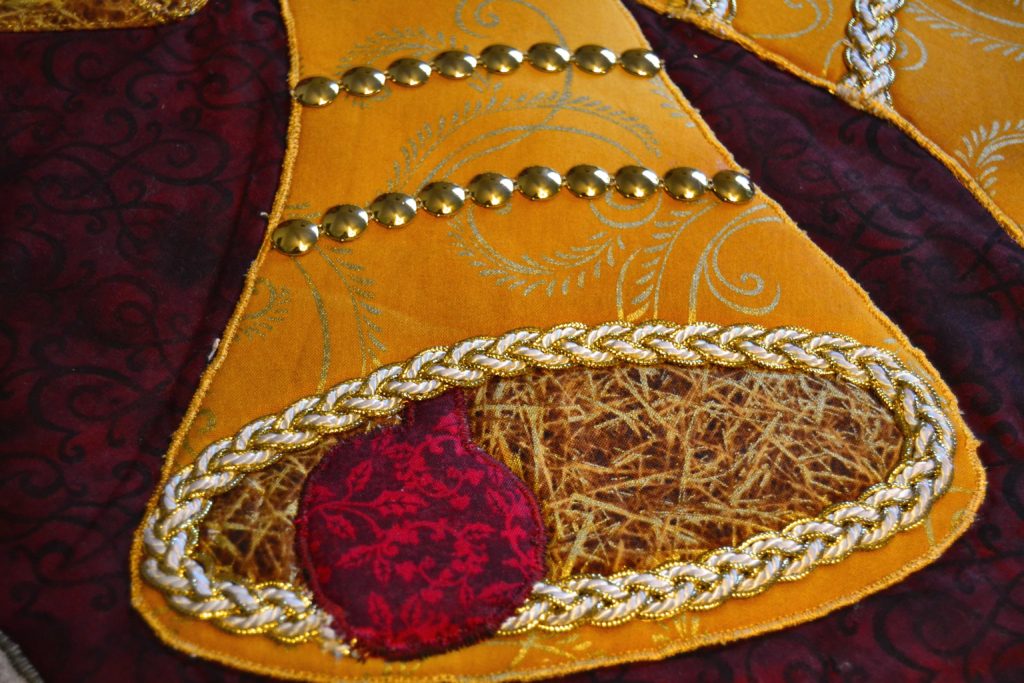
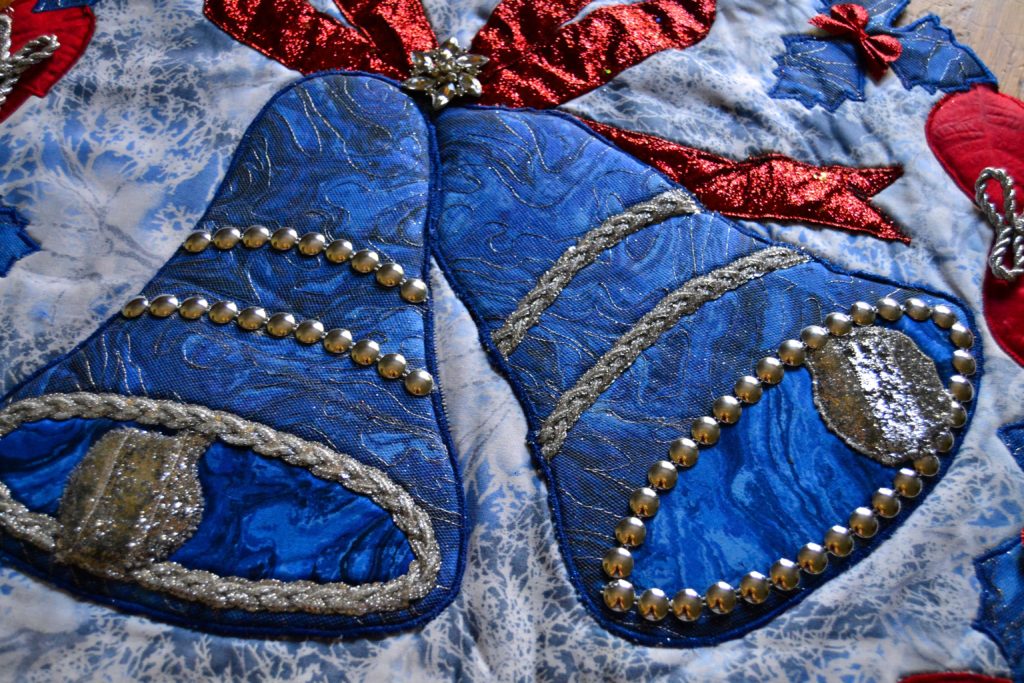
I was very drawn to the Christmas Delivery panel, because the horse was so beautiful and elegant. I bought it not knowing what I was going to do with it; so I just let it sit there and percolate in my mind until the idea to change it into a unicorn with attendant fairies came to me. Then I appliqued on the horn, fairies, neck ribbon, holly leaves, etc.
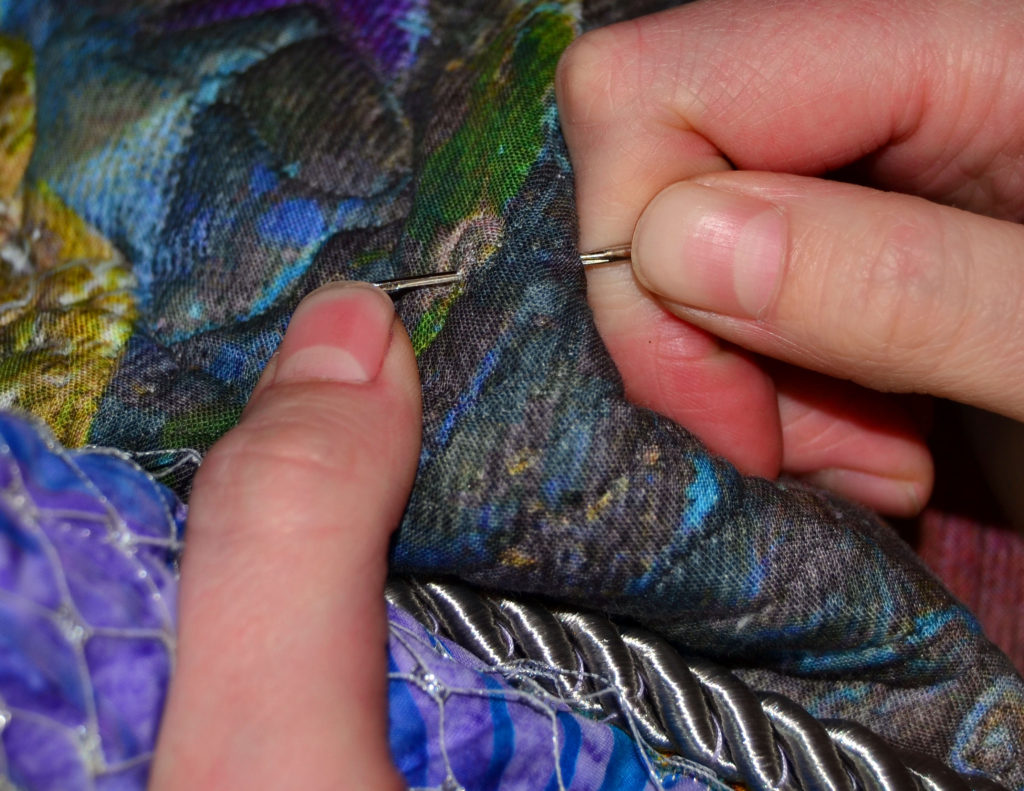
The silver & gold ribbon and jingle bells really helped, too, and before I knew it, my panel went from the same as hundreds of others to shazzam!!!
Completely unique and different.
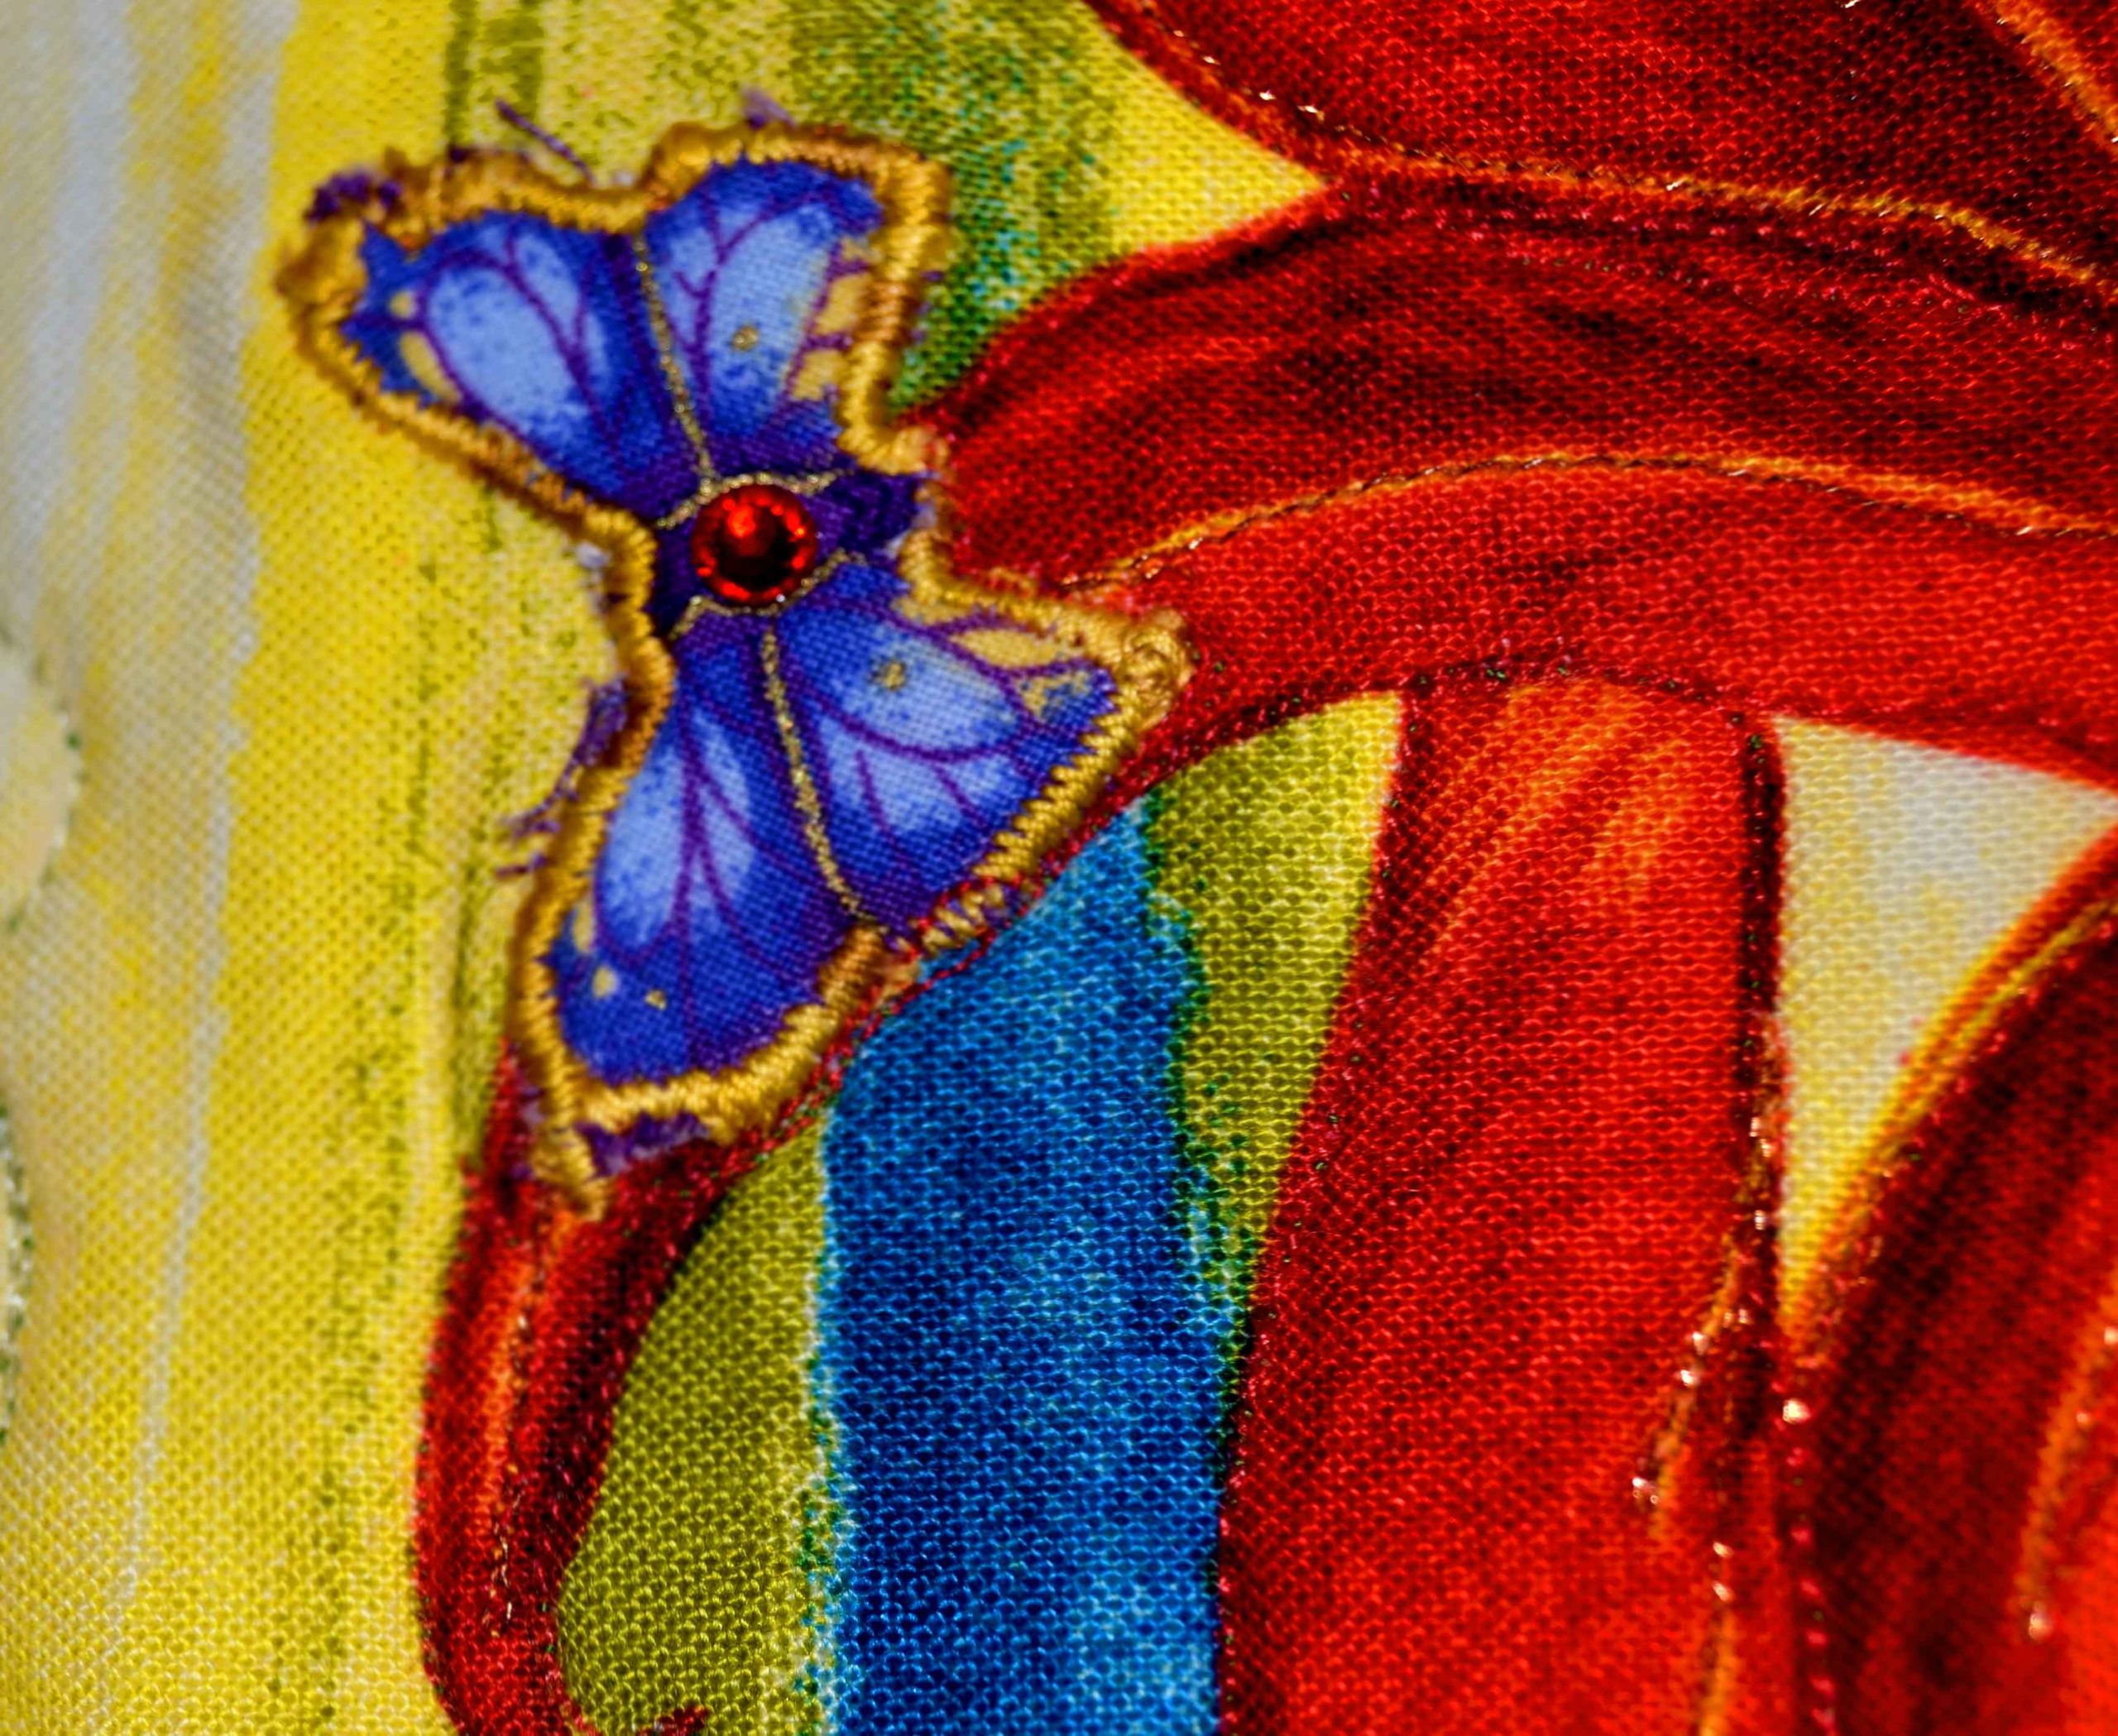
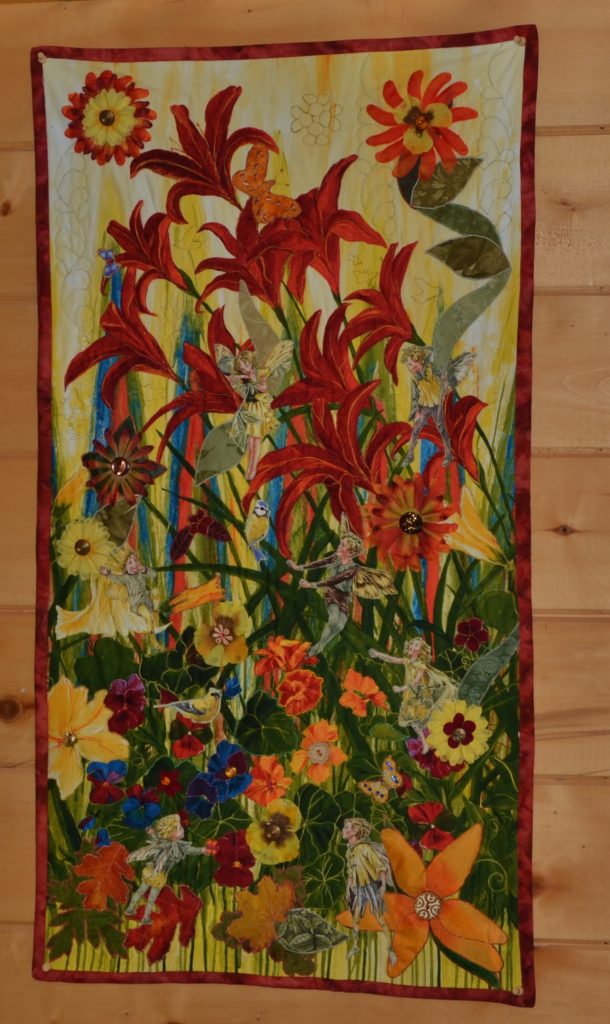
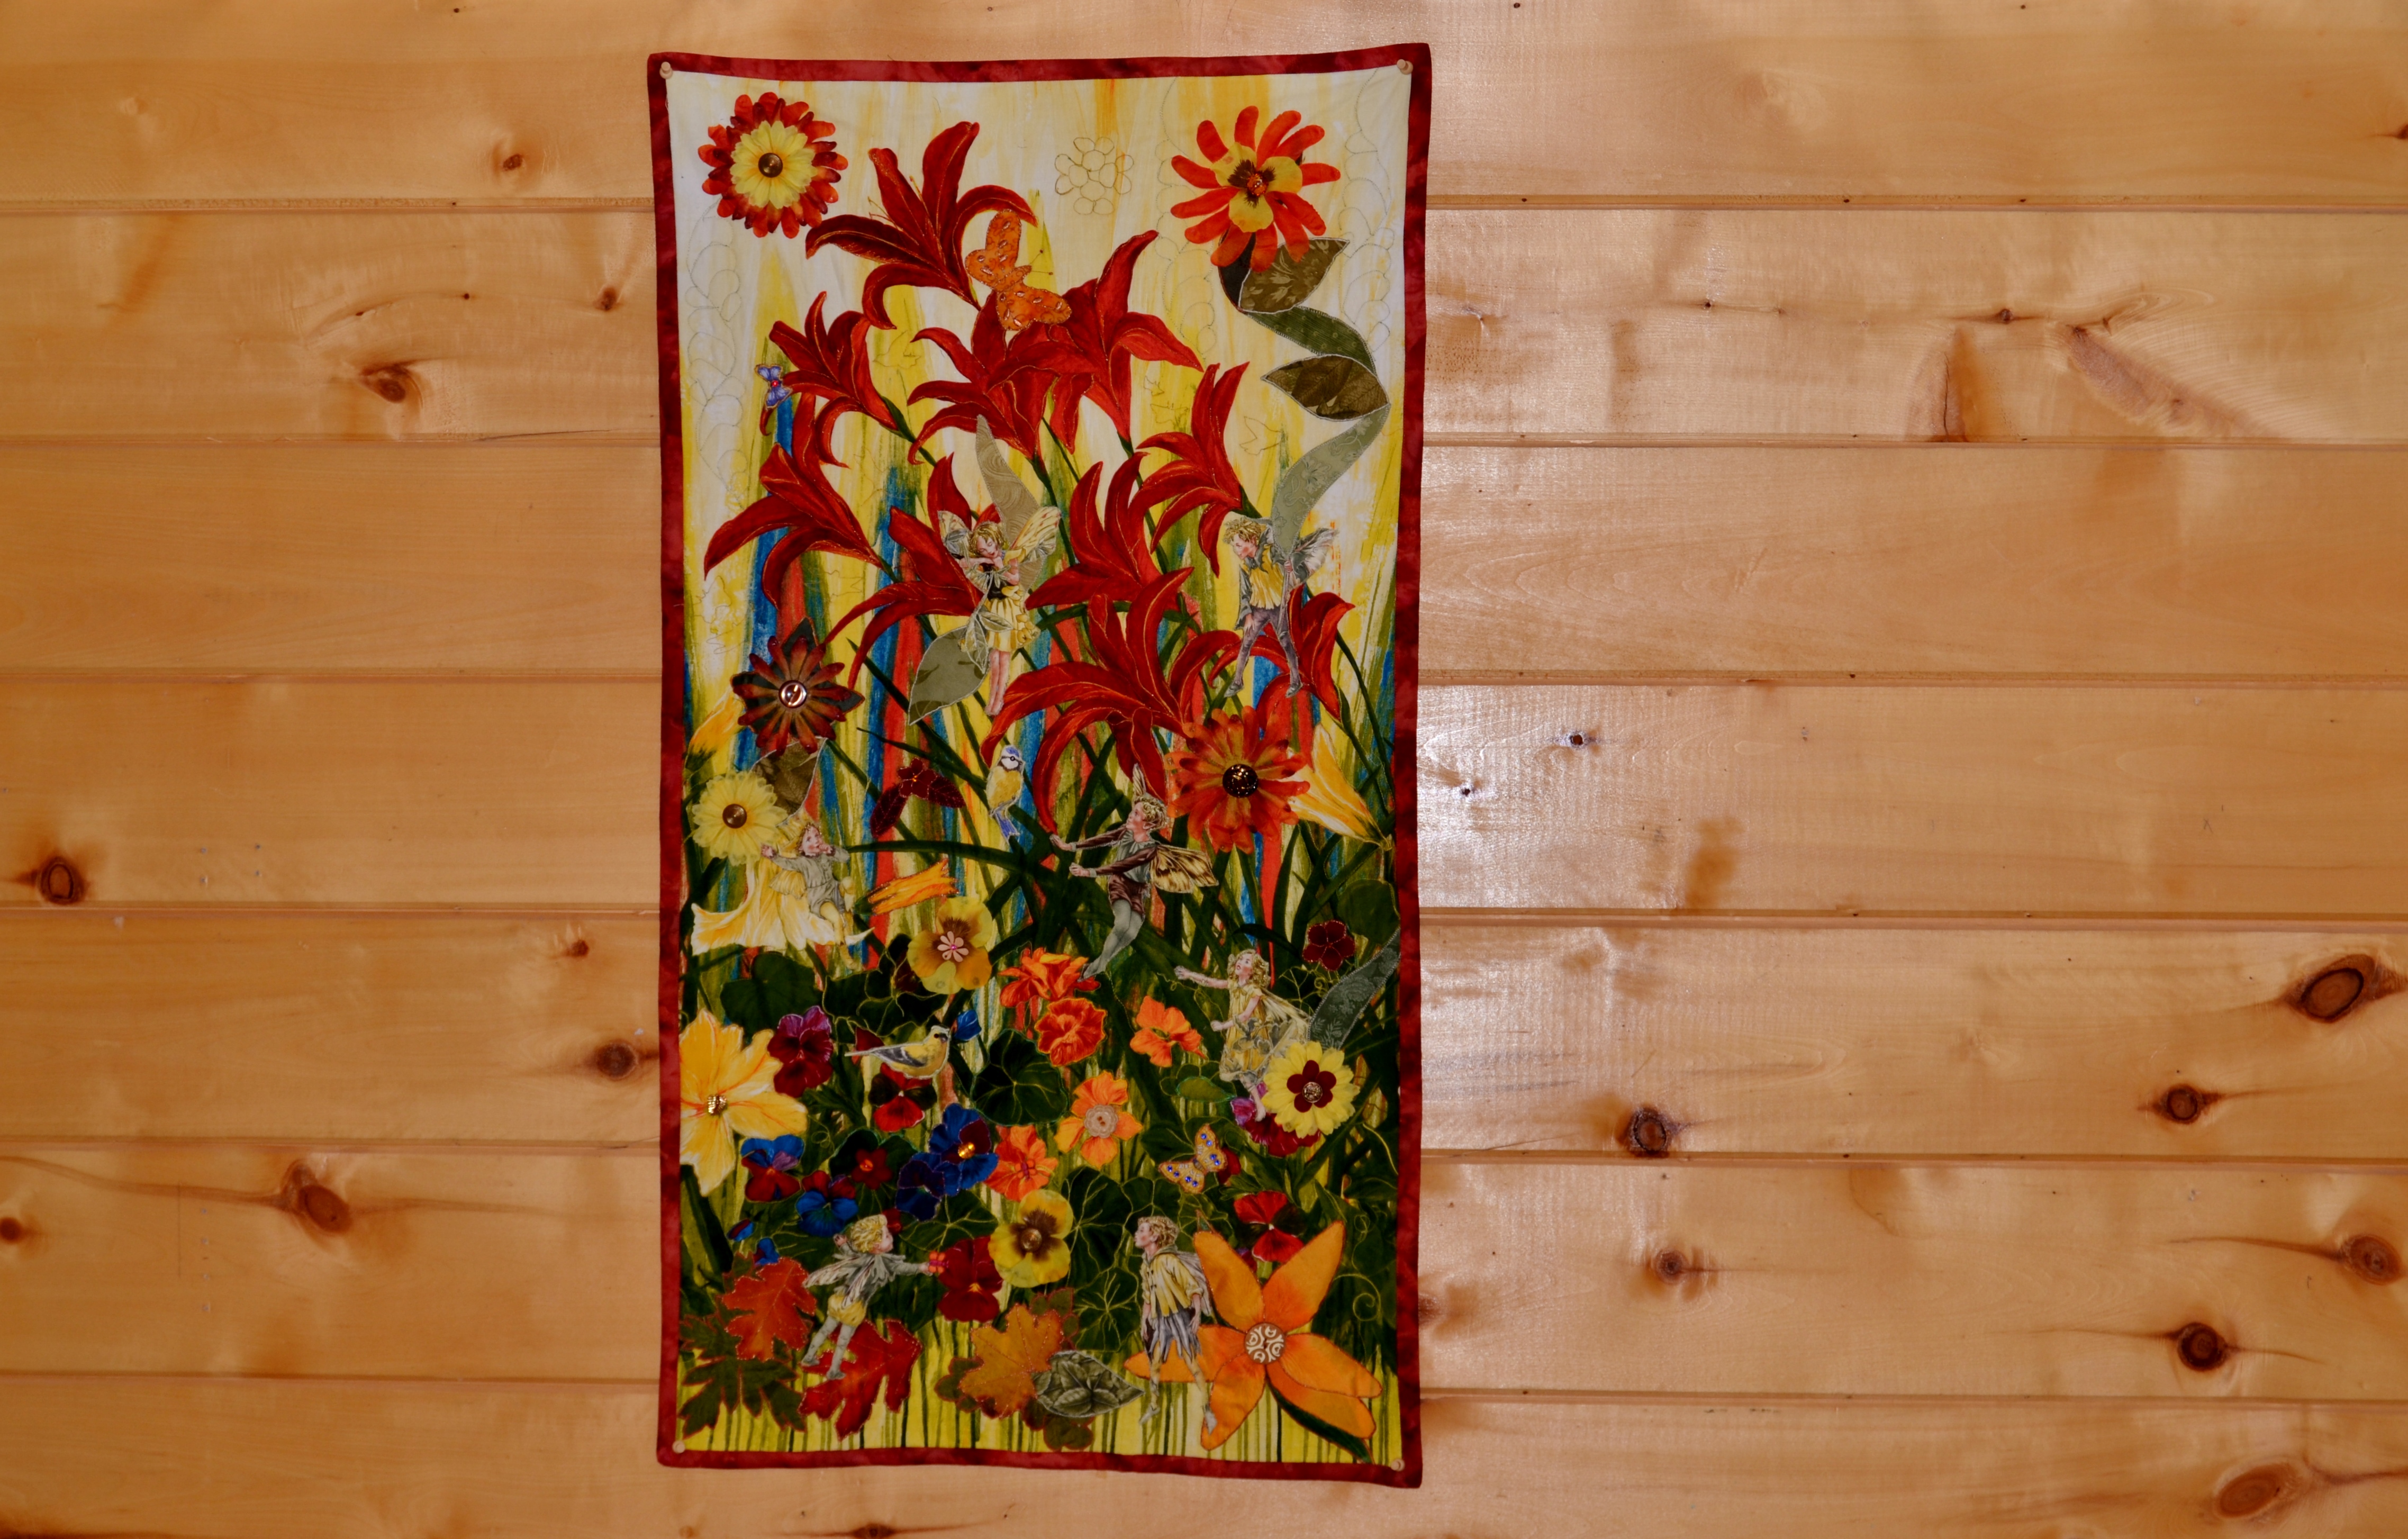
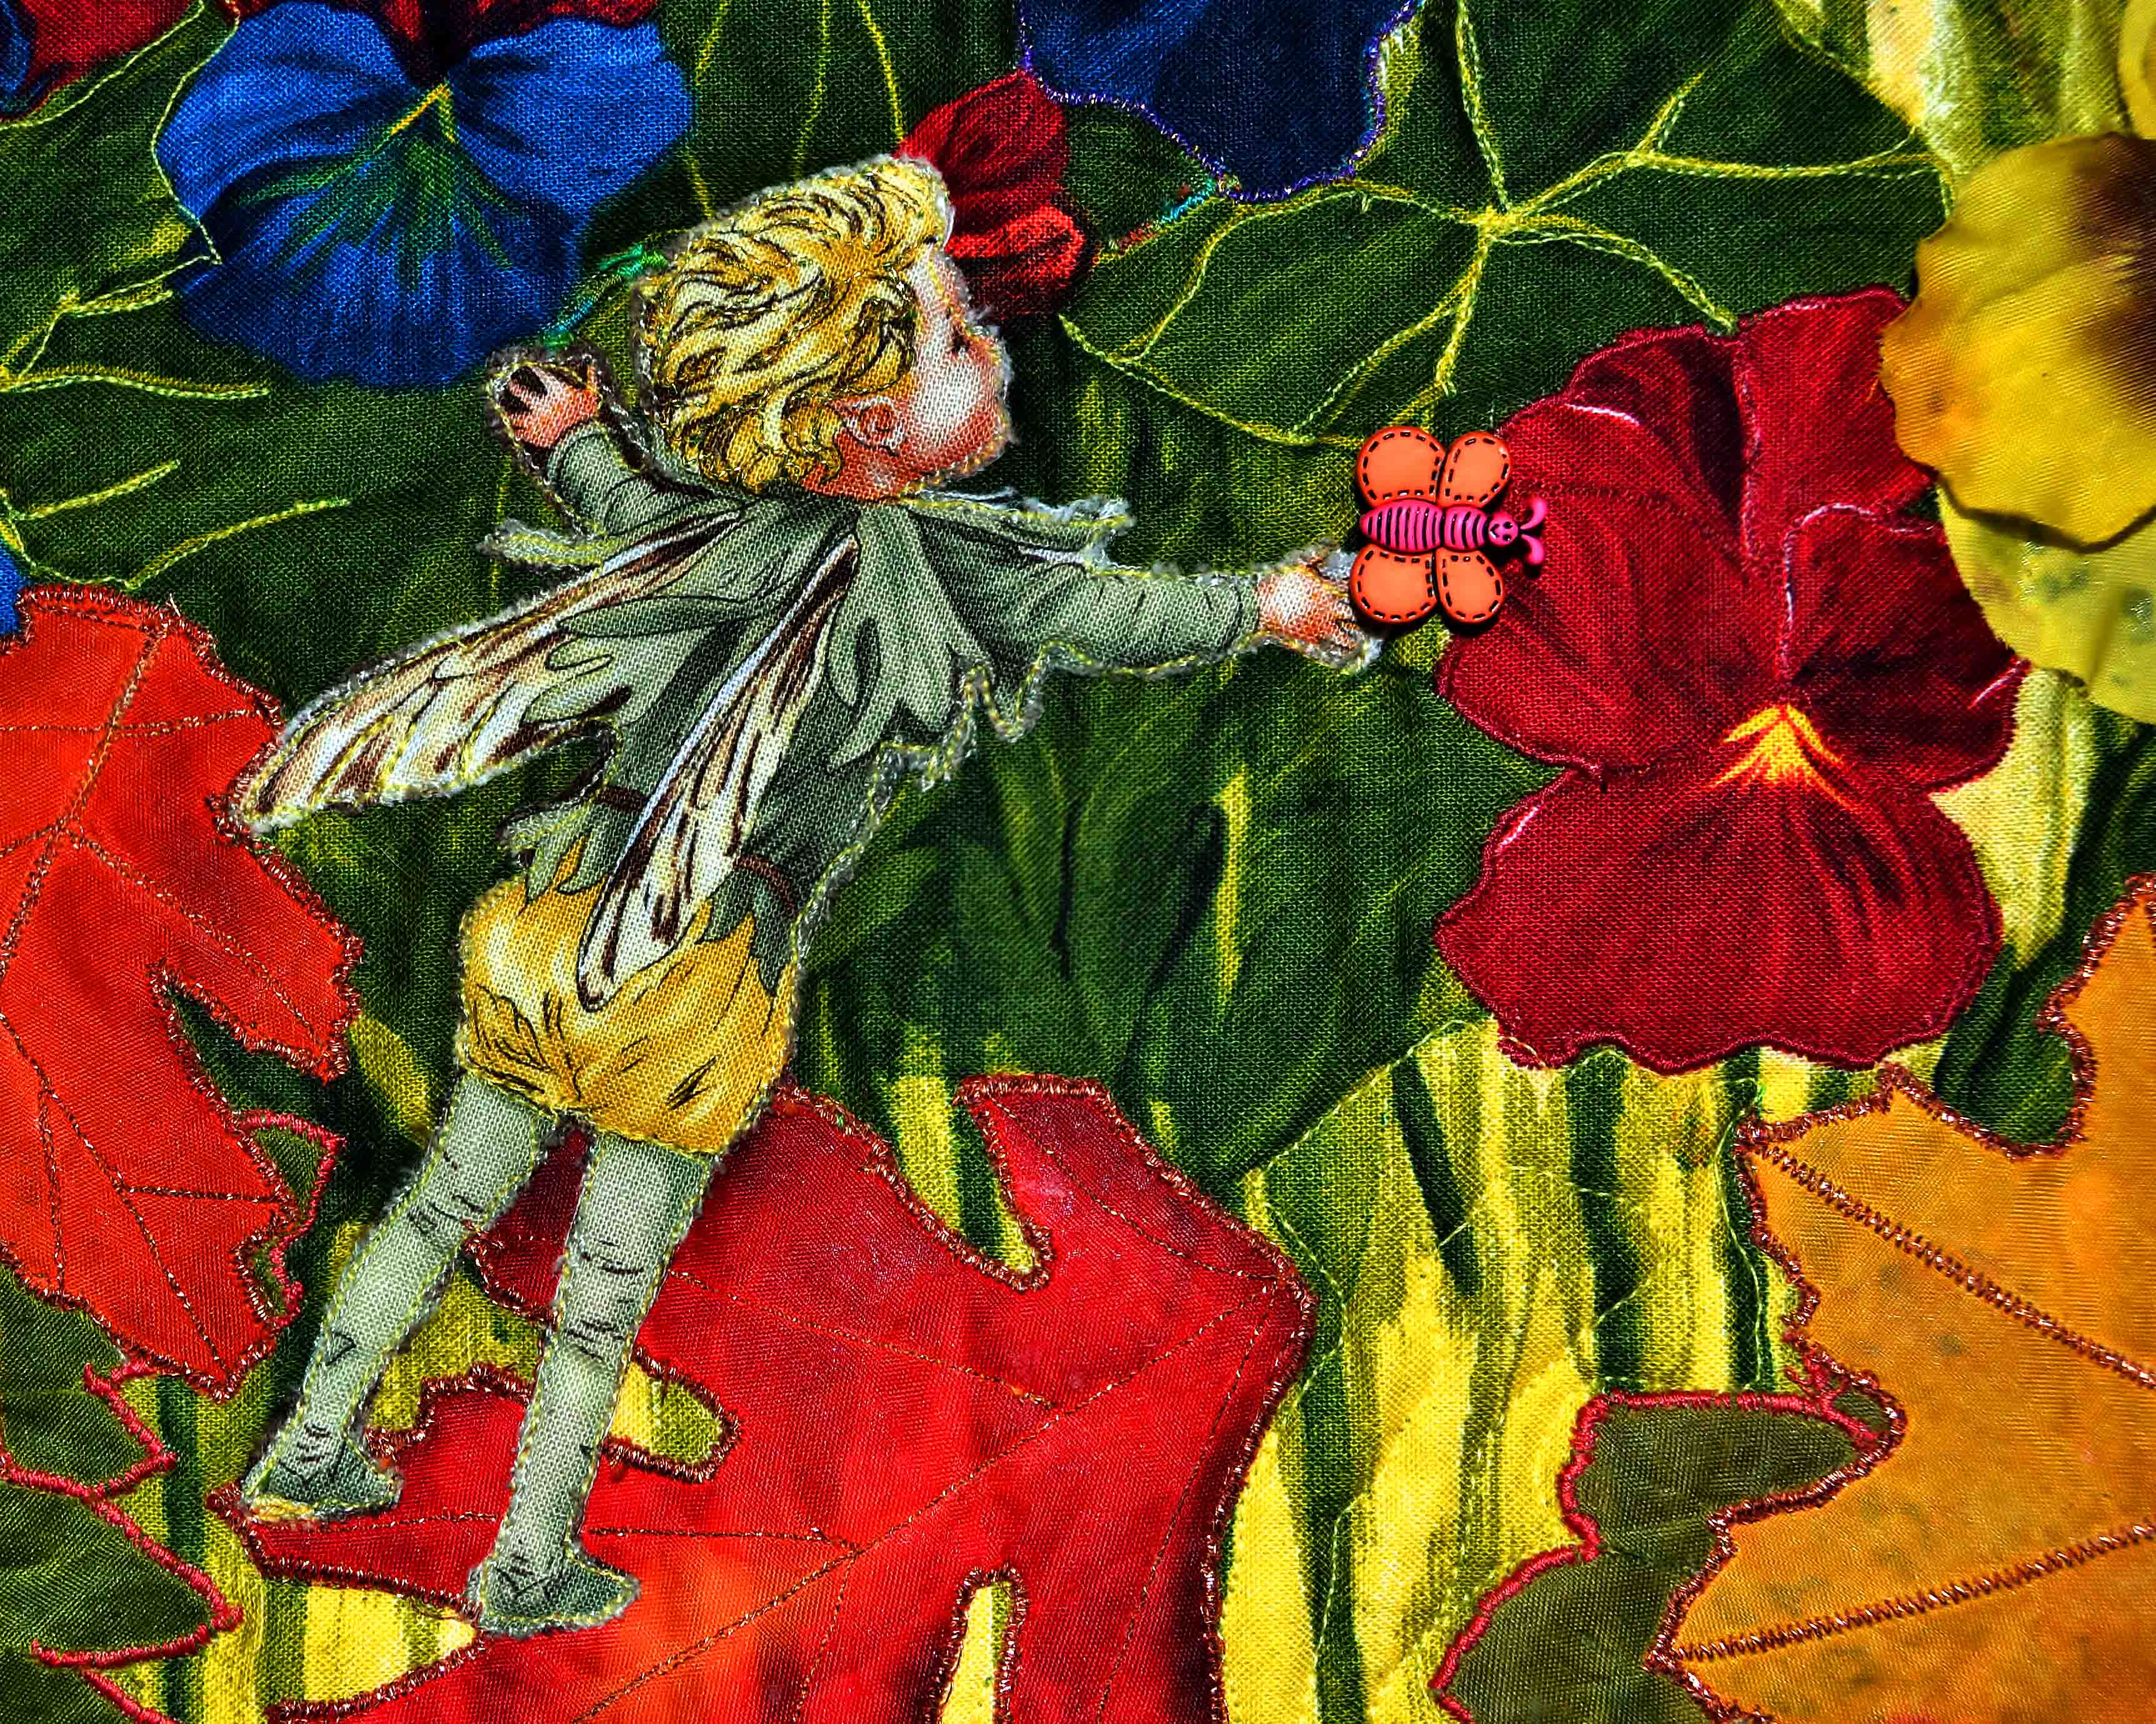
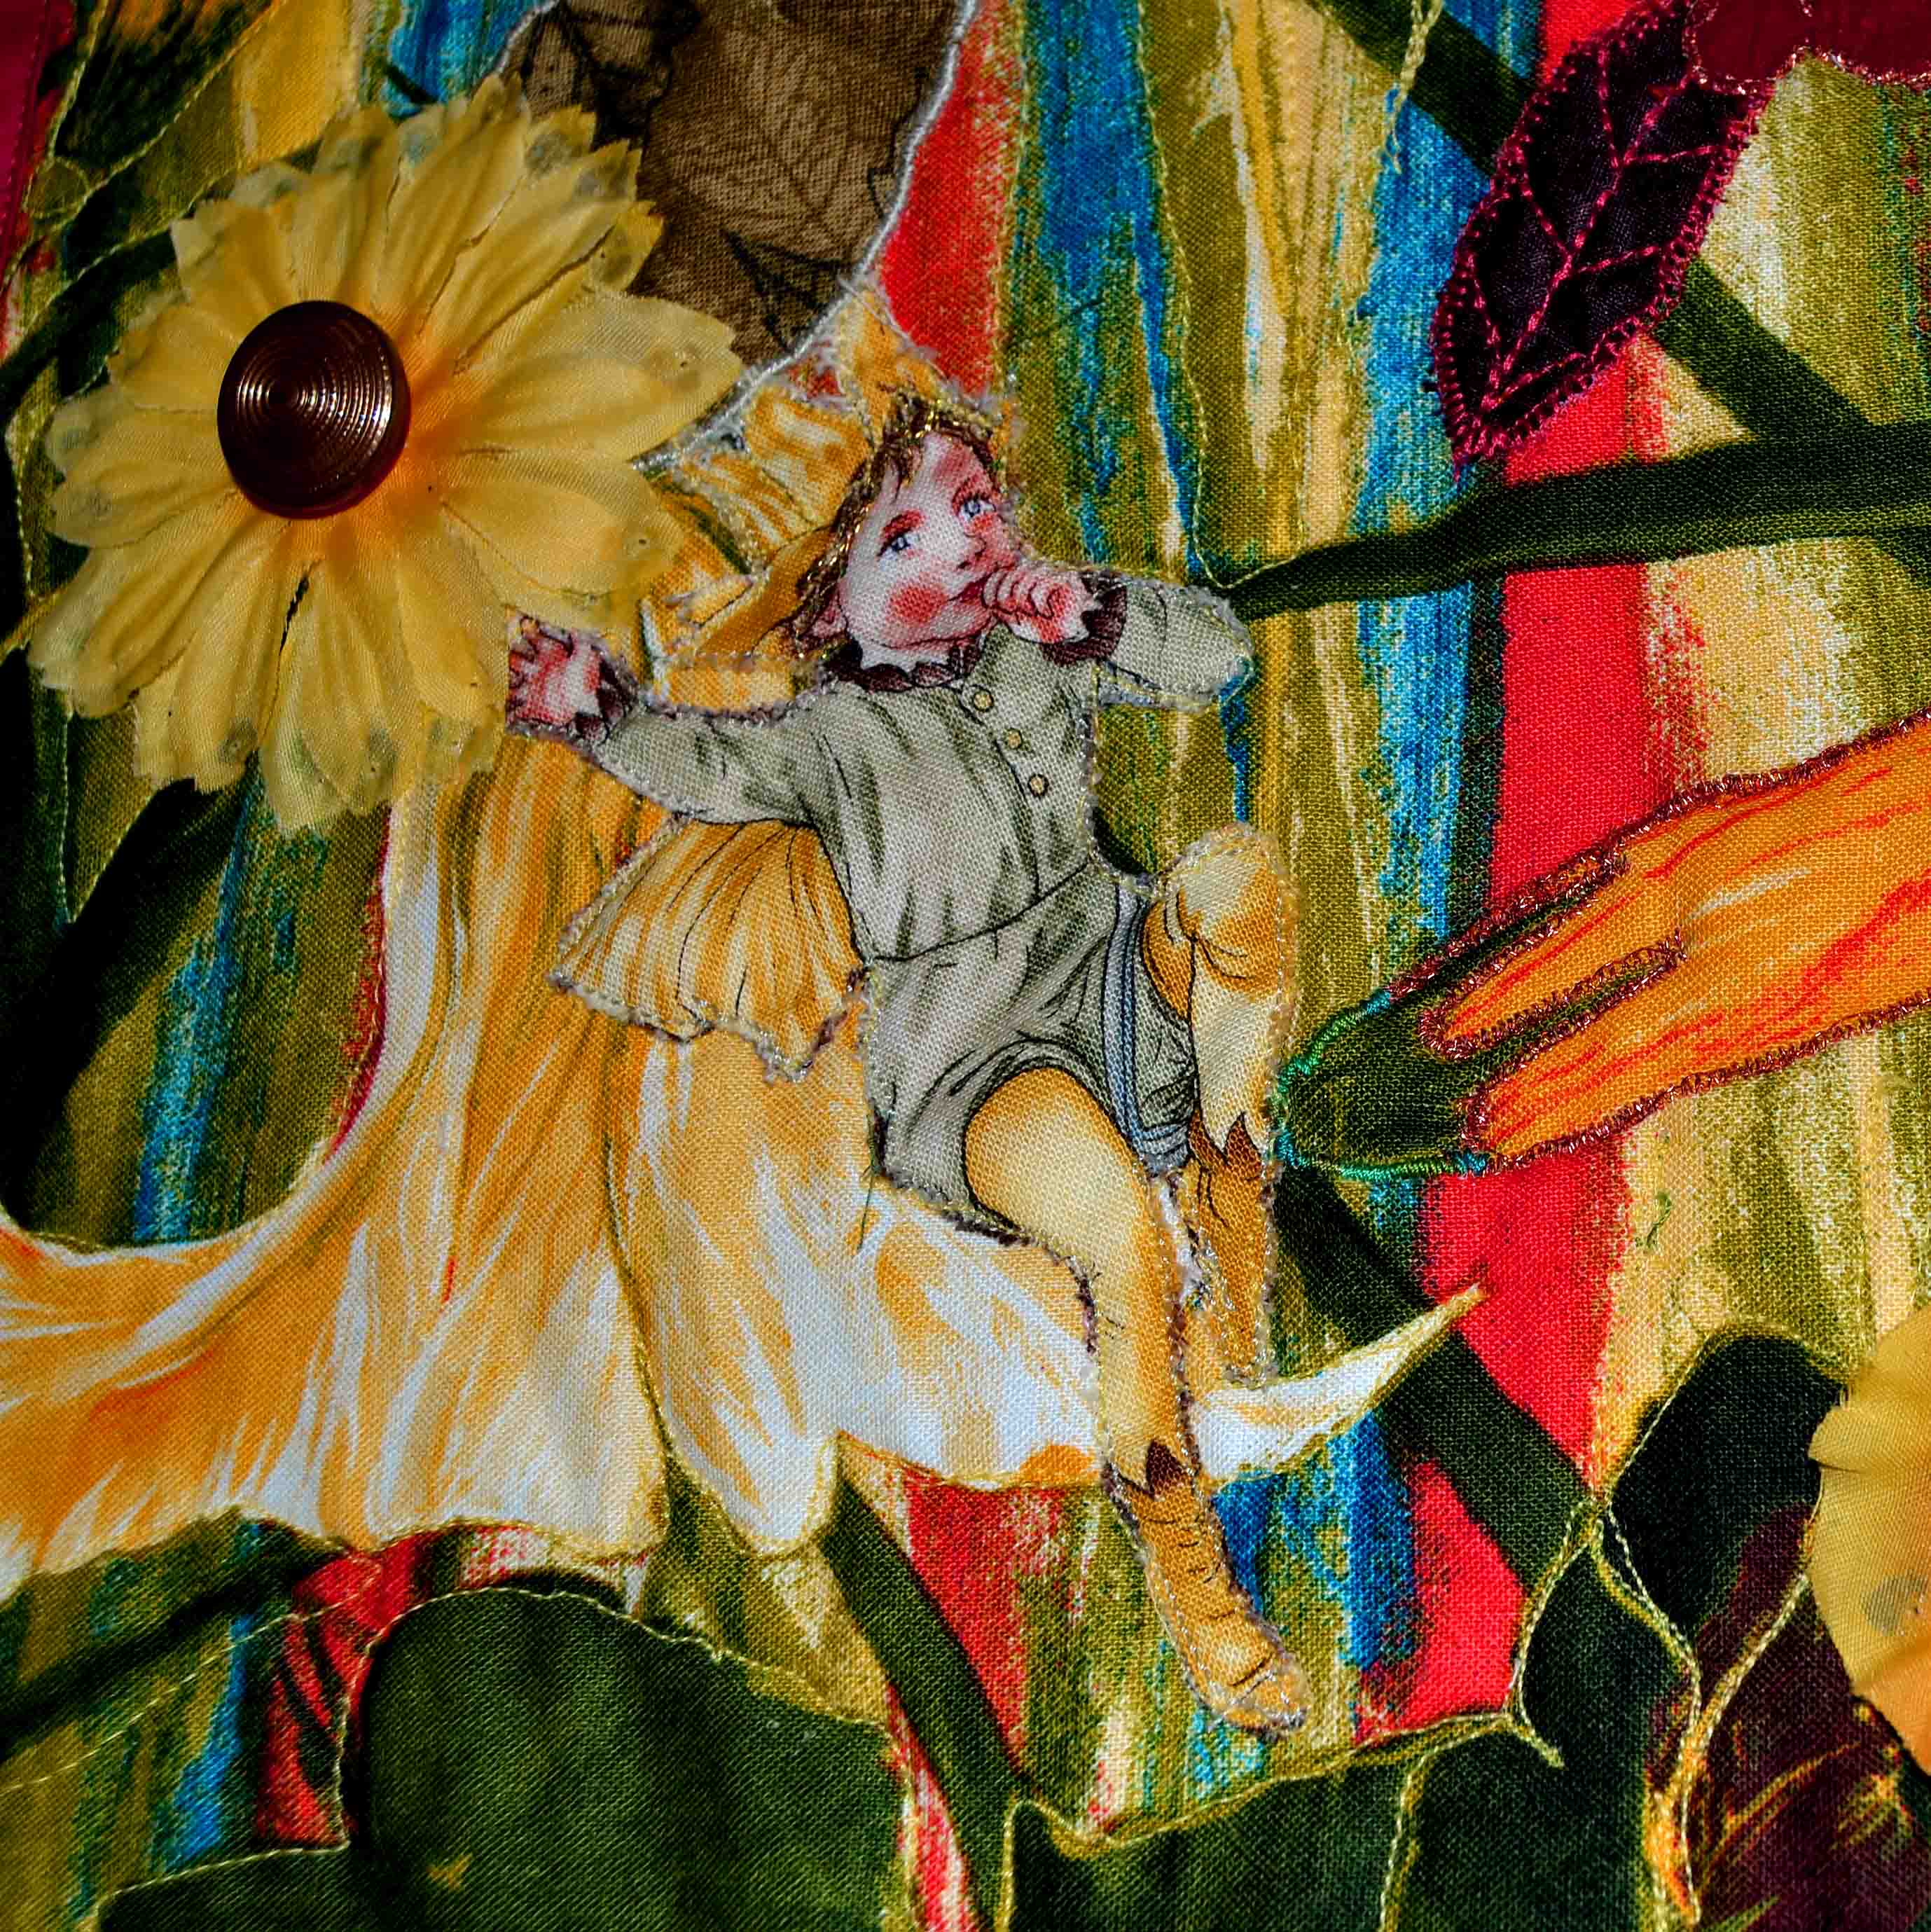
I also added fairies to my ‘Fairies in my Garden’ panel and made it pop. Michael Miller Fabrics has a great line in fairies. Check it out. But don’t limit yourself to just those embroidered appliques you get in packages at the quilting store, or to appliqueing on printed fabrics, either.
Appliques can be made from almost any type of fabric or accessory and are only limited by your own imagination.

In my Coral Reef panel, I used some super bright, large floral fabric from Kaffe Fassett to construct my coral reef. Some of the reef I made from fussy cutting the existing flowers, and some I just made up my own shapes for.
It all works.
I have found a little fake fur stole at the thrift store, and I’m going to use it to make animal appliques for bears, dogs, cats, etc. Your own imagination is the only limit here.
Here are a few other suggestions for adding “wow pops” and stories to your quilt:
Fabric
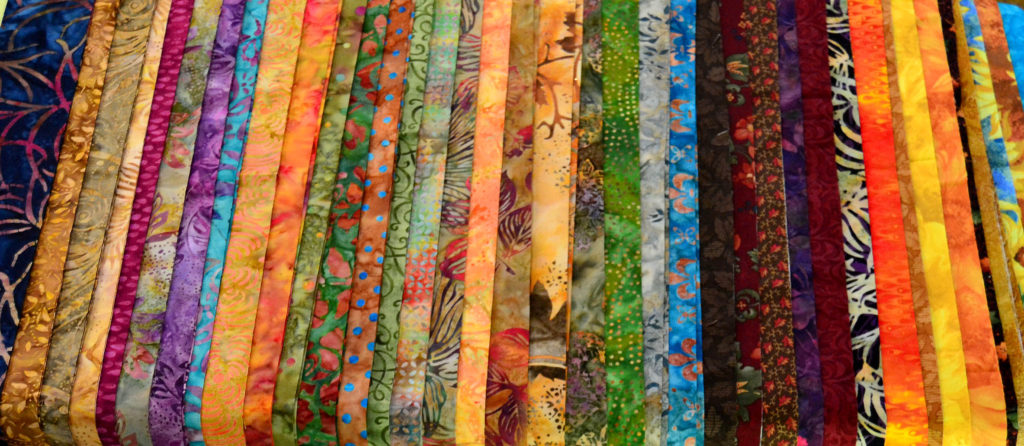
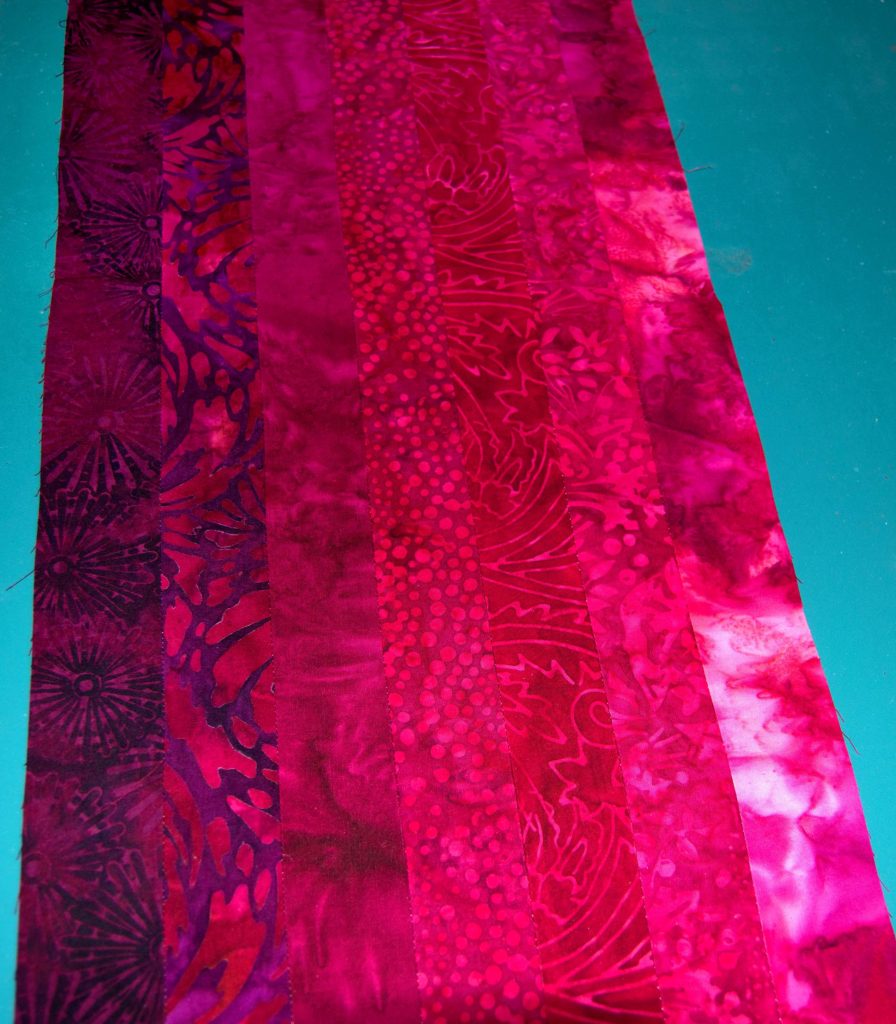
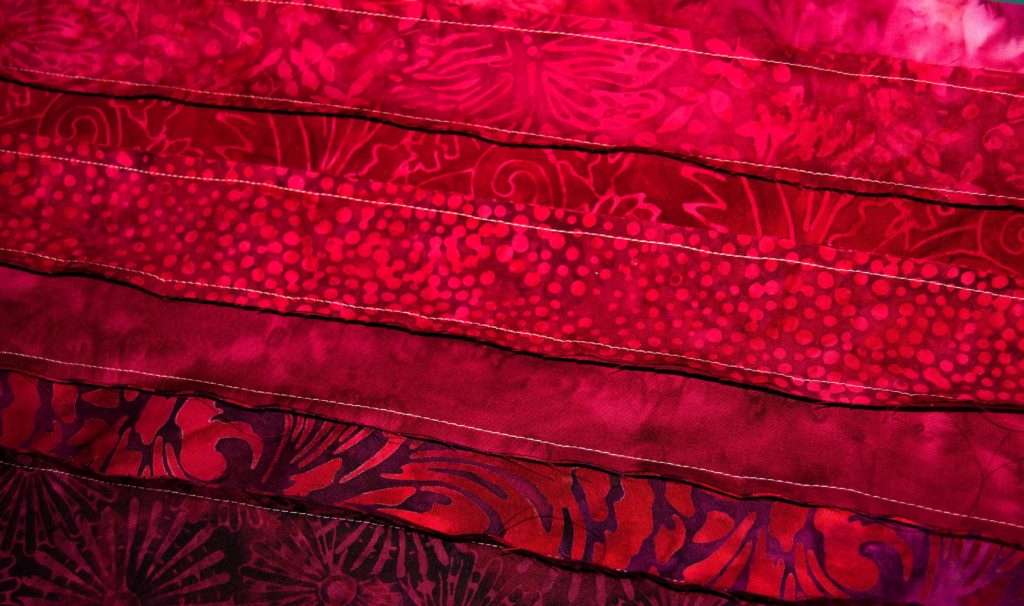
Sometimes the only thing you have to do is choose completely different colors than have ever been done before.
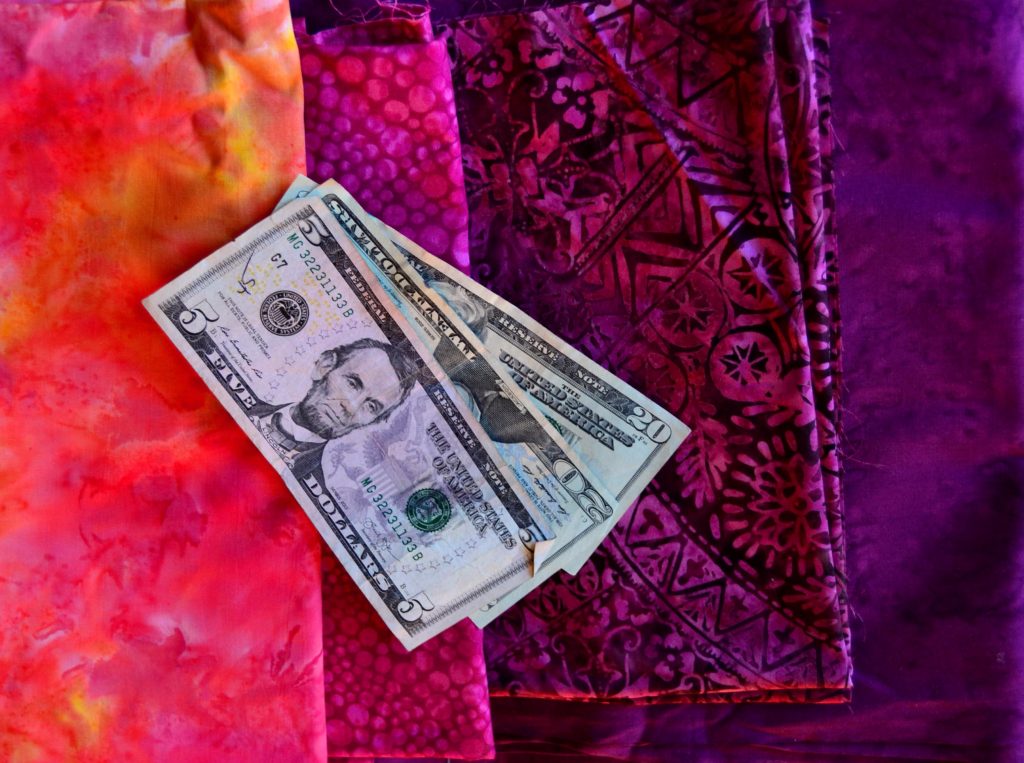
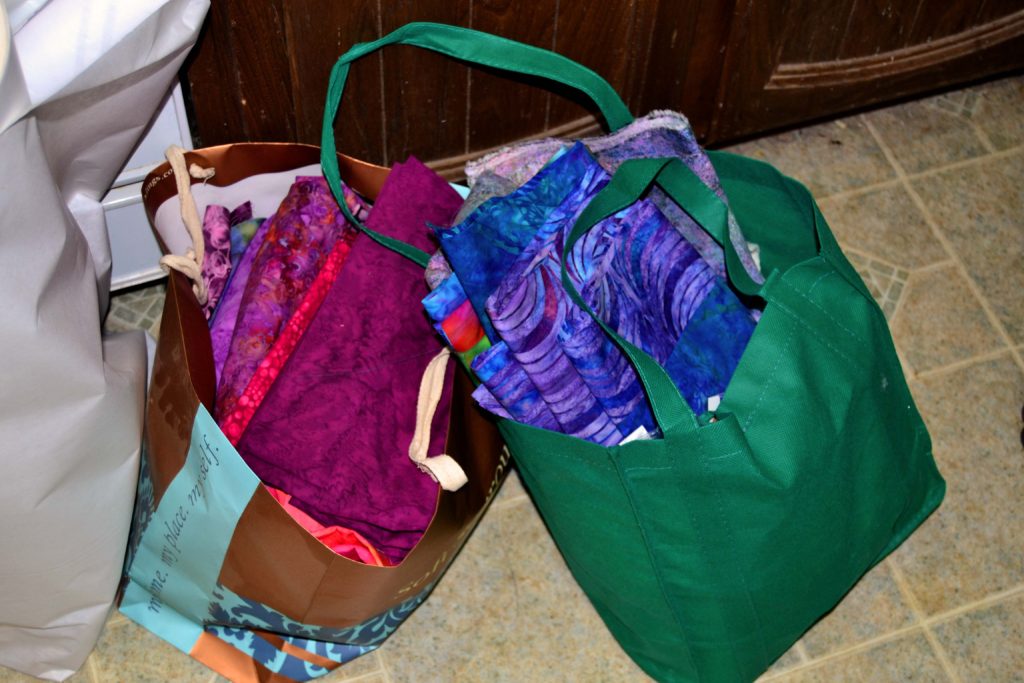
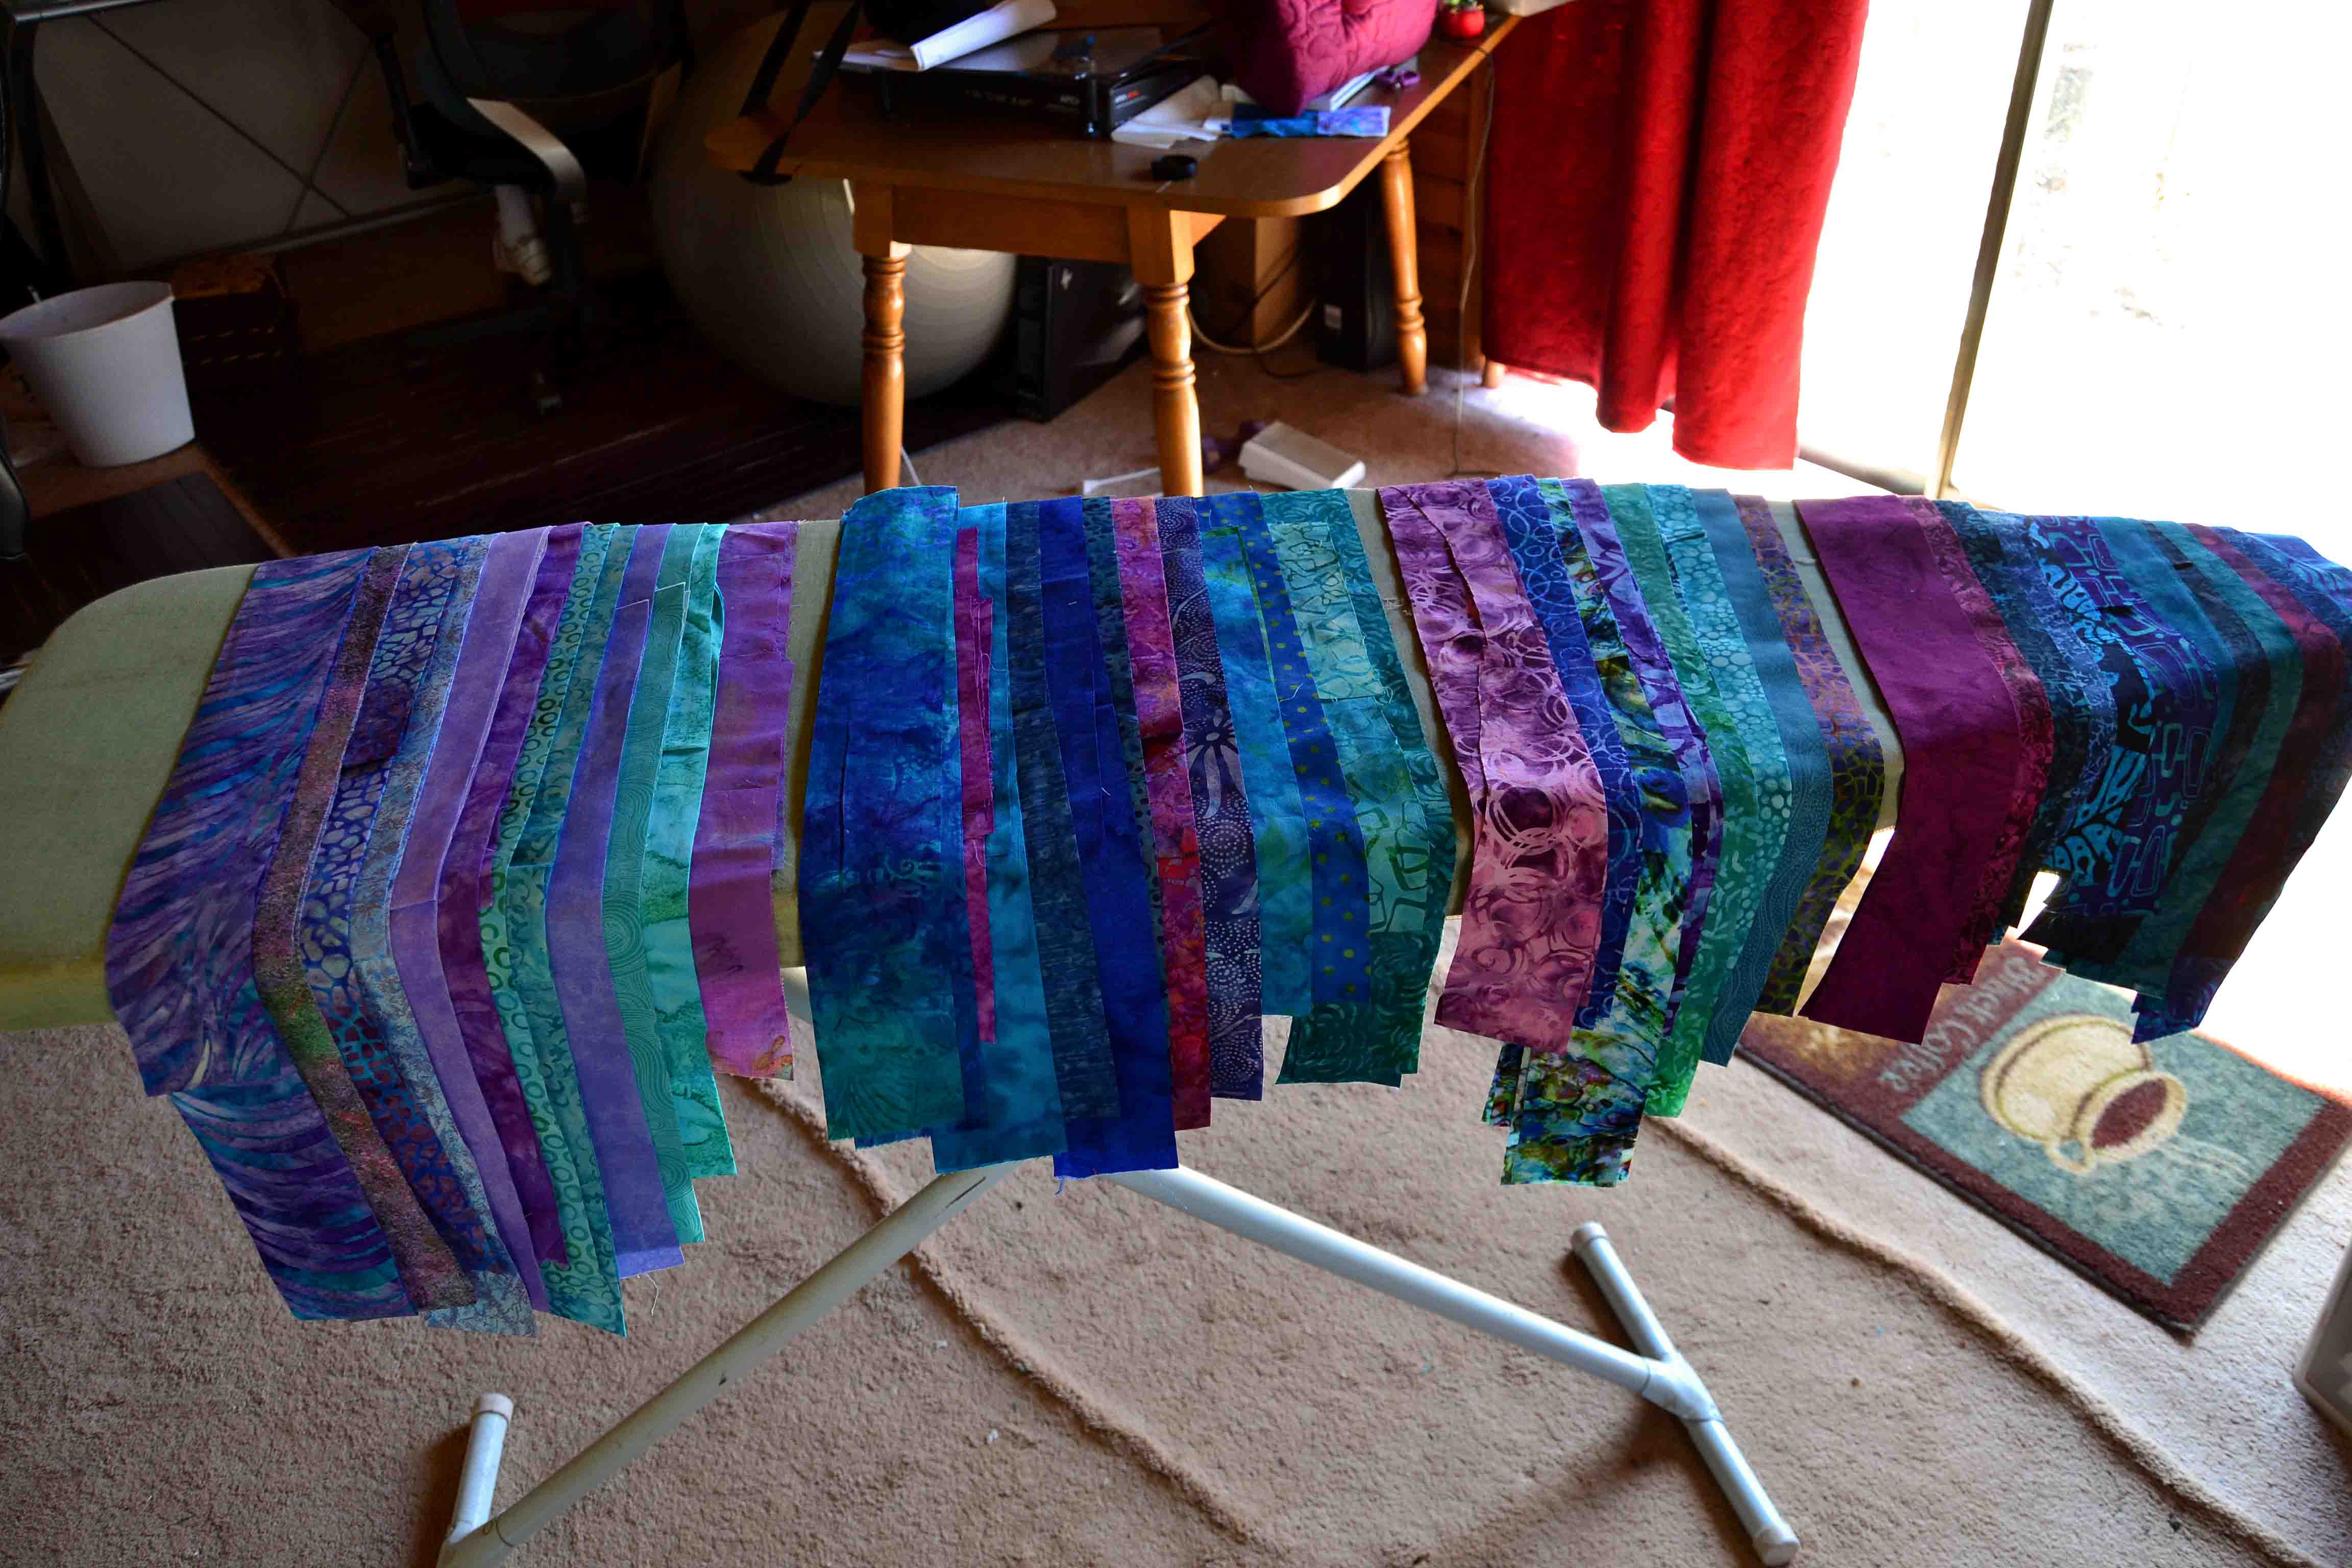
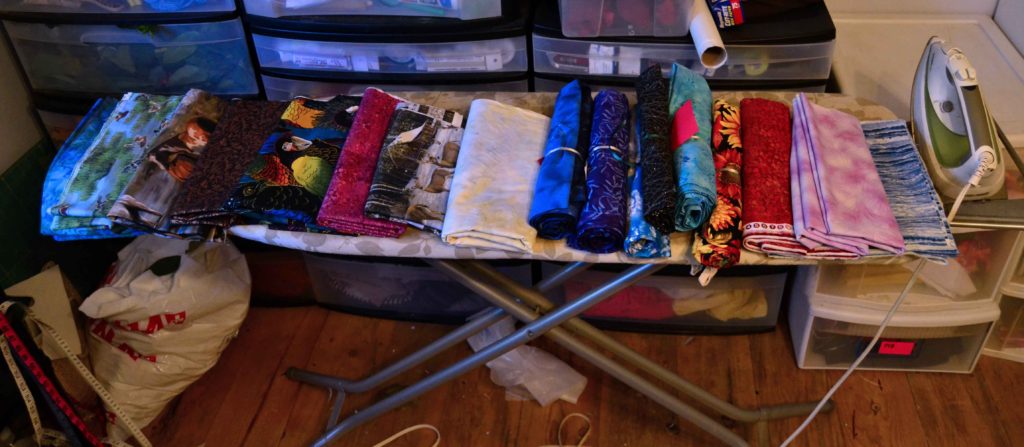
This was the product of a moving day sale from my favorite quilt store – all colors I love, none I need…right now! Tomorrow? Who knows?
Traditional log cabin quilts, for example, tend to use darker earth tone fabrics. Imagine what would happen if you used fuchsia pink and turquoise fabrics instead!
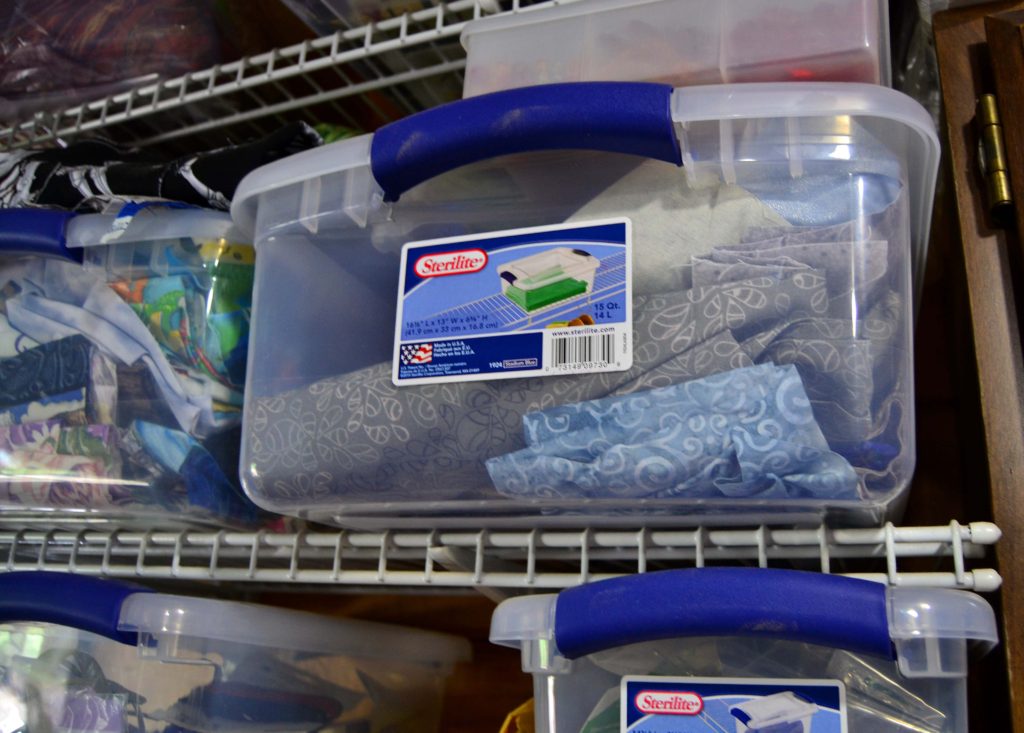
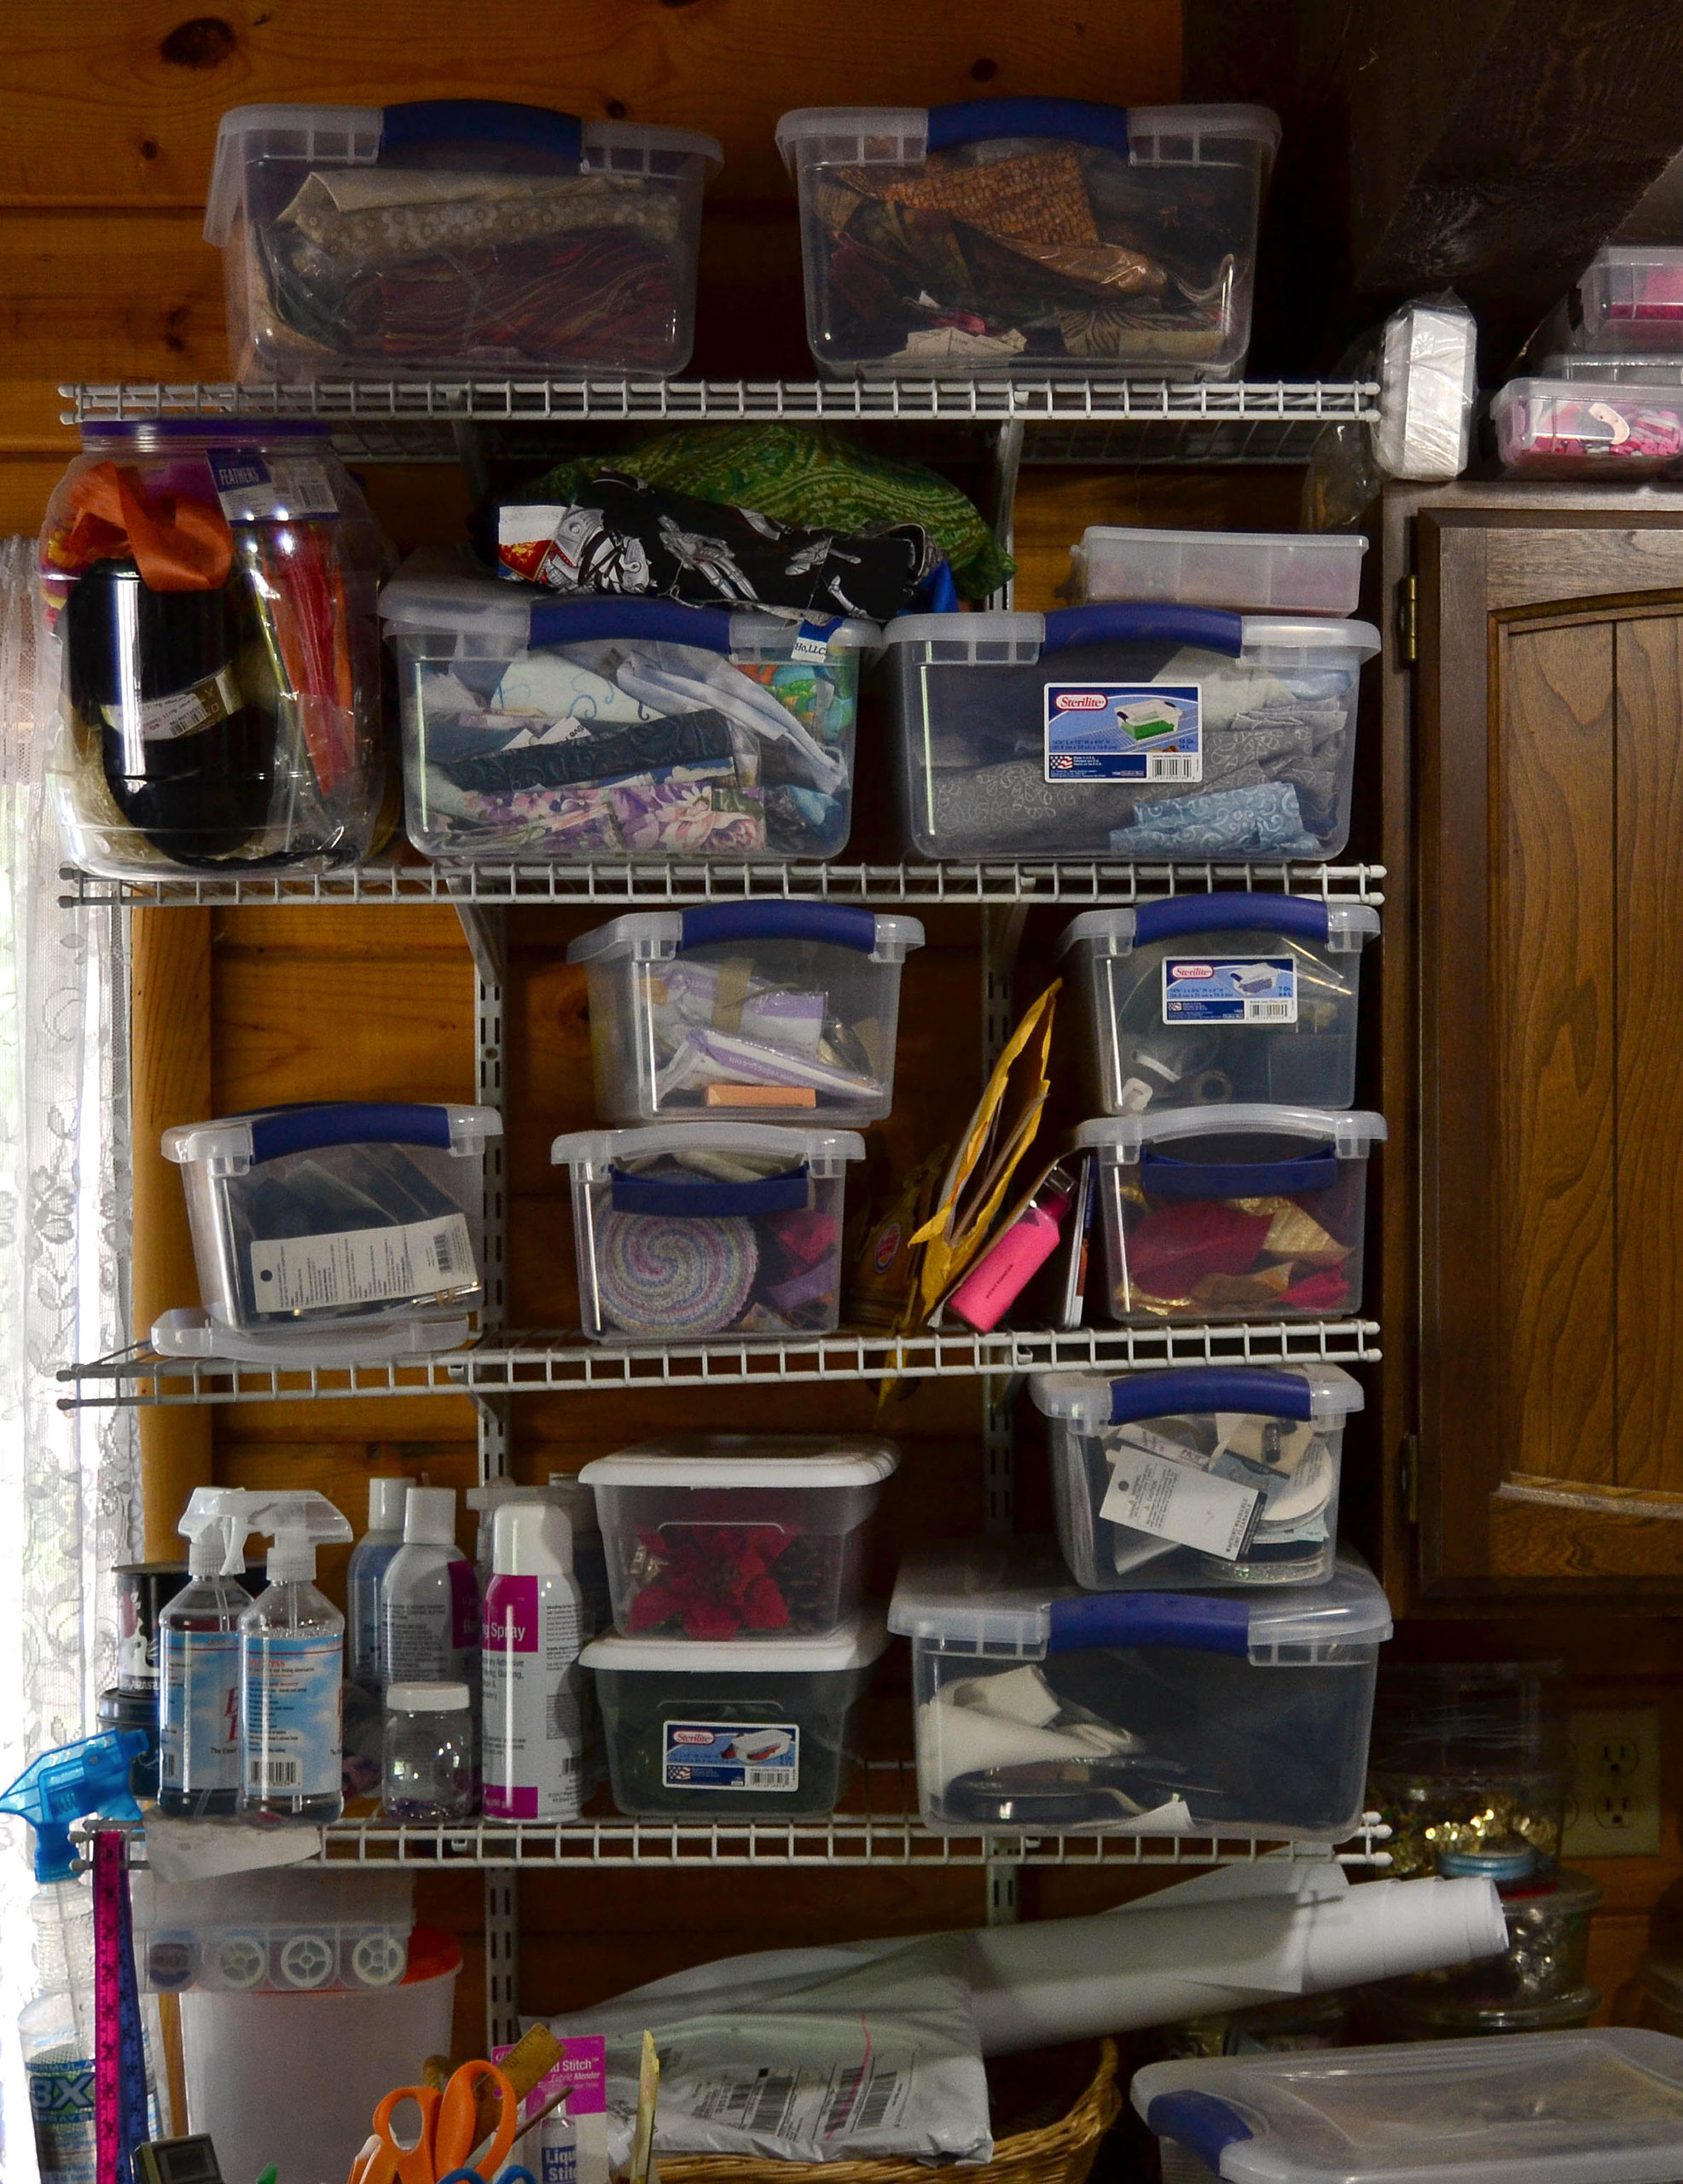
You can most often use fabrics in your stash for these types of projects. Especially as I have to admit that I love some fabrics at first sight, and can’t spend another day without having them in my stash, even though I have no project to use them on yet. I put them where I can see them easily and wait – eventually they will tell me what they want to be used in.
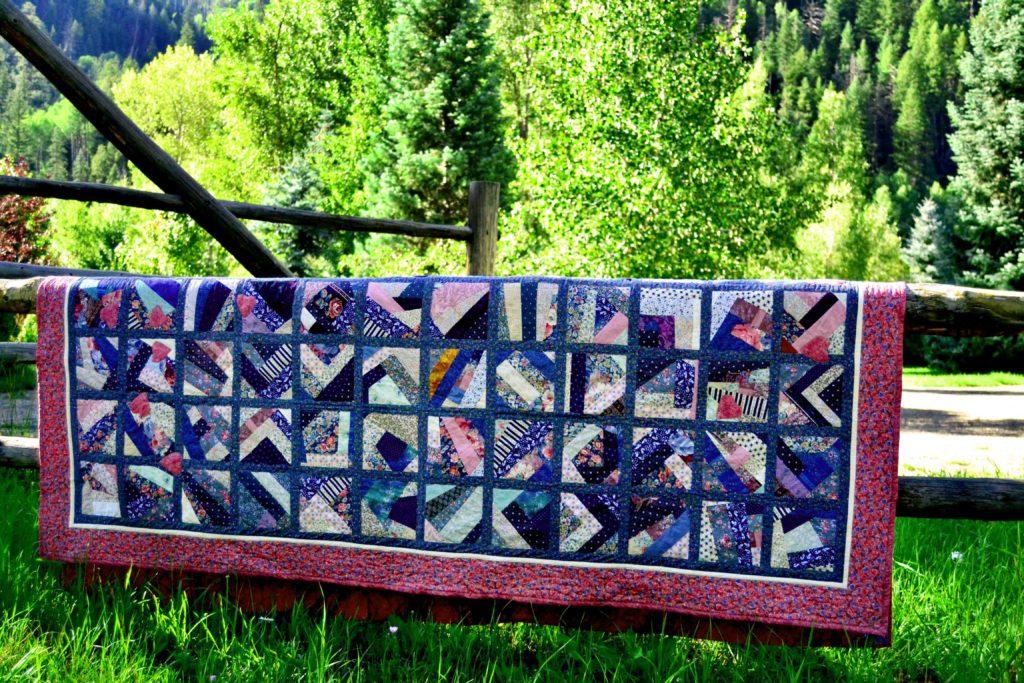
Angles
Quilting is all about angles and how they go together. If a pattern calls for all right angles and triangles, study it and see if you can switch some of these out with something totally unexpected.
Remember that your brain works extremely well with patterns, but it’s the unexpected that makes it take notice.
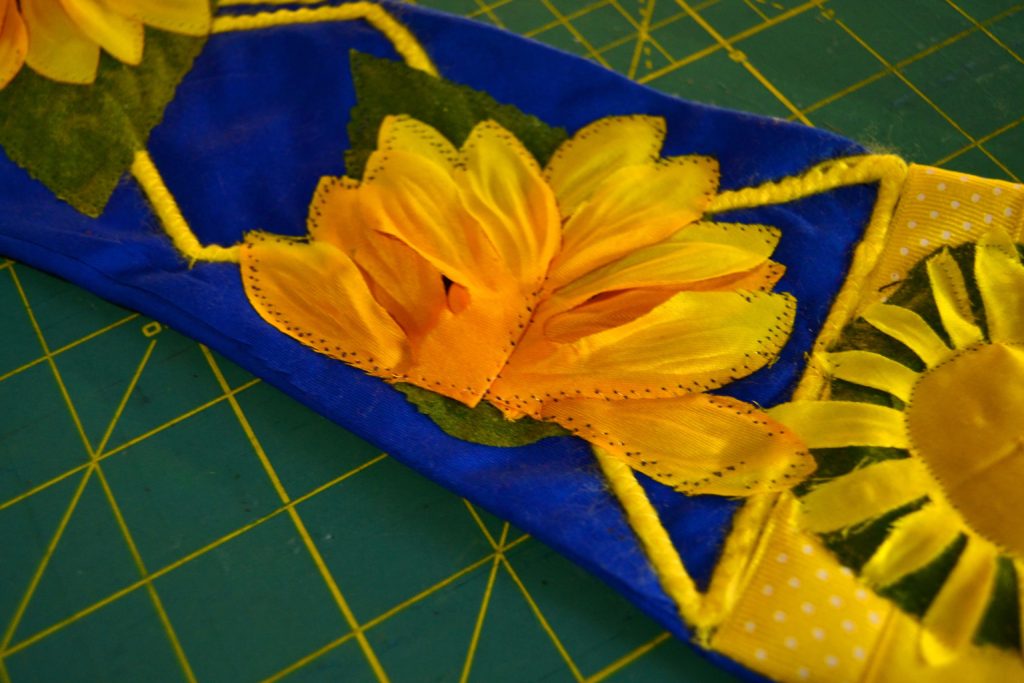
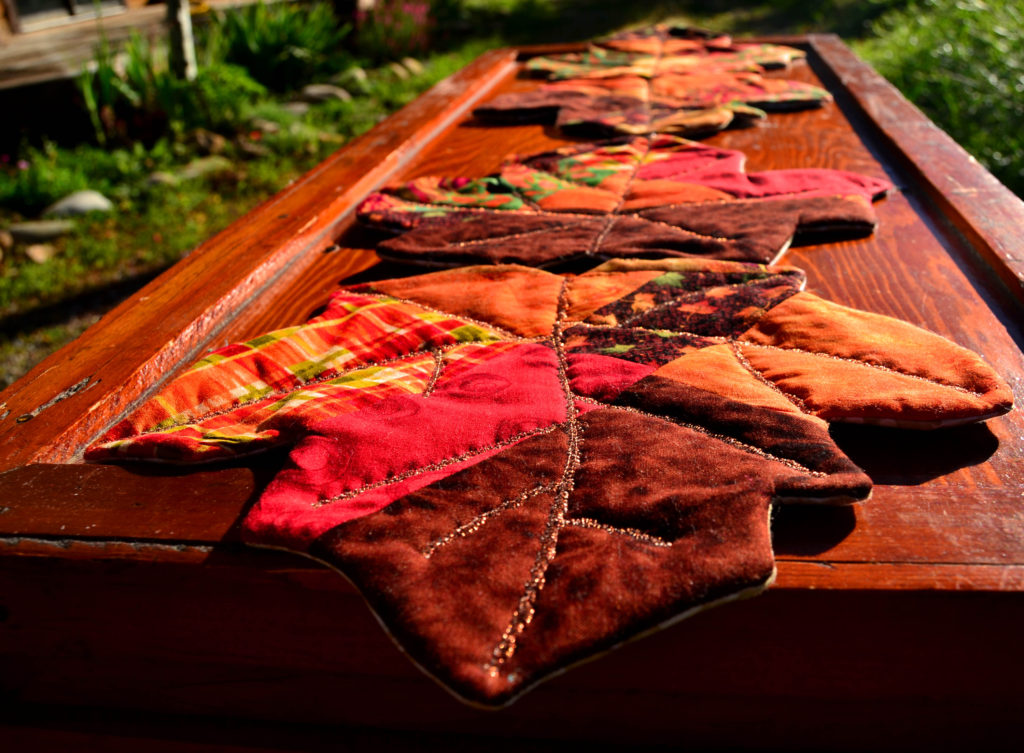
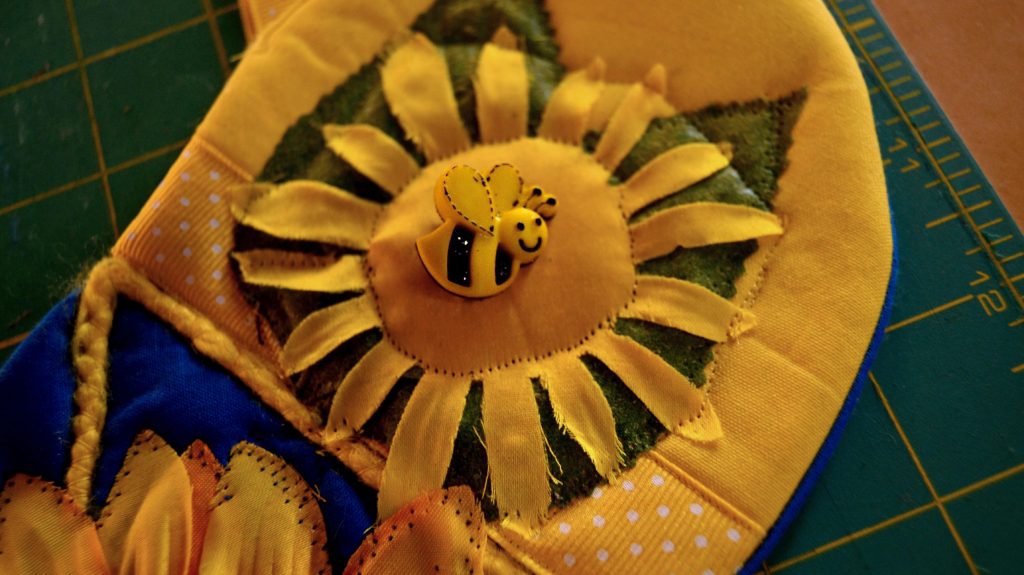
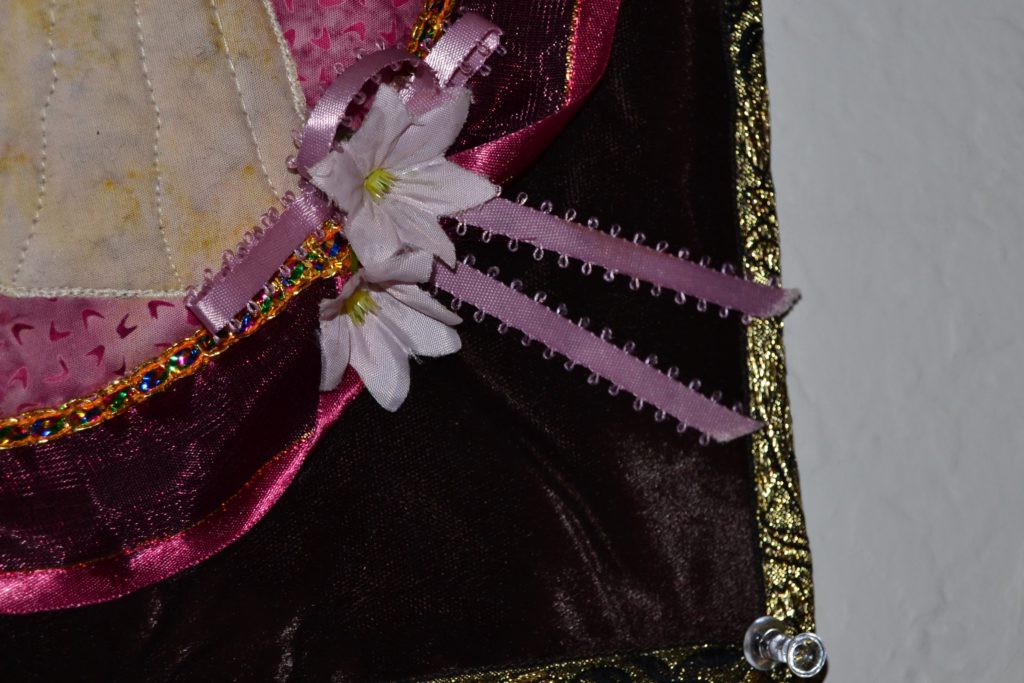
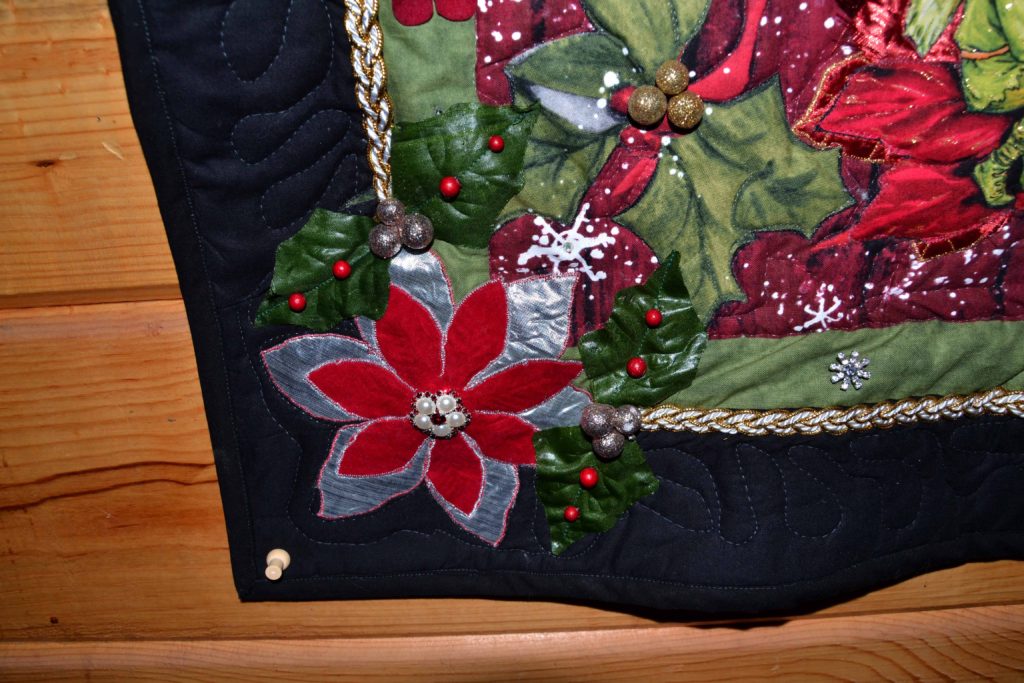
Fabric Flowers and Leaves
These pre-made, easy-sew, bond-well-with-wonder-under gems can REALLY add a lot of pop to your project, they’re relatively fast to work with and they’re SO realistic!
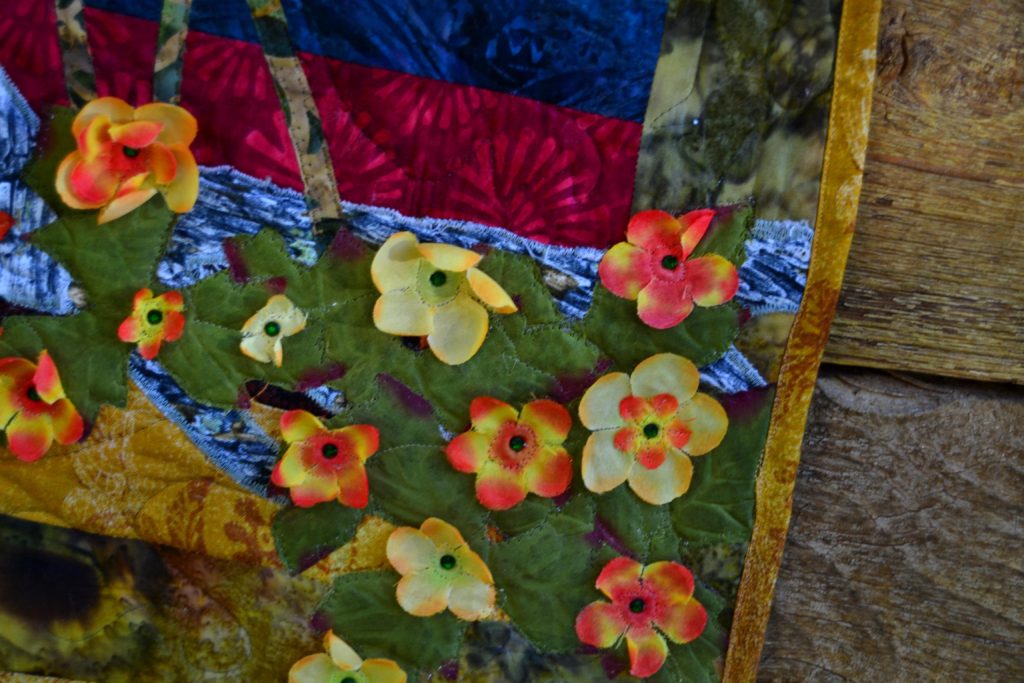
Appliques do not have to be big and bold to carry a punch.
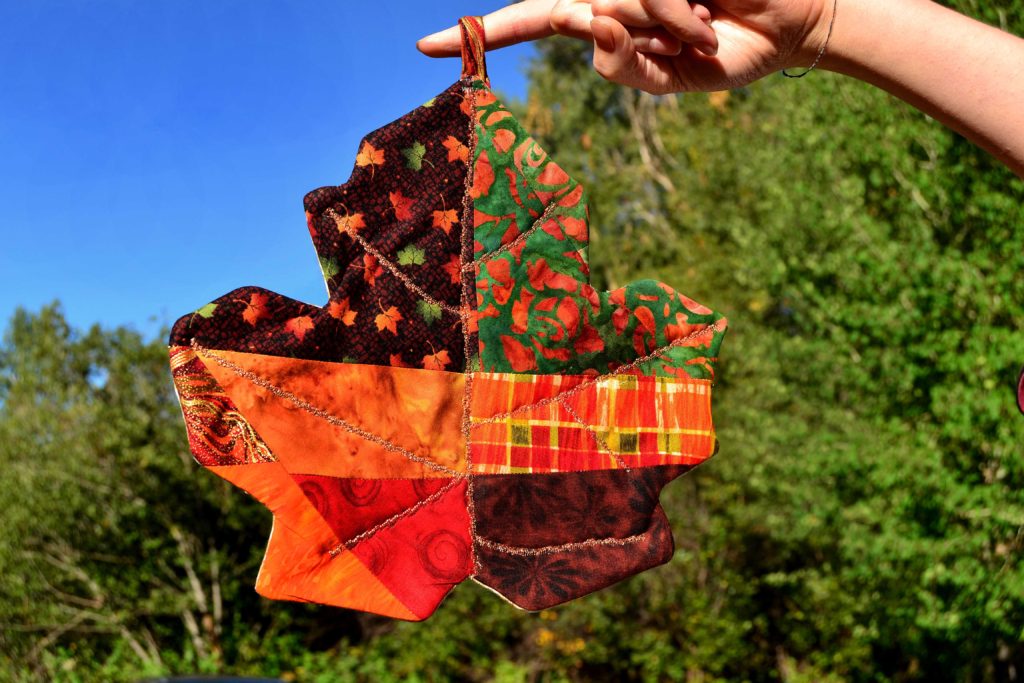
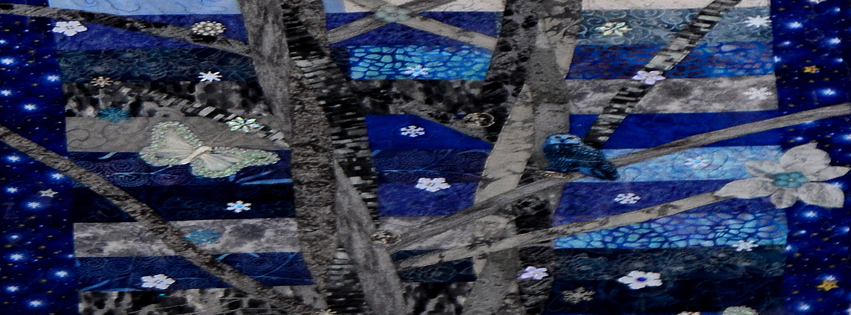
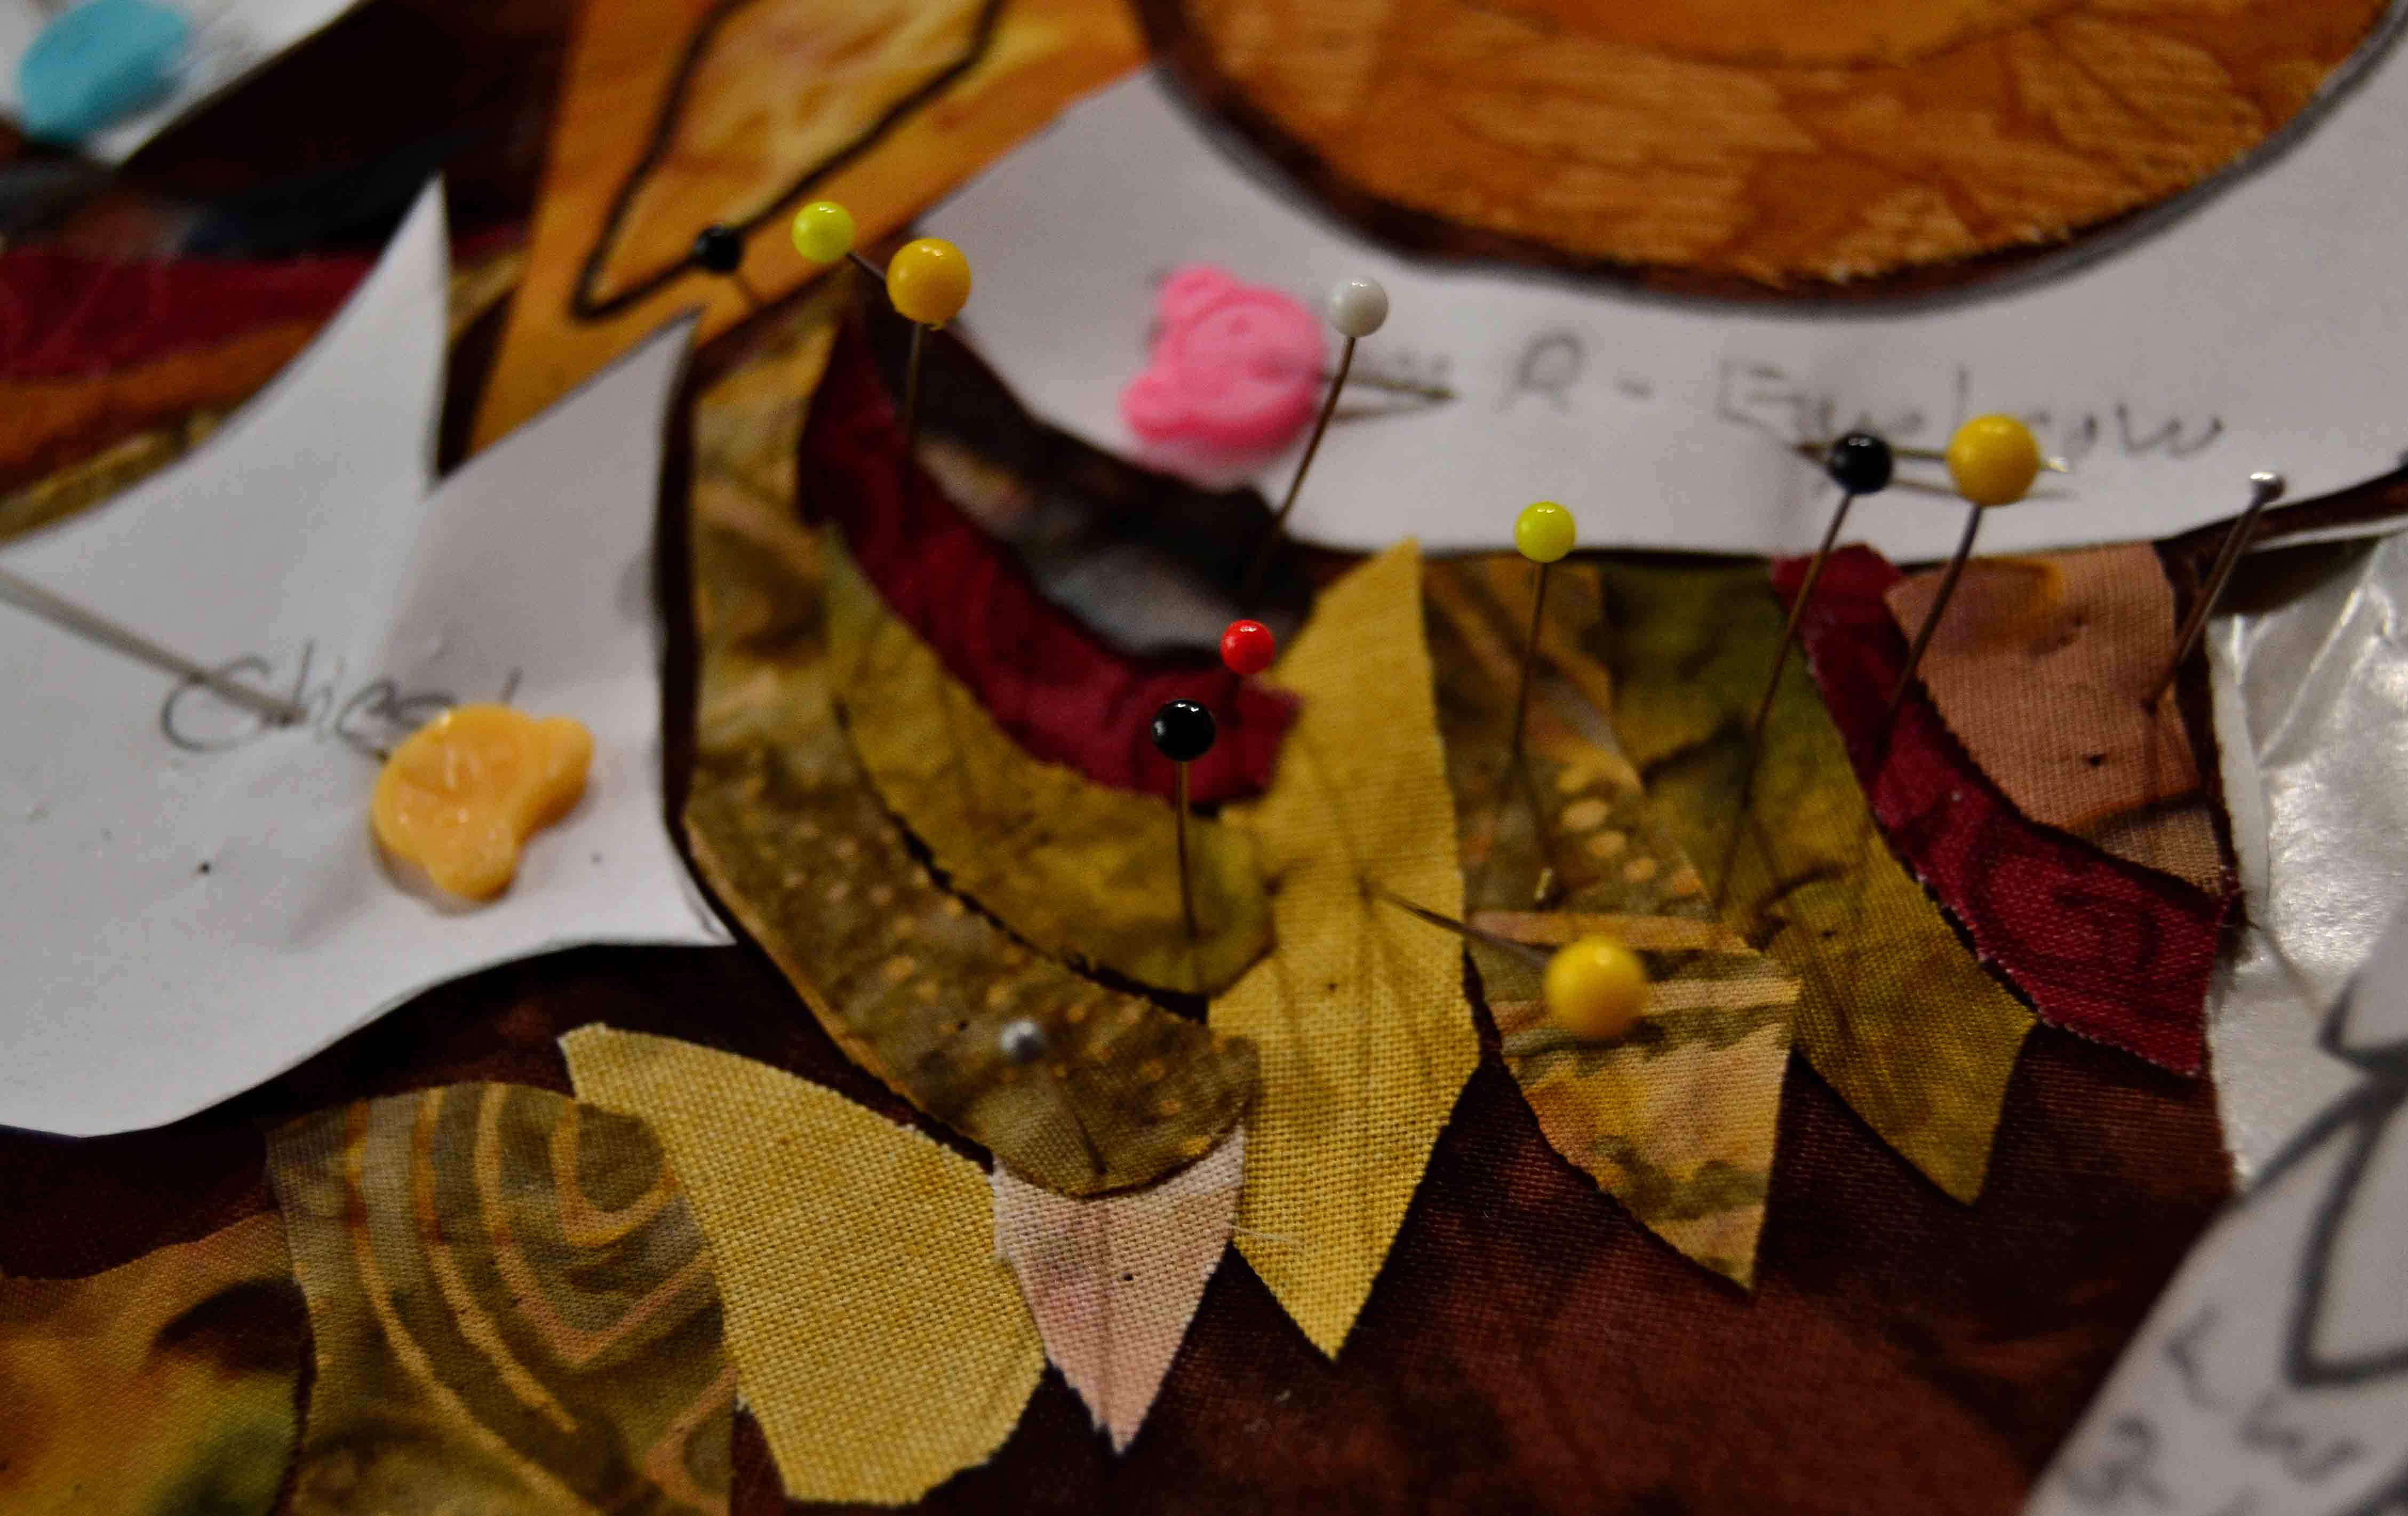
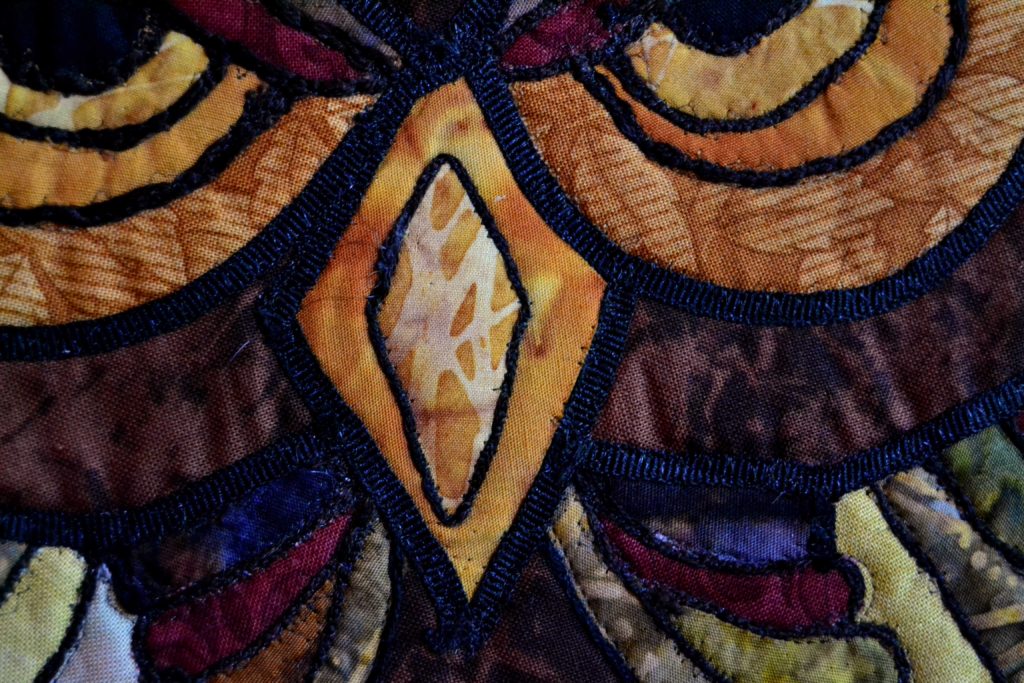
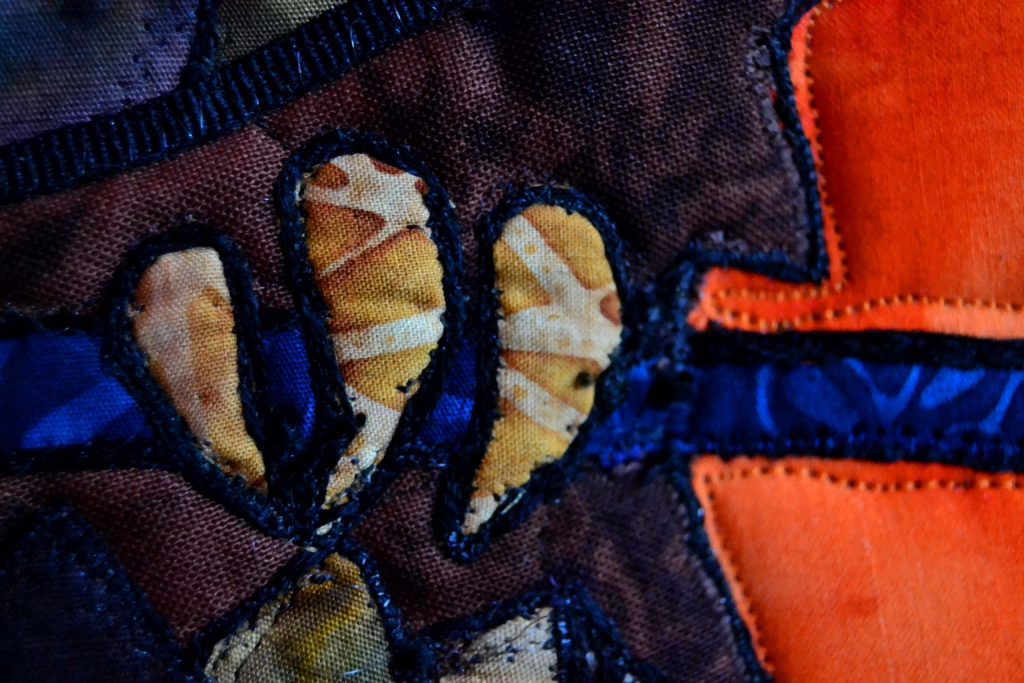
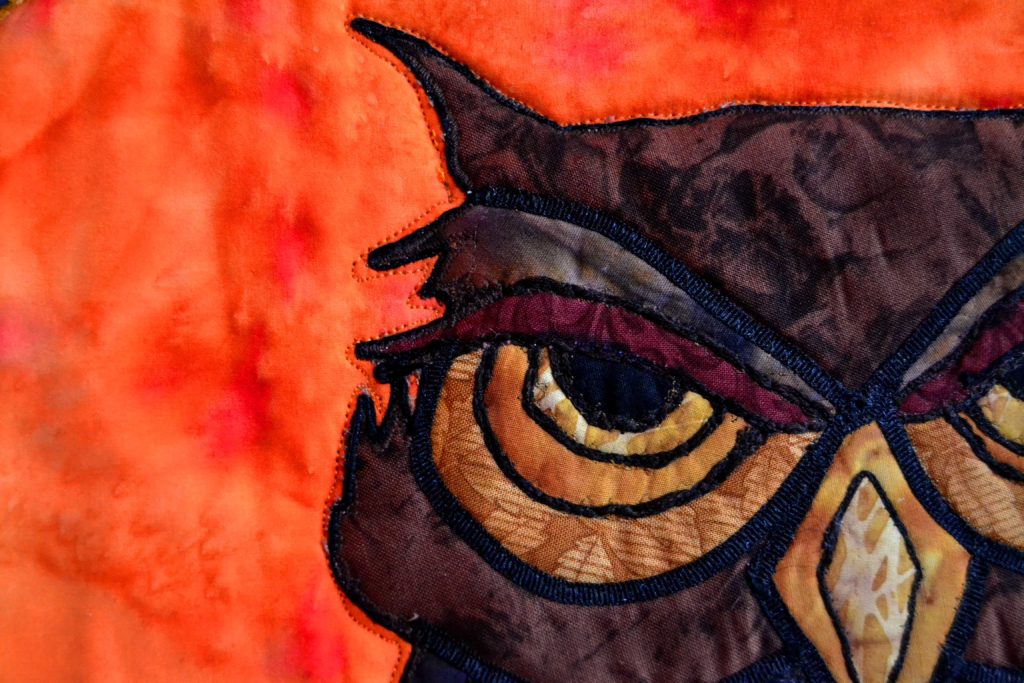
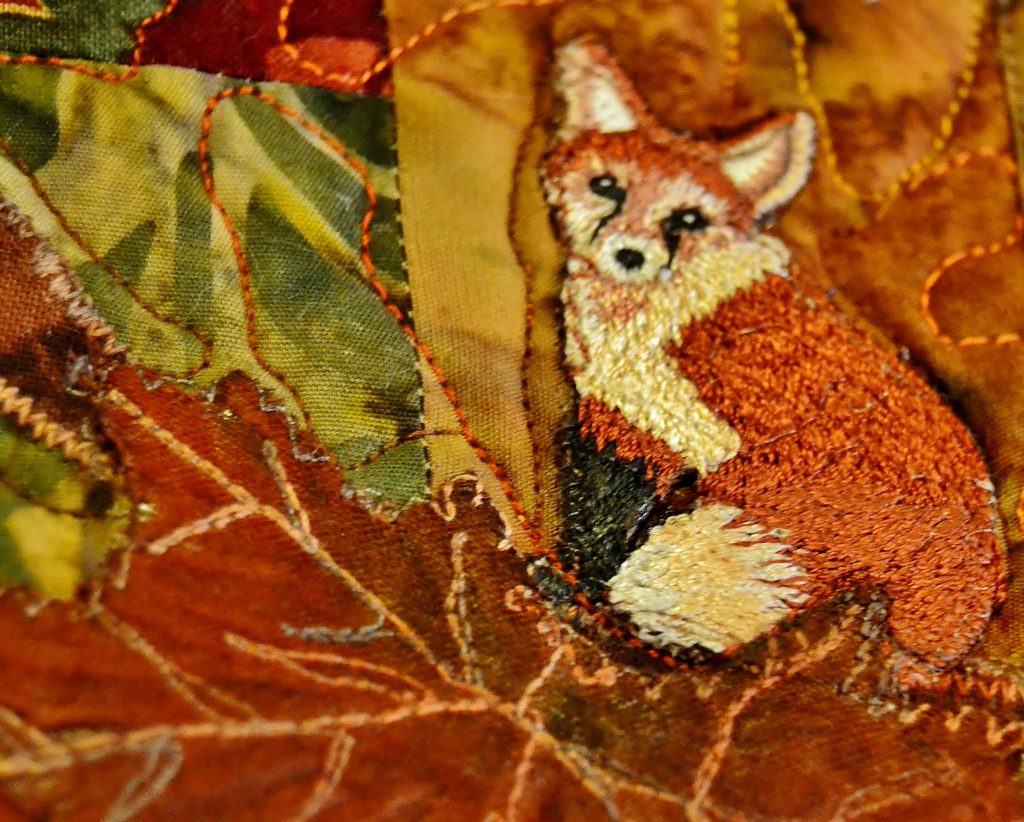
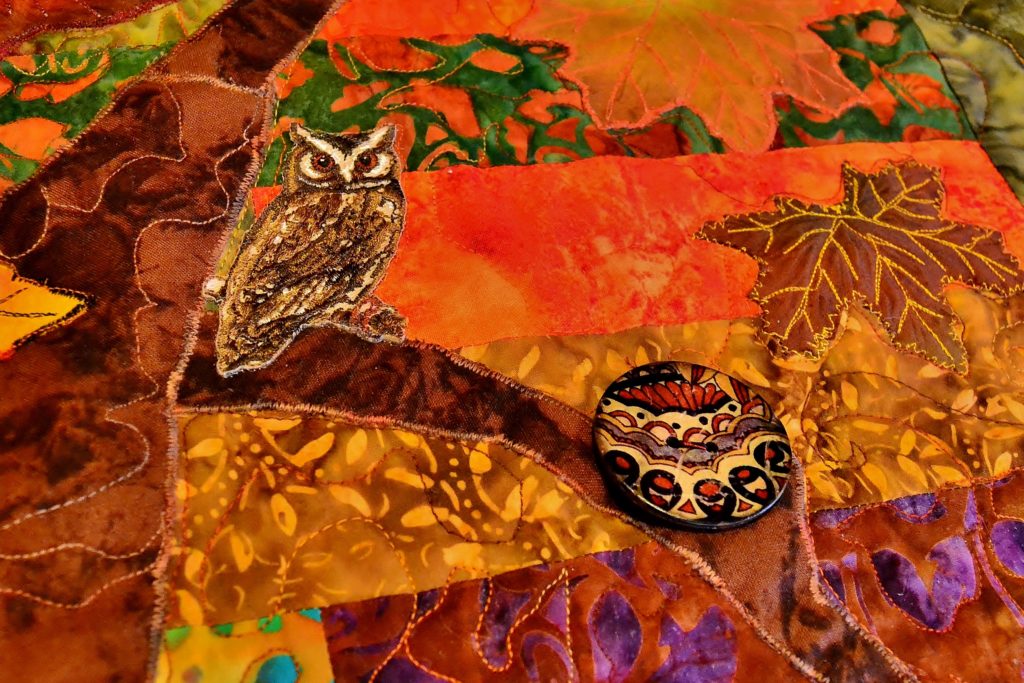
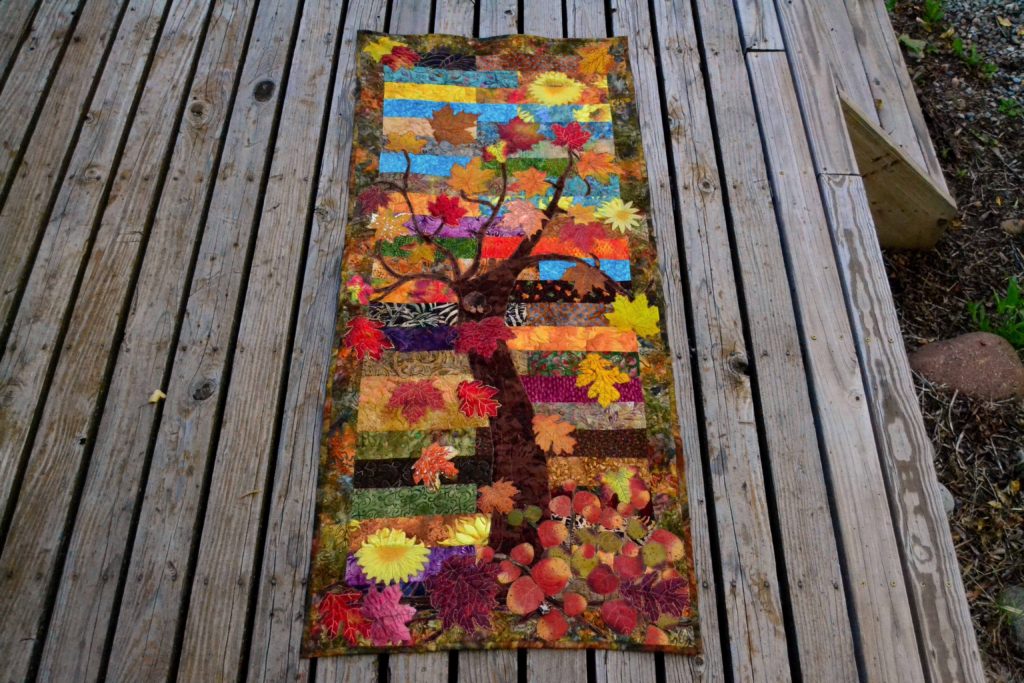
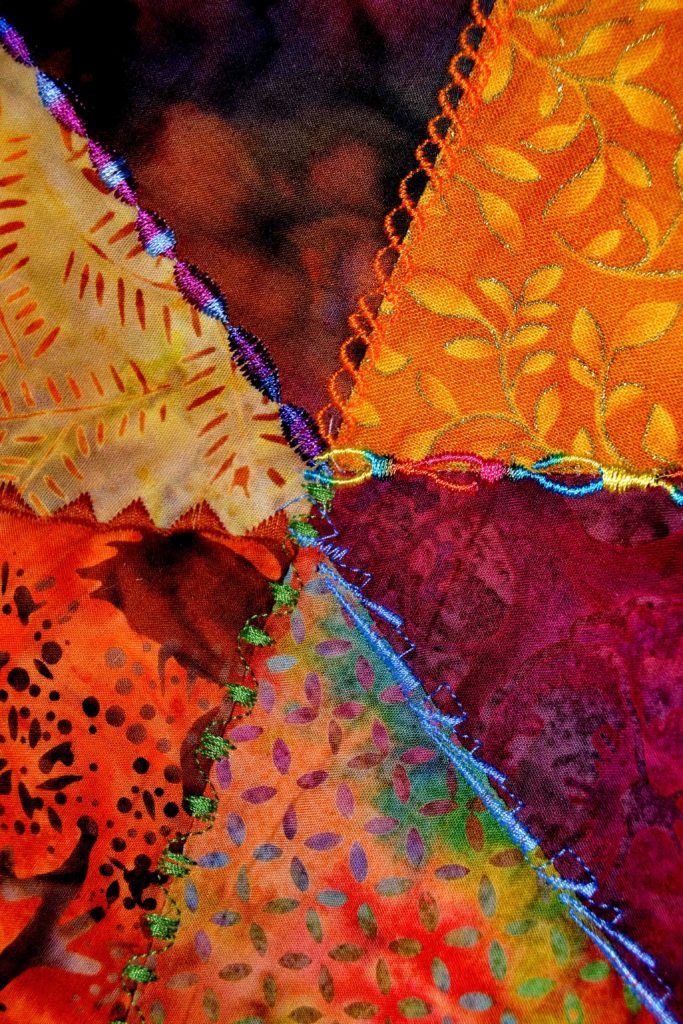
If you look at my Autumn Daze panel, the first thing you see are all the autumn leaves that I appliqued on. They are stunning. But when you look more closely you will find an appliqued owl up on a branch, a few songbirds enjoying the day, and a fox peeking out from behind some leaves; which begs the question –‘Will the owl see him?’
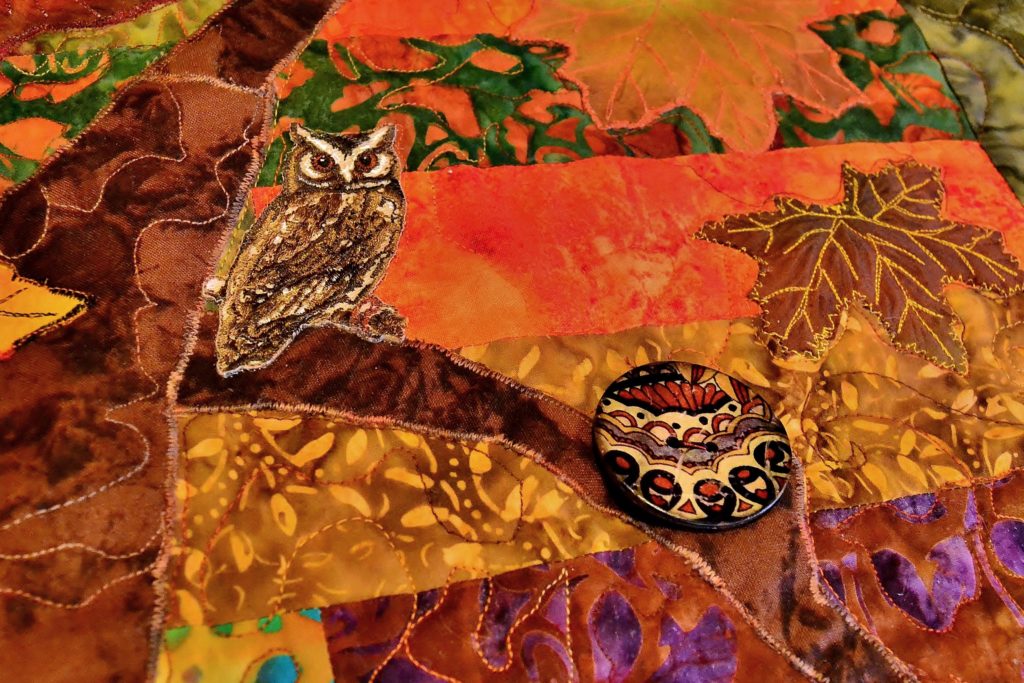
Learning the art of subtlety really helps when you’re creating quilting stories that you want people to come back to over and over again for years.
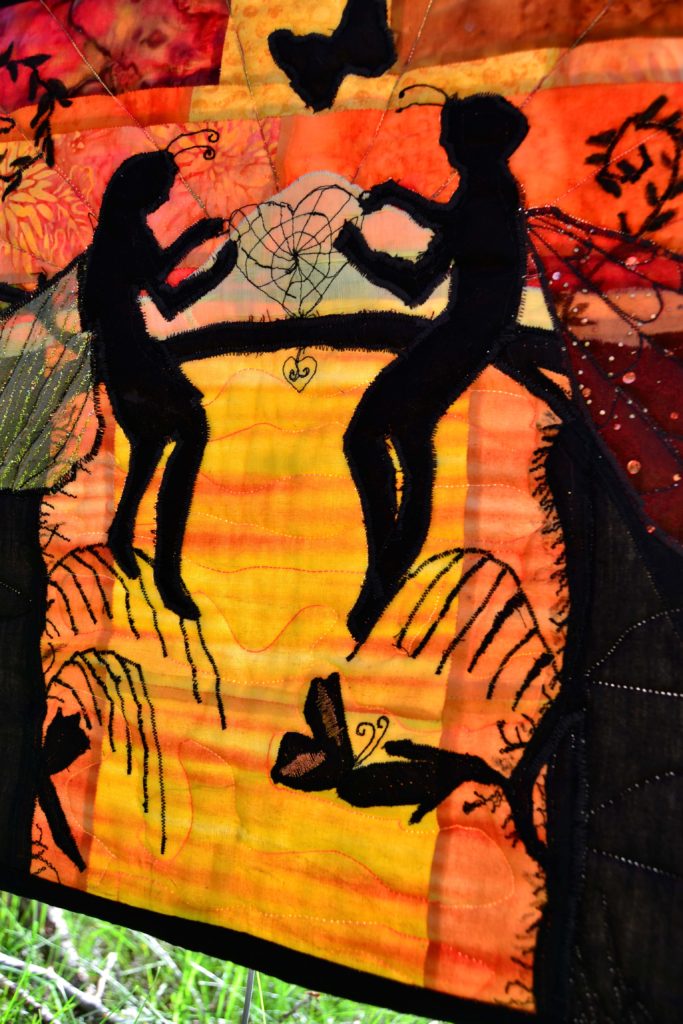
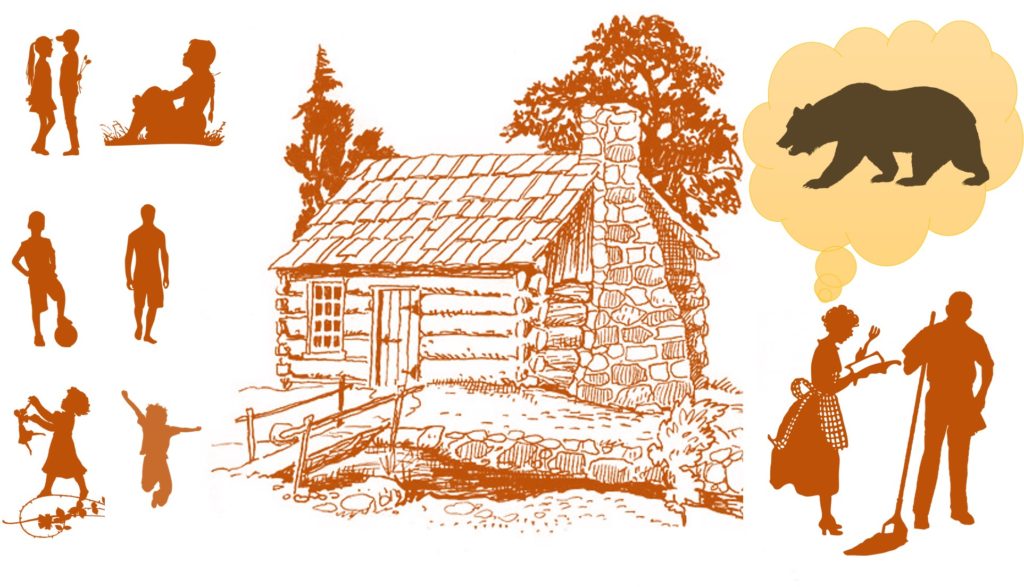
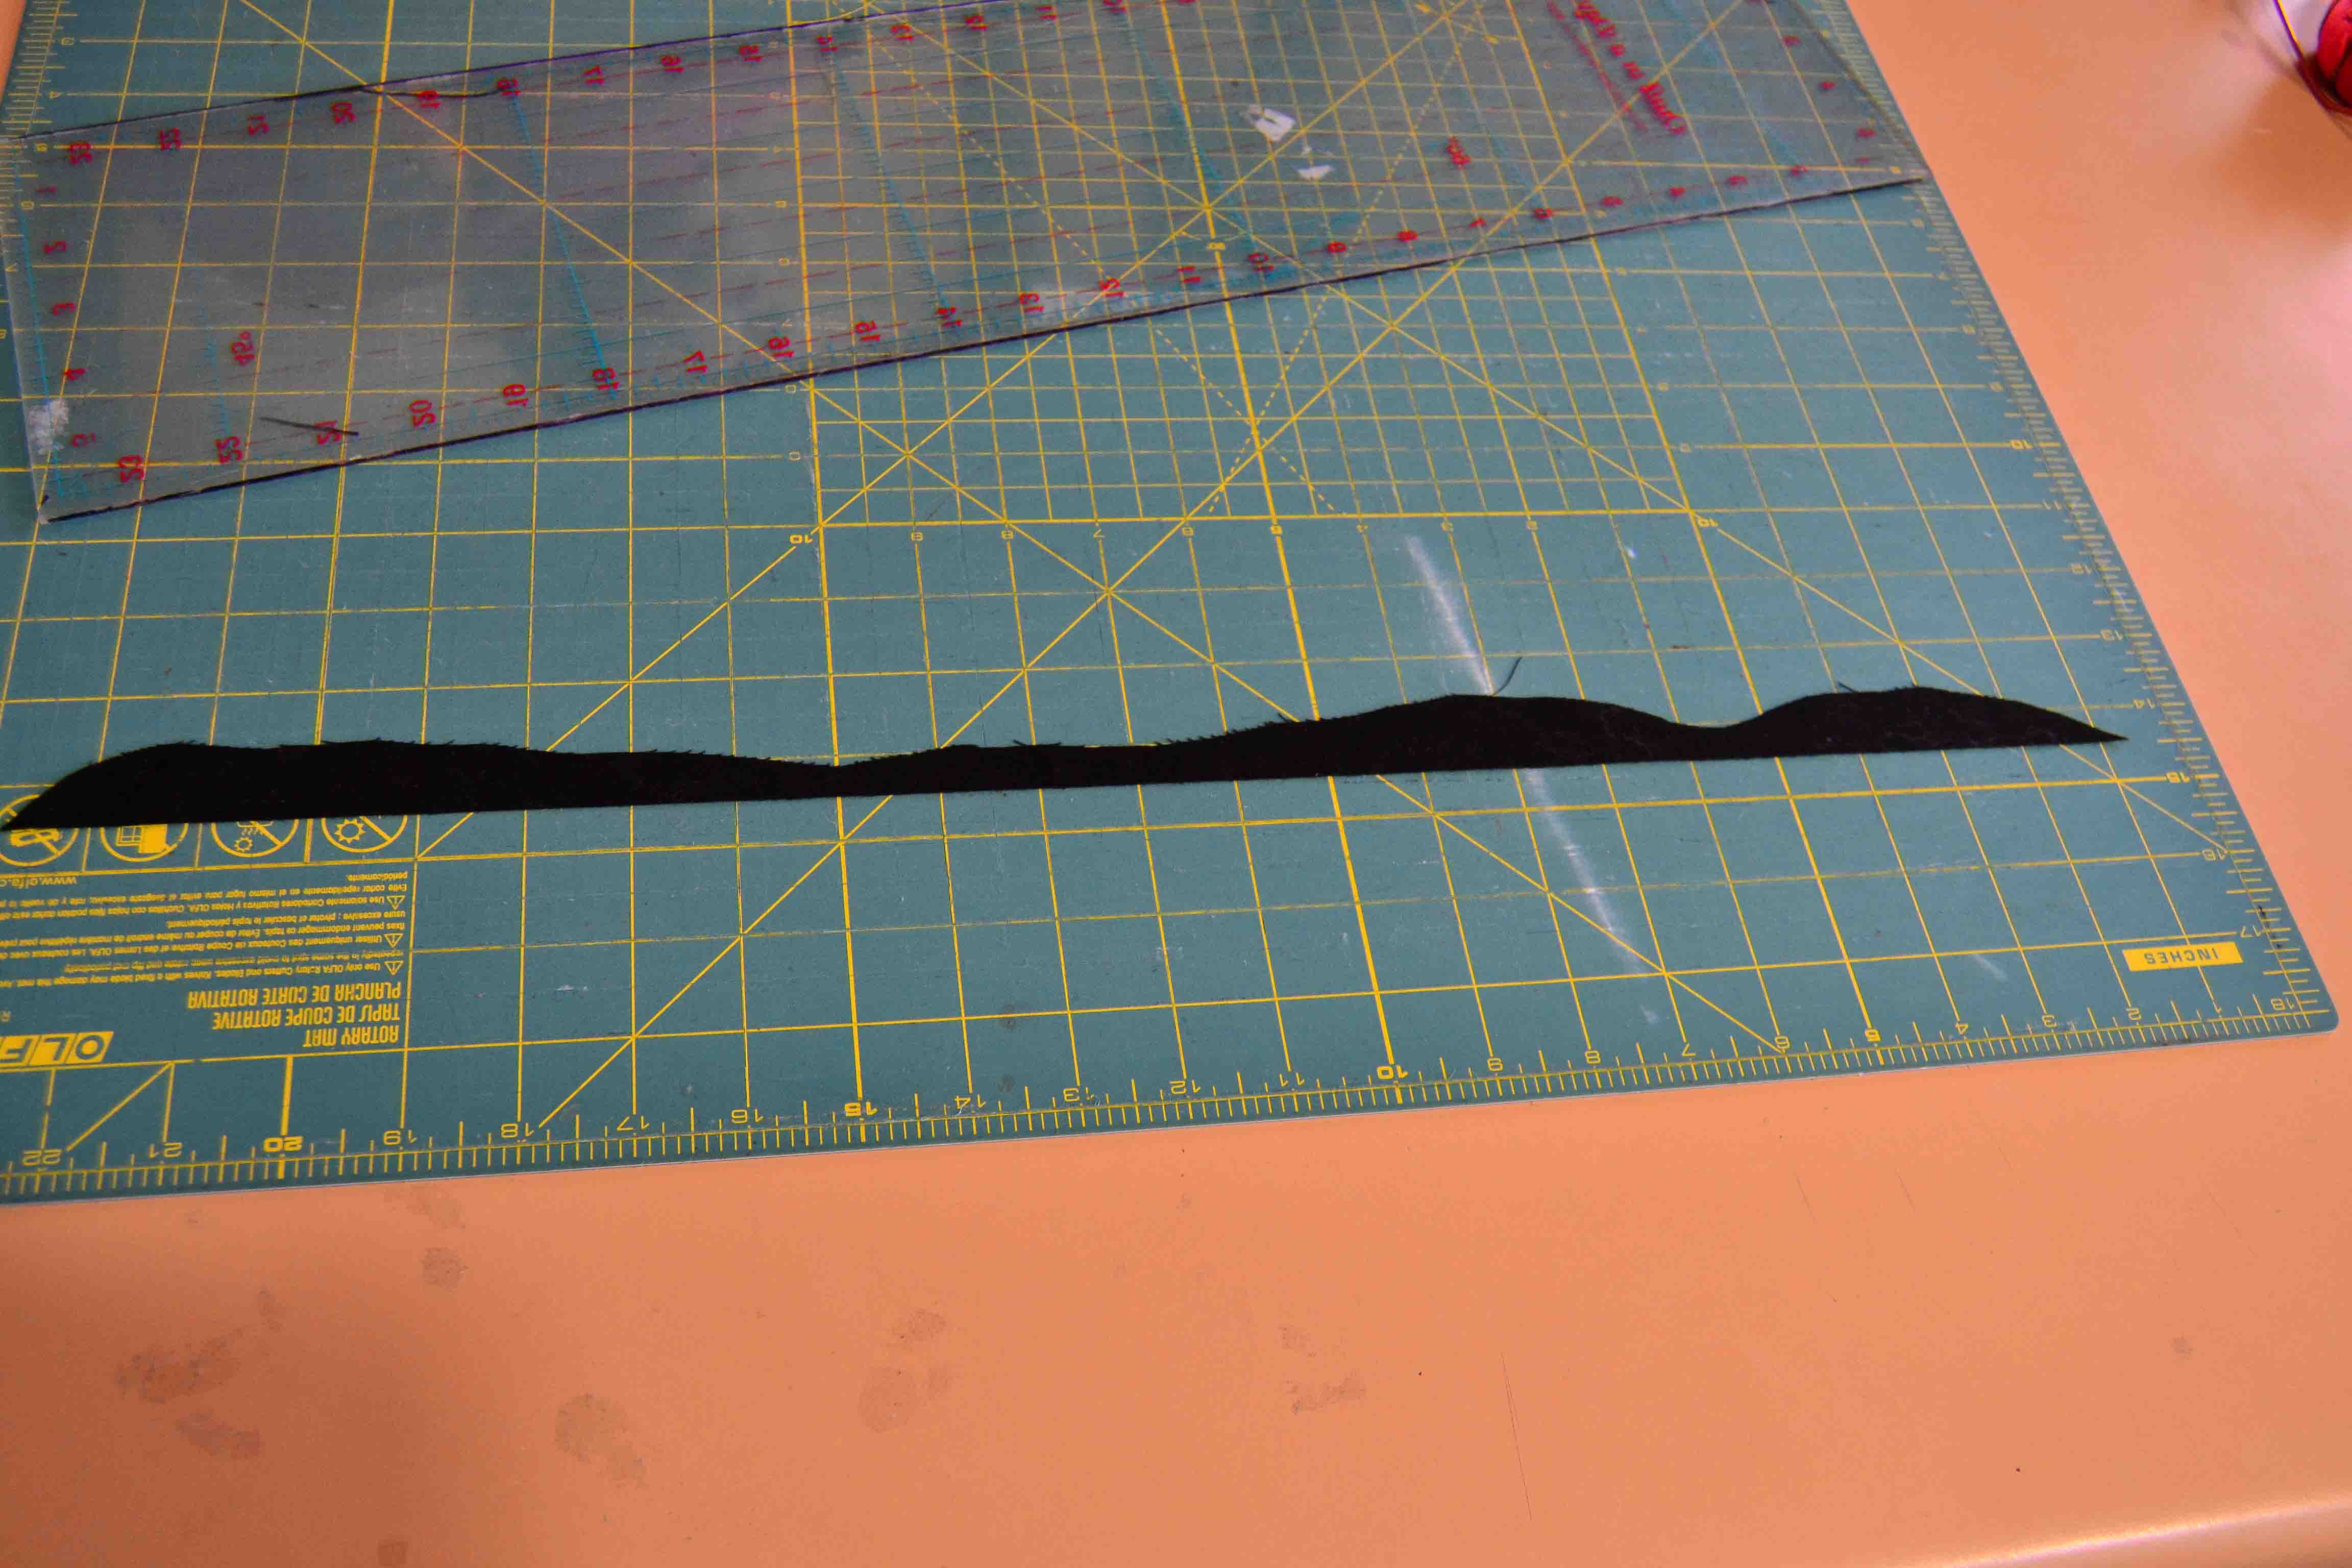
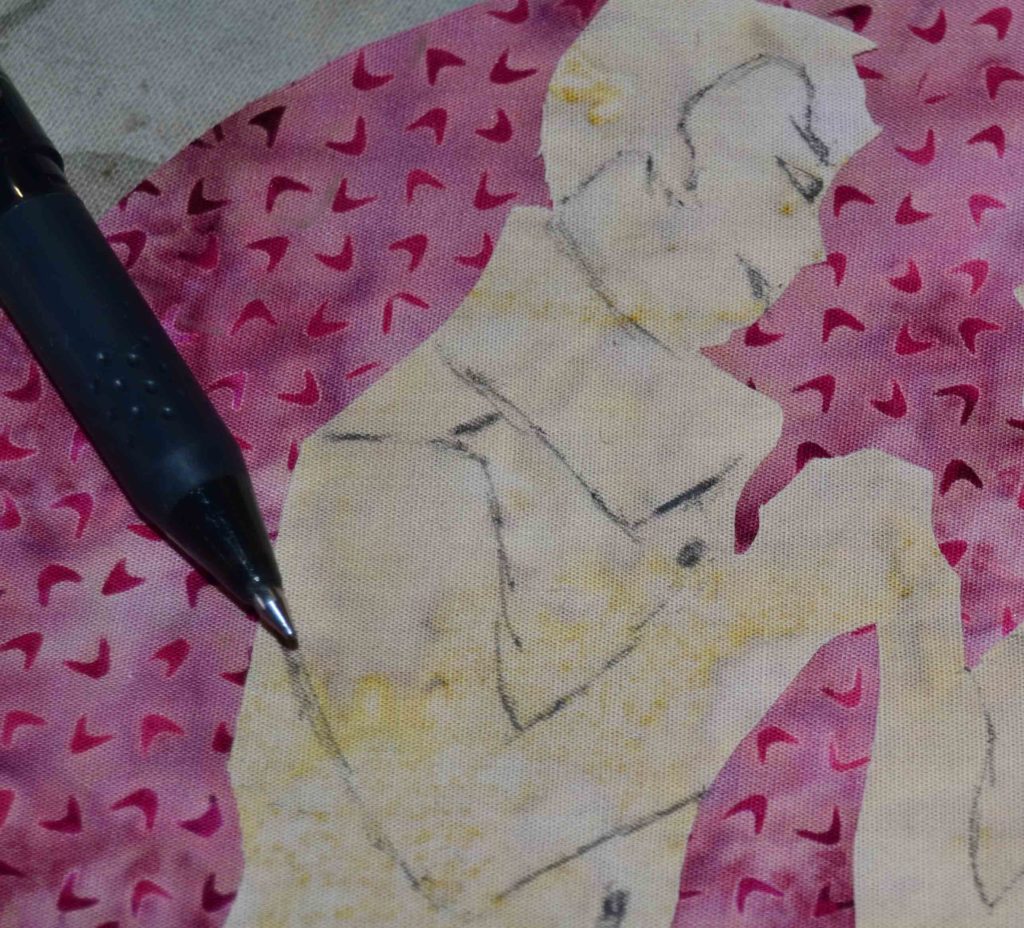
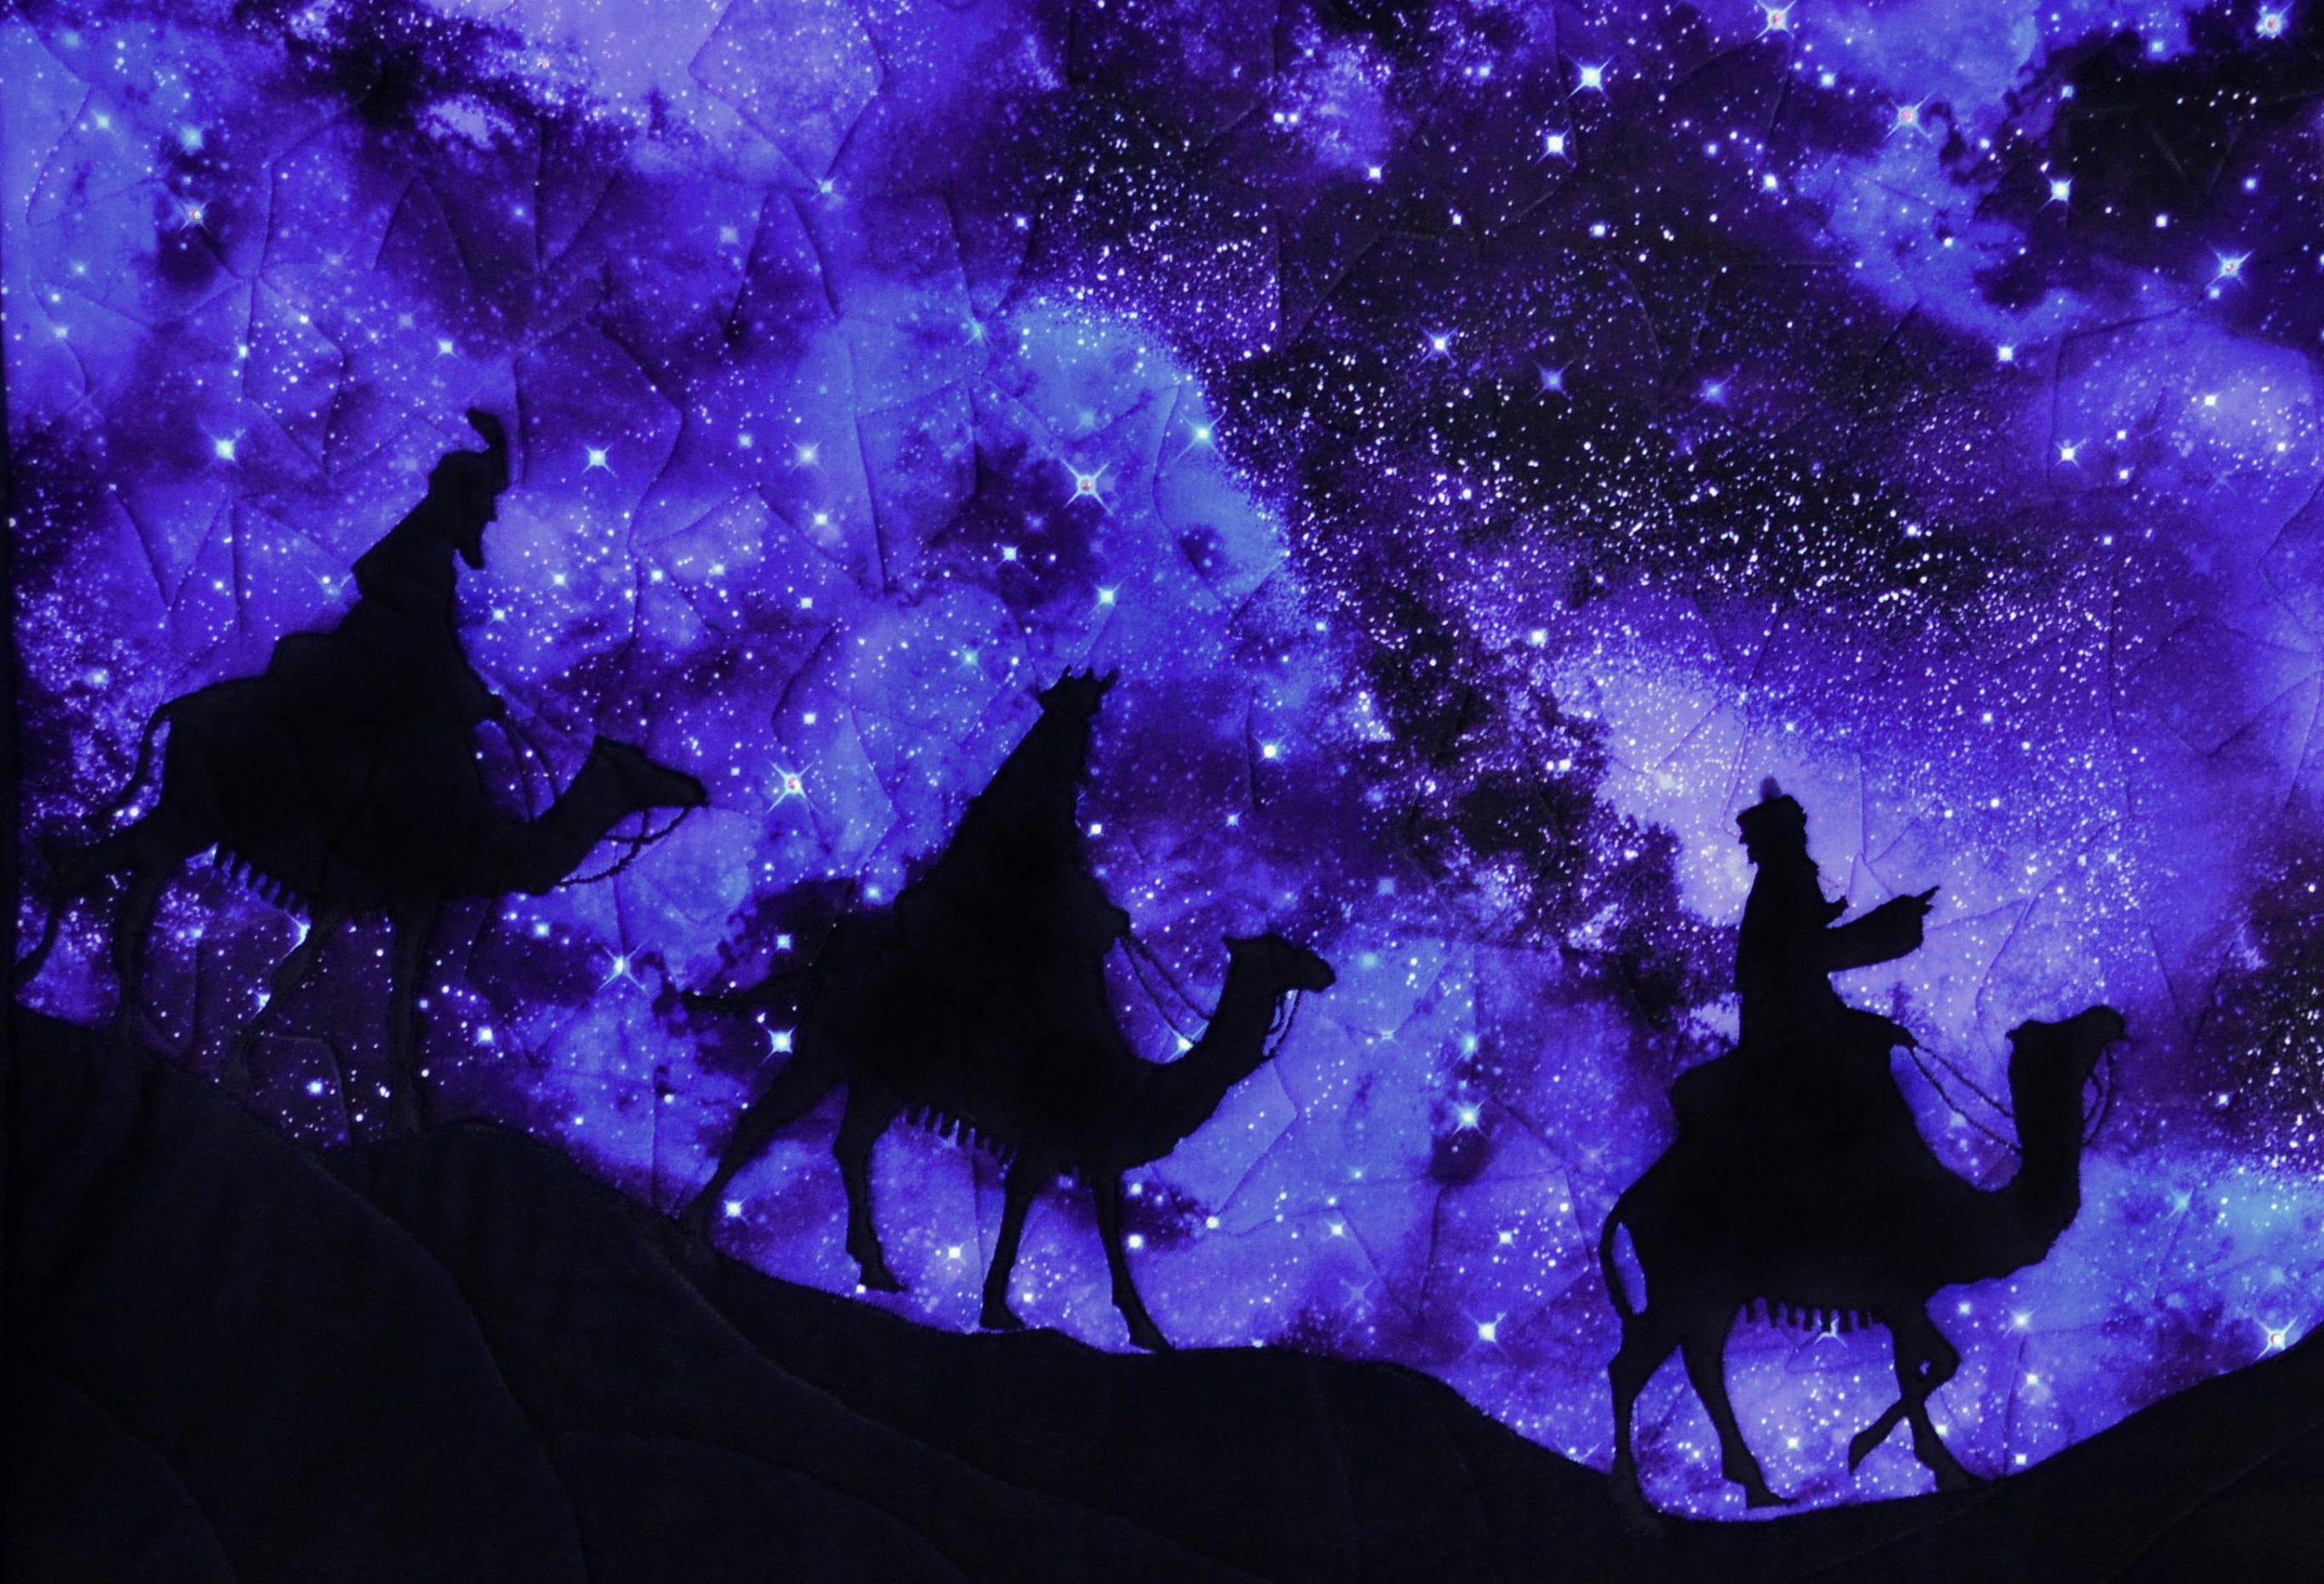
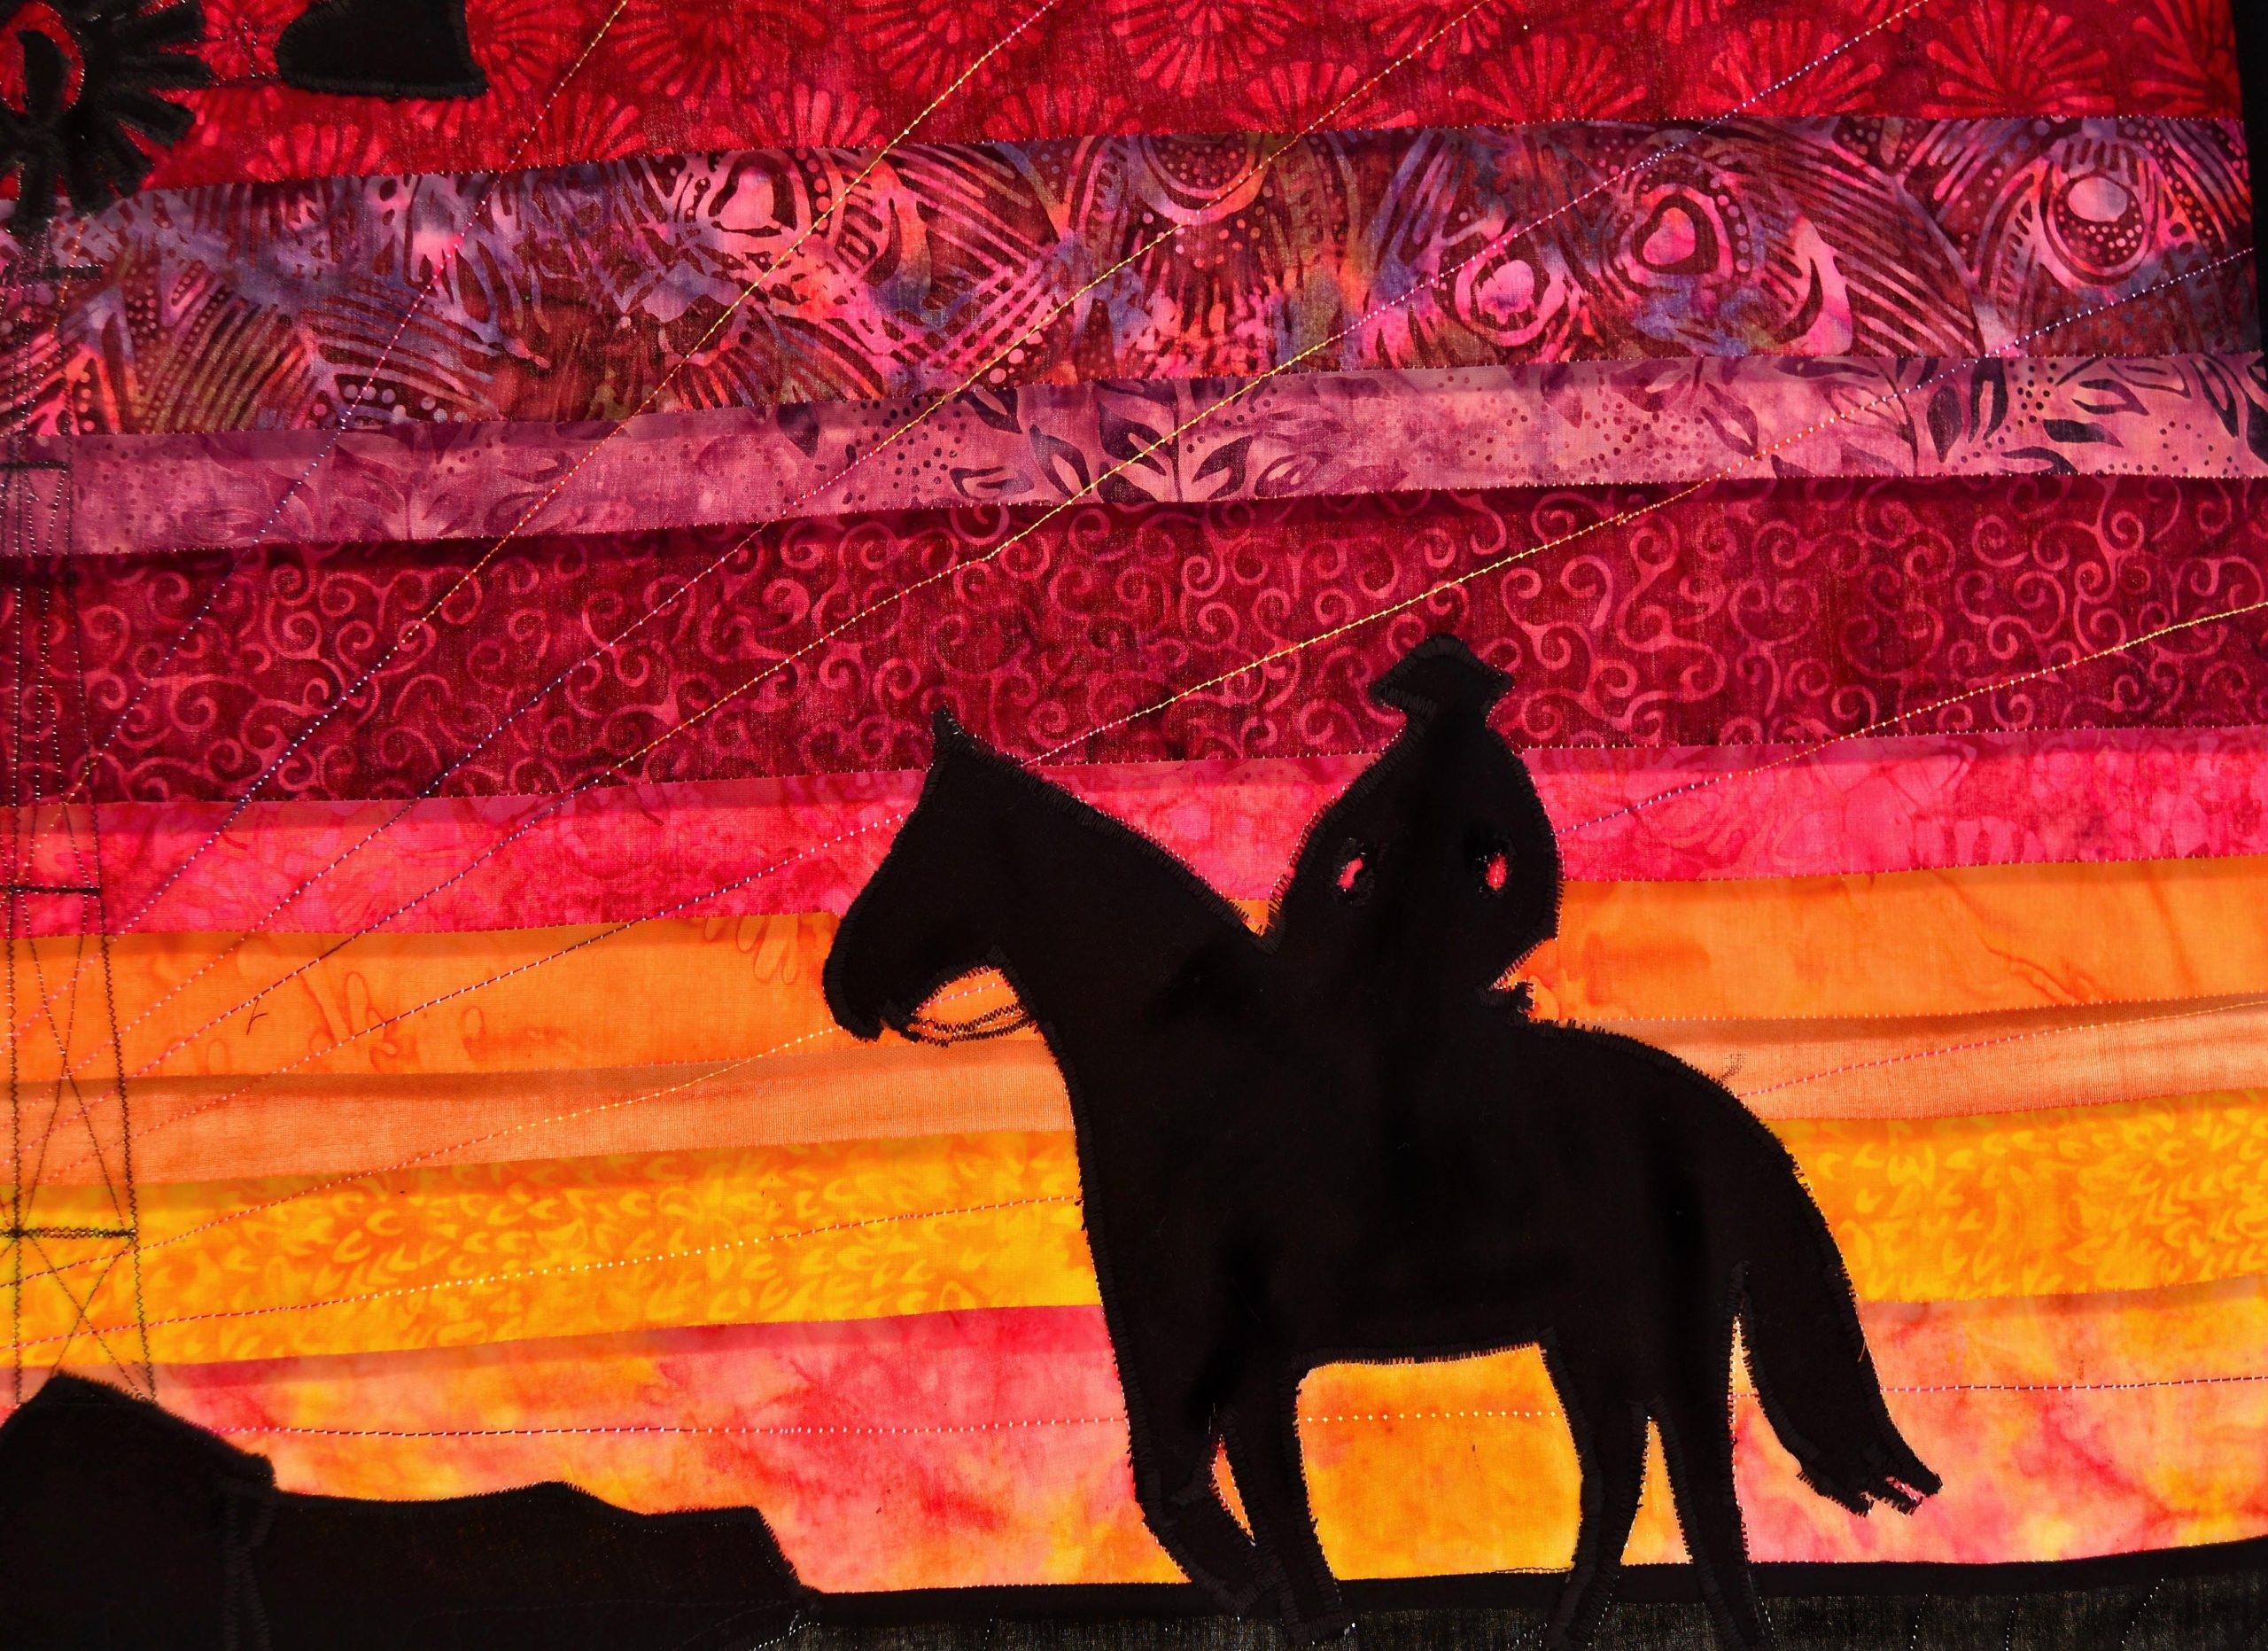
Silhouettes
These are figures cut from a single piece of fabric – usually black – and appliqued in place. They can be of absolutely anything, but the genius of them is even though there are no distinguishing features, they can express every emotion known to man.
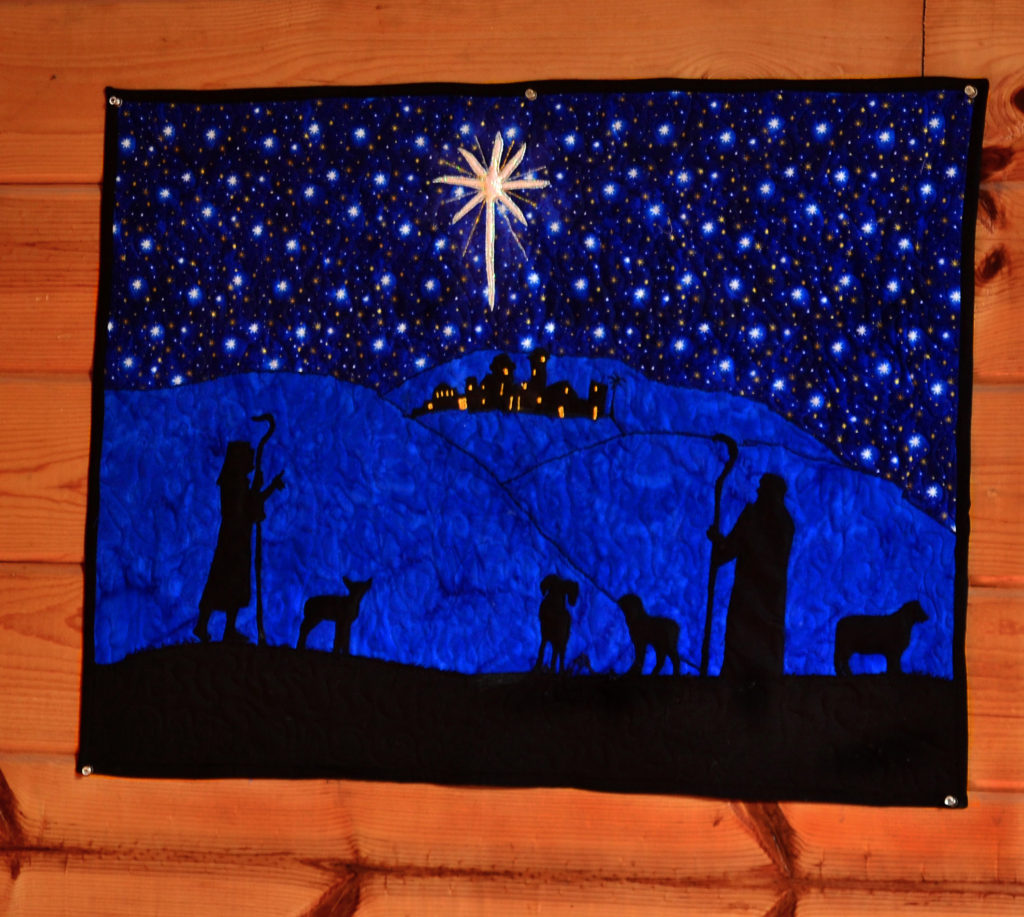
Silhouettes are all about body language and as we all know, that speaks much more powerfully than words or expressions do. Take my ‘Keeping Watch by Night’ panel. You can see nothing of the shepherds’ faces, but by their stance and the one pointed finger you know exactly what they’re seeing, feeling and discussing. Even the sheep – with the exception of one – are paying attention.
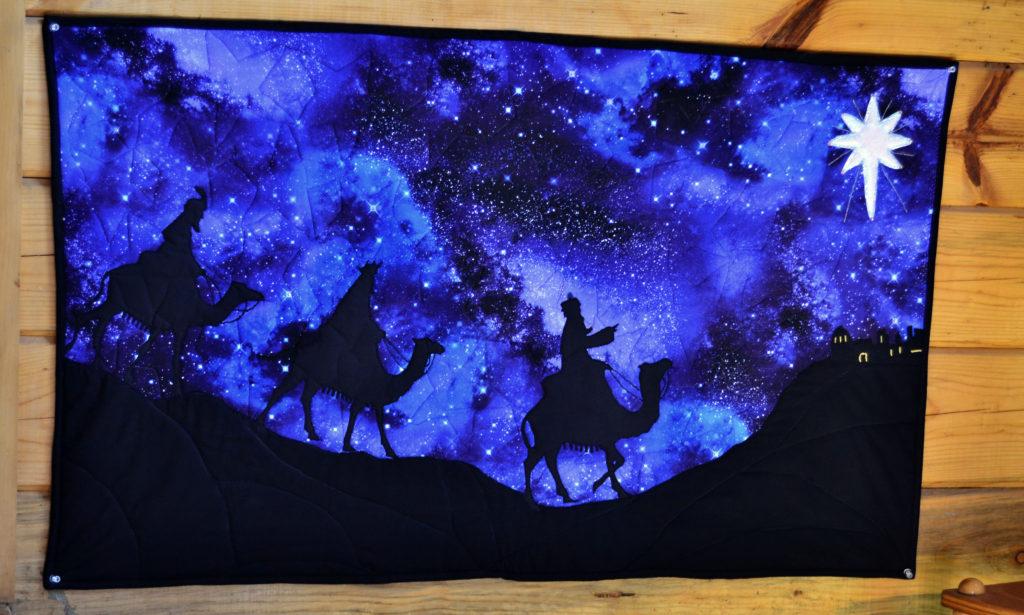
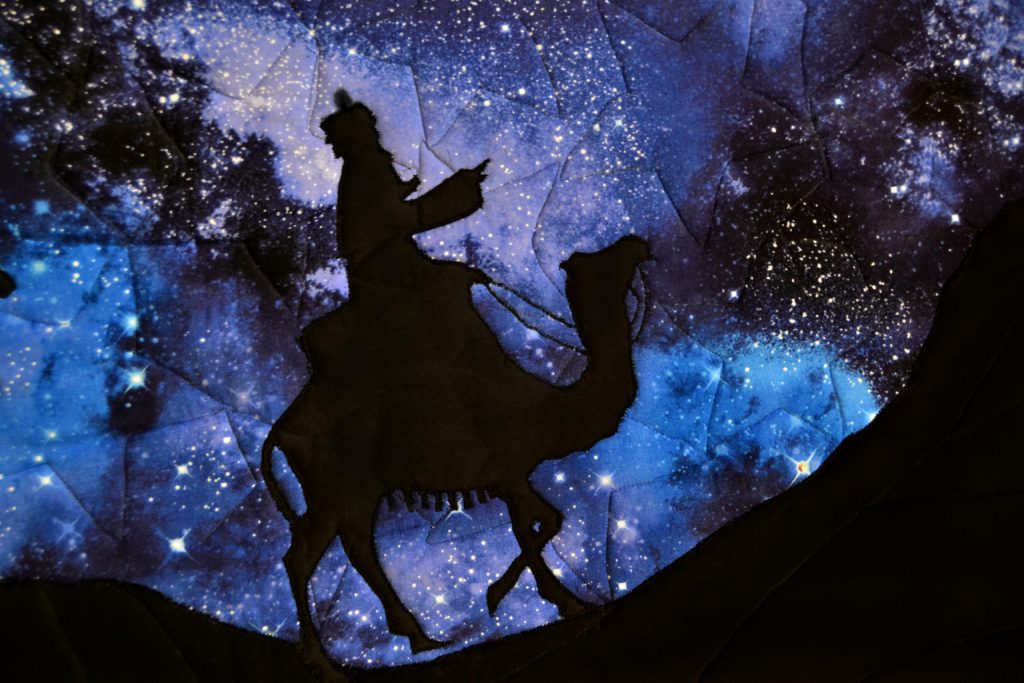
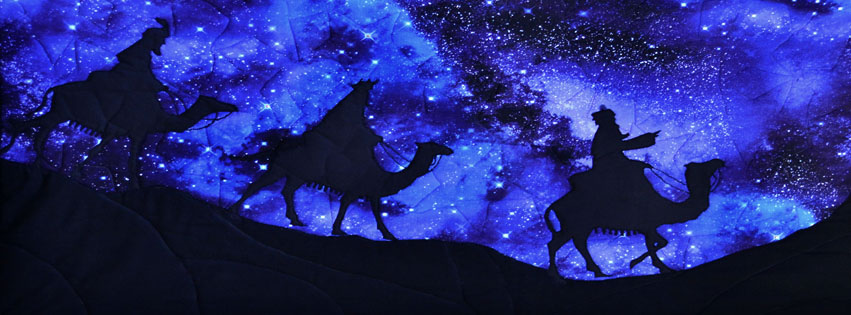
In the ‘Camel Panel’ you can see that the 3 Wise men are tired but determined to reach their goal even though it’s night.
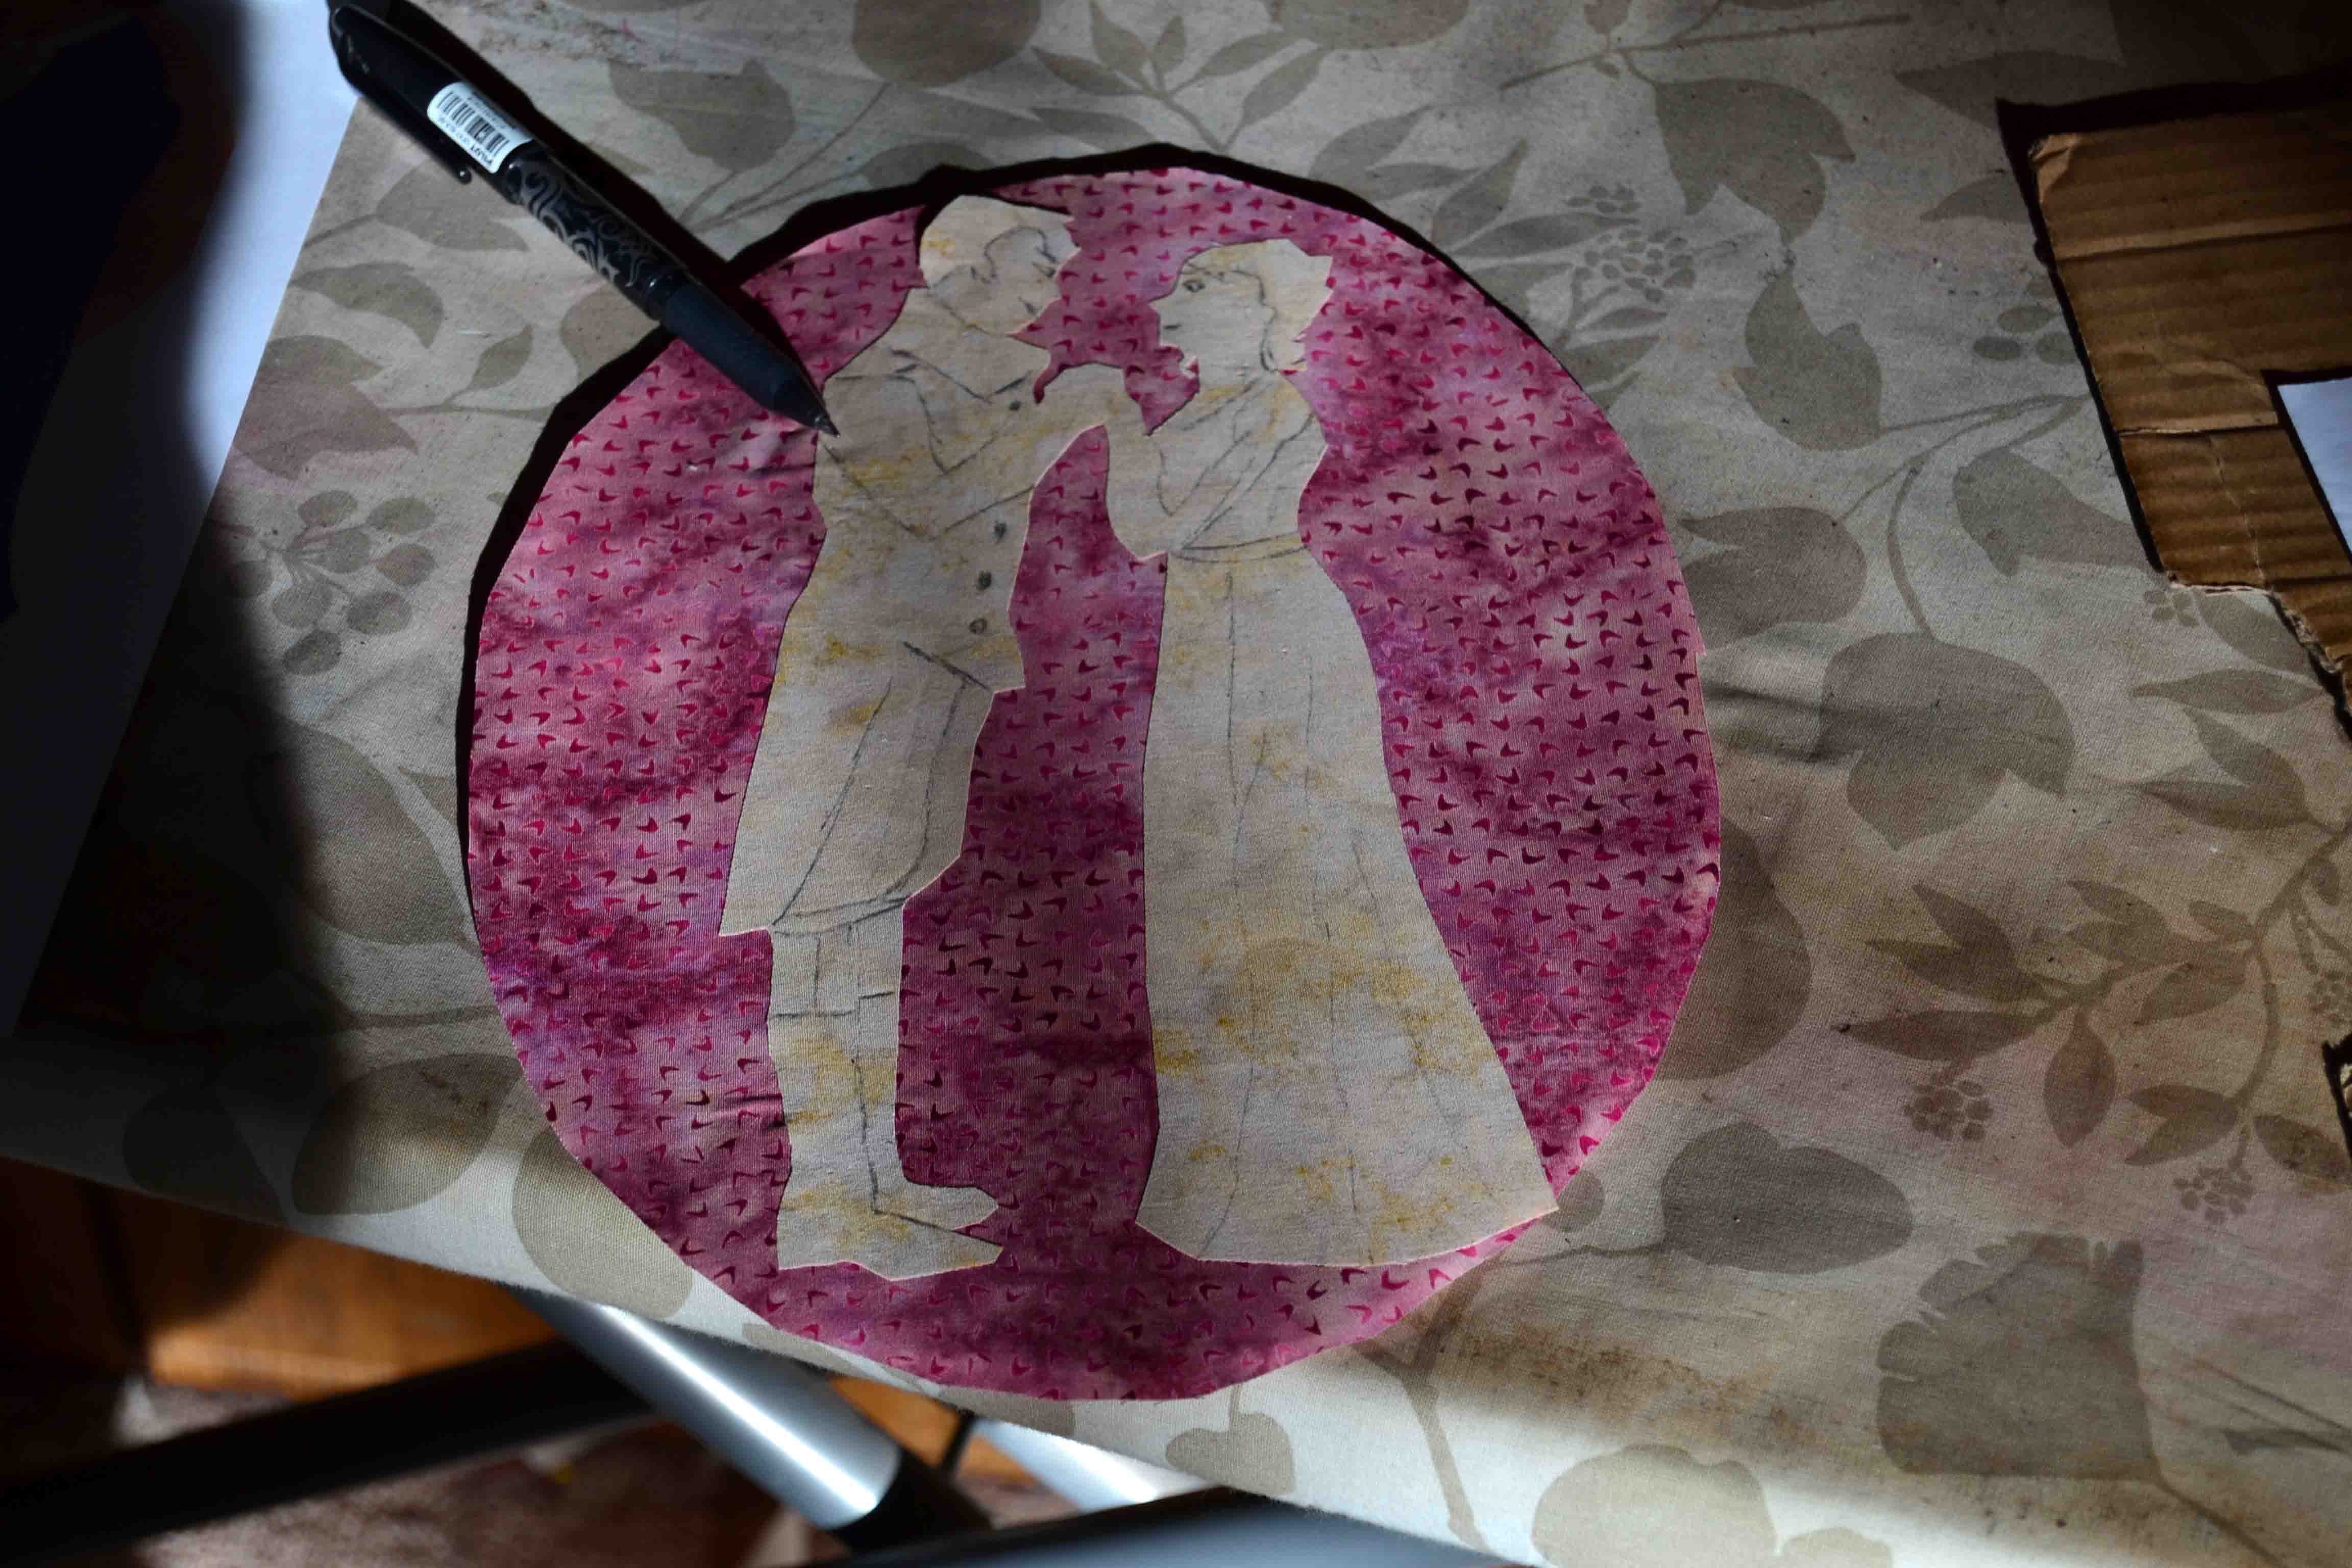
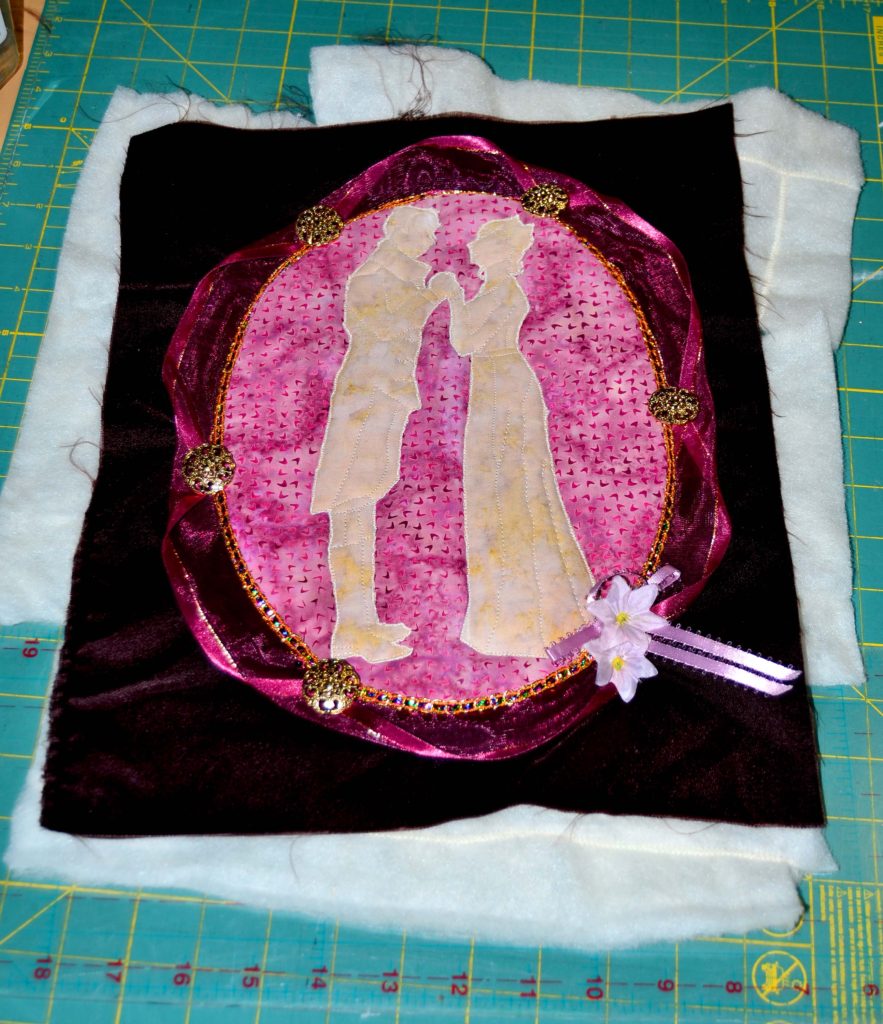
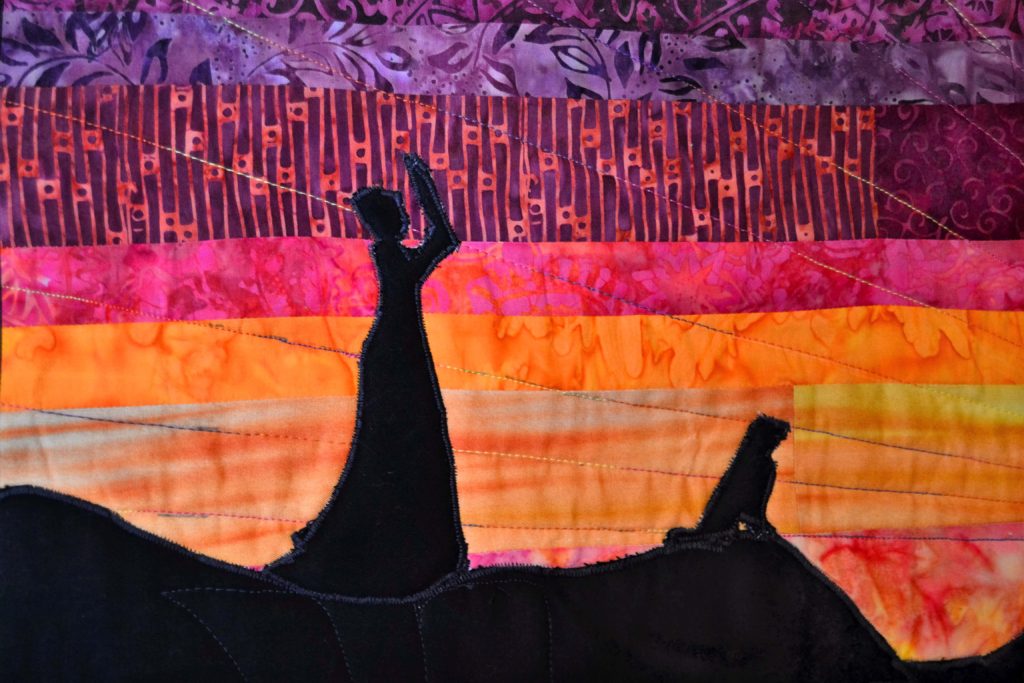
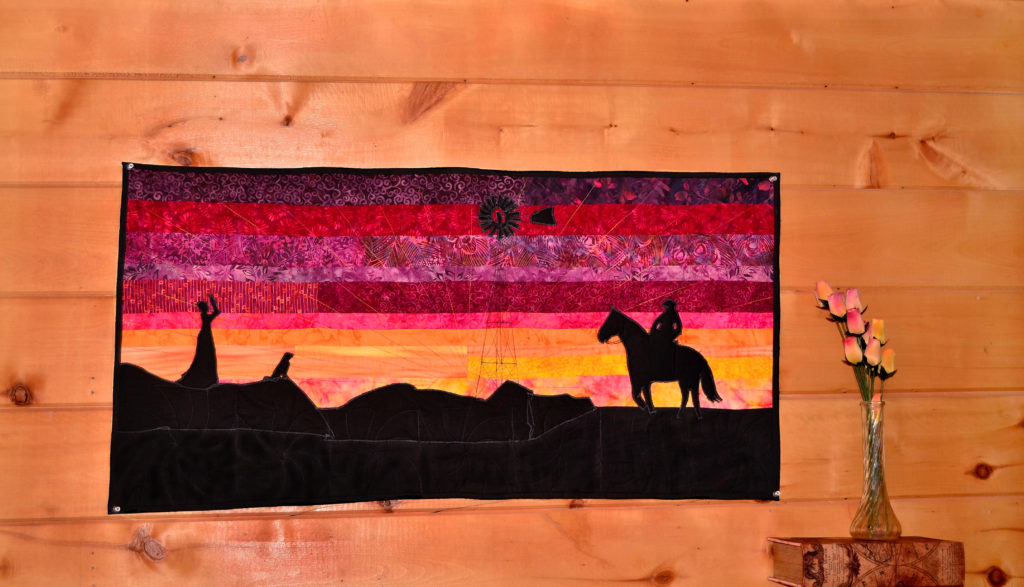
In the ‘Cowboy and His Lady’ you know that he’s coming in tired and hungry after a long day on horseback and 2 true and loyal hearts are waiting and watching for him and thrilled to see him coming. Even though you can’t see it, you know there’s a house just out of sight with light shining through the windows, the good smells of supper cooking, and it’s warm and safe.
Without saying a word, this panel speaks to the very heart of each of us because it shows us what we’re all searching for. Love, acceptance, safety and someone waiting for us to come back. It speaks to our hearts of the true meaning of home with only 3 simple silhouettes.

I’m a major fan of silhouettes, since they’re easy to create and sew, and they leave such an effortlessly powerful impression.
So give this option a think when you’re planning to tell a story.
Not All Stories are Created Equal
Some projects work best if they get right in your face, bold and unapologetic – like the Coral Reef and Dragon quilts – while others just need a hint of mystery.
The shamrock table topper invites you to imagine all sorts of things, but it does it very quietly. I’m thinking of doing a corresponding wall hanging to my Ocean Maidens quilt, and it too will whisper very quietly of mystery.
Think carefully about what colors and accessories will convey the mood you’re trying to portray and find what you need. Otherwise, all your effort will be wasted.
Consider Movement
If your main character is moving – and this can be anything, remember – answer these questions to yourself.
- Is it moving to or away from something?
- What emotion will be evident?
- Is there a predator?
- Is it hiding?
- Is it doing something completely out of character?
- Does it have any supporting characters?
- What season, what time of day, hot or cold, old or young?
All of these kinds of questions should be considered before you make your first fabric cut.
Allow the Quilt Some Creative Freedoms
Don’t panic if you’re planning for your project to go in one direction and it changes course in mid-stream. It happens – just go with the flow. You often end up with something very different, and even better, than the idea you started with.
So be BOLD dear reader, and do not fear to take the road less traveled.
To the greater good of your quiltivity,
Karyl (aka Princess YellowBelly)