Just like a lady getting ready for a date, accessories really help amp an already beautiful quilt into the realm of fabric art. When a woman wants to feel really beautiful and confident and draw attention to herself, out comes all the beauty accouterments from makeup to jewelry.
And it works!!! Of course it does or we wouldn’t bother.
Elevate a project from ordinary to extraordinary with a few easy bling tricks
It’s also really helpful if the woman underneath the bling has a beautiful soul as well, because then the bling enhances her true beauty rather than working to disguise what’s missing.
This is the same principle we use when we decide how to accessorize our fabric art projects. In order for bling to work in fabric art the real beauty should already exist in the quilt itself. You achieve this by:
- Choosing the best quality fabric you can afford
- Paying close attention to colors, thread, patterns, stitching, etc.
- Using the best possible quilting techniques
- Loving your project (it really does show, even though there’s no way to pin this quality down with a how-to!)
Once all of that is in place and done, then you can start having some real fun with all the bling. Here are some of the things I use quite regularly to help my fabric art POP.
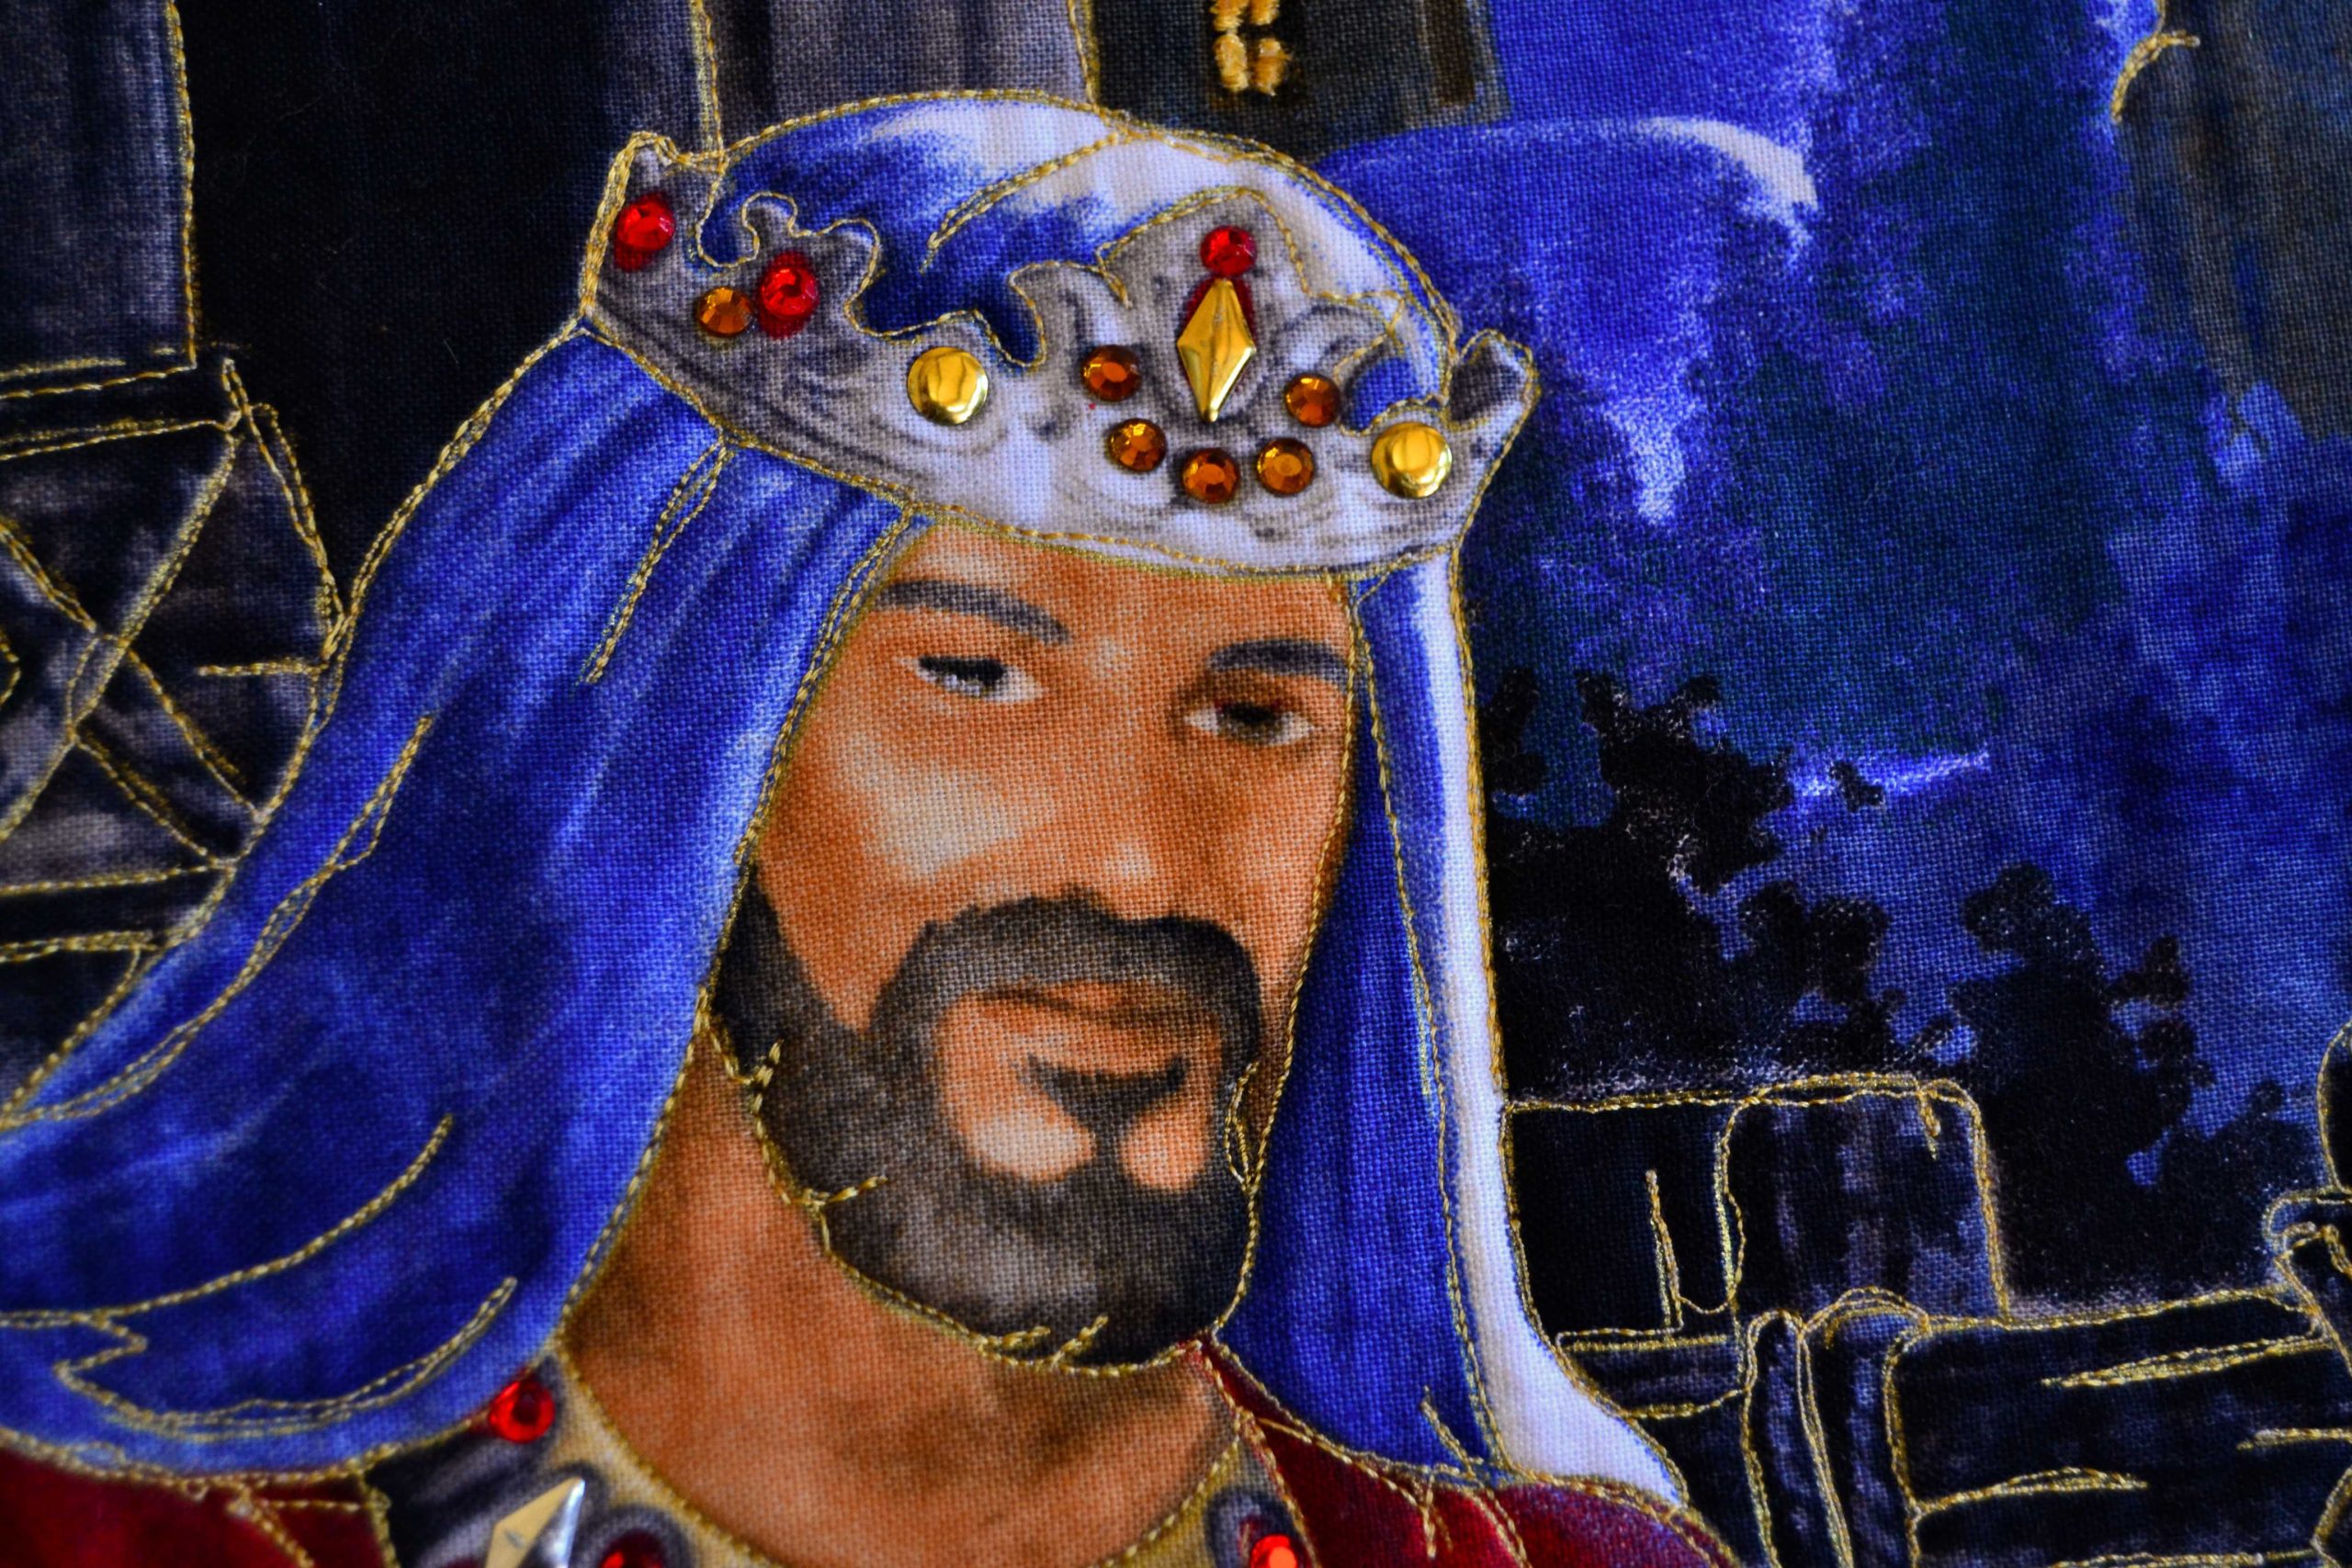
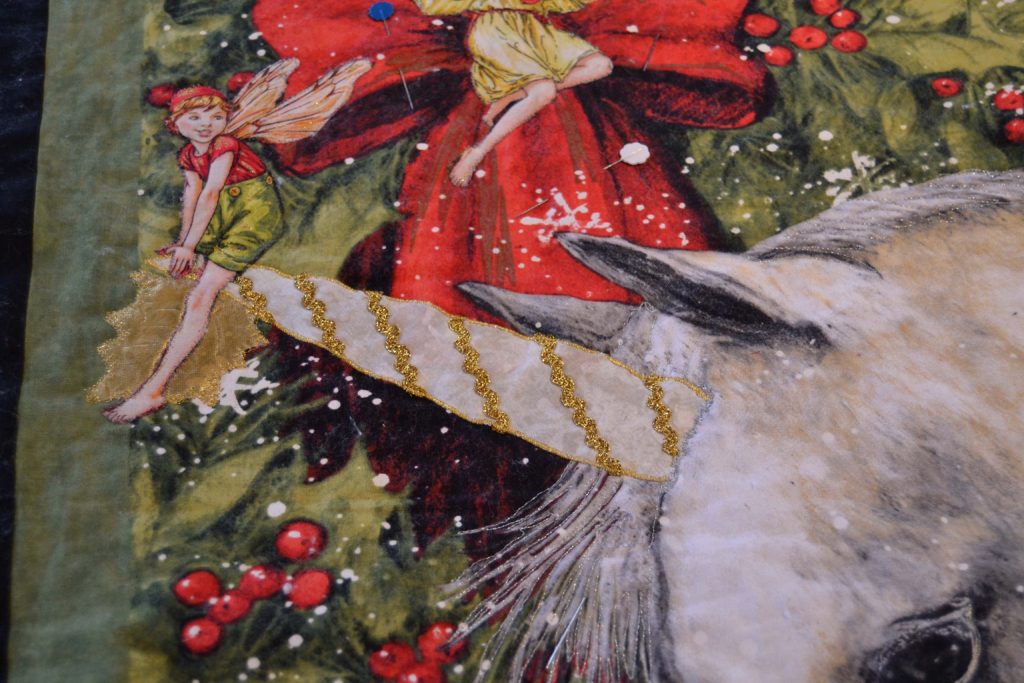
Appliques
Appliques are either shaped pieces of fabric or machine embroidered shapes that can be sewn over the front of any fabric from clothes to potholders to quilts. Appliques are by far the easiest and fastest way to add interest to any beautiful quilt project.
You can buy the embroidery patch appliques – especially for kids and babies – at any arts and crafts store, or Walmart, and they’re really cute and adorable.
Years ago, when my son was a little boy I made a Suspender Sam quilt for him and in each square I put in a store-bought little boy applique. It was absolutely adorable and Aram wore that quilt out over years of little-boy hard-loving.
Or, you can make your own.
This technique is slightly more involved and advanced than store-bought appliques, but it gives you a much greater range of options. I’ve come a long way since the Suspender Sam quilt, and now I make most of my own appliques.
To do this simply pick an element that you want to applique, like birds, soft-fuse them, fussy cut them and then stitch onto your project.
Fussy cutting is nothing more than cutting out the shape you want to applique. I give a detailed list of instructions on how to do this in my “How to Applique Fabric Art Quilts with Confidence” blog.
My 2 best examples of this are my Tropical Reef panel, in which I used almost 200 appliques – I might have gone a little bit crazy there – and my Dragon quilt.
HINT: Make sure you have really sharp scissors, especially little ones that are sharp at the tips. This really helps to get those little tiny shapes like noses and fingers sharply cut.
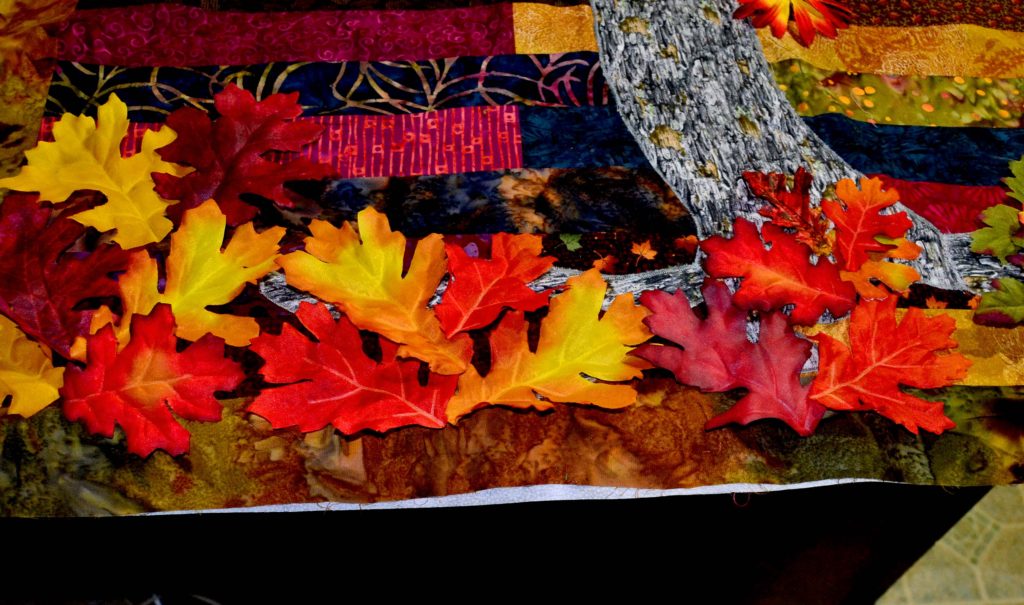
Fabric Flowers
Many people think of fake flower bouquets as tacky and so did I for many years. Then they started making them out of silk, and what a tremendous innovation that was. Just not for setting up as a bouquet, because the leaves get super-dusty, and then you’re back to tacky.
Where I love to use silk flowers and leaves is on my landscape wall hangings and beautiful quilts.
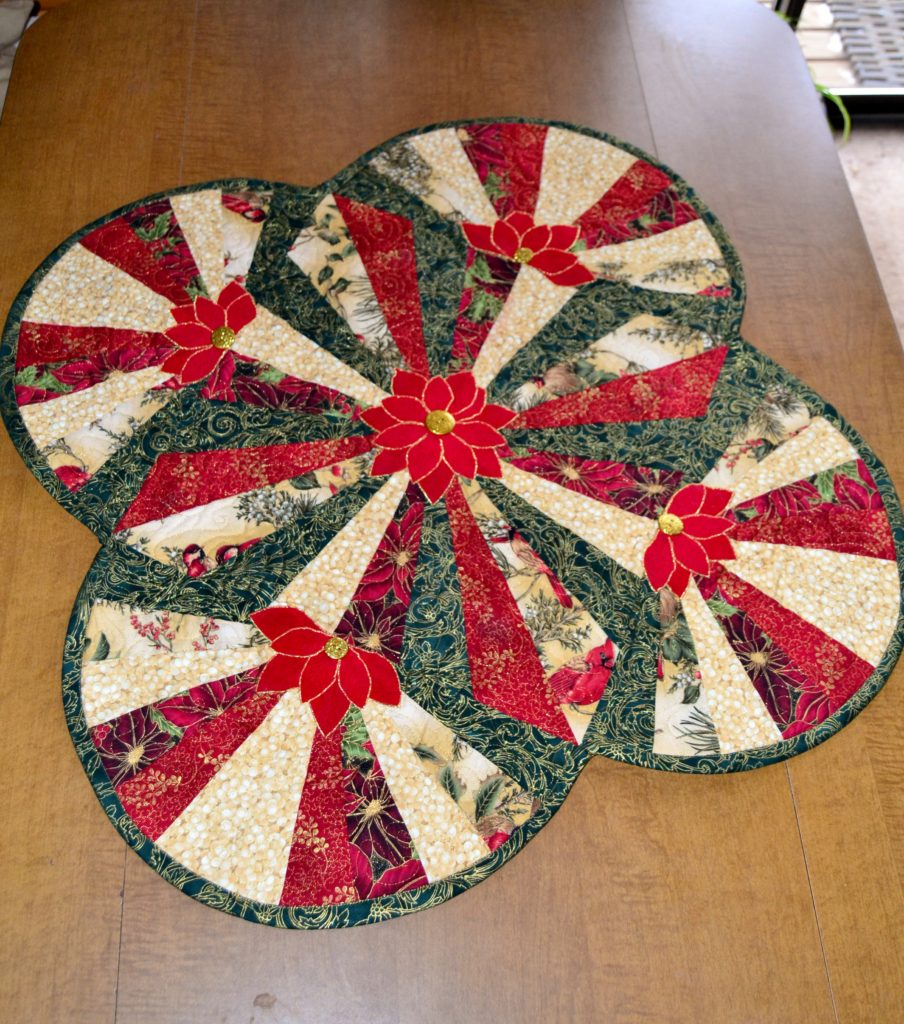
Not only are they soft and easily sewn, they are incredibly life-like, and I figure, why go to all the trouble of cutting out tiny little pieces of fabric and appliqueing them, when you can just applique a silk flower?
Of course, I soft-fuse all of my flowers and leaves first because sewing one of these without it will just cause it to tear and fray.
This is one of the articles I’ll get to eventually, but for now here’s the bird’s eye how-to on fabric flowers and leaves.
First, strip all the stems and veins off of your silk flowers and leaves. These are made of plastic and don’t work on fabric. Just pull gently but firmly, and the stems and veins usually strip away just fine. Plus, it takes a lot less room to store these than if you left them the way they come from the store.
Next cut out a piece of soft-fuse approximately 12 inches square. This is a workable size.
Now lay it paper side down on your ironing board and then lay your flowers and leaves on the rough, upper side. Lay these down right-side-up and as close together as possible without overlapping them.
Finally place a piece of wax paper over all and press with a hot iron.
Hold the iron down approximately 30 seconds longer than you would on regular fabric so that the heat can penetrate all the way through the thicker leaves.
Wait till completely cool and then peel off the wax paper and the paper backing. Do this carefully so the soft-fuse will not lift away from the leaves – it usually doesn’t but now and then….
Use a sharp-tipped scissor to trim any Soft-fuse excess from between petals, etc. and then position your flowers and leaves on your project right-side-up and press.
I mostly stitch these down with a narrow blanket stitch and voila – a beautiful, life-like applique! Silk flowers are fairly cheap and affordable, and are available in a wide variety of stores.
Trims
By trims I mean ribbons, lace, rickrack, braids, ropes, etc. Basically anything that comes wrapped around a little cardboard spool.
Your options here are almost endless and there’s always something new.
Don’t forget to check out the DIY wedding decoration aisles at arts and crafts stores like Hobby Lobby and Michaels – they have tons of stuff as well.
I’ve used things that weren’t really meant to go with fabric, like raffia string, faux paper grass, and feathers as trims as well – just be careful because you’ll never be able to wash the finished quilt.

A word of caution here – you can overdo trims.
Trims should be used to enhance certain design features and to draw the eye to things you want noticed on your already beautiful quilt. This is especially true of the bling trims – the shiny sparkly ones.
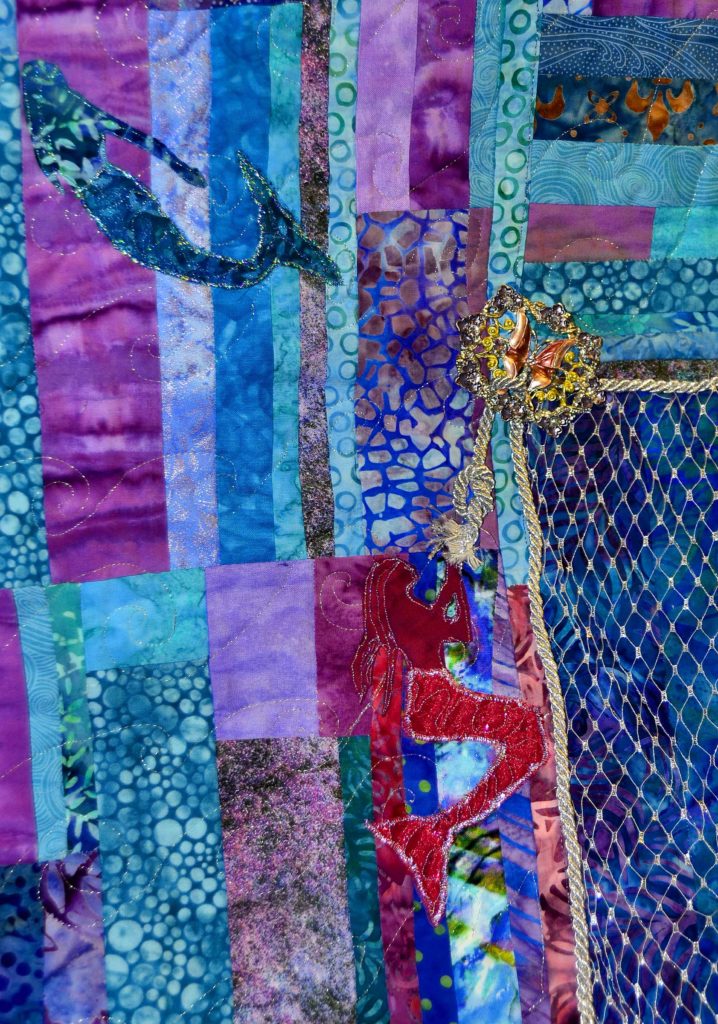
Don’t over-use these. If you look at my Coral Reef panel, you’ll see that I put on almost 200 appliques but I only used the bling trim in 4 places.
That’s because bling trim can become overwhelming. I also used bright multi-colored thread-like trim as sea grass in 2 places, which really helps to give the illusion of the sea but you don’t really notice it at first because it’s not shiny.
So by all means BLING, but with discretion.
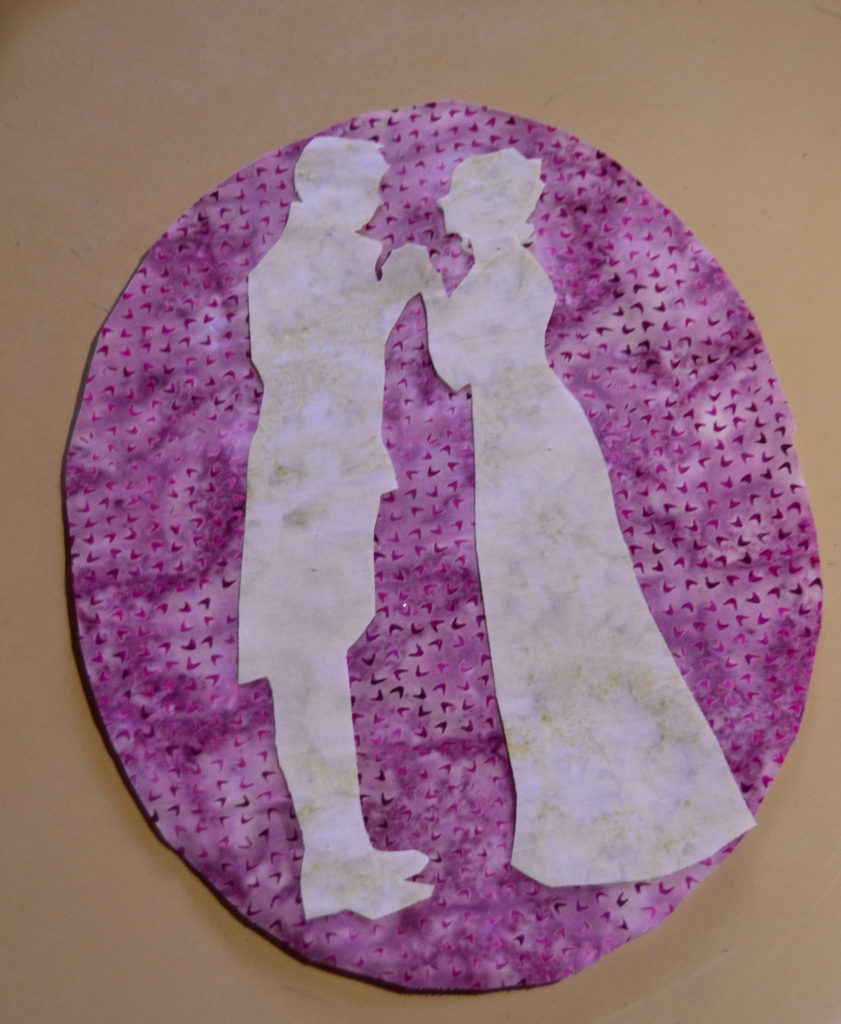
A beautiful – if basic – concept 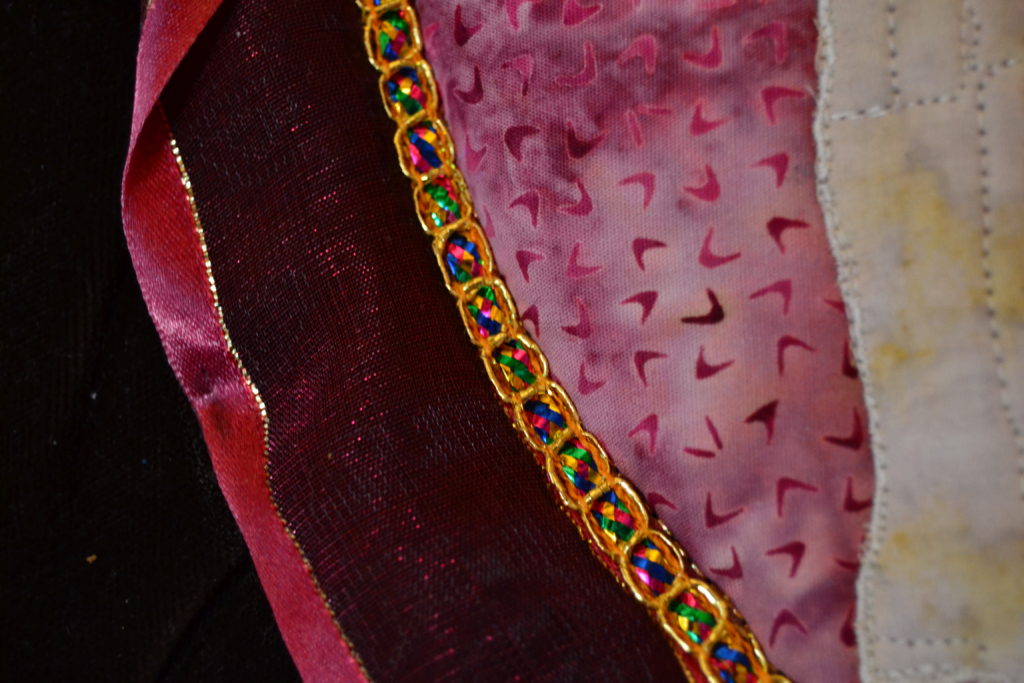
Add some ribbon and a delicate touch of matching bling 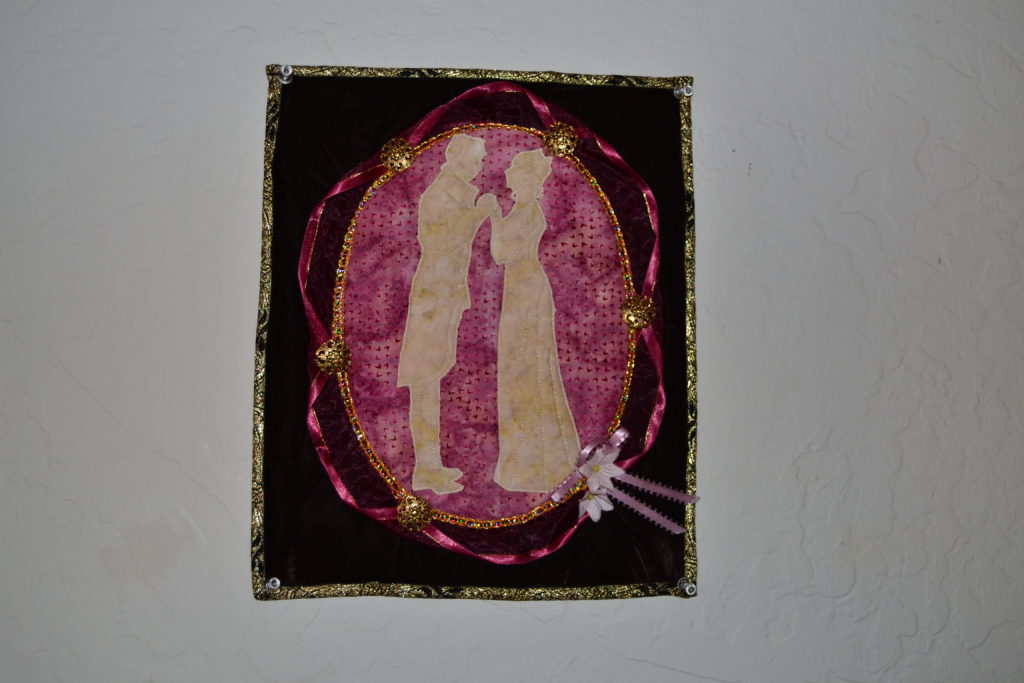
And this beautiful quilt is complete in romantic miniature
Trims are also great for covering up mistakes or stuff that just doesn’t look the way you thought it would.
It’s the seamstress’s version of sweeping something under the rug and you should not be surprised by how often I do this. A great way to use sparkly trims is to wait until the end of the project, as you’ll then know what needs to be hidden.
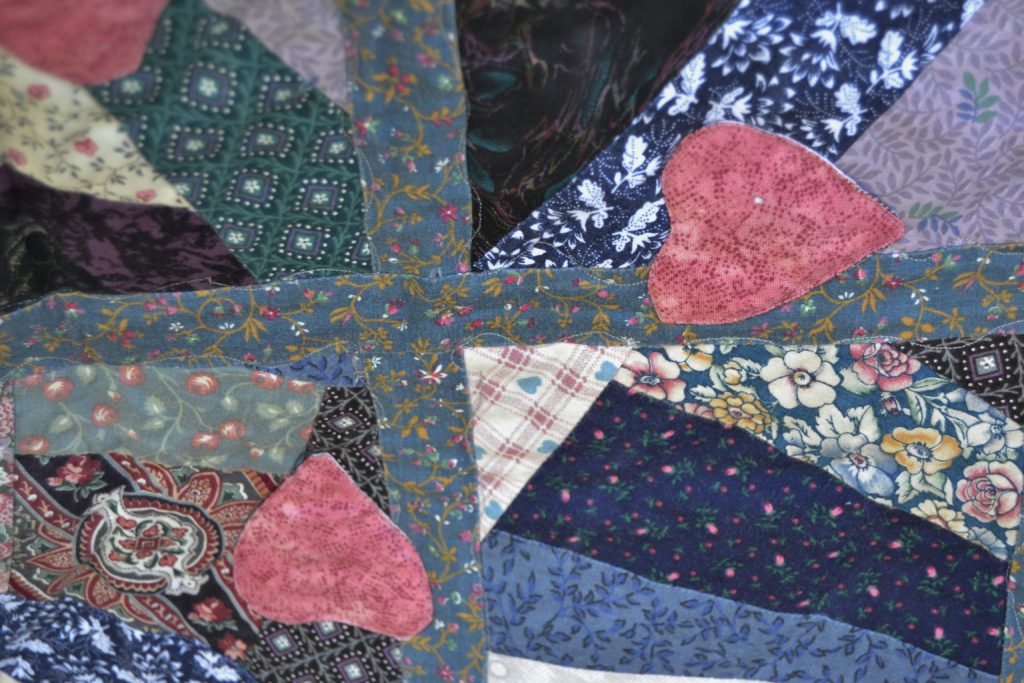
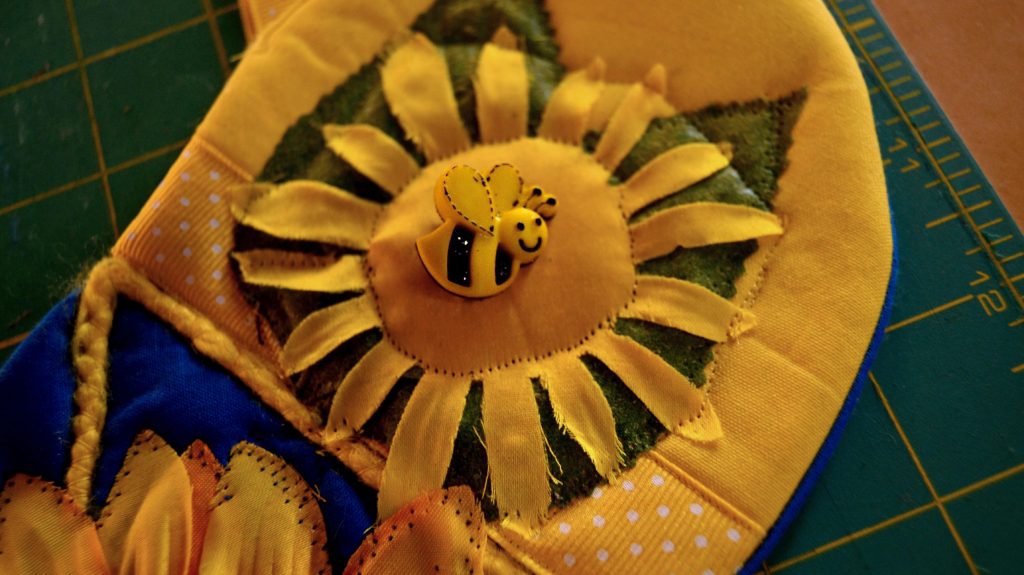
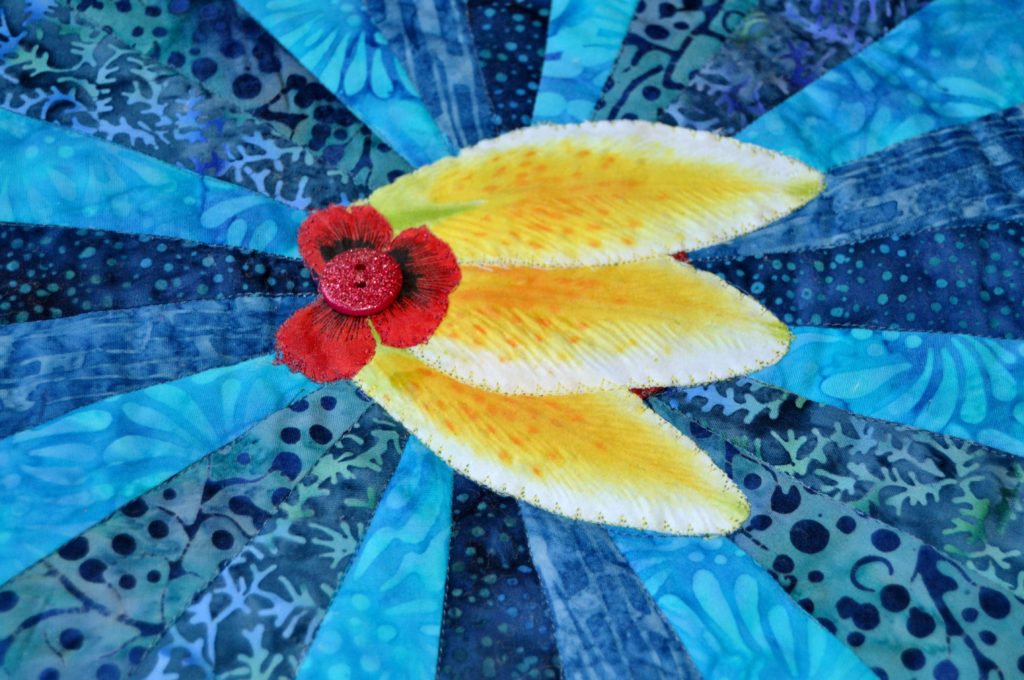
Buttons & Beads
I LOVE these!!! They come in almost every color and shape imaginable, are relatively cheap and can be made to be almost anything you want.
Buttons & beads are hard to corral – learn how to do it easier
Common ways to use buttons and beads to enhance landscapes panels and beautiful quilts include:
- Buttons make perfect centers for fabric flowers (since once you remove the plastic supports these flowers just have a little hole in the middle.)
- Buttons can represent the sun
- Depending upon
their shape beads can be
- Rocks
- Shells
- Trees
- Windows
- Cobbled streets
- Etc.
Just anything your imagination can concoct!
Buttons are usually more expensive because they are sold by the card, or little packages with 6-8 buttons for the cheaper ones.
Beads now – I have found large packages of them at Hobby Lobby that are very cost effective and in any combination you like. Beads also often come in themed packages – amber and red, blue and turquoise, shells and pearls, etc. This is my favorite way to quickly fill up some gaps on a mid-to-large sized project.
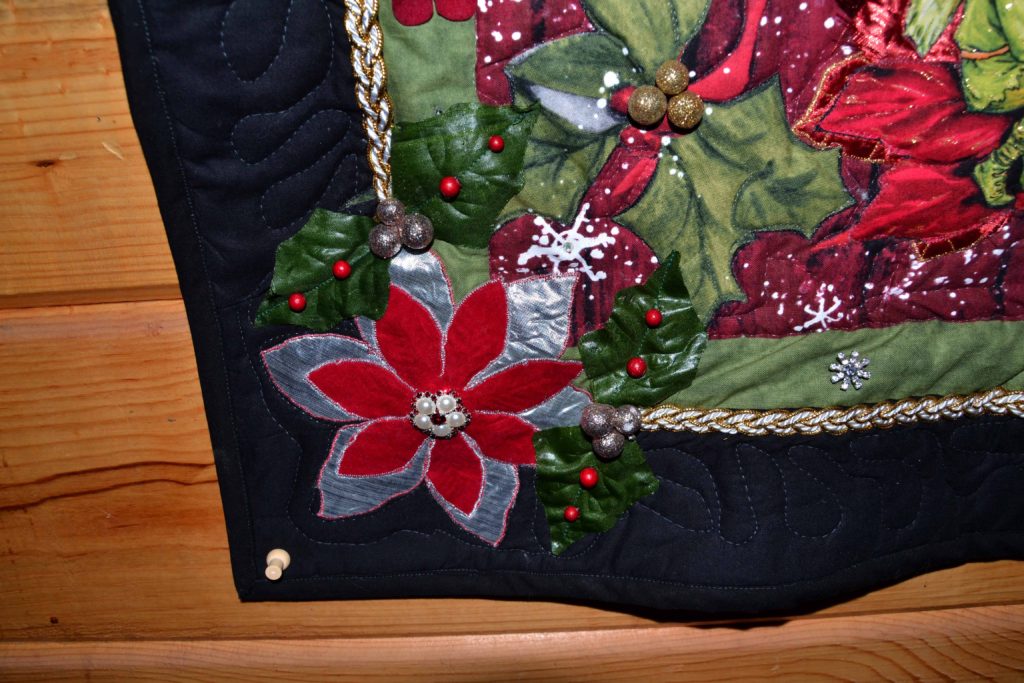

NOTE: Buttons and beads need to be sewn down very tightly to stand up to the years they’ll be expected to do duty on your amazing fabric art project.
To make sure a button or bead will stay sewn on, use double thread in your needle. Then sew through at least 5 times to make sure it’s tight.
A little trick here – before you go down the last time, slide your needle between your button/bead and your fabric and wrap your thread around the existing thread about 3 times (tightly) and then go down to the back of your fabric.
Tie off by threading your needle through a loop of your thread twice instead of just once to make your knot and do this twice so that your knot will never come undone.
If my button is quite heavy or bulky I also use fabric glue behind the button and also put a dab on the knot at the back. It dries clear and invisible and really reassures that that bling won’t come off.
This is especially important if you have small children around. Kids will pull on lumpy, shiny things, and if they get them loose, they’ll put them in their mouths.
Other Stuff
These are things that don’t fit in any category…because they’re not actually made to be sewn onto fabric – but I do it anyway.
For example, as I was perusing the DIY wedding aisles at Hobby Lobby, I came across these silver leaves that are meant to be used in bouquets. They’re not solid – just the outside shape and veins with some curlicues here and there, all in silver and in different sizes.
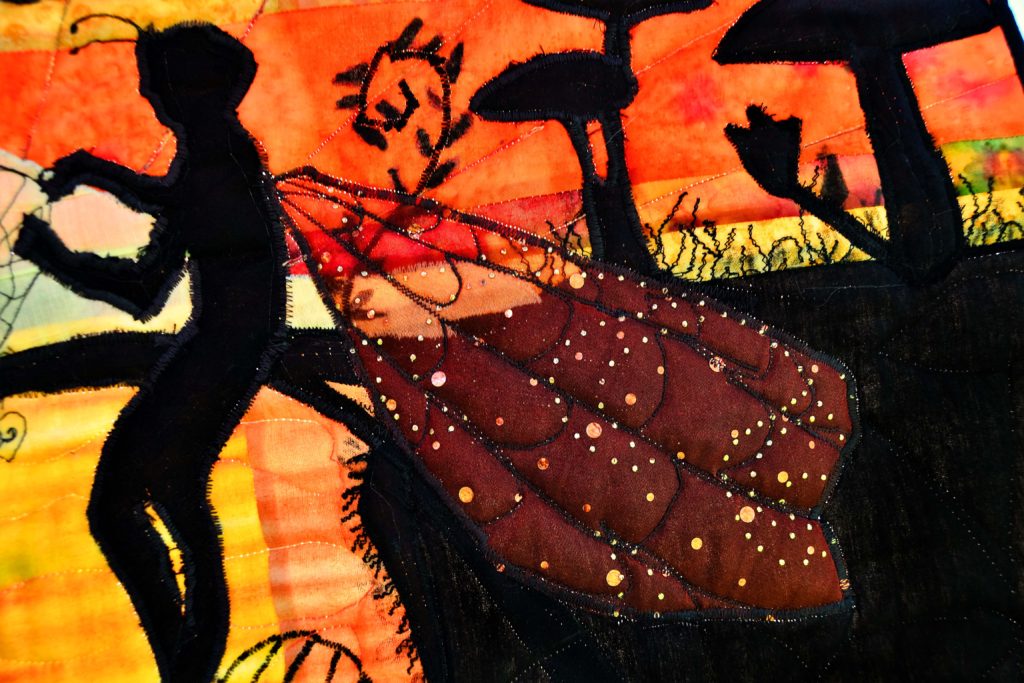
I stood there and looked at them for a while because I was very drawn to them, and eventually they talked to me and told me they wanted to be used as fairy wings. So they will be!
Into the “other stuff” category you could also place jingle bells, feathers, decorations for any holiday and reclaimed jewelry or hardware.
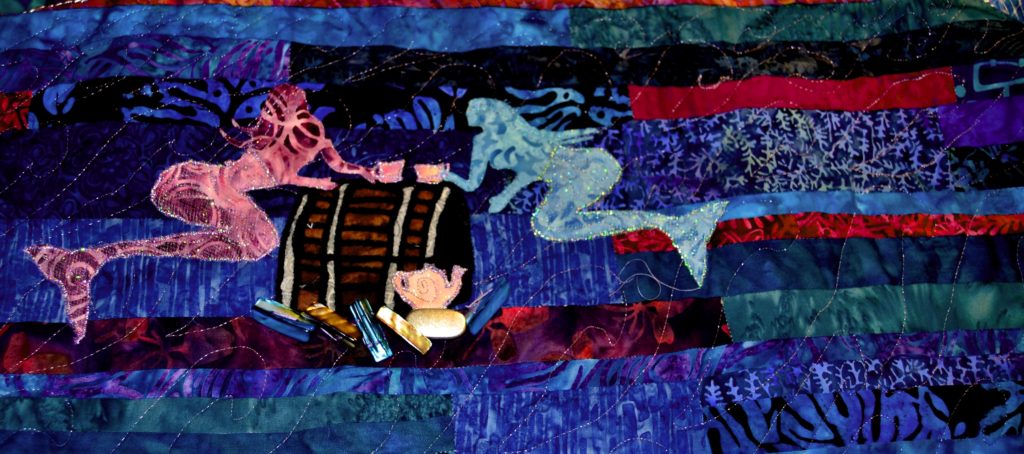
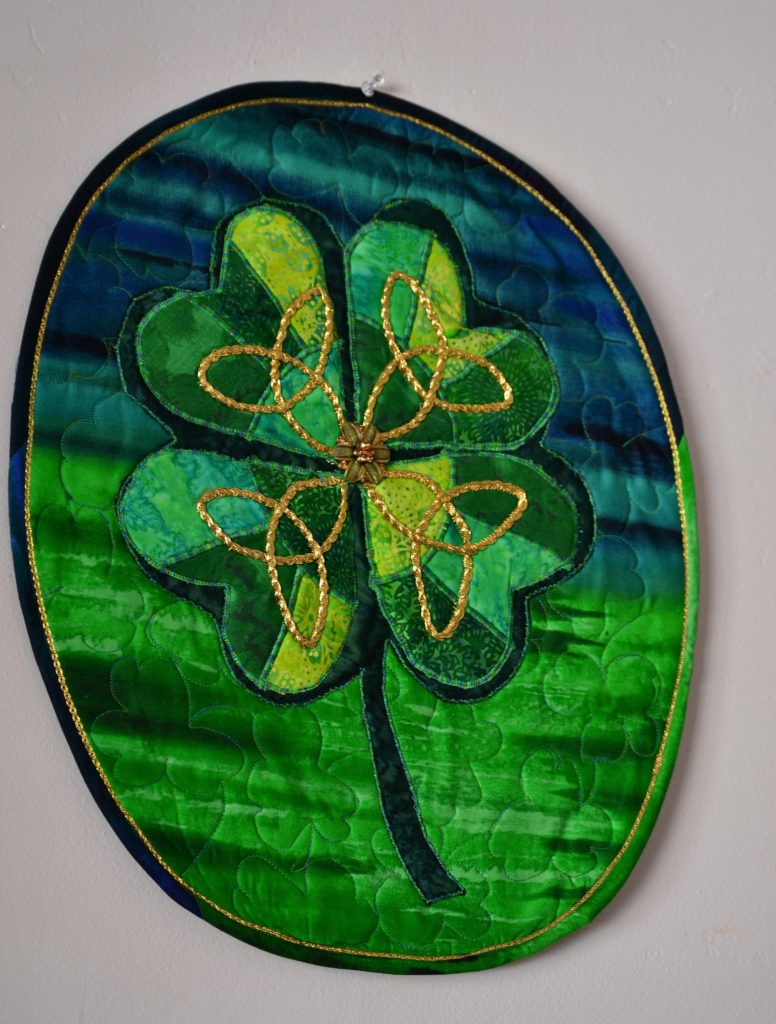
I used the glass flower off of one of Suzanna’s old hair tighties as the center of my shamrock table topper, and I’m using a belt buckle as a tie for my silver rope on my mermaid quilt (coming soon).
So just look around and keep your imagination wide open.
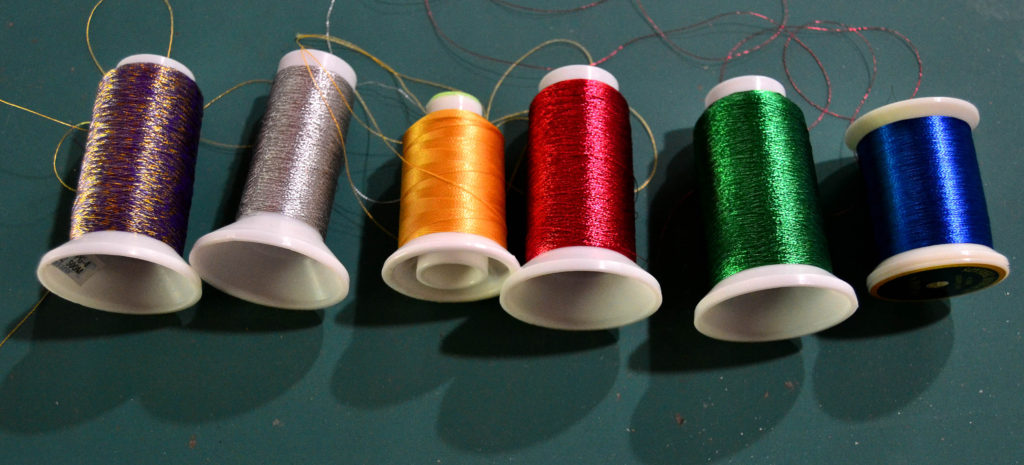
Thread
You might not think of thread as an accessory or a bling-up aid.
The truth is, however, thread and how you apply it, can make a HUGE difference to the finished look of your project. There are hundreds of colors out there for you to choose from and many different types.
If these colors aren’t blinged-up accessories, then I don’t know what is!
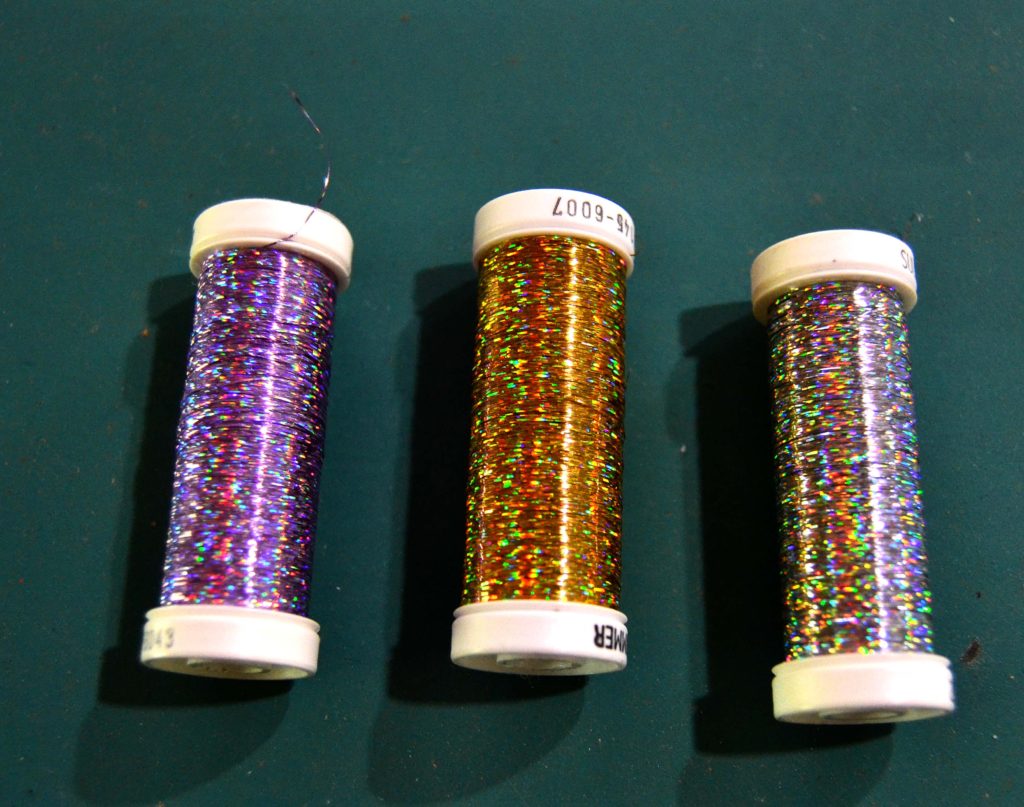
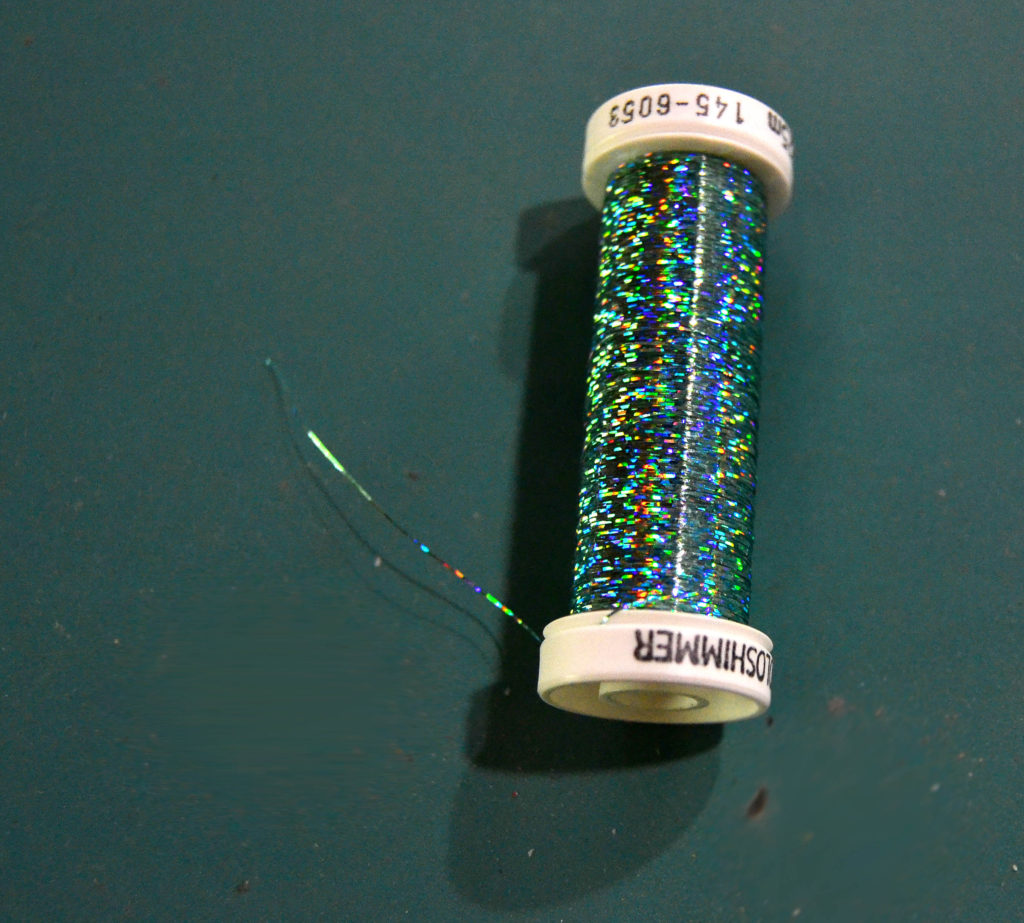
The ones I use most often for bling are the metallics, variegated, crochet and embroidery threads.
Once again, take a look at your project and see if there’s any element that can be enhanced or brought out by thread. You can make it quite heavy as in a satin stitch, or barely there.
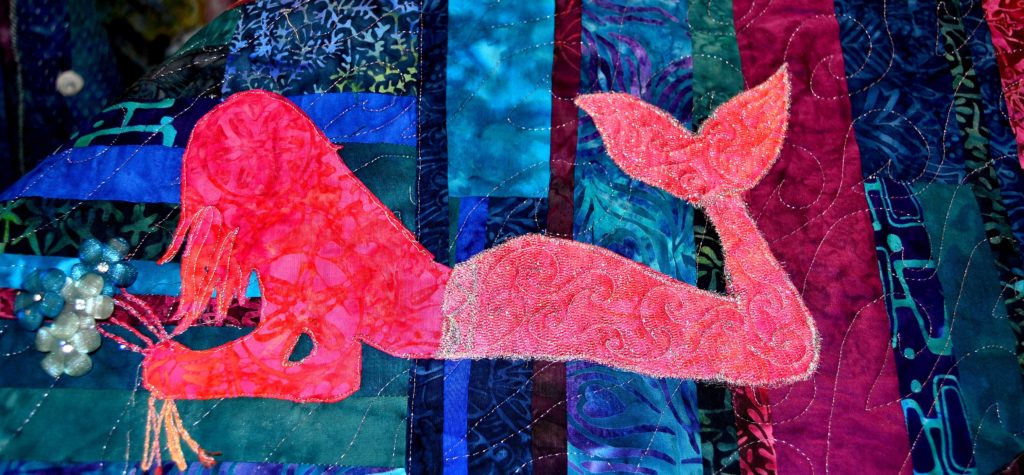
In my mermaid quilt, I’m using a variegated metallic thread to sew in waves, but only in a single line of straight stitching. The sparkly edges on my “waves” won’t jump out at you, but they’ll be there, gently adding sparkle and movement.
I’ve just purchased a pack of glow-in-the-dark thread and am trying to think of a project where they could really shine – pun intended.

And don’t forget yarns. They come in a plethora of colors – even variegated and can be used almost anywhere. You can’t sew most through your machine, but you can stitch them down with a zigzag like some kind of super-skinny trim.
Chiffons
Here comes the bride…
Chiffons, are those see through, very fine netting material you can find in most fabric stores. They come in all colors, many different shades of the same color, and many of them have sparkles and designs on them.
They can also be called organza fabric, and some are just netting – most chiffon and organza is opaque with no actual holes.
Chiffons are most often used for fancy dresses like prom, wedding, and evening dresses, but they make nifty highlights for your projects.
I most often use them when I want something to appear mystically magical, or to blur images.
- I used pink sparkle chiffon on my main mermaid’s tail, and it made that beautiful design into magic.
- I’m planning on using different colored chiffons on all the rest of the mermaids on the quilt as well.
- I used a clear sparkle chiffon to cover my Christmas stars.
You don’t need a lot of chiffon to pack a pretty gentle punch. Also, Suzanna has a fabric flower-making kit (Kanzashi) and we use those forms to make chiffon flowers that we add to our projects as well.
Lights
I have personally never used lights on a project before but, like me, you have probably seen those Christmas kits that include lights.
I really like the look so Suzanna and I spent quite a bit of time on the Internet looking for them, but could find none anywhere. We eventually purchased a set of 6 different colored strings of fairy lights that I want to use in a number of different projects.
Since I was having a hard time figuring out how to attach them to my projects, I took my projects and the lights to our local quilt store and asked the ladies for their ideas – and I got them!
I haven’t done it yet, though, so I have no steps or tips. Watch for upcoming articles, hopefully.
Bling it Up – Create More Beautiful Quilts
In conclusion, don’t be afraid to use unorthodox objects for your projects as well as the “normal” things you can find in the fabric section.
Most times it’ll be a combination of tradition and radical, normality and uniqueness, that creates a finished effect that dazzles and reflects some type of realism. Better to create a beautiful quilt that shines too much than a quilt that doesn’t shine at all.
Don’t be afraid to experiment, and definitely don’t be afraid to try new things.
You may have a few wrecks along the way, but that’s half the fun – and you can always submit the tales of wow and disaster to our Seam Ripper Championships.
Have fun and dazzle us all!
Hello, I want to subscribe for this web site to obtain most up-to-date updates, so where can i do
it please assist.
Great article, just what I needed.
I like the valuable information you supply in your articles.
I’ll bookmark your blog and take a look at once more right here regularly.
I’m relatively certain I will be informed many new stuff right here!
Best of luck for the next!