Sew-Zone Do’s And Don’ts – Princess YellowBelly’s Sewing Safety Tips

Sewing machine with check marks and no symbols
Princess YellowBelly Designs logo

The sew-zone is any place that you use to do your sewing and create your wondrous works of art.  It’s a place for Zen and peace, for relaxation and creativity, for insanity, frustration, chaos – and all the wonderful fruits of both an artist and a homemaker.  It can also be a potentially dangerous place, filled with sharp implements and hidden hazards.  Here’s a list of sewing safety tips that we hold dear at Princess YellowBelly, and will also help you keep your sew-zone inviolate from intruders!

When I was a little girl we lived in a tiny 700 sq. ft. house with 7 kids in the Northern Alberta bush country, right alongside the grizzly bears.  Very “Little House on the Prairie” like, with all the accompanying “adventures” and hardships. 

I learned a lot from those years in 700 square feet with 6 brothers and sisters, mostly from my mother. 

My mom, who was a wizard at keeping this potential disaster whirling in a clockwise direction, carved out her very own sew-zone on the arm of the living room couch.  This is where she worked constantly to keep us clothed, mended, and etc.

log cabin, seven children, farmer and wife, grizzly bear

And even though we ran in age from new-born to pre-school, she had us so well trained in what we could and could not do in her sew-zone, that not one of us ever picked up a pin and stuck it in our mouths, or got injured in any way whatsoever! This was an achievement I took entirely for granted until I had my own ankle biters, and training them made me realize what a genius my mom had been all along. 

So I’d like to pass on some accumulated wise sewing safety tips from both her and I, and hope it will help you out as you create your own zone.

Sew-Zone Do’s – Offensive Sewing Safety Tips

Sew Zone Dos - sewing safety tips sewing machine with a check mark in front

There are a few simple tips and tricks that you can and should do to carve out your sewing niche.  This will help you to preserve your own space without irritating or frustrating others in your family, and will help to protect your sewing projects as well!

Create a Space

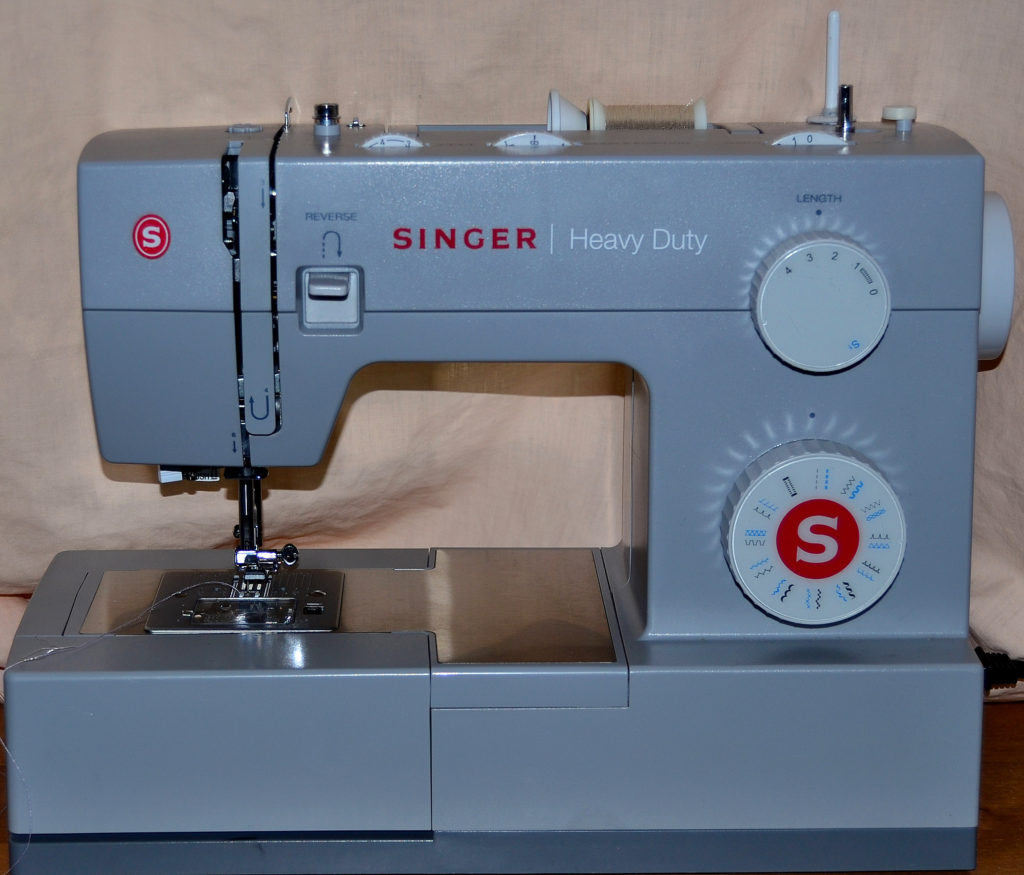
Look around your available space and find a place where you can set your sewing machine up permanently. 

  • My mom used the arm of the couch so that she wouldn’t have to move her machine and all her sewing paraphernalia at every meal and taught us to respect her space. 
  • I have used an antique office desk that Michael bought at an auction when we were first married.  I have used this desk in almost every conceivable room in the different houses we have lived in, except the bathroom and back entryways! 
  • My friend Barb sews in a large coat closet and she has it so organized that it actually seems spacious and works beautifully.

It’s not the place you sew in that matters, as much as the space you carve out.
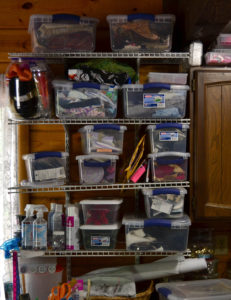
Organize!

Having everything organized so that you know where anything is at any given time is a huge time and frustration saver. 

The first thing I do when I carve out a new zone for myself is decide where my ironing board will go in relation to my sewing machine.  If I have the space, I like to leave my ironing board set up on my right side at a right angle to my sewing desk.  This way, I can swing back and forth between the 2 without wasting any motion. 

My sewing machine & sewing table is just to the side, closest to the window

Once the ironing board is situated, I think about:

  • The most-used items I have…
  • The storage containers I have…
  • And the available space in my new sew-zone… 

I try to organize so that I don’t have to actually get up all that often when I’m actually sewing in my zone – I like to be able to concentrate exclusively on what I’m doing.

Have a Strict Start-Up and Shut-Down Routine

This way you will always power up and shut down all your devices and tools in the same order and don’t have to think it through every time. 

Turning your sewing machine on and off each time you sew will lengthen the light-bulb life but also insures that no busy little hands can make that needle go up and down when your back is turned. 

Close up of a steam iron
This iron is cool – but it’s a decent warning, a hot iron carelessly forgotten or set aside CAN be a hazard!

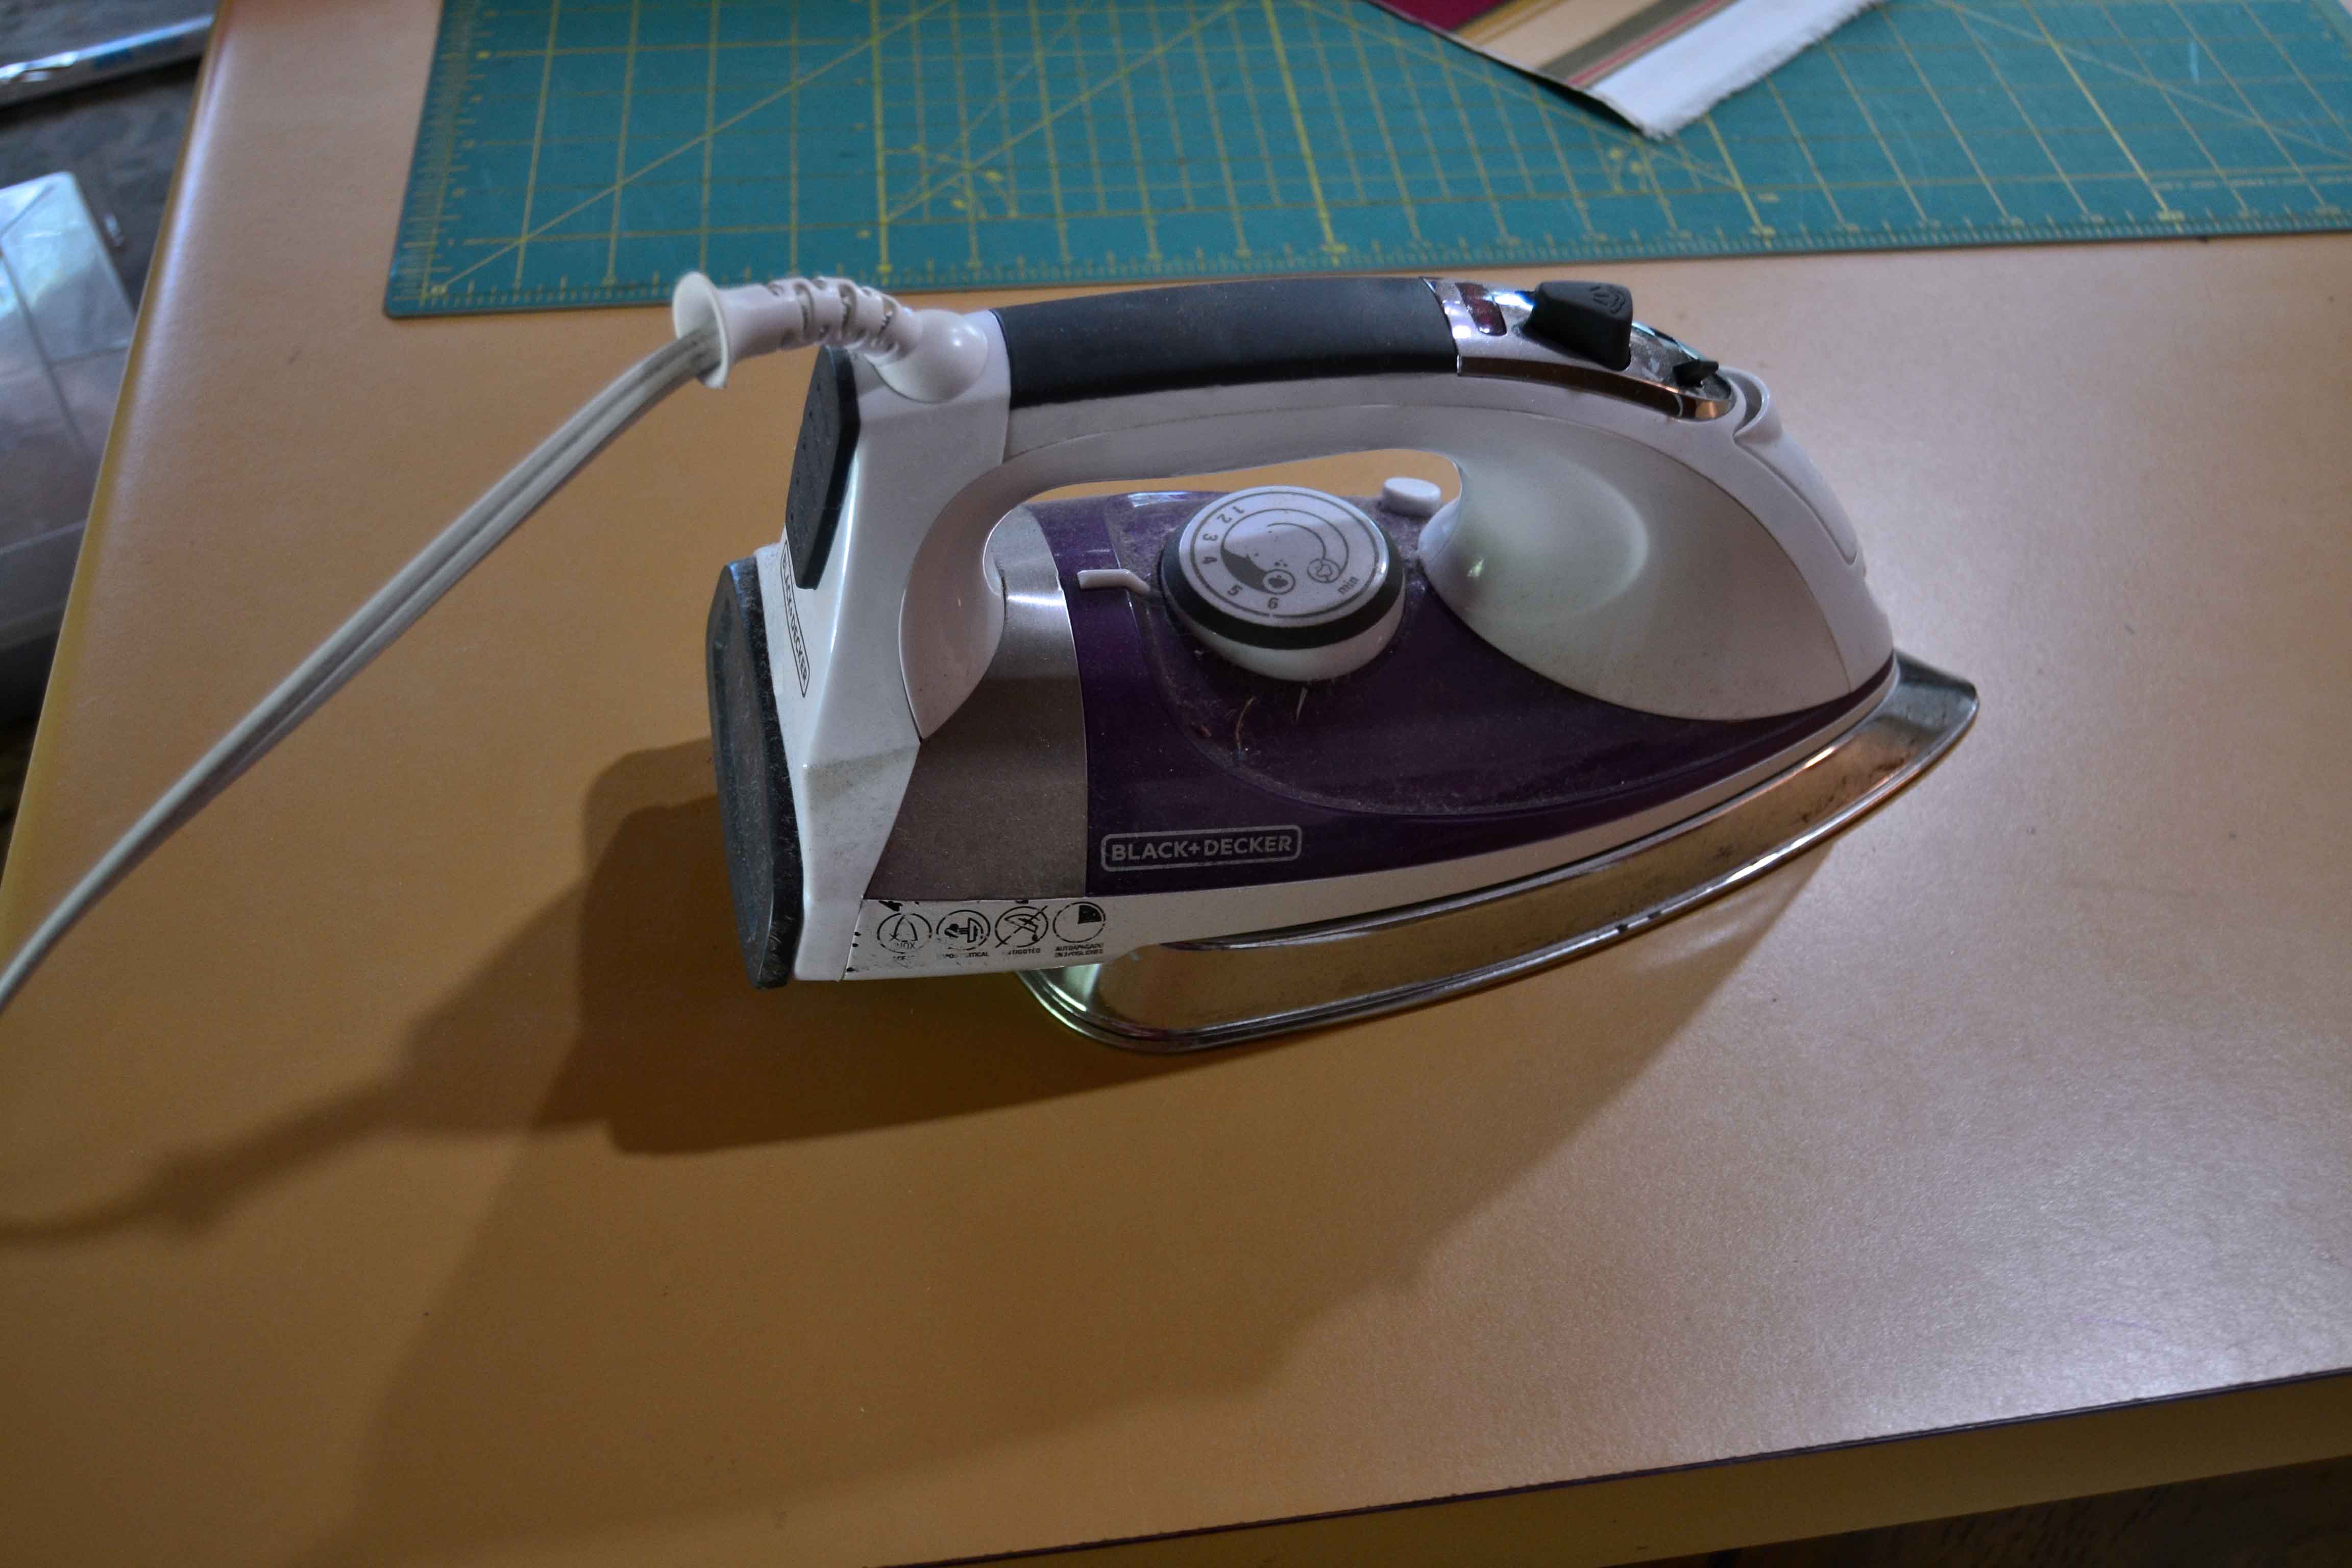
The same principle holds true with the iron.  I know that they have automatic shut-offs now, but I don’t trust them!  And, if your kids are even half as bright as mine, they love to push buttons and it will take them only minutes to learn how to switch that iron back on.  Burns are a horrible thing, so ALWAYS unplug your iron when you’re finished sewing for the day – especially if you have small children!


Make and Enforce Rules about Space Invasion

Do this thoughtfully – for your peace of mind – but reasonably, so that both you and your family can live with it. 

Sewing machine silhouette with yellow warning label "you shall not pass" sewing safety tips

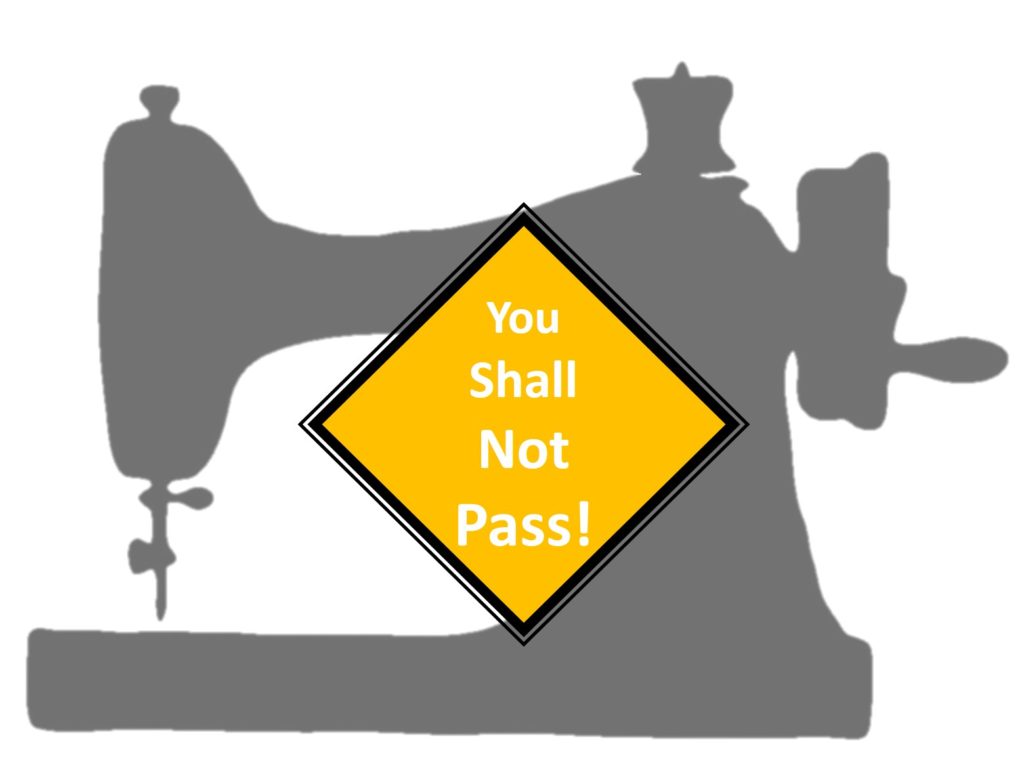
If you’ve got your own sewing room or closet (any space with a door that shuts) train your family to knock before entering.  If you have to sew on the arm of the couch or the end of the table, make sure that no one touches your stuff without asking you first.

Trust me, a few sharp words will go a long ways towards preserving peace in the home when the option is discovering expensive tools missing, your sewing machine damaged, or something caught on fire, (worst case scenario).  Plus, you never want to come back and find that a square which took you two-to-five hours to piece is stained with chocolate fingerprints. 

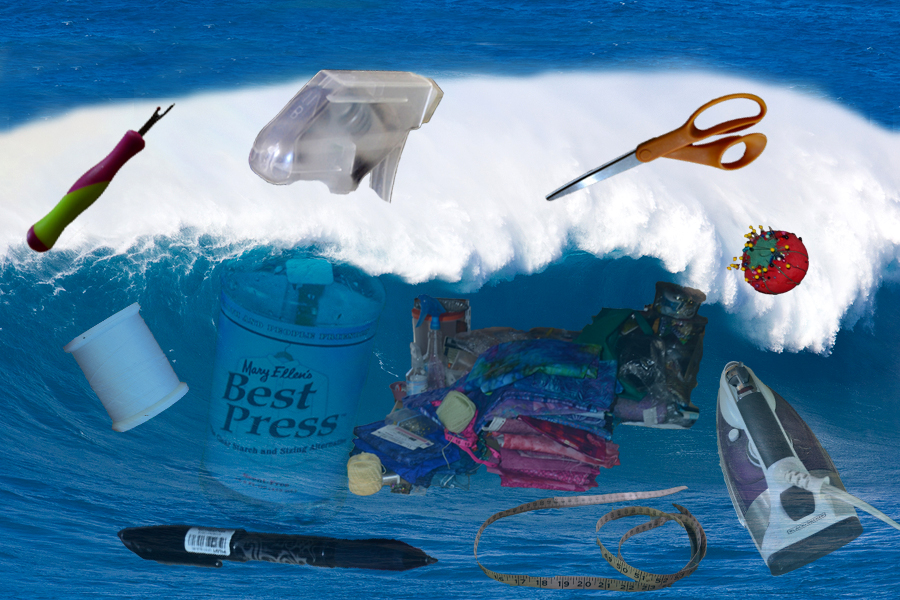
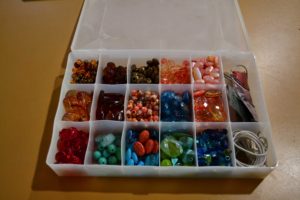
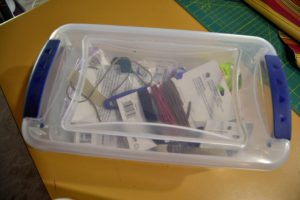
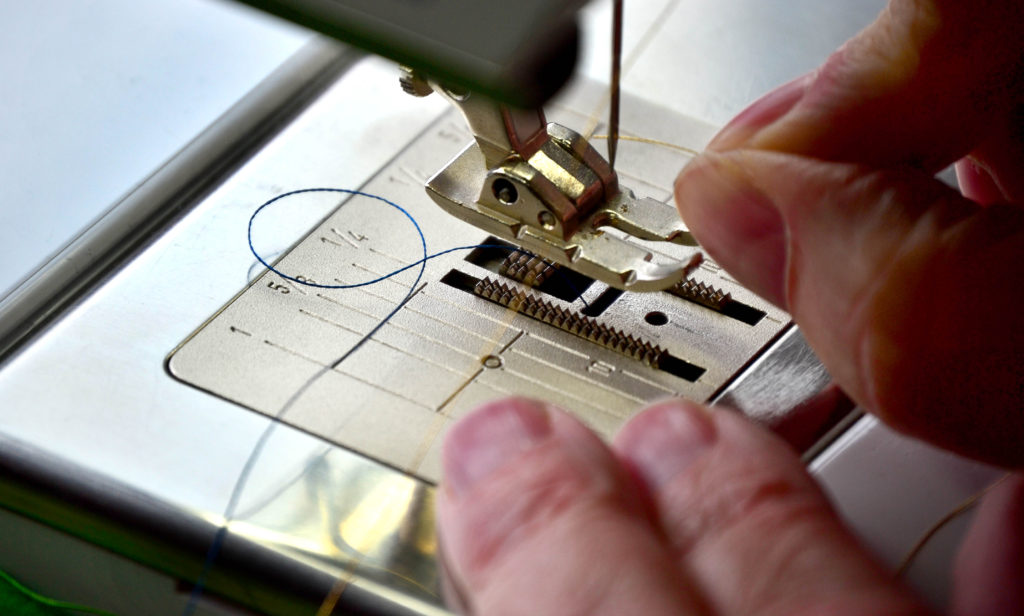
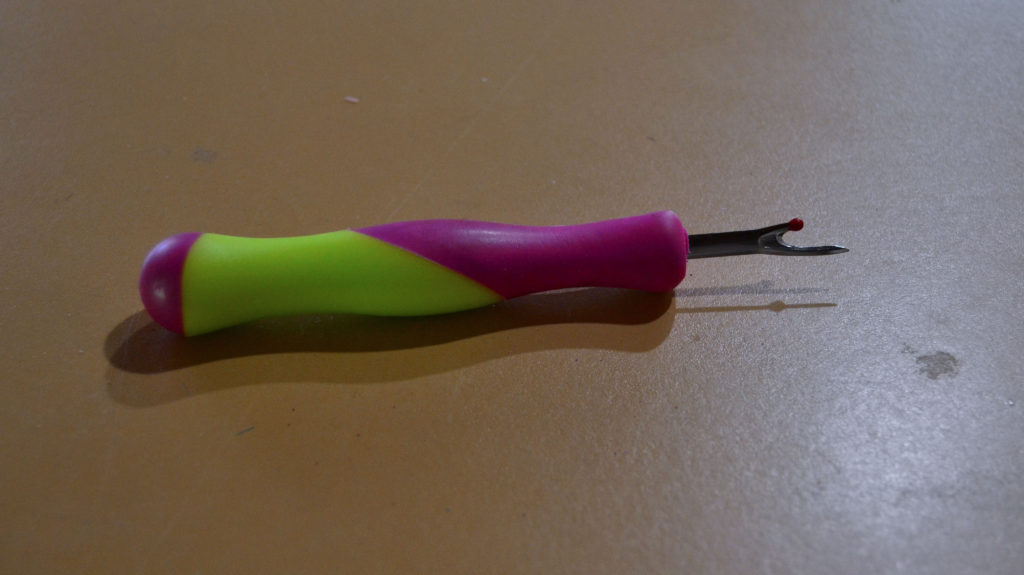
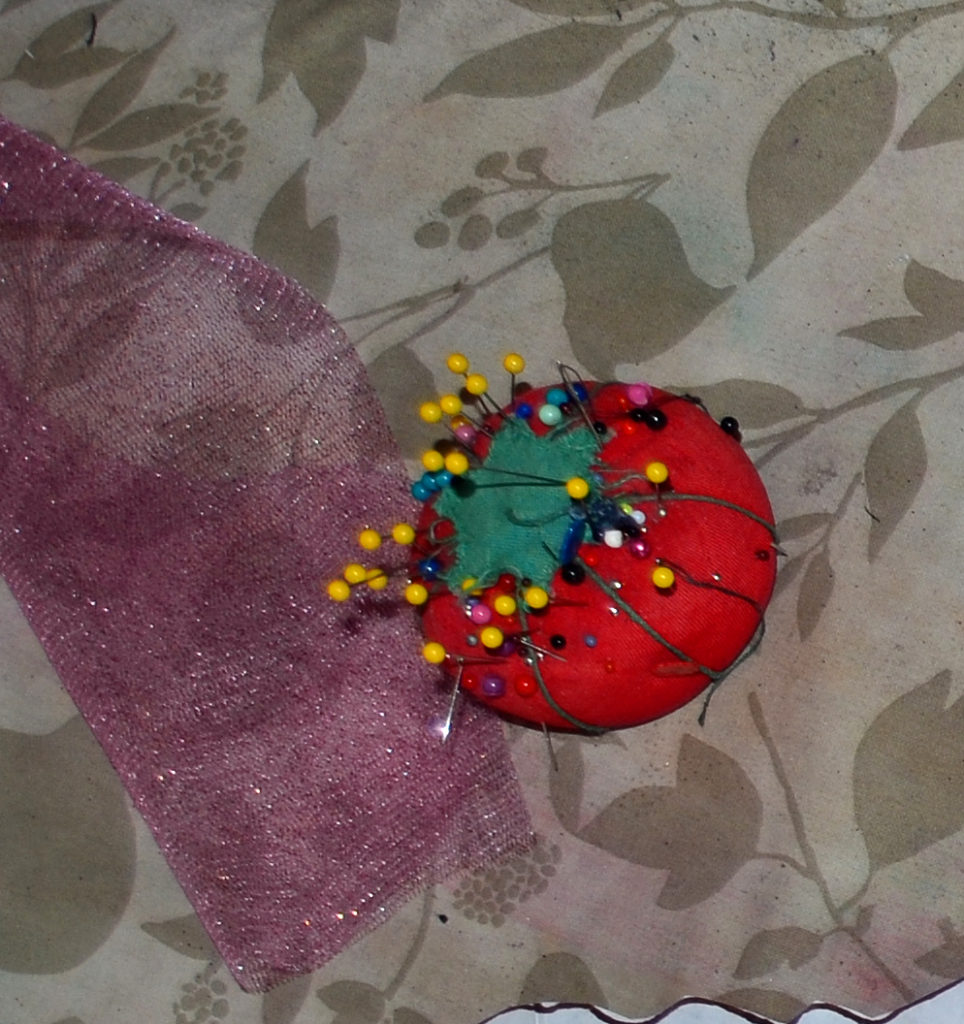
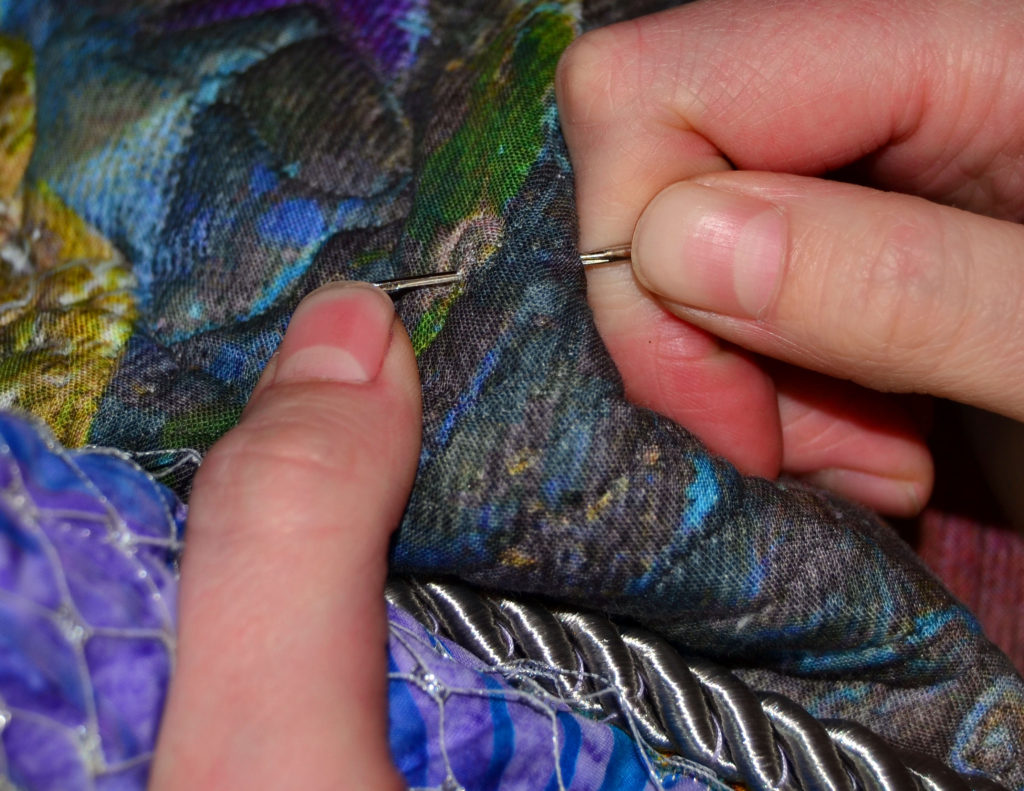
Take Extra Care with Sharp Implements

If your sew-zone is in the living room there’s no way pins won’t end up on the carpet.  Michael made me a pin catcher by gluing a magnet on the bottom of a long stick, and all I had to do was move it slowly over the carpet and – voila! 

I taught the kids to do this and also to pick up any pin they found on their own and to give it to me.  I rewarded them with a jelly bean per pin, so it was a fun game and they never got hurt either. 

This is more important than slightly OCD-ish neatness, by the way.

Back in the day when I was teaching school, one of my students’ moms swallowed a pin.

Yes, a mom, not her kid – she had the pins in her mouth, was startled, gasped…and down the hatch that pointy little knife went.  (Which is a good reason to leave your pins in the pincushion and not your mouth.)

The medical procedures and trauma that little mishap caused that poor lady emblazoned itself on my brain and I swore that I would make sure my kids knew NEVER to put those little knives in their mouths. 

In the same vein, place all:

  • Scissors…
  • Seam rippers…
  • Rotary cutters…
  • Pins…
  • And anything sharp…
to show a sharp cutting tool in sewing
To show sharp sewing and cutting tools

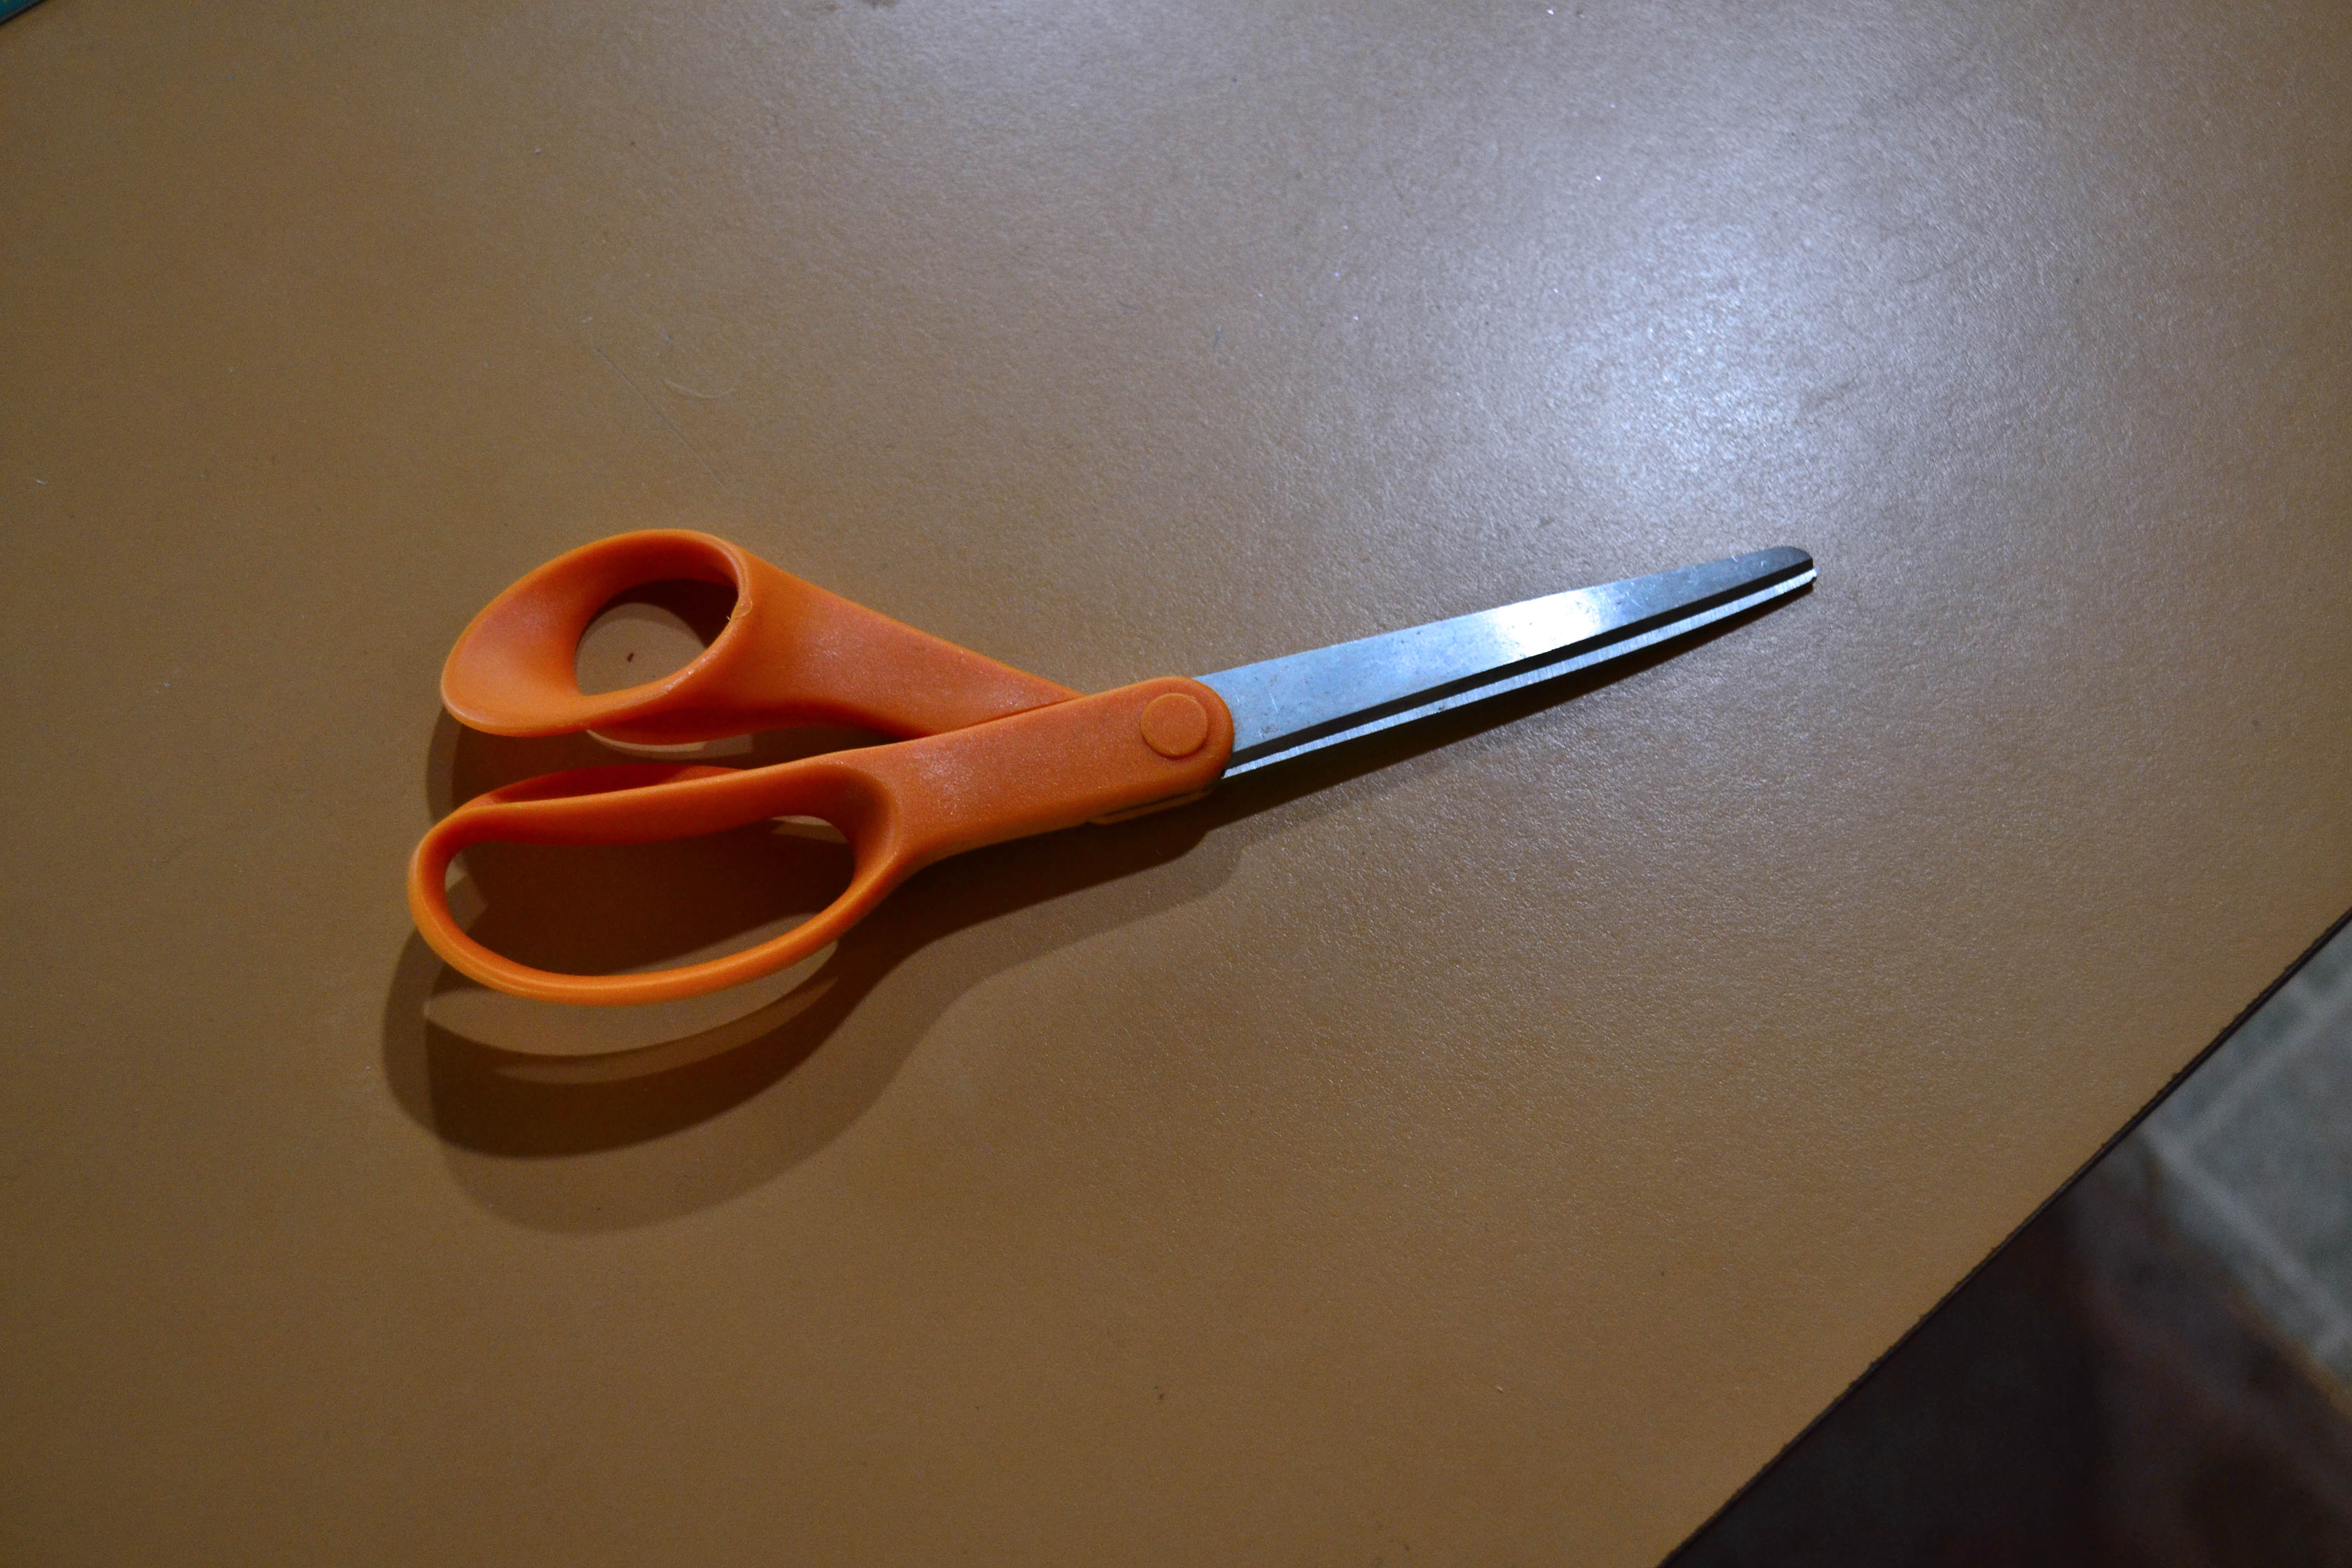
Out of reach until your kids understand why these are NOT toys!  If you have indoor pets, never stop, because they can’t understand. 

And finally – and maybe most importantly – make sure that you always close your rotary cutter after each use.  This wonderful tool is a razor sharp knife that will cut through skin, flesh, and even bone as easily as it does through fabric.

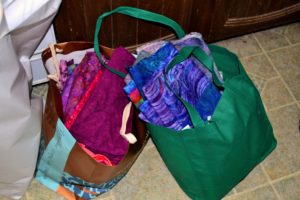
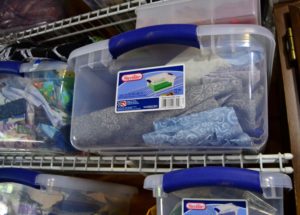
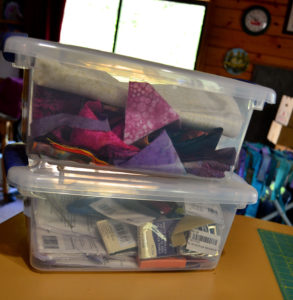
Fold All Fabric Neatly Before Storing

Fabric takes up a lot of space and the more carefully you fold it, the less space it takes and the more you can stuff in.  Also, I’ve found that it’s quicker and easier to iron out a few folding lines than it is dozens and dozens of stuffing wrinkles.  If you’re really pressed for space, you can trying tightly rolling your larger fabric swatches, as well.

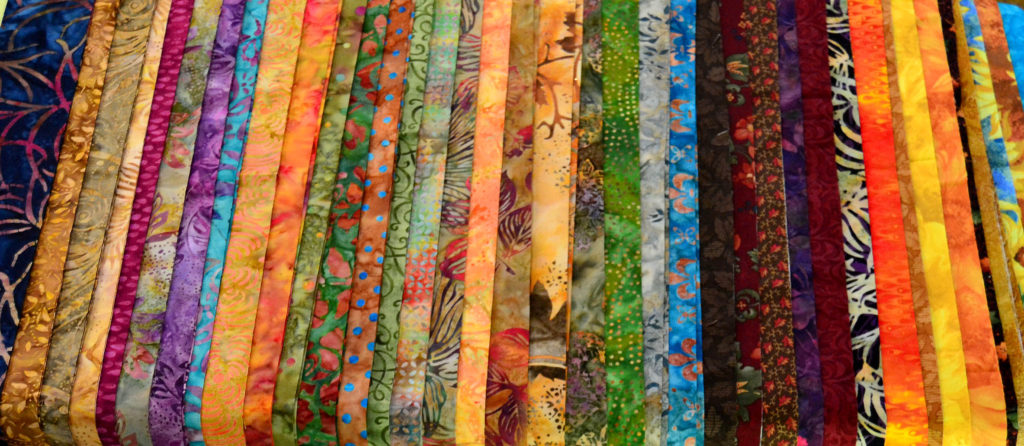
Either way, you’ll save time, material, and wear-and-tear on your leftover fabrics.  It’s a win-win.

Sew-Zone Don’ts – Defensive Sewing Safety Tips

Sew Zone Don'ts - picture of sewing machine with a no symbol in front

In some ways these are even more helpful than the do’s in our sewing safety tips and sew-zone protection list.  “Do’s” can come and go with your space, the size and age of your family, and your sewing needs.  But “don’ts” tend to stick around regardless of your circumstances!

Don’t Eat or Drink Anything in Your Zone

Stains are extremely unattractive and cleaning projects you’re working on is a pain.  Get up and go get something if you want, but eat and drink somewhere else. 

My one exception is a water bottle.  This is basically a grown-up version of a sippy cup, and it keeps me from getting dehydrated, but since the little straw tube folds down, and I only keep water in it, chances of dumping or staining are minimal.

Don’t Bleed in Your Zone

Even the smallest pin-prick can leave a drop of blood on your project and blood stains look exactly like what they are.  You have to clean them right away.  Also, if a blood stain sets in, you can actually rip or fade out delicate fabrics when trying to scrub them clean…so take the time to get a Band-Aid. 

A needle sticking into the seamstress's finger - one of the consequences of sewing dangerously

Don’t Sew When You’re Panicky or Pressed For Time

Trying to get something done within a certain time isn’t a bad idea, but rushing to meet deadlines, especially when you’re struggling with a certain technique will result in panic.  And it will NOT end well.  You’ll make mistakes and just have to rip it out later.

Don’t Sew When You’re Tired

You’ll end up with the same result.

Don’t Sew When You’re Angry

Again, for the same reason, especially if you’re mad at the person you’re sewing for.  I once sewed a shirt collar in upside down in a shirt I was making for Michael because I was MAD at him for something… 

Of course, I didn’t have enough fabric to make a new collar, and ended up having to throw the whole thing away.  That was obviously all his fault – since I’m perfect.  However, although I still get mad at him now and then, I don’t sew when I’m “P.O.ed.”

Don't sew when you're emotional: angry face, tired face, crying face emojis

Don’t Leave Supplies Sitting in Strong Sunlight

Sunlight is both your best friend – since natural light is the best to work by – and also your worst enemy, since the sun can deteriorate things quickly. 

I always sew in front of a window if I can because it helps me to see so much better BUT I always replace the cover on my machine to keep the sun off of it.  This is especially true of fabric – fabric fades very quickly in sunlight.

Keep all fabrics hidden along with spray starch, basting spray and plastic scissor handles, really anything that’ll lose its moxy if left out in the sun too long.

Enjoy Your Sew-Zone!

I hope that this gives you an easy list of go-to sewing safety tips and ways to make your creative zone more peaceful, prosperous, and enjoyable.  Fabric art should be about joy and experience, and the more you protect your space, the more you’ll enjoy it. 

OK, enough with the joy.  If you liked our article, or have some tips and tricks of your own, please drop us a line at our email: karyl@pybdesigns.com!

To the greater good of your quiltivity,

Karyl (aka Princess YellowBelly)

Turning a Tidal Wave into an Ebb Tide

A tidal wave carrying sewing supplies; iron, fabric, measuring tape, marking pen, scissors, pin cushion, seam ripper, thread, spray bottle, and more

Getting the Best of Your Quilting Stash – Before it Gets the Best of You

You have a sewing space and sewing supplies.  The problem is that your sewing supplies will always – always – outgrow your sewing space.  Unless you start corralling clutter now, your quilting stash will cheerfully bury you under a massive tidal wave.

All quilters have a stash of some sort.

A stash is any fabric that is left over from a sewing project, or fabric that you’ve bought because you’re intending to do a project that never happens, or just fabric that you fall in love with.  For instance:

  • I absolutely LOVE all fabric that has an autumn theme, so I have a great deal of that.
  • Barb is physically incapable of passing up anything paisley, so her paisley stash is huge.

Keeping it all neat and organized is an issue that has to be answered by every seamstress.  Unless you’re one of those people who work best in an environment of total chaos, then the question of organization has to be addressed for your specific situation before you can even begin to sew.

Ways that I’ve Successfully Corralled Clutter

Over time you’ll develop your own ways to corral the mess and fuss that sewing and quilting generates.

To start with, though, I like to know what I’m going to have to store – and more importantly, where I can put my hands on it when I want it.  Having to search and search for something I know I have and want for a specific project frustrates me out the yin-yang and I become very unpleasant to be around.

I tend to buy ahead on any fabric I see that could be used in a fantasy type panel, so I’m always thinking of how I’m going to keep various materials that go with a specific project together and organized.

I also loathe dust and dusting, so I’m all about storing everything in closed containers.  Here is what I’ve learned.

Start Corralling Clutter by Defining Your Space

Look realistically at the space that is available to you.  Everyone’s situation is different and it changes with the times, so this is fluid.  I like to define how far my sewing tide can spread in the space available to me.

When you’re deciding this, look at places for your:

  • Sewing machine
  • Ironing board
  • Cutting space – typically a counter or table
  • And where you will store your stash.

For years I kept my sewing machine in the bottom of a closet and brought it out to sew with on the dining room table.  Now I have a desk where it sits all the time, and that is much more convenient.

For the first time ever, I also have the room to keep my ironing board set up permanently on my right side.  This is a huge convenience but not at all necessary.

Big canvas shopping bags to hold supplies temporarily for a particular project - corralling clutter in the short term

Large shopping bags can be used to corral the clutter from a particular sewing project.  In this case we are using two big bags to keep the fabric, notions, and batting for a twin quilt in one easily accessed place while we work on various sections.

If you don’t have enough room for a permanent style sewing setup, make sure you put everything back every time.  Otherwise it will become a habit to leave it out and soon the clutter will be driving you insane.

Keep in mind that not all of your stuff has to be all in one space. 

I store my big rolls of batting and my rarely used tubs of notions in a small closet in the spare room. Barb’s sewing “room” is a small walk-in closet in her spare room and she manages to keep all her stuff neatly organized with shelves where she stacks her fabric and a peg board on the wall behind her machine to hang her thread spools on.

See if there are any cupboards, closets, drawers, or a lazy-Susan (cupboard turntable) you can commandeer for your supplies.

What about floor space or wall space? 

I was getting incredibly frustrated with my space when Michael suggested he put up some wire shelves in the 3 foot space on the wall between the cupboard and window.  He put up 4 short shelves for me, and that has made a huge difference to my frustration levels.

I like to keep as much of my fabric in tubs as possible. 

This is because I hate dust – this solution keeps my fabric clean and – as an added bonus – easily accessible.

I took the measurements of my shelves with me to Walmart and found clear tubs that would fit in that space.  Not all of my tubs are the same size.  I use the larger ones for material and then I got a bunch of smaller ones that fit on top of the larger ones for each shelf.  In these I keep my sewing supplies like iron cleaner, fabric glue, Velcro, markers, etc.

All of these tubs are clear so that I can see what’s in them without having to take them down and look.  I also purchased a few of those plastic pullout drawer filing cabinets that Walmart carries.  I set these wherever it’s convenient.  I like to use the big, deep ones for storing fabric.

Organize the way that makes sense to you. 

It doesn’t matter if no one else “gets” the way you corral clutter; it just has to work for you.  Even if it looks like a total disaster to an outsider – who cares?  You’ll know where you’re at.

I organize by theme and color.  I have 3 large tubs of autumn fabric, one of landscape fabrics, a Christmas one, etc.  Then I have my blue/purple tub, the teal/turquoise tub, my water fabrics tub, etc.

Wire shelves to hold sewing supplies, all the clutter corralled in  tubs

Wire shelving right above my sewing space helps keep all my most frequently used supplies, notions, and fabrics close at hand and still out of the way.

Large plastic tub full of color-themed grey and silver fabric

I use these fabrics frequently, 4-5 times a year.  Plenty of time for them to get filthy with dust and lint unless they are kept in clear plastic storage tubs.

Corralling clutter with plastic tubs

A variety of ongoing projects and sewing supplies fit great into these smaller tubs.

Corralling Notion Clutter with Genre Jars

(Leiajoy came up with the genre jar name – BTW!)

Storing notions is something you need to give a great deal of thought to.  Because they’re usually smaller (like buttons and beads), or on rolls like ribbon, they can’t be stacked neatly in tubs.

I organize notions just like my fabrics – by color and theme.

A genre jar can be anything from an empty candy tub to a glass jar with a fitted lid (like the kind you use for spices in the kitchen) to a Tupperware or plastic container.

Genre jars should really be clear or clear-ish, so that you can see what’s in them, and they should also have lids (the dust, you know).  Plastic works better for higher shelves – but you can use glass if you have a place to set them where they won’t be knocked off.

For small, easily lost items my solution so far has been to use the smaller plastic containers that have a whole bunch of small compartments for buttons, appliques, my thread, beads and smaller novelty items.  (These are very nice because they’re relatively small and flat, so they can be stacked neatly anywhere.)

Genre jars are also perfect for things like my decorative ropes, spools of ribbon, etc.  And they work well for bigger buttons, and feathers.  (I know that because I’m storing feathers in preparation for a tropical project.)

Another thing I’ve found works great is a hanging shoe rack.

These are cloth tubes with sort-of-shelves inside a canvas canopy.  They’re made to be hung from a ceiling hook, and the outside has small pockets that are just perfect for shoes – or fabric flowers, or large rolls of ribbon.

Plus a hanging shoe rack can be easily hung over any door.

Corralling Clutter with the “Great Thread Roundup”

I used to keep all my spools in a large wicker basket but this was a nightmare with ends tangling up and having to dig through the entire basket to find the spool I wanted.

Now I have a tub of Aurifil quilting thread.  It’s a plastic tub with 2 layers (1 of large and 1 of small spools.  I bought this as a set and I’ve never regretted it. It’s been 6 years now, and even though I quilt with these threads all the time, it looks as though I’ve barely started on it.

Old-fashioned crystal jars with solid lids used for corralling button clutter

These old-fashioned crystal jars are my button genre jars.  They work perfectly for keeping a variety of specialty buttons which come in odd-shaped packages.

Large genre jar made from a plastic snack tub for holding large and bulky sewing accessories like large ribbons rolls, yarn and faux feathers

Junk food hath a few rewards.  One of them being that this once-upon-a-time cheese ball jar has, after being well-washed, pressed into service as my trusty genre jar of odd-shaped supplies like a roll of yarn and faux feathers.

Arguably my favorite method for corralling clutter – ever!  These small tubs are flat, simple, and hold those supplies that really tend to run away from you, like beads.  This is also my preferred case for regular spools of thread.

I also buy a lot of specialty threads, like metallics and variegated, so I bought a deep plastic thread tub with plastic spool holders built in.  This keeps those nicely corralled.

For leftover regular sized spools, I use the same plastic containers I use for my beads and buttons.  I have 4 of these and I organize them by color.  When I need a certain color, it’s only the work of minutes to find it.  These are great because they stack easily and neatly and keep the dust off of everything.

Some threads don’t have a tie-off built into the spool.  You can either stick them down with tape – a major pain – or store all these spools in a separate tub to minimize the damage.

Corralling your Sewing Supplies

For the sewing supplies that I use on an almost daily basis, I purloined a Tupperware tub from my kitchen that had lost its lid.  In this I keep my scissors, pin cushion, rulers, corner turner, seam ripper, etc.

Besides being real handy, this topless solution allows me to simply grab whatever I need without bothering with lids.

Corralling Your Patterns and Books

You will inevitably end up with a great many patterns, books, and even plastic bags with your applique pieces.  My system is to keep all the books on one half of a shelf on the girls’ business bookshelf.

The patterns that come in in Ziploc bags – and the applique shapes – I file in a large plastic basket that I keep in the same closet as my batting.

Here’s to Your Success in Corralling Clutter!

Whatever storage system you eventually adopt you can be sure that the ebb tide will sooner or later swell to a tidal wave and threaten to overwhelm someone else’s space.

When this happens, the only thing to do is go through everything and sort like crazy.  You can’t keep everything so you have to be ruthless.  Give your throwaways to friends, or a thrift store, or your quilting guild, etc.

Plastic tub filled with sewing supplies used for corralling clutter

I can’t say it enough – clear plastic tubs are the way to go when it comes to corralling clutter.

Plastic candy tubs are used to hold specialty ribbons

These flat plastic tubs once contained Christmas candy.  But they are flat, with tight-fitting lids and they stack beautifully.  I generally use them to store odds and ends like specialty ribbons and appliques.  

If you don’t you’ll end up drowning under it all and that wouldn’t be very nice, now would it?

You will eventually develop a kind of working rhythm, but it’s always worthwhile to clean up every time you finish a project.  You’ll be less frustrated, and your clean-up won’t be such a major pain!