Welcome back to Princess YellowBelly Design’s series of articles on acquiring the right tools to stock your quilting toolkit with. Last week we dealt with how to purchase the best sewing machine for you, this week we’re going to be dealing with how to use cutting tools in sewing.
The Sharp Stuff You Need – Piercing & Cutting Tools in Sewing Quilts
Just by the very nature of the beast, sewing requires a great deal of sharp stuff. These can be a real hazard if you have small children or curious pets, so think carefully how and where to store them so they can’t be accessed by those curious little hands. There are many and varied storage containers at box stores, etc., so be creative!
Sharp stuff can also be a real hazard to us as we create.
If I had a dime for every time I’ve driven some sharp sewing implement into a finger, or my lips, or my tongue – I’d be able to buy a long-arm quilting machine!
I have been poked, stabbed, cut, and ripped during various creative endeavors. They happen, so be prepared to deal with them quickly, but don’t let these injuries slow you down. Remember, no pain – no gain.
So what sharp stuff is absolutely necessary for your toolkit to be workable?
Scissors – the #1 Cutting Tool in Sewing
This would seem like a no-brainer, but if you have looked at all at the scissors available in most stores these days, you know that selecting the right one for you is mind boggling. I am not going to tell you which brand to buy, because each of us likes different styles, etc. I will only tell you what kinds of scissors you need to do your work.
Heavy Duty Shears
I bought a pair of these about 20 years ago when I was sewing jeans for Michael and needed super strong shears to cut through multiple layers of denim. I no longer sew his jeans for him, but I use these shears almost every time I do any sewing.
They’re invaluable in quilting and fabric art because they cut through multiple layers at once and since they are heavy duty, they don’t slip sideways and ruin your lines.
They’re especially helpful in cutting shapes out of Bosal-n-r-Foam and for trimming around layered appliques.
Regular Fabric Scissors
These are the normal sized scissors for cutting 1 or 2 layers of fabric at most. I use these to cut out single appliques, thin batting…pretty much everything that doesn’t require those heavy duty (and very heavy) shears.
These regular scissors are now made to be ergonomically correct, and very sharp.
I know I said that I wouldn’t mention brands, but in this case I prefer the Fiskars brand because the blades stay sharp for years.
Paper-cutting Scissors
My paper-cutting scissors are actually an old pair of regular scissors that lost their sharpness years ago. They’re useless for cutting fabric but work great for cutting out patterns and templates, etc.
DON’T EVER use your good scissors to cut paper!!!!! It will ruin them in no time!
Thread Snipping Scissors
I have a very small pair of scissors whose tips curve up slightly at the tips so you can cut right against a fabric surface without also cutting the fabric.
These mini-scissors are superior when it comes to snipping off tiny ends of thread on your projects, sliding a blade in under a snarl, or just for cutting thread when you finish sewing.
I know all these fancy new machines come with thread-cutters, but I learned to do it the old fashioned way and that’s how I’m comfortable. Also, the thread-cutters break quite easily and scissors don’t, so keep a pair handy. They’re much smaller than regular sized scissors so don’t get in the way while you’re sewing.
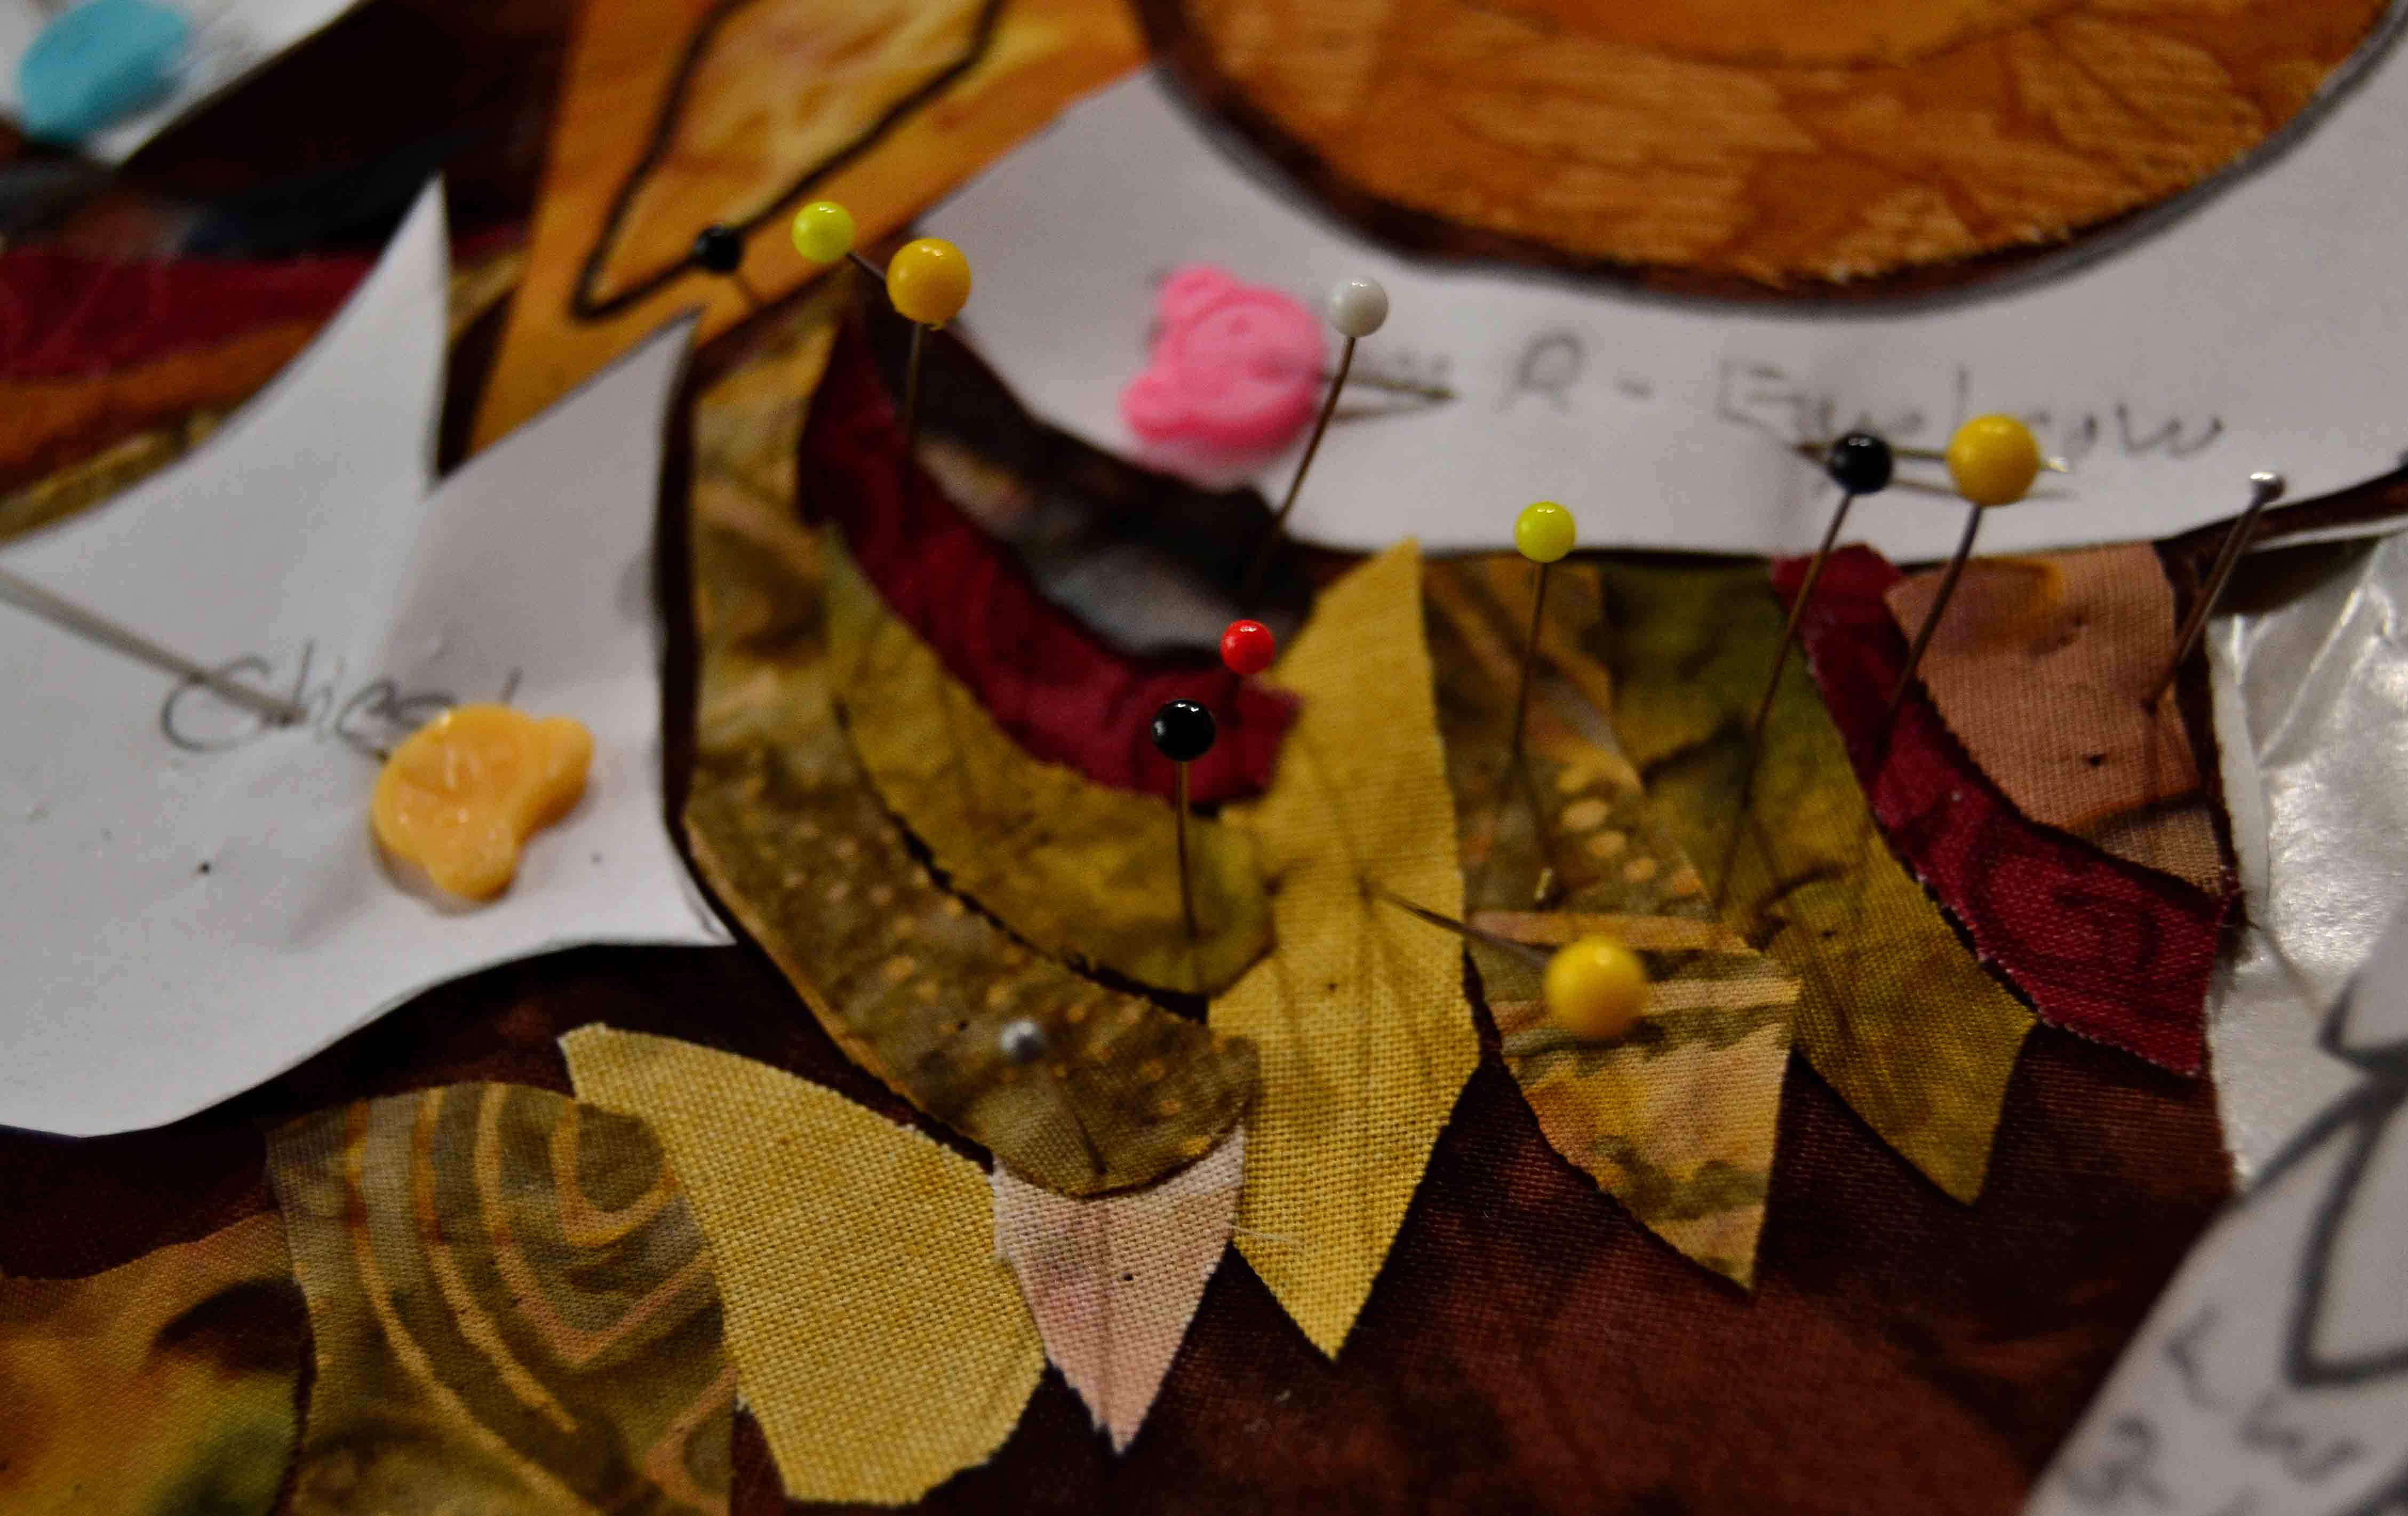
Embroidery Scissors
These little puppies do a big job when it comes to cutting out appliques! I cut out appliques a lot – so trust me on this one.
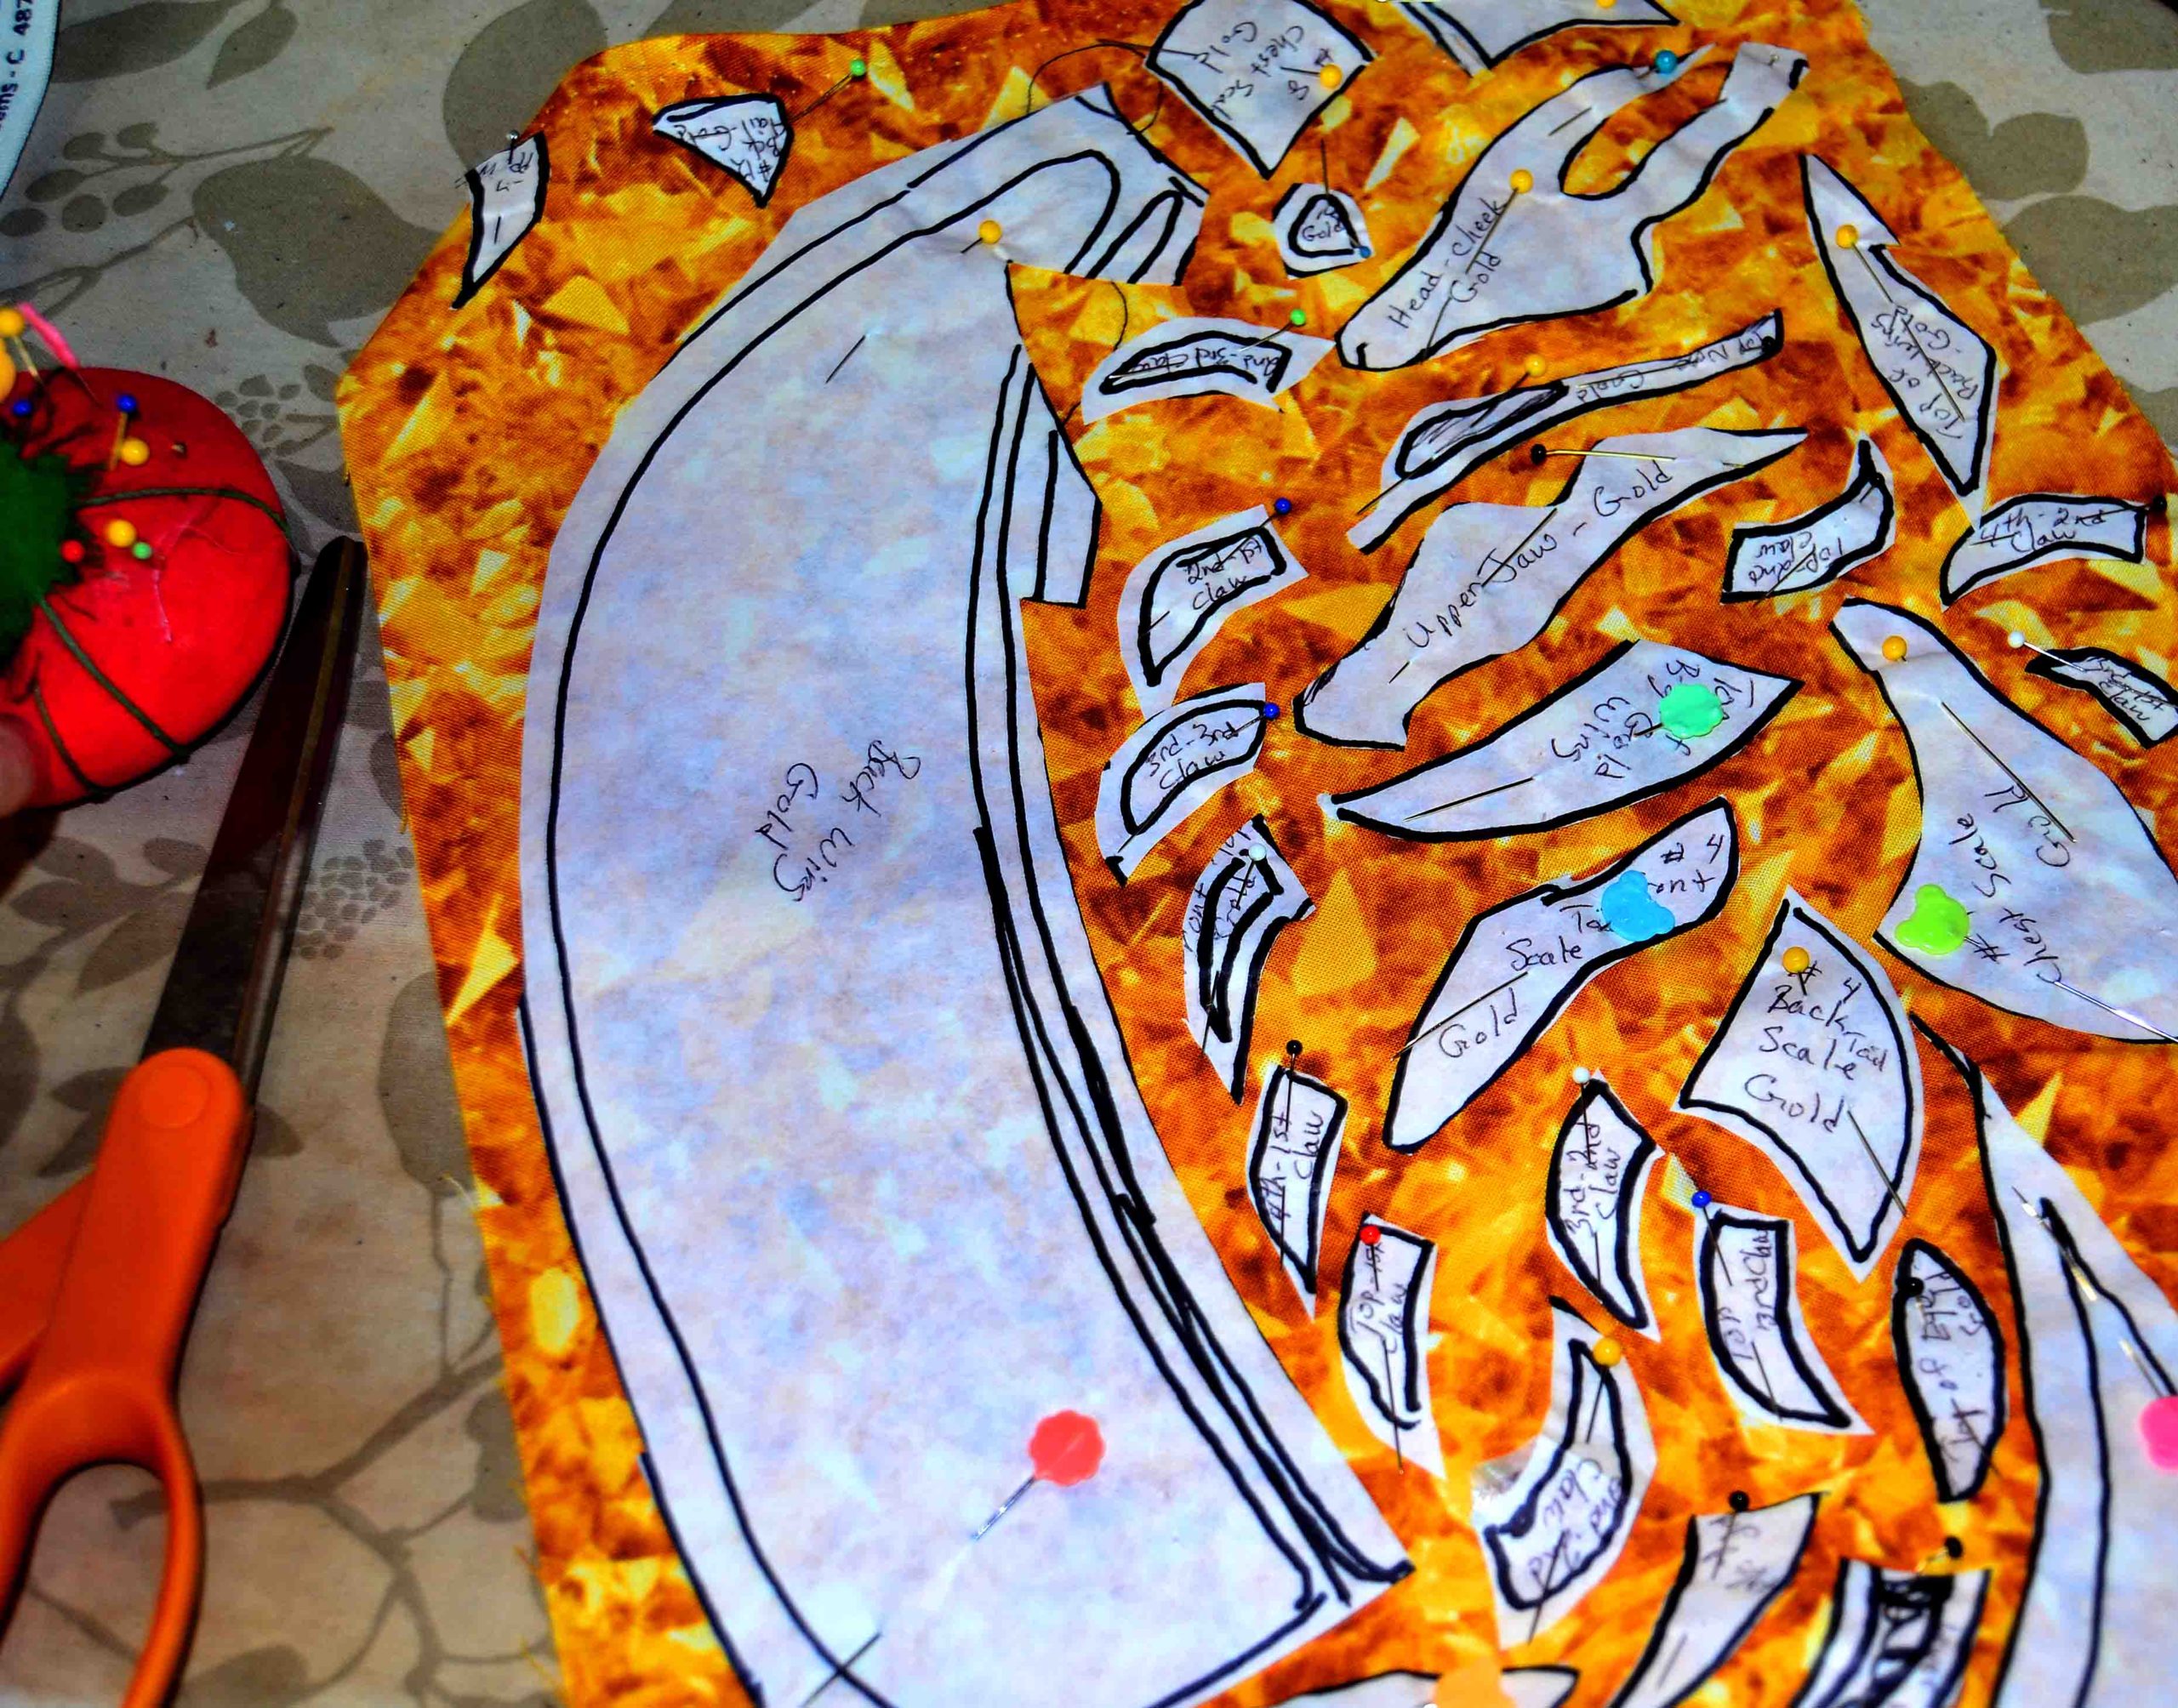
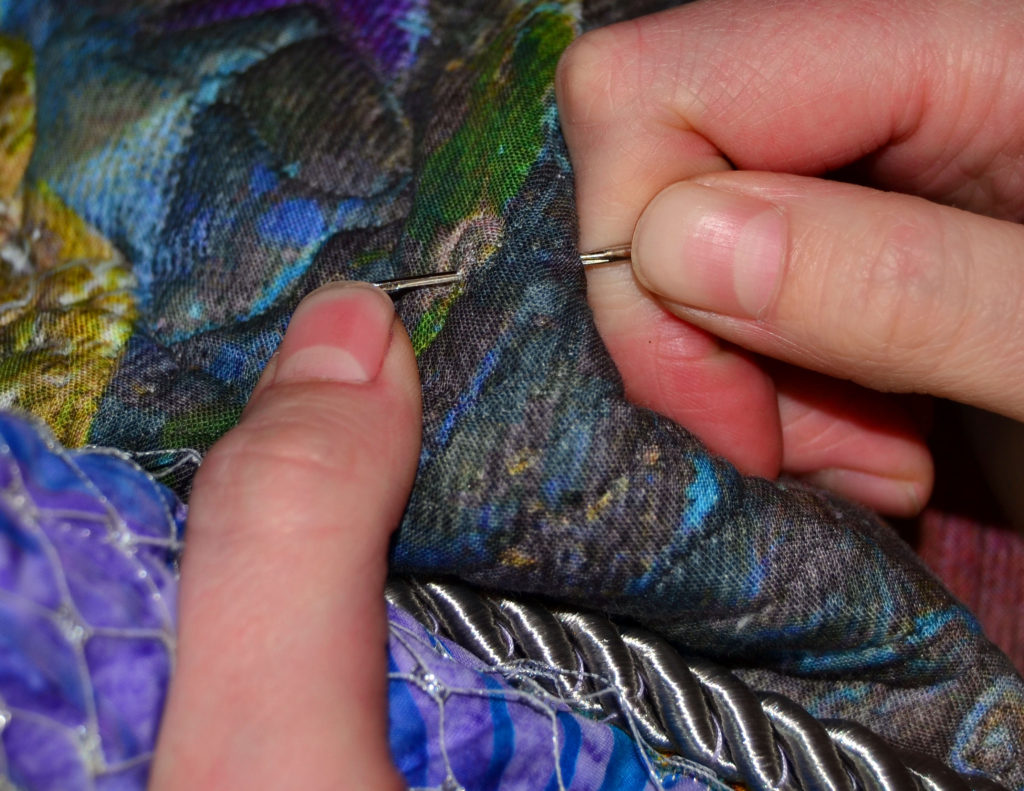
Here you can see that I used embroidery scissors twice – once on the appliqued background, and once to cut the embroidery thread to edge the applique with…very useful tools!
You need a pair of scissors with tiny, extremely sharp tips to get into all the little spaces that most appliques have. My thread-cutting scissors have the right size tips but they are not sharp enough to snip into tiny places.
A pair of these embroidery scissors will save endless frustration for you and all your friends will be amazed at the beautiful and exact appliques you turn out. It’s a win-win!
Pinking Shears
These are the scissors that I use the least but they do come in handy now and then. Use them when you’re working with fabric that frays like a son-of-a-gun. The serrated edge will help to hold the frays in check till you can sew the seams into it.
Pinking shears are also great on slippery, satiny type fabrics. I think it’s the uneven edge that helps to catch and hold that slippery stuff as you cut.
A Singularly Great Cutting Tool for Sewing Fabric Art – Rotary Cutters
Oh what a wonderful day it was when they first started selling rotary cutters to the masses!!! No tool kit is complete without at least one of these; talk about a huge step forward in cutting implements.
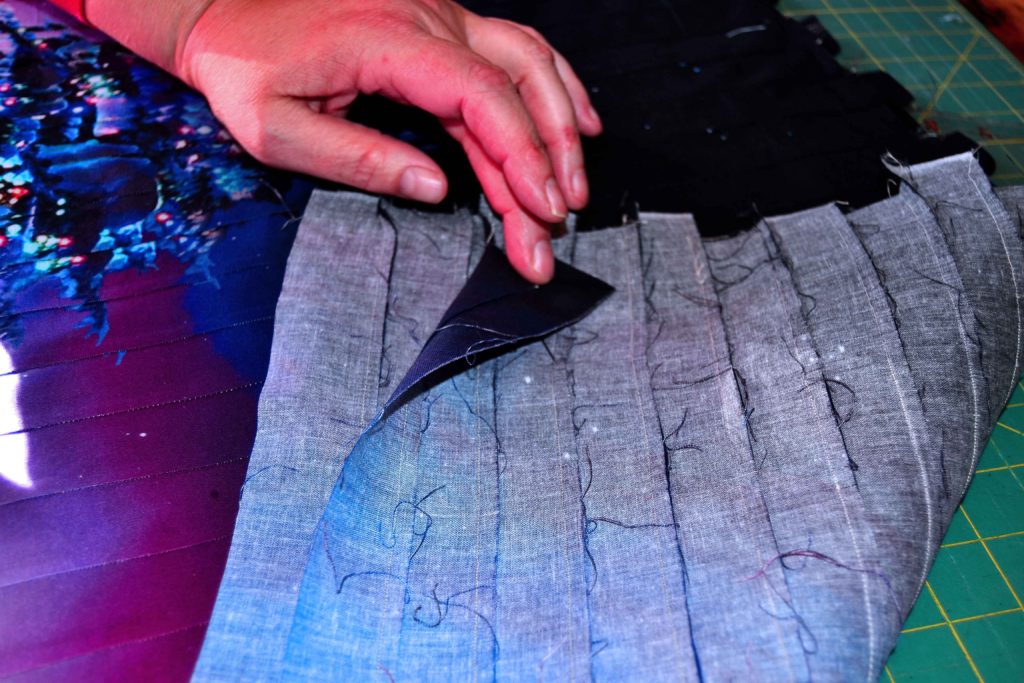
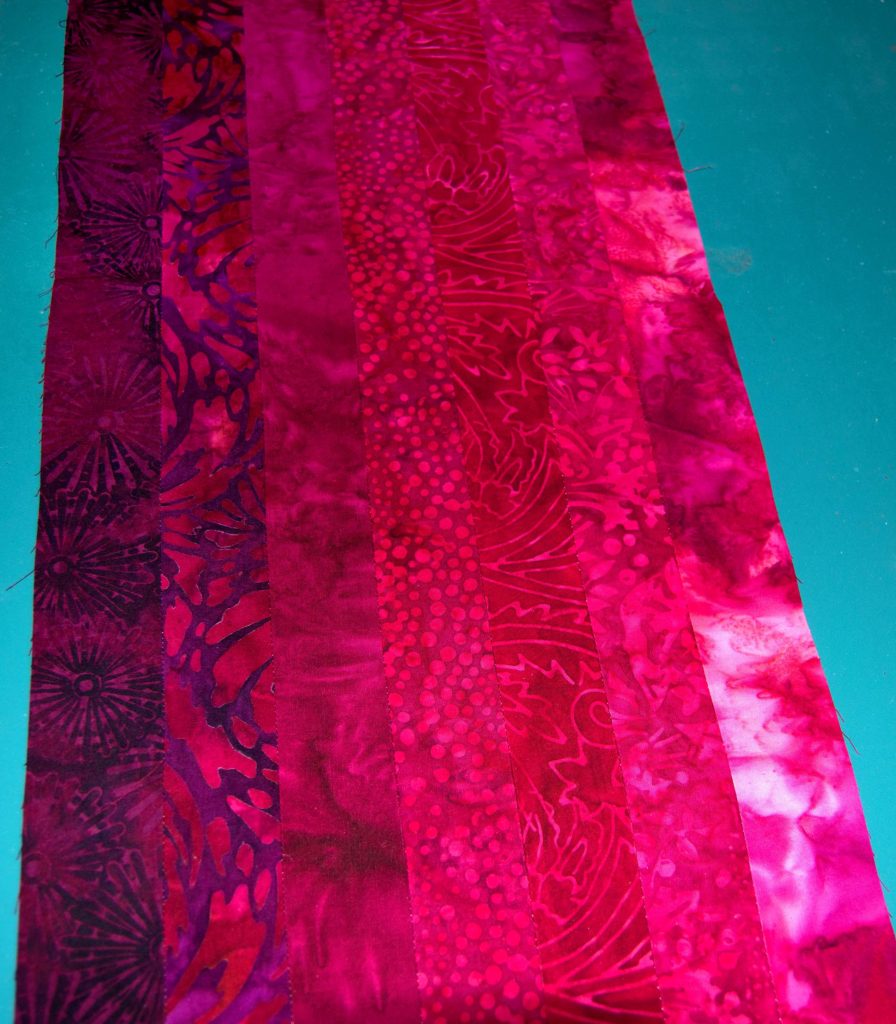
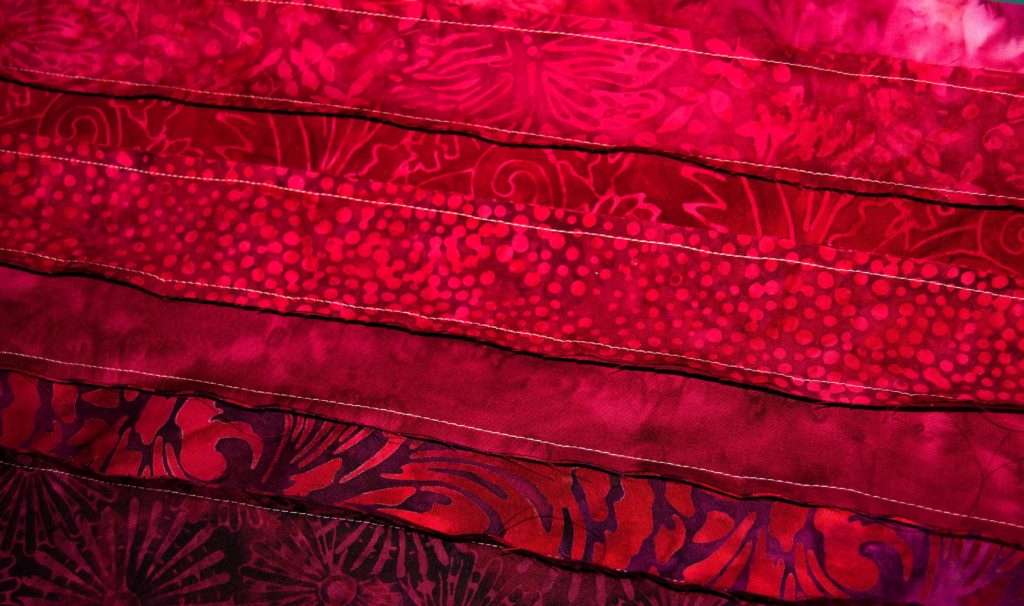
Only with a rotary cutter could you hope to get these types of perfectly straight, regimented cuts. Whether you’re doing strip piecing or building a complicated pattern, a rotary cutter is an absolute must!
I bought my first one 27 years ago and have NEVER regretted it.
My first rotary cutter just had a straight handle…but my second one has an ergonomically correct handle and is a real joy to use.
Beware! These rotary blades are extremely sharp – like knives on wheels – so they’ll slice open any part of you that gets in their way.
ALWAYS push the blade cover up when you are finished using it.
However, there’s literally no better way to cut perfectly straight lines and strips in fabric than with one of these. Of course, you also need the right ruler and cutting board but we’ll discuss those in another blog.
Because of the vast amount of cutting that any quilter will do with a rotary cutter, the blade will inevitably get dull. I’ve seen that there are machines you can buy to sharpen your rotary blades but there are also packages of replacement blades you can buy. Even with as much cutting as I do with my rotary cutter, I find it much cheaper to replace my blades than to buy the sharpening machine.
Pins – Your #1 Piercing and Holding Tool
Pins are another one of those completely necessary items that you can’t do without…but that will turn on you if you don’t watch out! In fact, if your pins are sharp enough, they’ll turn into cutting tools, just not for sewing – they’ll cut you.
And, just like scissors, you’ll need more than one type.
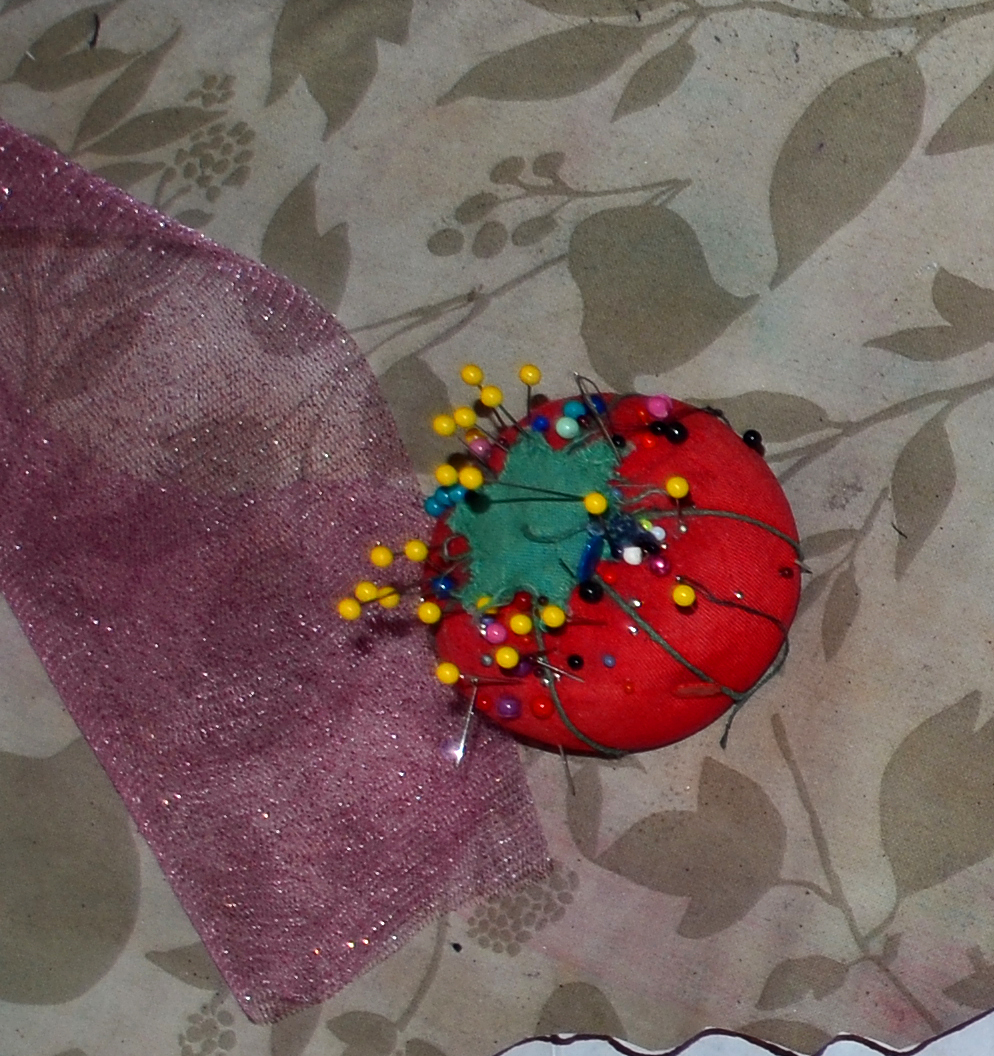
Garden Variety Straight Pins
These are the pins you can pick up at any sewing supply counter. They’re approximately 1-1/4” from head to tip, reasonably sharp, and reasonable strong. I mostly use these in my everyday sewing adventures.
And so will you. They’re the basic pin. However, they’re neither strong enough nor long enough to go through really thick layers, so you something different for that.
Quilting Pins
These look just like your garden variety straight pins but they’re longer, coming in at 1-3/4” long so they have way more reach. They’re also MUCH sharper as you will have occasion to find out if you ever actually have any of these holding your project together while you sew.
These babies will stab you hard enough to draw blood and leave your forearms and chest looking like you’ve been attacked – which you have been.
I had a stranger come up to me once after I’d finished a project and tell me that I didn’t have to throw my life away on drugs – that there were other choices! I had just finished a heavily pinned project and I do have to admit that my forearms looked pretty bad.
My kids thought this was hilarious by the way.
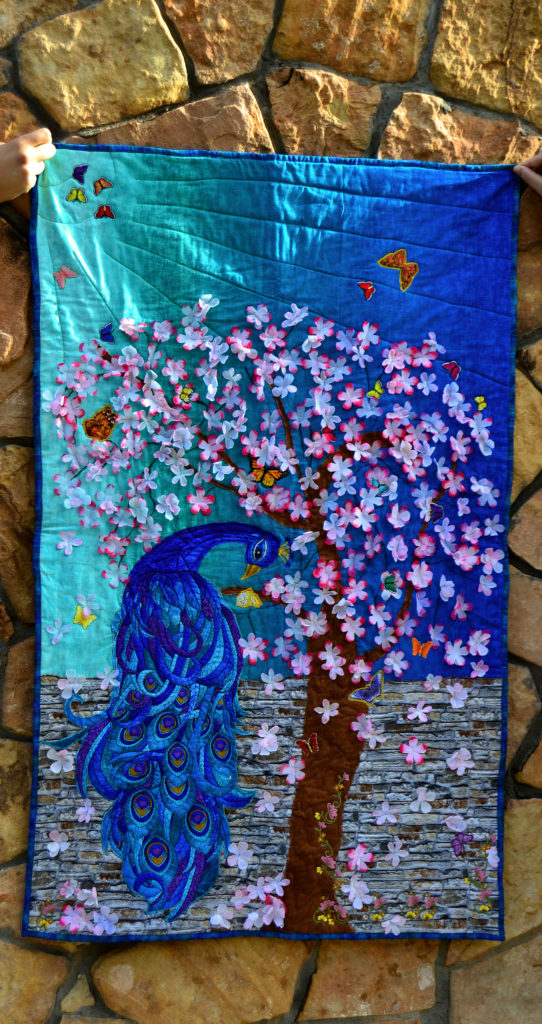
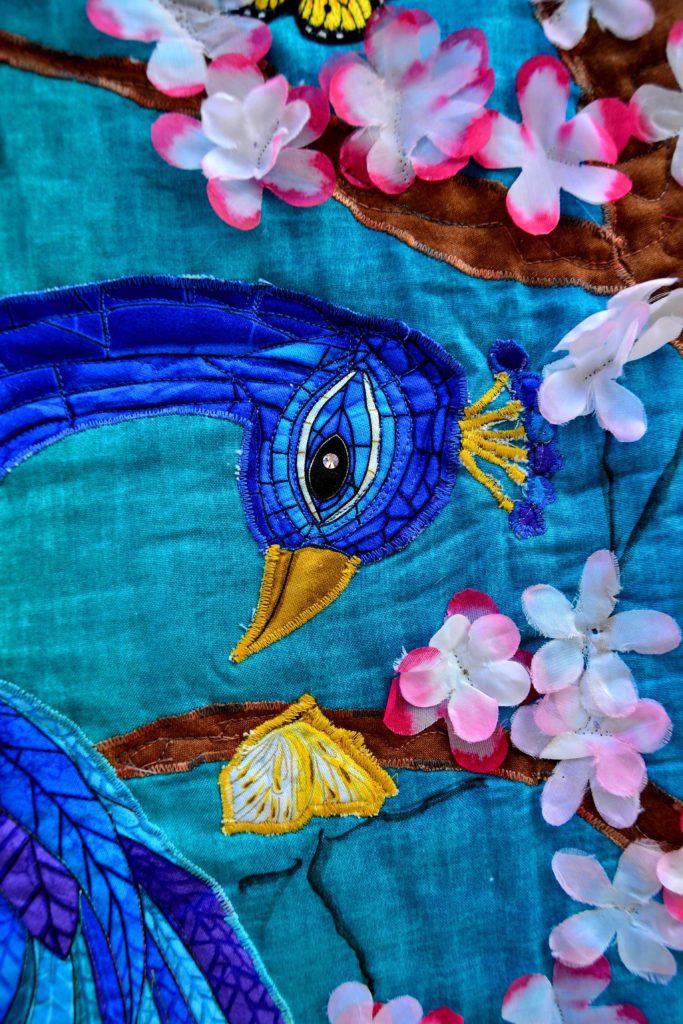
The worst project I ever did, though, was my Peacock Panel. Each of those gorgeous cherry blossoms had a quilting pin holding it tight. By the time I was done I was swearing, my upper chest looked like I had a bad case of chicken pox, and I was fantasizing about bib aprons made out of Teflon.
So there you are. These pins are absolutely necessary…but beware!
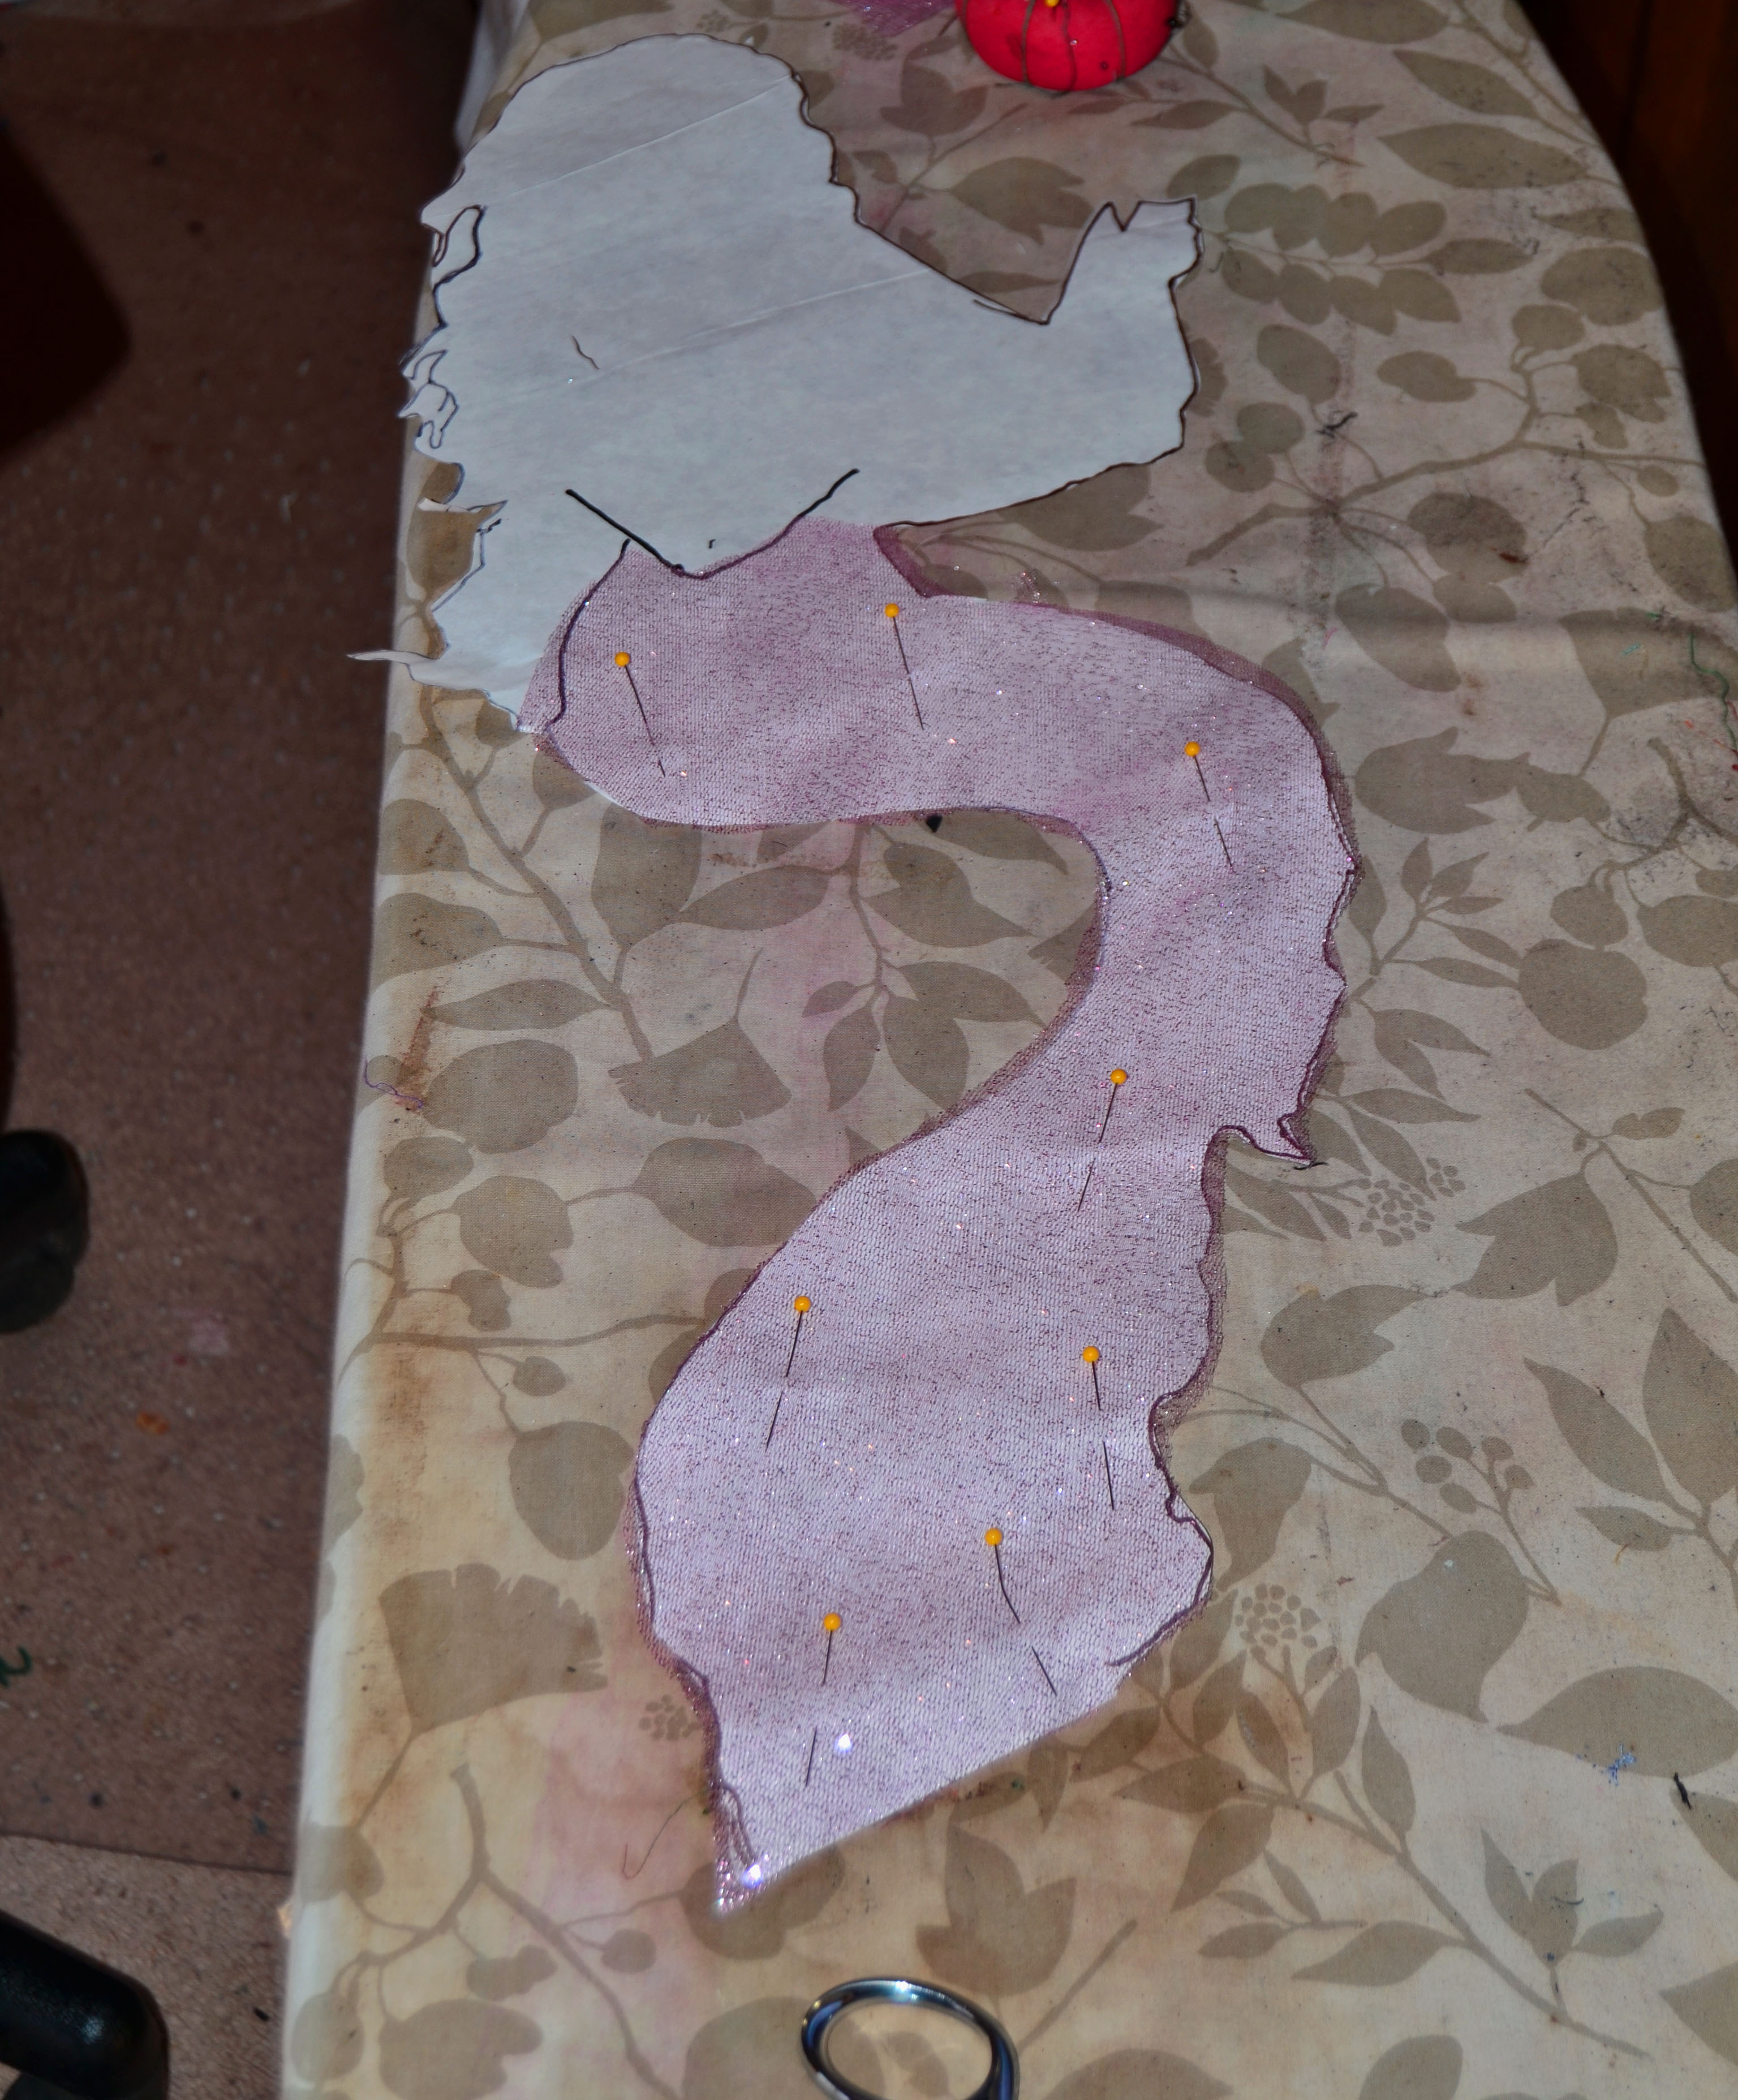
Applique Pins – Or Mini-Pins
There aren’t any pins labeled like this, but these are the tiny pins I use to hold the tiny points of appliques in place while I cut around them. Most of these are 1” long but I have found some that are even shorter. Keep your eyes peeled and buy a package when you find them. You’ll never regret it.

Safety Pins
Get a pack of different sized pins of these – you need them to turn all sizes of fabric tubes right-side-out, and they come in handy in lots of other instances too.
The Tool That Fixes it When Your Cutting Tools for Sewing Have Done Their Work
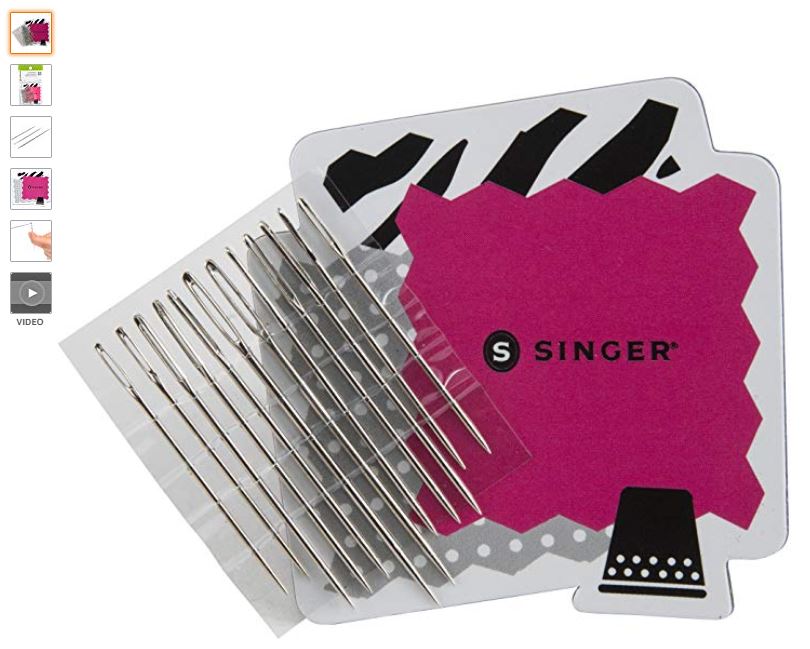
I’m speaking, of course, of needles. I can’t think of a single tool that you’ll use more when sewing, or doing fabric art of any kind.
Needles come in 2 categories: hand-sewing needles vs sewing machine needles.
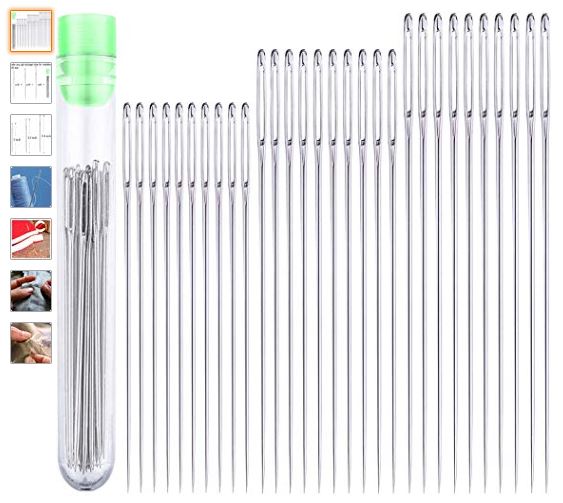
Hand-Sewing Needles
These’re extremely handy to have around and do way more than just sew on buttons. My old Bernina sewing machine has a sew-on-button feature but it’s such a bother to set it up for this that I never bother with it.
And I’m actually quite fast at sewing on buttons by hand.
You can use hand-sewing needles for many other things as well, such as:
- Sewing on beads
- Pulling heavy strands of embroidery thread or twine through your projects
- Sewing areas your machine can’t reach
- And a whole lot more!
There is no end of use to these little darlin’s. The best thing to do is search out a package that has needles in multiple sizes and lengths.
Make sure you get some that have very large eyes – these are essential for pulling through large strands of thread and since the needles with the largest eyes are also the longest and strongest ones, you will be using these a lot.
You might also consider getting some that are very thin with hair-line eyes because you’ll need them if you want to sew on tiny little beads.
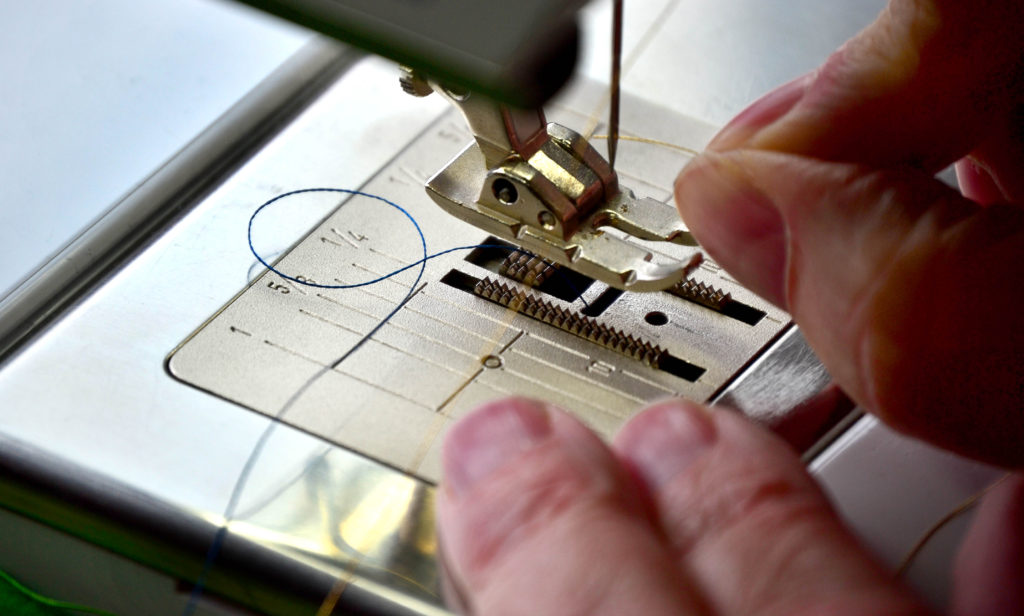
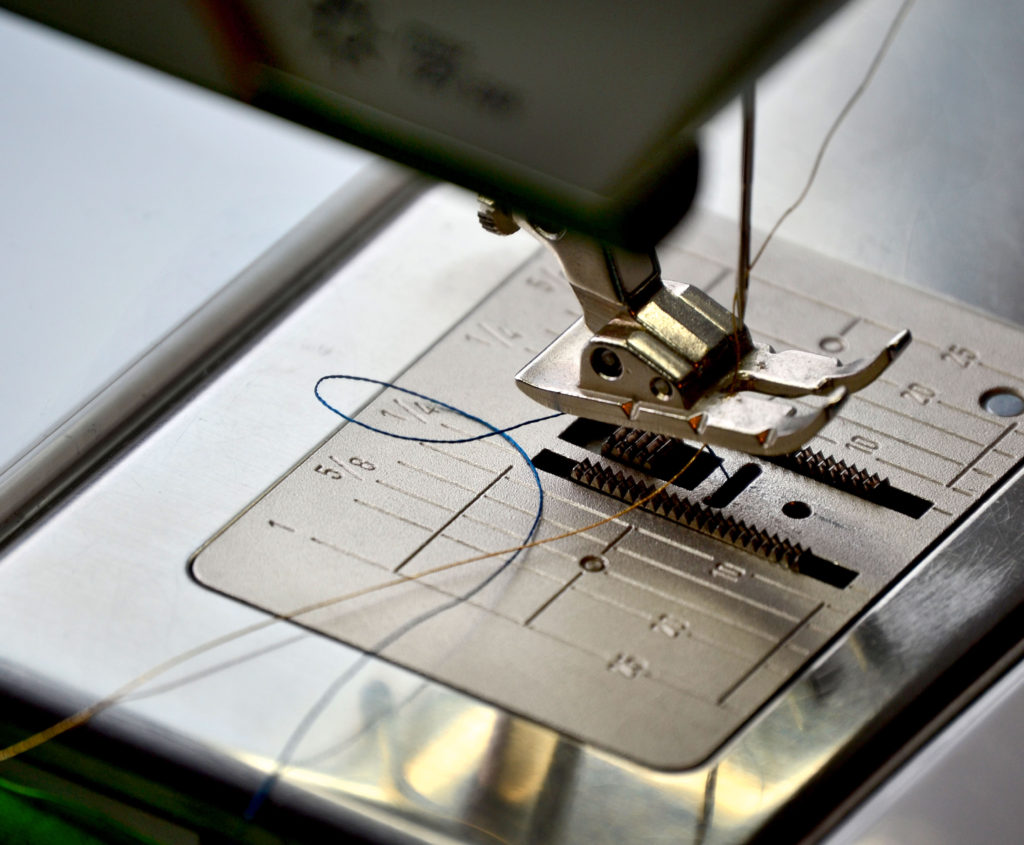
Sewing Needles
As anyone who’s ever tried to purchase a package of machine sewing needles knows, these come in different sizes from the smallest (11) to the largest (18).
The smallest needles are for sewing your most delicate fabrics and the 18’s are for fabrics that are very heavy going – like denim. In the middle of these are the ones I use the most. I use 14’s for all my regular sewing as they have a good deal of strength, and 12’s for all of my top-stitching because they make smaller holes in your fabric as they punch through it.
A Quick Aside about Sewing Needles
All conventional wisdom says that you should change out your needles at the end of every project. This is a complete waste of money. Do like I do and use the same needle until it breaks.
It’s almost like a built-in protection system, when the needles get too dull to work effectively, they can’t punch through fabric, and the power of your sewing machine will break it.
The only instance I can think of that I would deliberately start a new project with a brand-new needle was if I was sewing a wedding dress for one of my daughters.
Specialty Needles
Because technology just never stops inventing bigger, better, and faster things there are now sub-genres in sewing machine needles. Of course there are! These are:
Metallic Needles
These come in size 12 and are specially made to stop metallic thread from breaking so frequently. Metallic thread is very delicate and I had totally given up trying to sew with it until I found these needles. Get some if you sew at all with metallic thread – they are another frustration saver.
Jersey Needles
Like their name implies, these are made for sewing knits – which are a pain – and also work extremely well on satins and chiffons.
Jeans Needles
These are size 18’s but they seem to me that they’re even stronger than just the generic size 18’s. If you’re doing fabric art that has a lot of layers, you will need these. I know from personal experience how strong these needles are as one didn’t even bend, let alone break when I sewed it all the way through my thumb – nail and all!
Seam Rippers – The Re-Cutting Tool for Sewing
Here is another very sharp piece of equipment that you will need. In all my years of sewing I have never yet made ONE project that I haven’t had to rip something out!
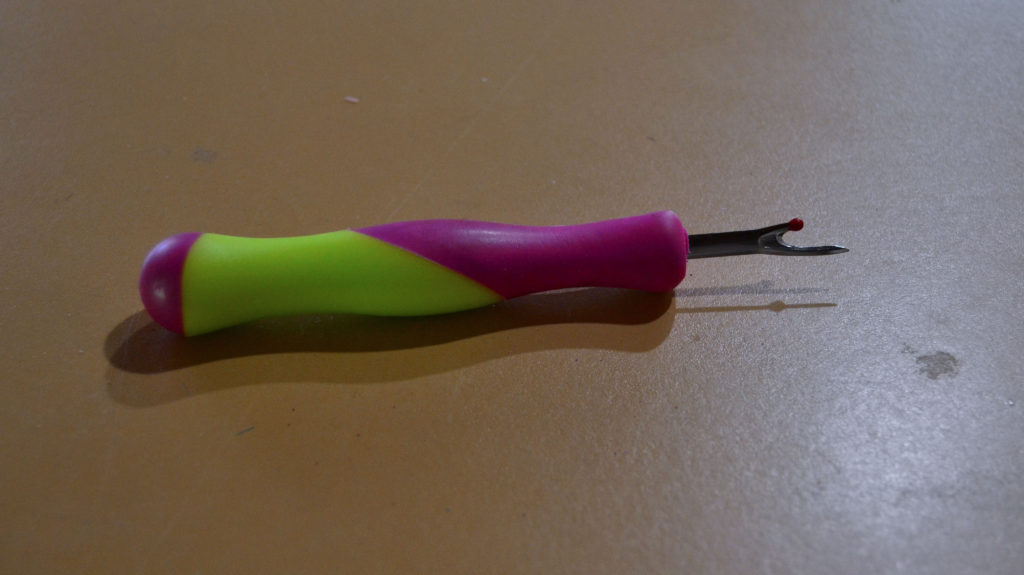
Therefore I’d advise getting a seam ripper, if you don’t have one already. They come in all sizes and shapes but here is the one I like best. It’s made by Dritz and is 5-1/2” long. The blade is only 1-1/4” long, the rest is an ergonomically shaped pink-and-yellow thick plastic handle that sits perfectly in the palm of my hand.
It’s very comfortable to hold – which is a good thing since I use it so often, and the end is rounded so that it doesn’t dig into my palm when I put pressure on it.
I use this seam ripper 95% of the time but there are instances that I need something more delicate as when I have to rip something out of chiffon. For that I have a much more slender one that has an attached magnifying glass.
Actually, Suzanna uses this one because I say my eyes can’t see those delicate stitches. Mostly I’m just lazy!
So there you have it – our list of sharp stuff cutting tools for sewing that’ll save you time. We hope you’ve found at least one new tool that’ll save you time and frustration – and hopefully with some careful shopping – you’ll also get to save some money.
If you haven’t already, please read the first article in this series, and keep a look out – our concluding toolkit article will be coming next week.
Stock Your Toolkit with the Right Equipment – Sewing Machine Edition
Stocking Your Tool Kit with the Other Essentials – Unique Sewing Tools & Their Uses
3 thoughts on “Stock Your Tool Kit with the Right Equipment – Sharp Stuff Edition”
Comments are closed.