Or…Inspiration from the Kitchen
I have recently been constructing some new patterns – which will be debuting for your fabric art enjoyment in the next few months. The great thing about creating new quilting patterns is that it gives you a lot to think about, creative food for thought, so to speak.
However, as with any creative journey, stepping off the beaten trail can raise interesting problems.
And as I was contemplating how to get around a problem that was not cooperating with my genius, it occurred to me that of all the ways I could think of to fix it, all of them came out of the kitchen.
Many creative endeavors mirror each other’s techniques – including two you might not expect, cooking and sewing
So then I started looking back at all of the things I’ve designed and realized that almost all of my designs originate from 6 types of food that we all know and love.
Drawing Inspiration from the Kitchen in Your Fabric Art
I also realized that strategizing at the beginning of a new project is much simpler and quicker if I think in terms of these 6 foods. So, for all you brave adventurers in the fabric art jungle, I thought I would share my insights with you.
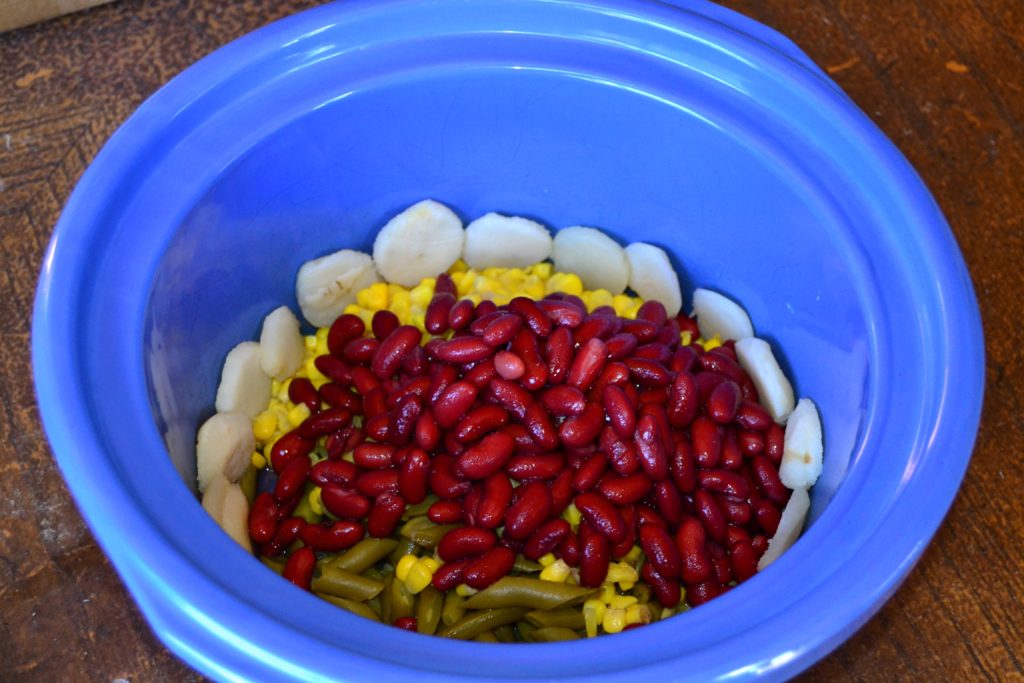
The First Food for Thought – Casseroles
Casseroles are a basic and frequent dish in my household because they are easy, quick and delicious. Everything in one dish and voila! Dinner is done!
Many fabric art patterns mimic this very same concept – especially quilts.
With a quilt or a large wall hanging the basic principle is to keep adding design elements in all directions until you have both the size and the design you want.
Mostly you start with a main design element. This could take the form of:
- A panel
- An applique design that is the main focus
- Or a basic pattern structure and you move out from there.
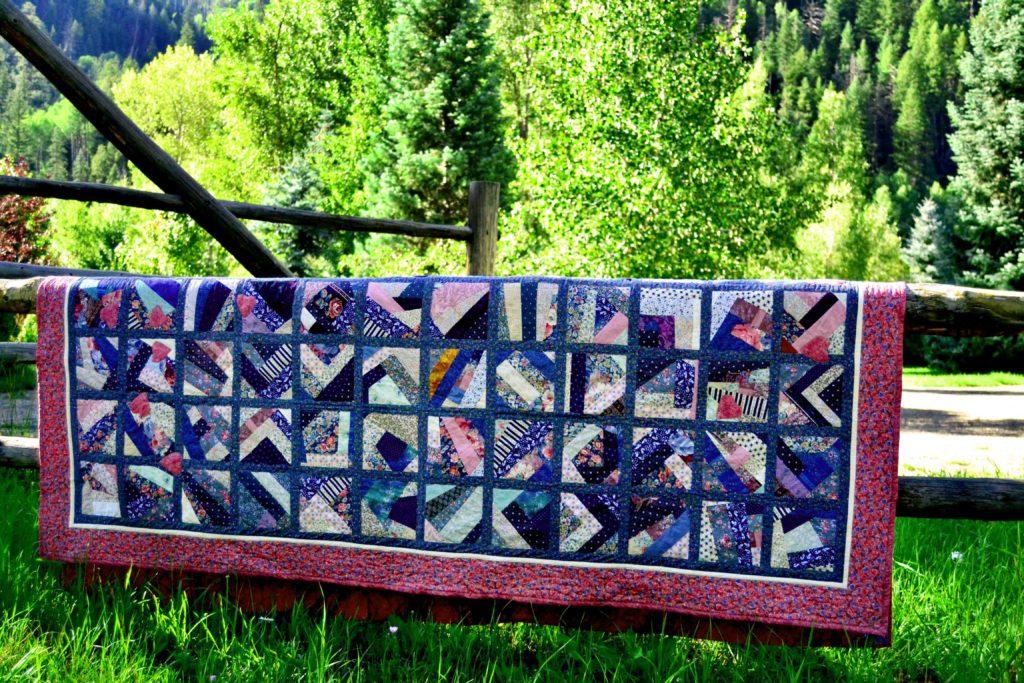
These “Casserole Quilts,” are beautiful, functional and meet many needs at the same time – just like an edible casserole! They often tell stories, but the tales they tell are not as involved or intricate as the stories in a specific subcategory of casserole quilts.
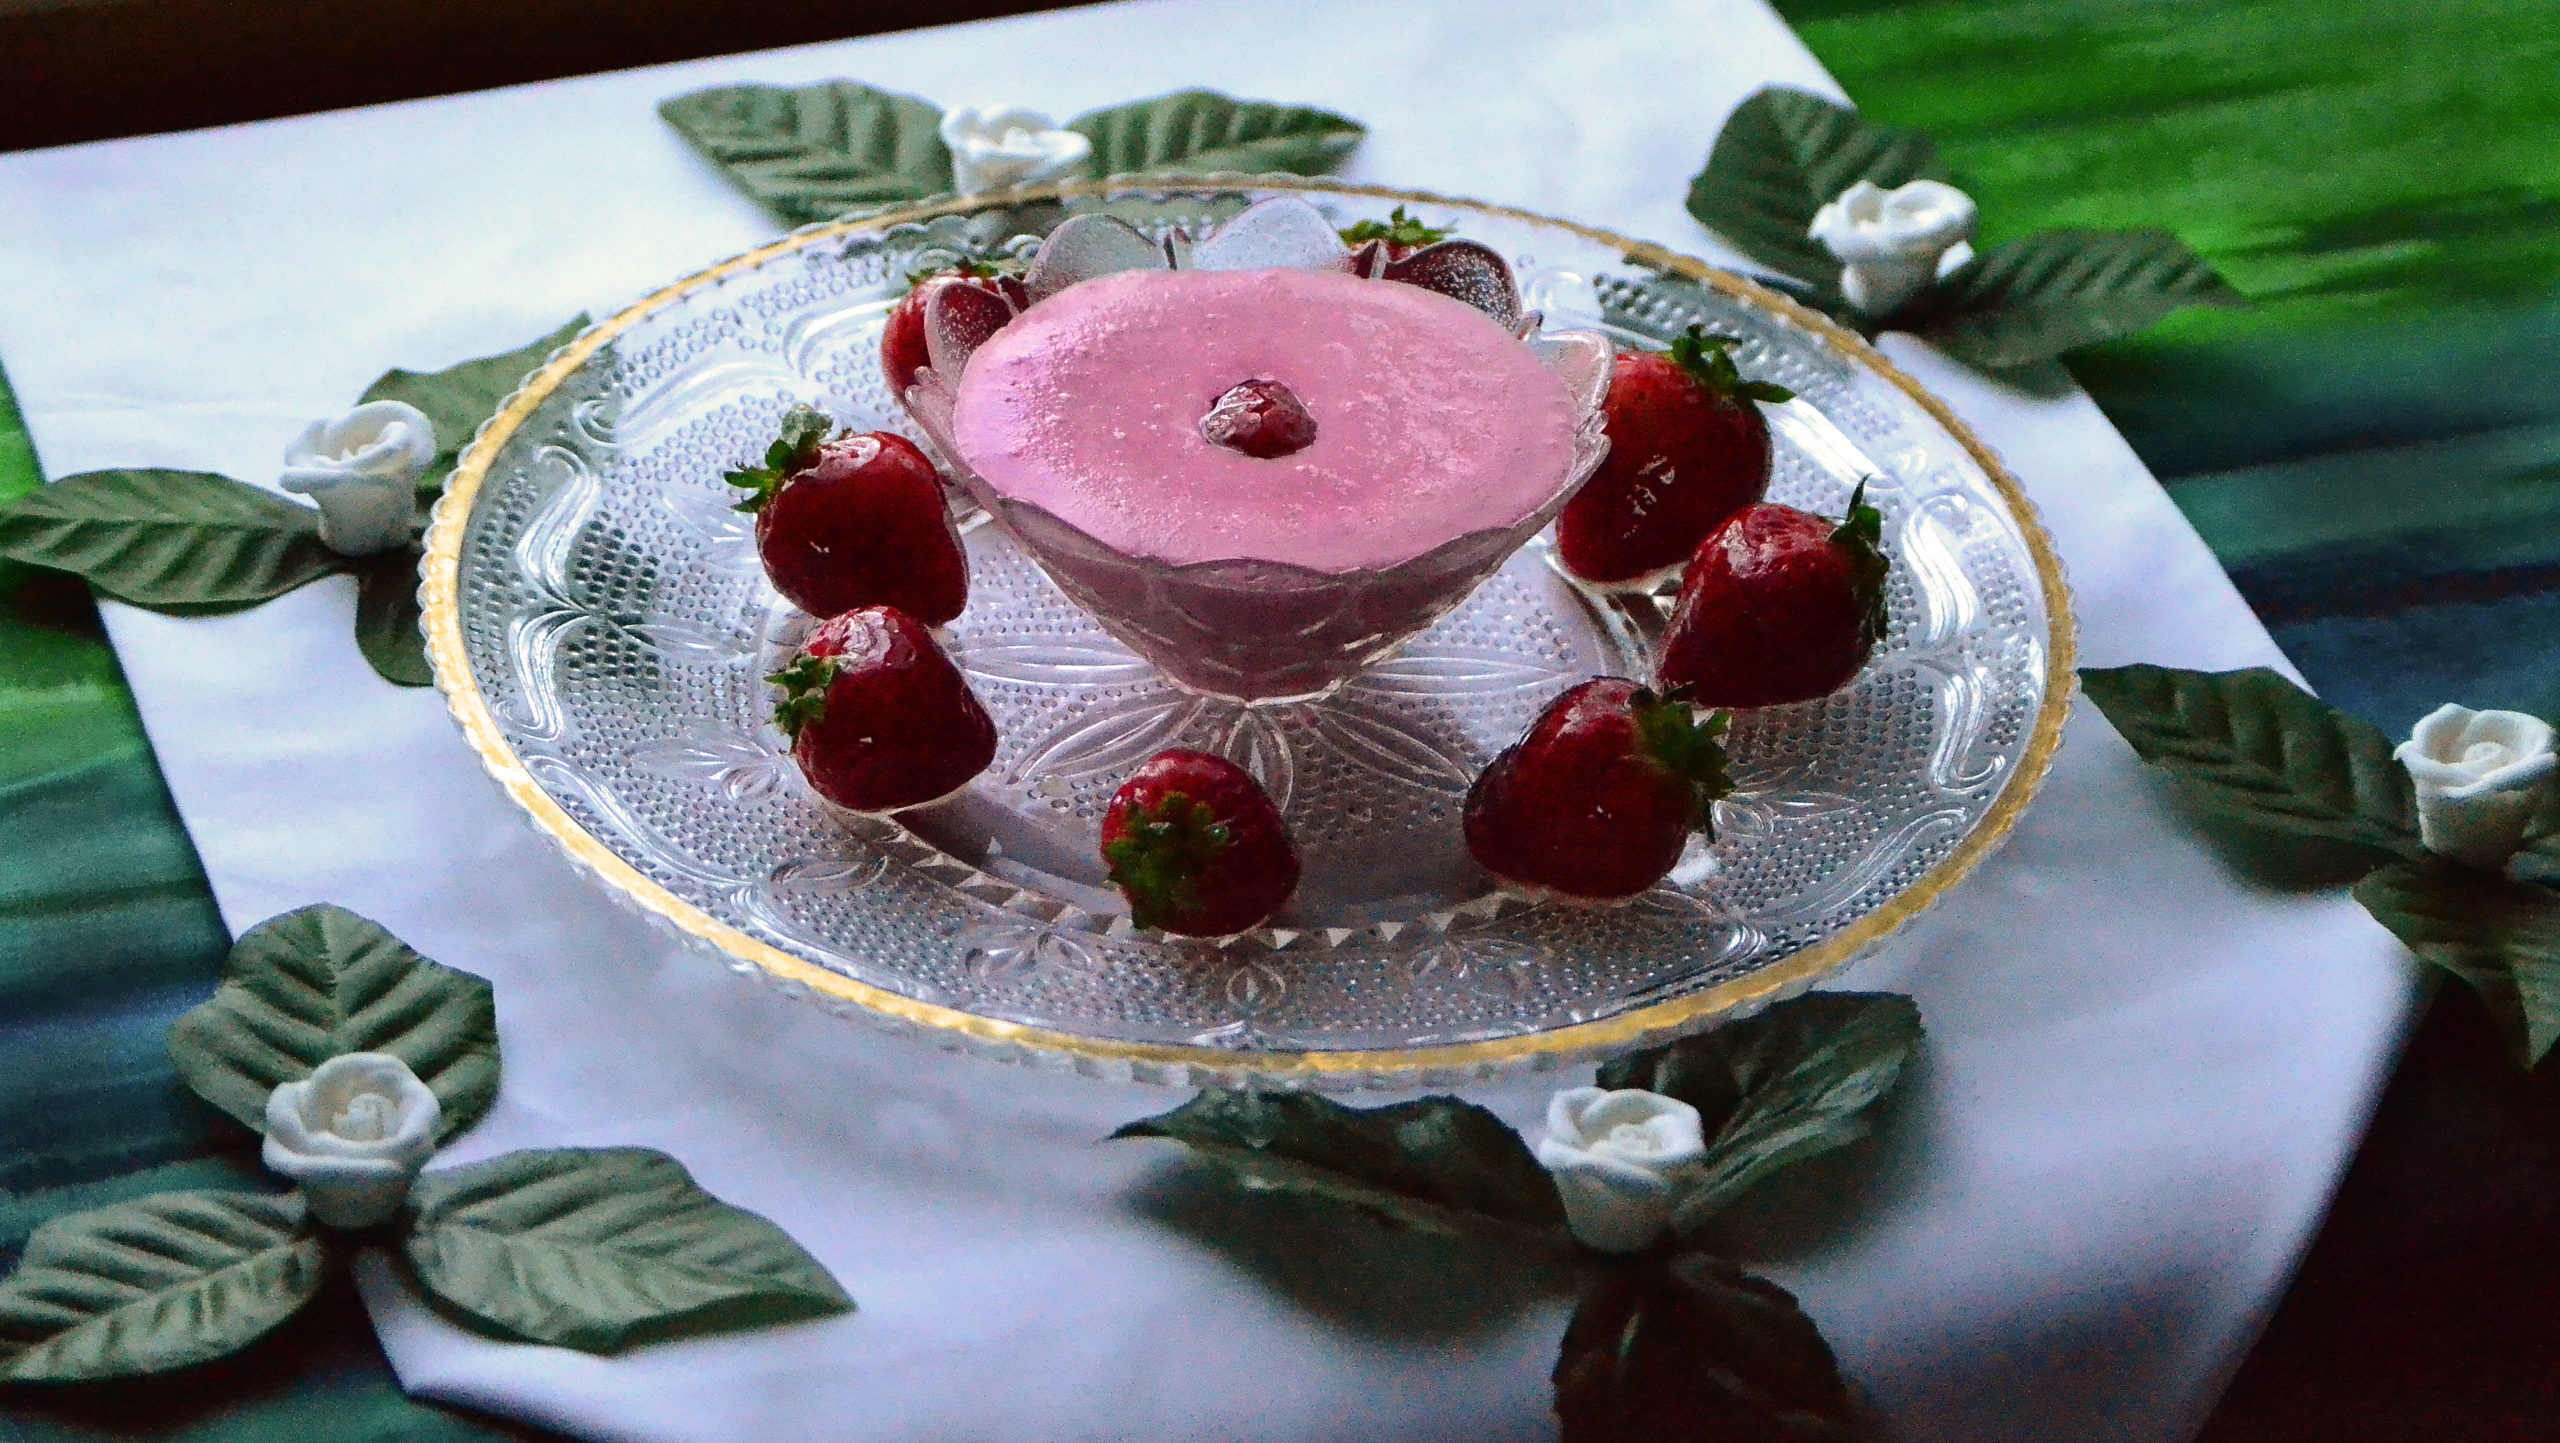
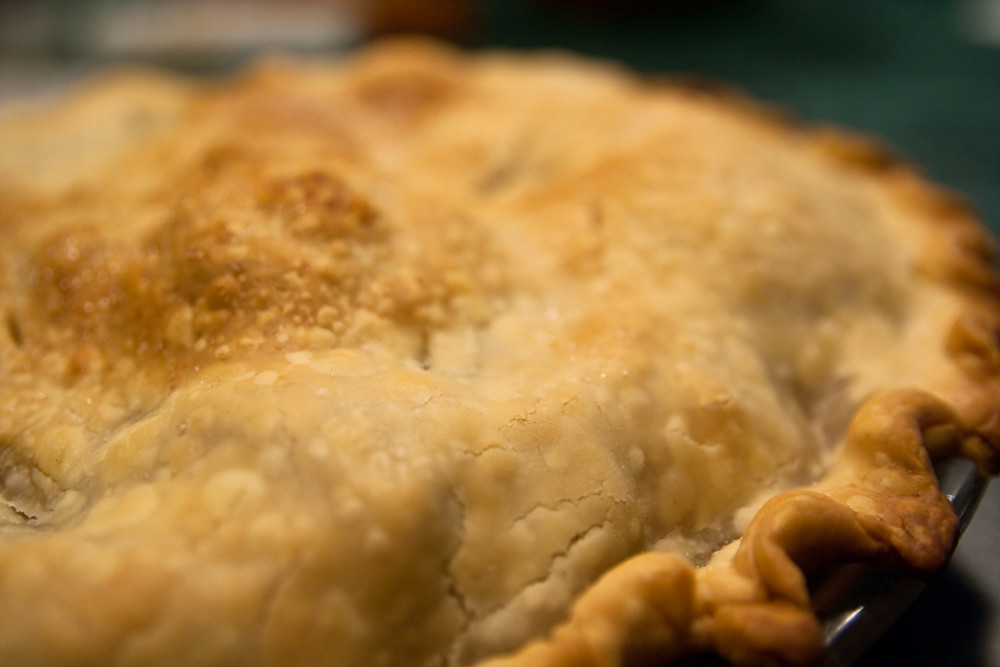
Secondary Casserole – the Casserole Pie
A second type of casserole is the kind with a bottom crust, but no top. Let’s refer to this as the casserole pie.
You start with the bottom crust (background) and you layer all of your ingredients (design elements) into it.
If you were making food, you might include things like leftovers from the fridge, a can of mushrooms, or even fresh vegetables that are going a little limp. But when we talk about making a casserole pie quilt, you’re adding visual storytelling elements.
In this type of construction, almost all the design elements you will be adding are appliques and bling.
With a casserole pie quilt you are telling a story, not showcasing a specific design so that each project you make like this is totally unique. My best example of a casserole pie is my Coral Reef panel where I added almost 200 appliques onto my background.


It took some time but it was well worth it as I never get tired of looking at it and every time I do, I find something new to amaze me – even though I made it.
When I finished it, the kids all begged me not to put it in the shop to sell as they were as fascinated by it as I was.
This kind of project is time-consuming, but like I said, well worth it.
The Second Food for Thought – Turn-Overs
These are exactly what they sound like, and they work the same way in fabric art as they do in the kitchen.
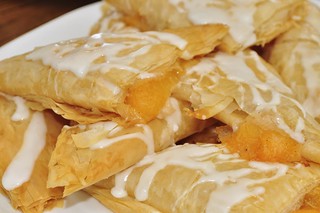
When you turn the completed project over, you have a finished product with a beautiful, and uniquely finished edge. The beauty of this type of design is that when your project is turned right side out all the edges are neat and finished.
The ingredients are placed on a bottom crust, the top crust is added, and you flip the entire thing over or in fabric art, right side out.
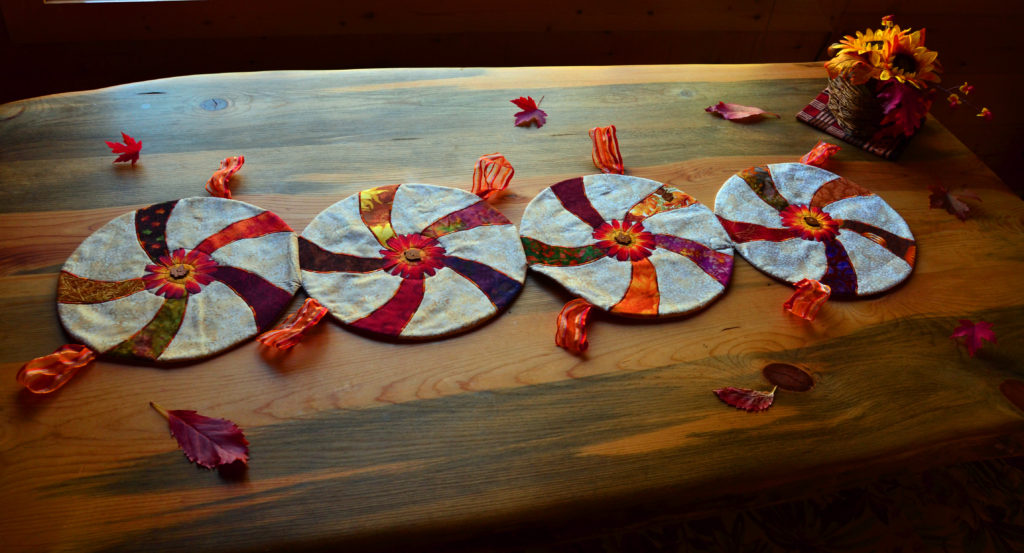
I use this technique often in smaller projects such as my Maple Leaf Table Runner, The Autumn Spinner, and my Specialty Christmas Stockings (coming soon).
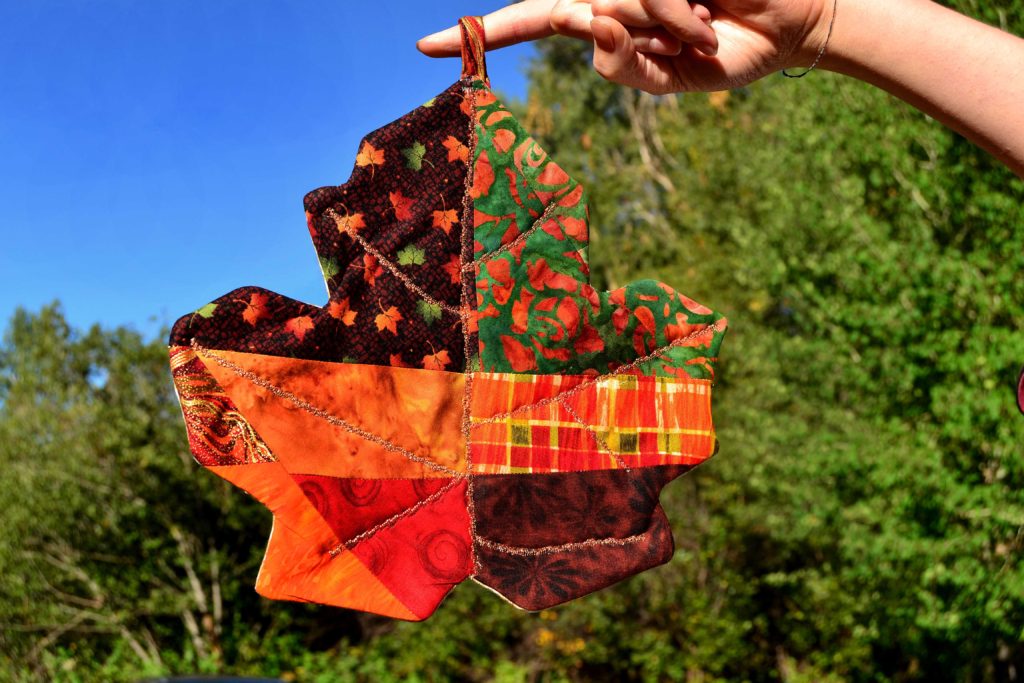
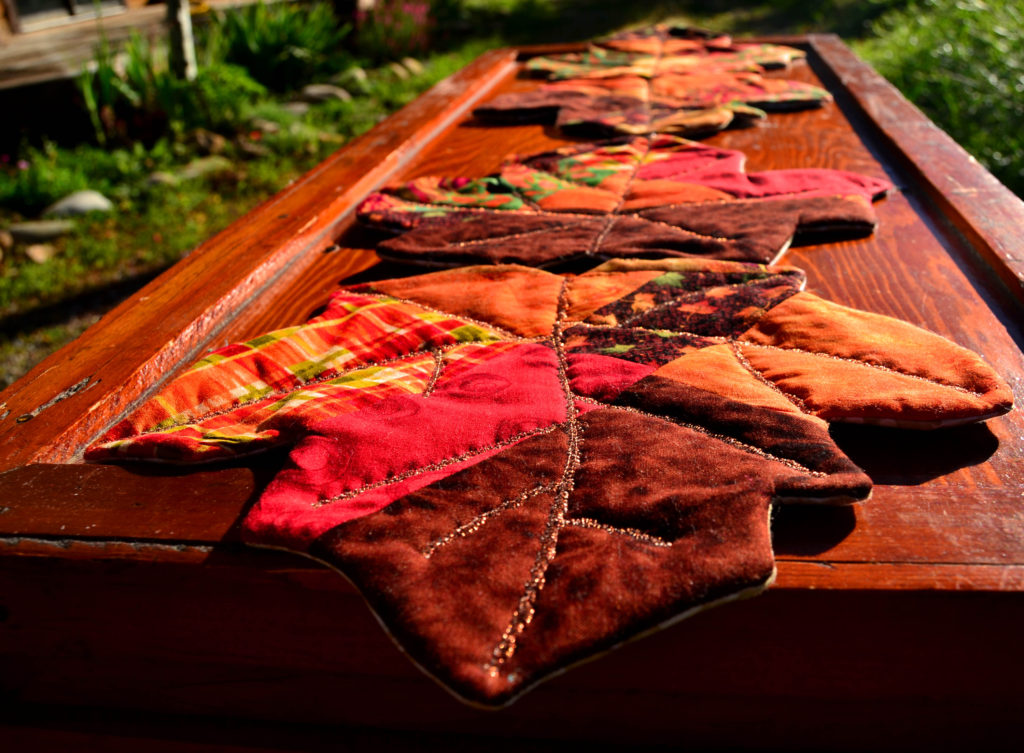
These fabric art turnovers are made with a specific process, which I do videos on in various patterns.
- Start by constructing a slit in your backing fabric and then laying it right side up.
- Next, lay your background fabric right side down on top of this, and then place your batting on top of that.
- Then pin your template on top of that and sew all the way around the design.
- Trim closely with scissors and then turn the entire piece right side out through the slit.
- Finally, push out all edges with a corner turner and press flat.
Voila! You have a neat and finished piece.
The Third Food for Thought – Sandwiches
In most places I refer to a quilt sandwich as being three simple layers – backing, batting, and the front of the quilt. But in this case I’m talking about a specialty method which is still in development, and I’ll soon have some products, namely my Christmas Stockings, available to show you.
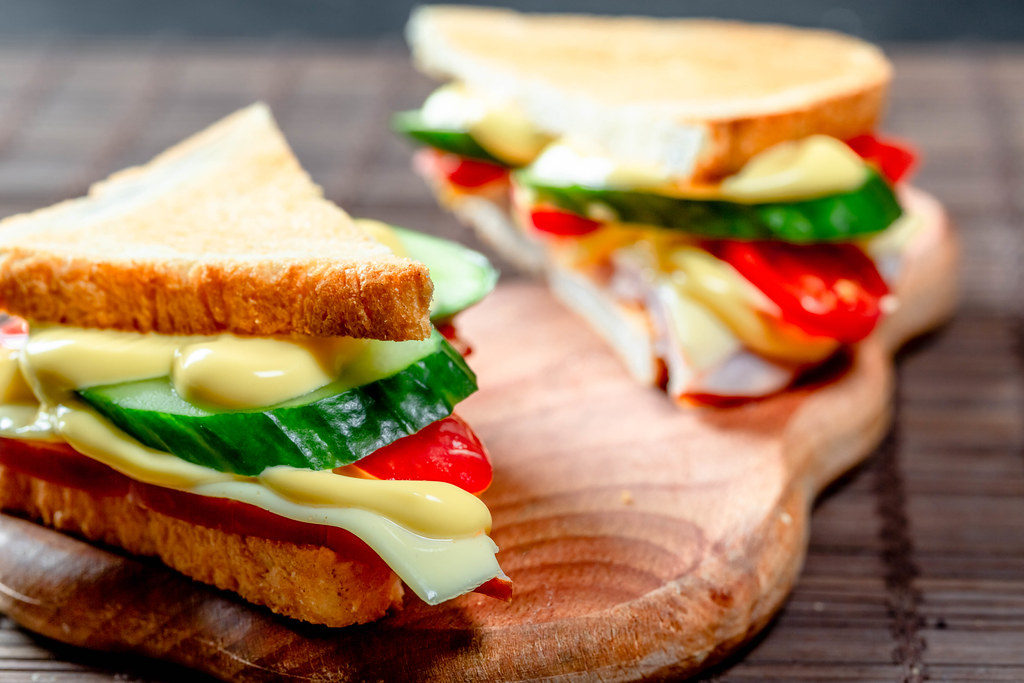
For now, let’s break it down in basics:
Just like in the kitchen, fabric sandwiches are constructed using 2 pieces of fabric – except here we use turn-overs as the pieces of bread. I make fabric sandwiches when I have a back and front to a project with an opening in the center – like a pocket. Most of my Christmas Stockings are sandwiches.
First I construct the backs and the fronts separately using the turn-over method, then I layer the 2 pieces and sew them together around three sides, leaving the 4th side open for the pocket.
Sandwich making is an extremely handy skill to acquire and when they are made correctly will awe all of your friends and acquaintances.
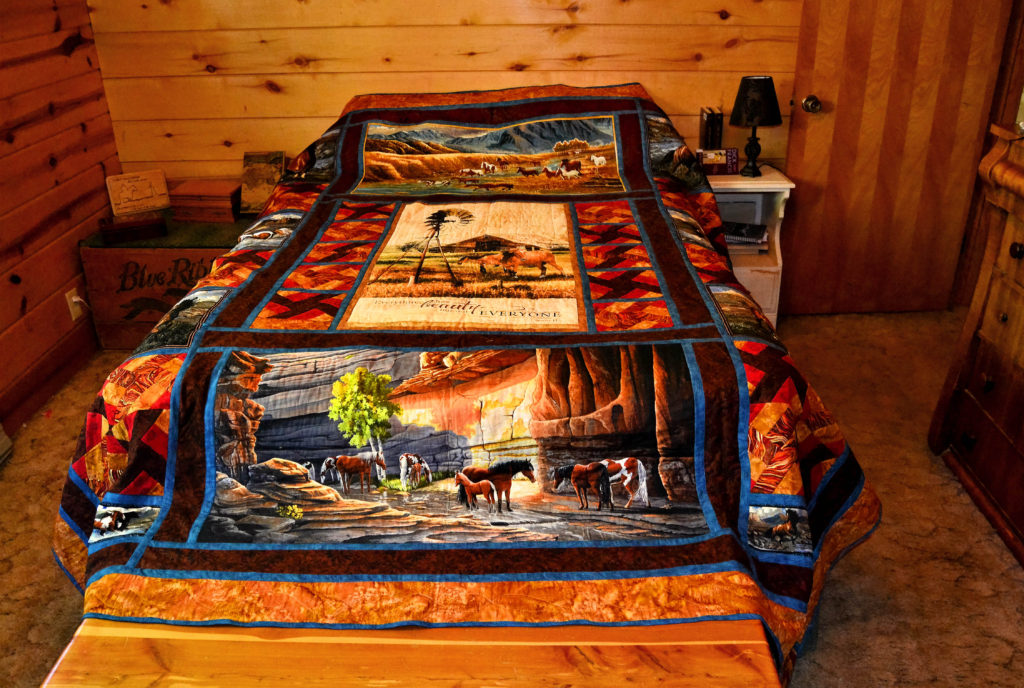
The Fourth Food for Thought – Layer Cakes
Layer cakes in the fabric world are constructed exactly the same as in the culinary world – one layer at a time. Most of my fabric art panel projects are layer cakes because they lend themselves to this technique beautifully and are the easiest way to construct them.

Layer cakes are built starting with backing fabric, then either batting or foam, background fabric, and then however many layers you put on top of that.
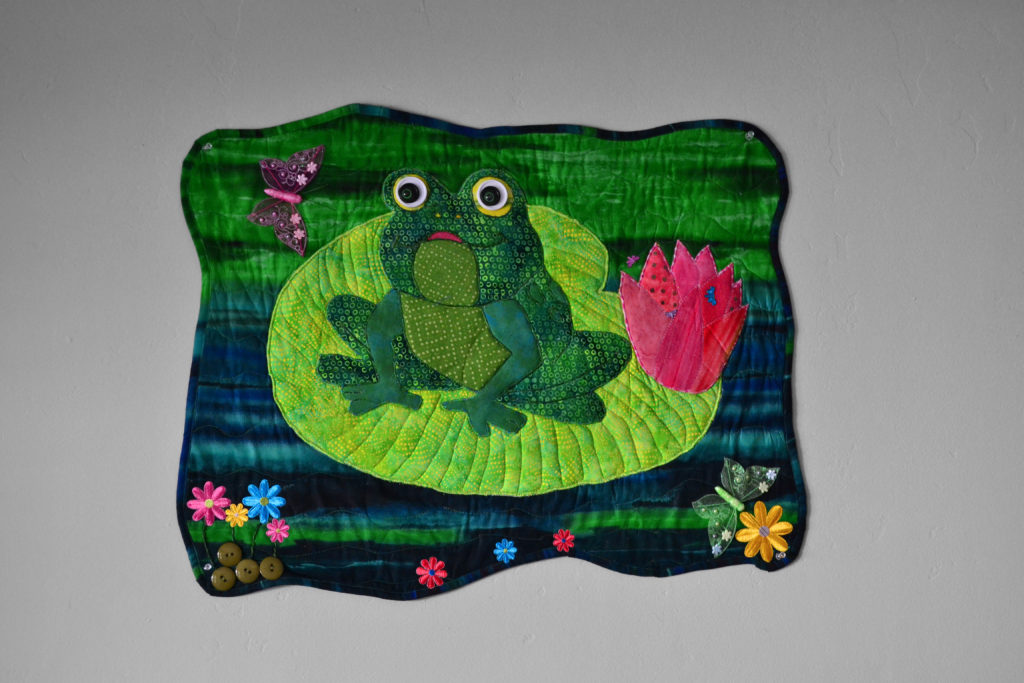
The biggest layer cake I have made to date is My Pad, my frog on a lily pad panel. It is 7 layers thick and for the final layer I had to use a size 16 needle as I used 2 layers of batting and1 of foam in the construction of this. This project was a lot of fun to make, but most of my layer cakes are only 4 layers (backing, batting, background and the design elements).
Projects such as

This type of project is only limited to your imagination and how strong your sewing machine motor is – so be bold!
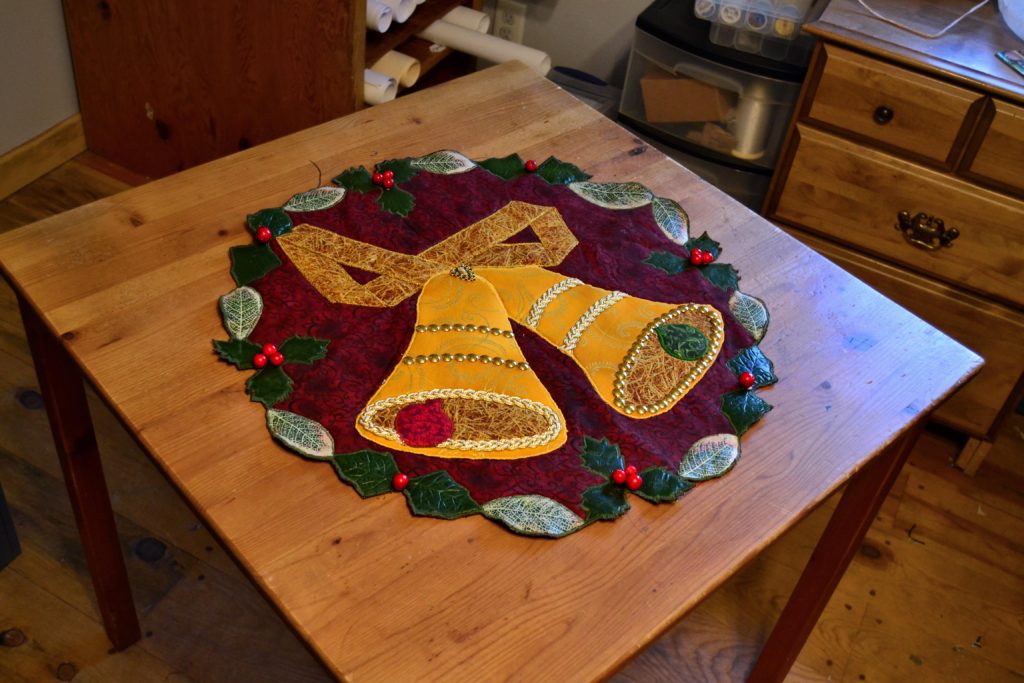
The Fifth Food for Thought – Pie Crusts
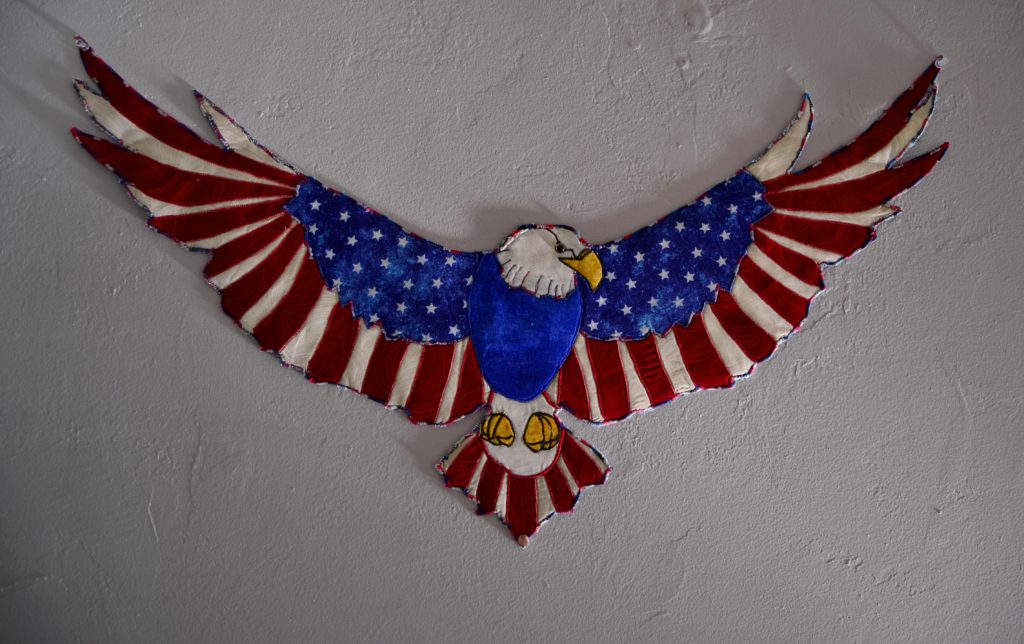
This is a technique I have just thought up and used it for the first time on the Freedom Flight piece – which is my eagle.
I tried a couple of the above methods first but nothing worked as the tips of the long feathers were impossible to turn so there was no finished edge. Finally, after a lot of frustration I decided to try finishing it off all around the outside with a tight satin stitch – and it worked…
…Mostly.
I’ve been working on my technique and have discovered a few tricks to help make it an easy and viable choice for some projects.
- When I am sewing a “pie crust” type of project, I construct it on a piece of fabric that is larger than the design.
Then, when my design is all there, I sew around the outside of the design with a ¼” margin all around the outside. Then, using a sharp-tipped scissor, I trim all of the excess fabric away as close to the stitching line as possible without cutting through it.
When you finish doing this, you will have your design all finished except for the edge.
Here’s why I call this technique the pie crust – I have all the ingredients on the inside with a top and bottom crust & I finish the edge by crimping (satin stitching) the edge to give it a nice finish. Keep your project nice and tight as you feed it through the machine and go slowly so the satin stitch covers all of the edge.
- I get out the “evil” quilting pins for fine-point work.
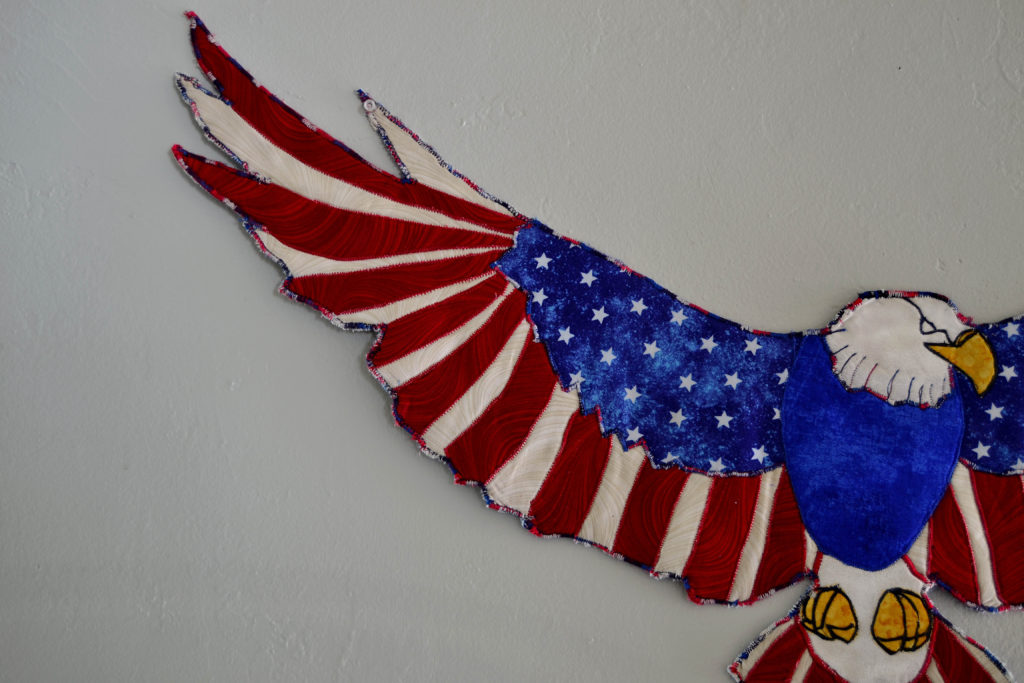
As in the case with my long eagle feather tips, sometimes you will have points that are impossible to get a nice, smooth satin stitch on if you go right to the points. Plus, you’ve got to hold those points tight when there’s literally no material available to put your hand down on.
I solved this by using one of my long quilting pins, poking the tip through the entire point and pulling gently with the rest of the pin to hold the point tight.
Then I stop sewing approximately ¼” before I reach the very tip, turn my fabric, and still holding the point tight with the pin, I start sewing down the next side. This trick of holding the point with a pin tip works a treat and takes all the screaming and frustration out of crimping this pie crust.
- Once you have satin stitched all around the outside and are pleased with the coverage, use a small, sharp-pointed pair of embroidery scissors to trim off all stray threads.

Stray threads are inevitable, but it is the work of moments to trim them off.
Also trim off the very end points that you left unsewn, and your project is finished, nice and neat – and – if you sewed the outside edge with variegated thread – as I did in Freedom Flight – visually interesting.
The Final Food for Thought – Stuffed Crust
This is my version of the stuffed crust pizza. Which delightful invention, by the way, is the only reason I ever darken the door of Pizza Hut.
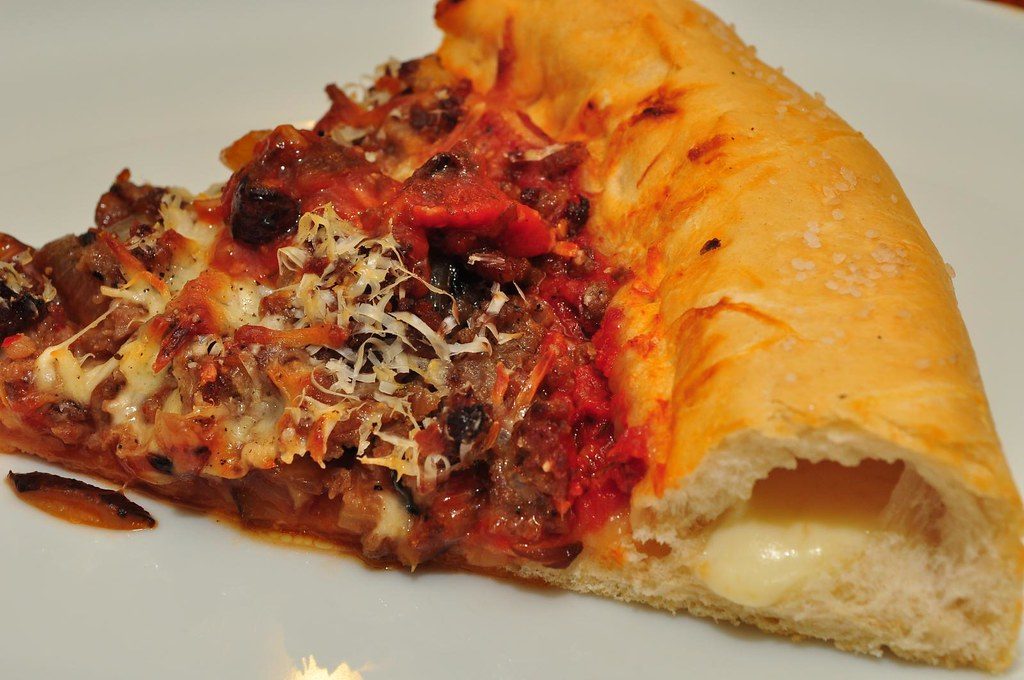
When you need foam inside of a shaped pattern, such as a stocking, none of the previous methods will work because foam is too thick to turn like a pop-over or to do a pie crust edge around.
Then I thought of the art of stuffing something and hey-ho! It works!
It works when you cut out 2 exact same shapes out of fabric and a matching foam shape that is approximately a ½” smaller all the way around.
With wrong sides together and using a ¼” seam width, sew the shape together leaving an opening anywhere from 6 – 9” long depending on how large your foam shape is. Turn your fabric piece right-side-out and push out all curves and corners.
Iron flat making sure the seam is not twisted to the front or back, and iron over the opening edges with a ¼” seam.
Carefully insert the foam shape through the prepared opening adjusting to fit.
When you are satisfied that it’s positioned correctly, stitch down the opening as close to the edge as possible.
And that’s it! These are the 6 main sewing techniques inspired by foods from the kitchen. At least that I can think of right now.
But as time goes on, who knows – genius is an unpredictable thing!