As anyone who’s ever sewed knows, there’re a lot of tools that you use every day that don’t come with a sewing machine or a beginner’s sewing kit. Here I’ll talk about some of these everyday items that I personally have found to be very useful. These unique sewing tools and their uses include oddities like calculators and surgery clamps!
Every seamstress in existence likely has their own ideas of what the essentials for sewing are, but I am sure that mine is the right stuff and you should follow my lead exclusively! I will now give you the benefit of my great wisdom and experience in these matters as I’m sure you will be confused if I don’t.
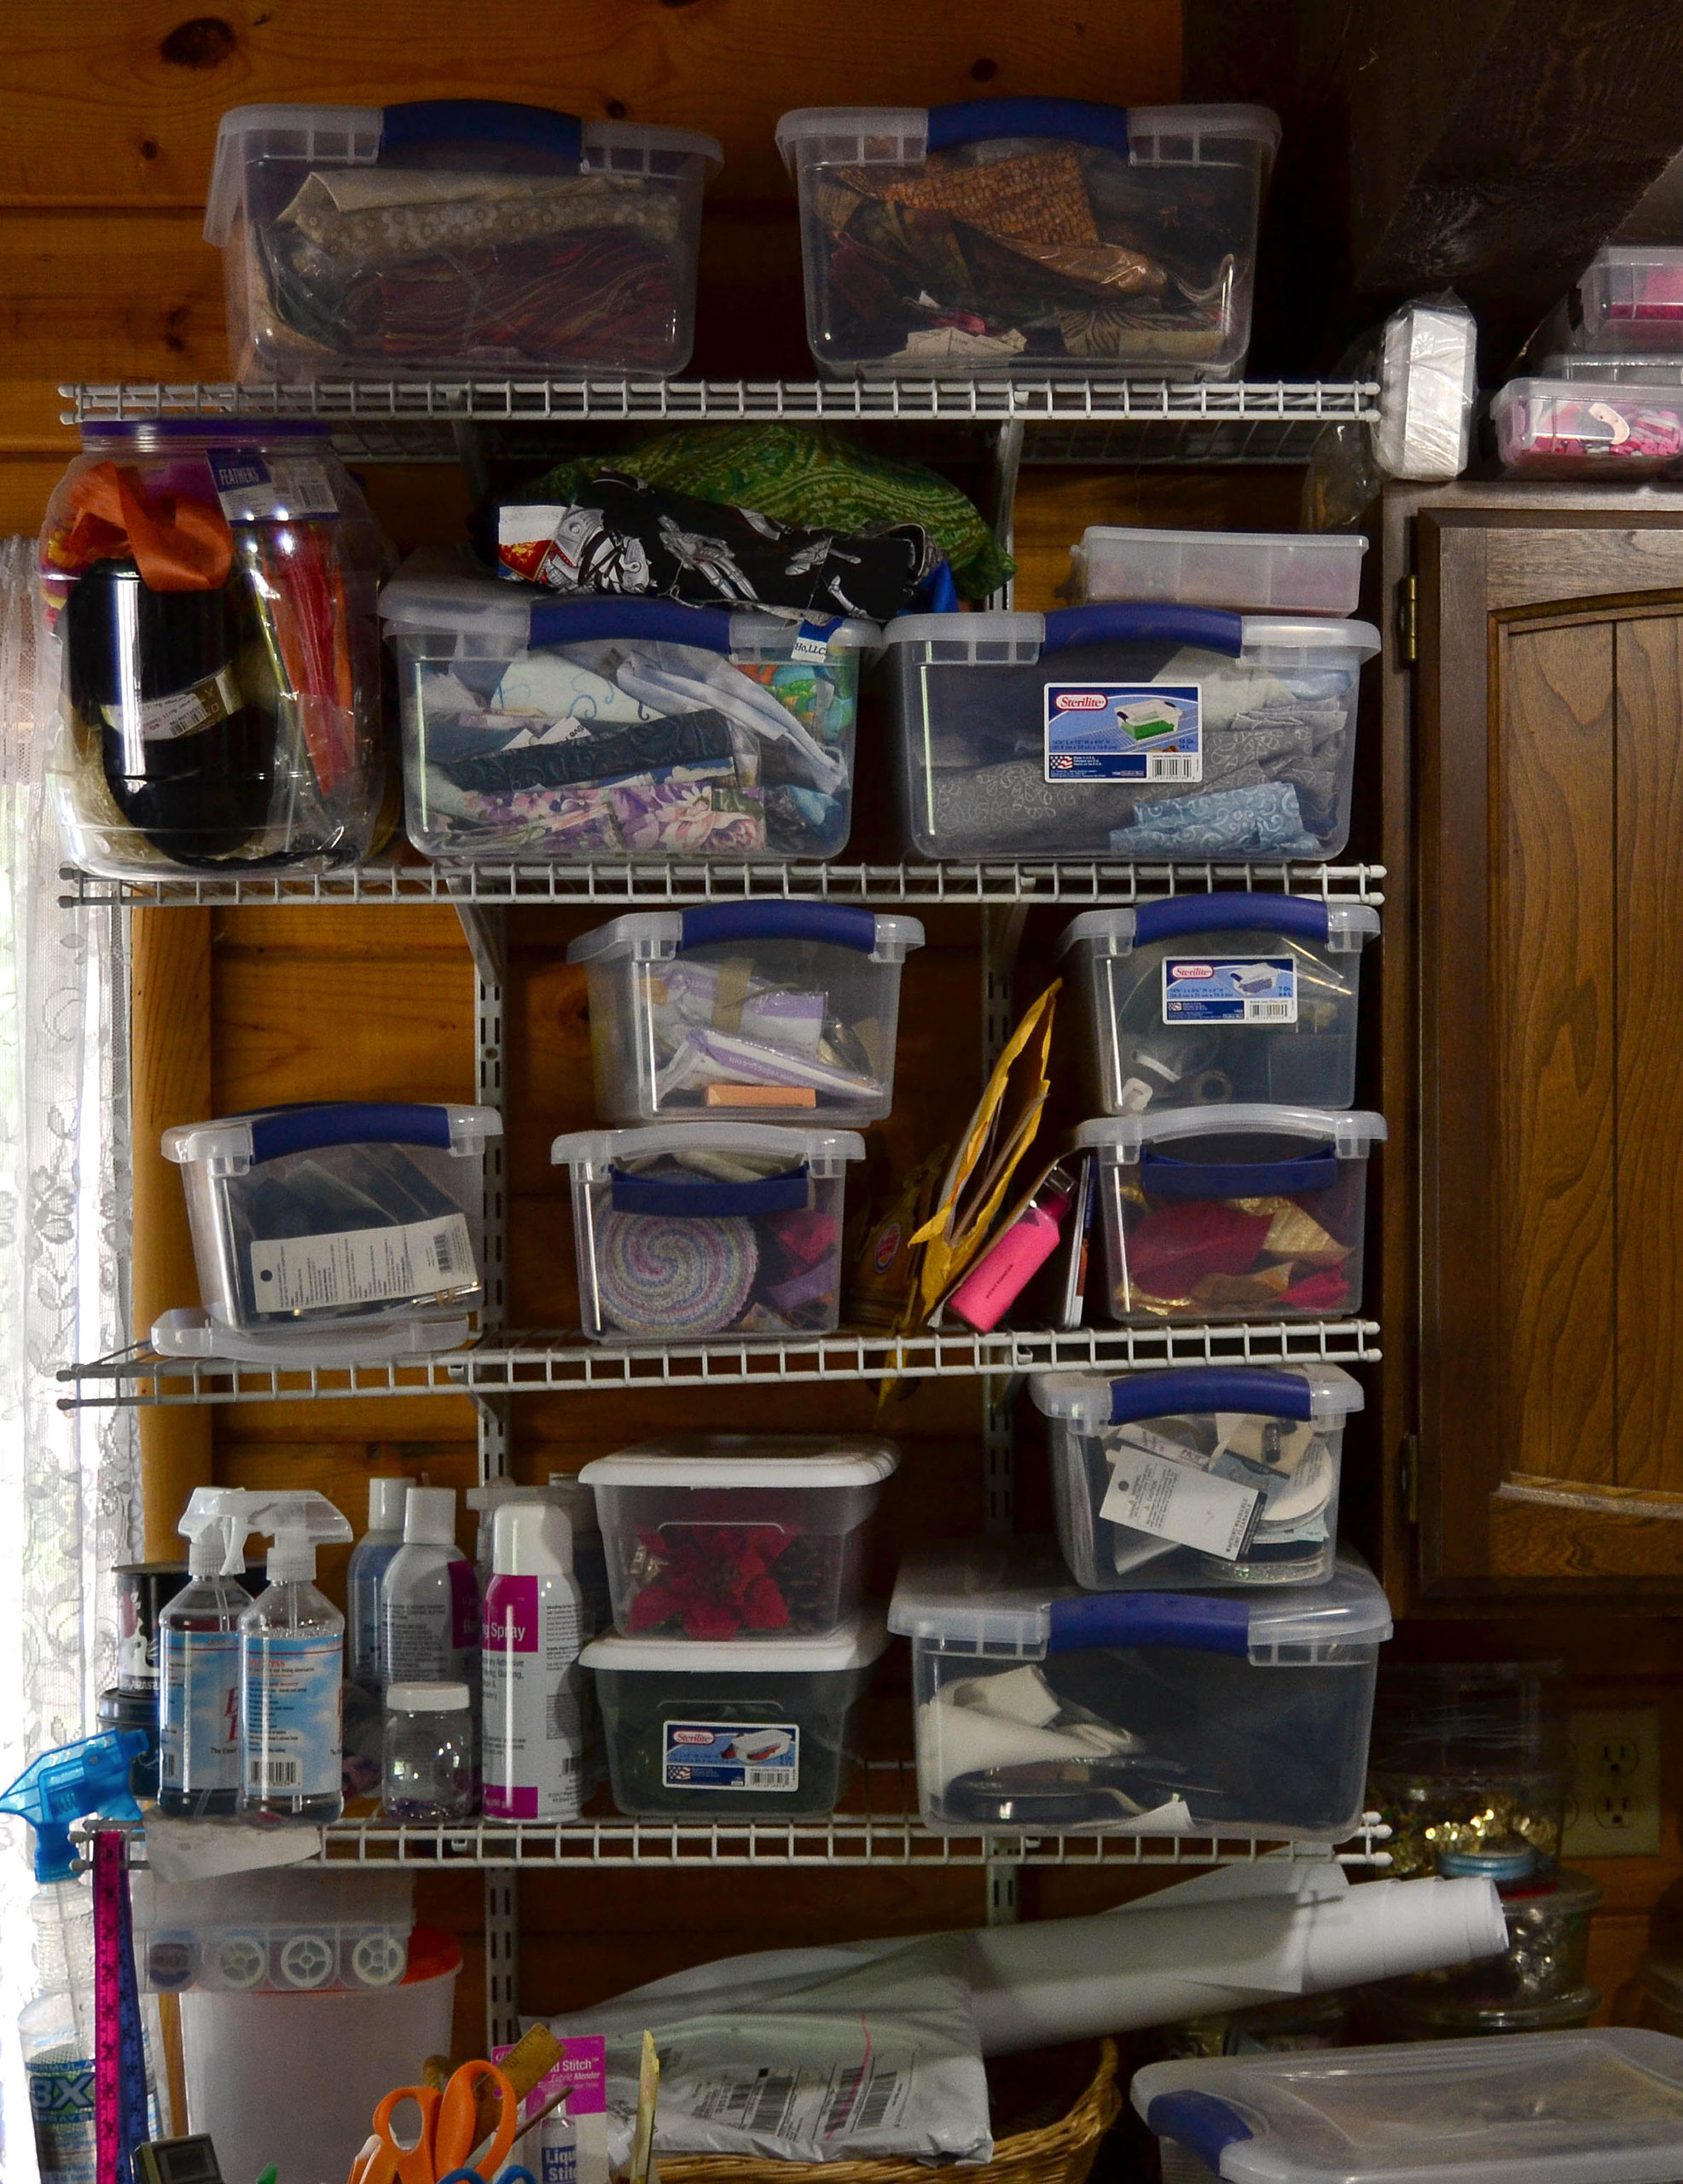
And, if you have an absolutely terrific sewing tool that I haven’t mentioned in this article, or in the first and second articles in the stocking your tool kit series please send me an email at karyl@pybdesigns.com. Plus, if you have trouble storing all these little tools, please check out our article on corralling your sewing tools and supplies.
These sewing tools are practical, creative, and occasionally unique…
Ironing Boards
You absolutely MUST have one of these as there is no other way to iron large pieces of fabric in an efficient manner.
Just go down to the closest box store and buy yourself a plain old ironing board. In all the decades that the 2-legged adjustable height ironing board was invented, they have never come up with anything better.
Why re-invent the wheel!
It doesn’t matter if you’re short, tall, sitting or standing, a regular ironing board will extend to just the height you need. They have come up with new and fancy ironing board covers which I change out as needed. If you sew at all regularly, your ironing board cover will get dirty, sticky, and just all around yucky looking. When this happens I buy a new one and hey-presto – a new looking ironing board!
I like to keep my board permanently open and sitting at right angles to the desk on which I sew. This way, I only have to swivel back and forth from one to another – very quick and efficient.
One Useful Feature You Do Need in an Ironing Board
Make sure you buy an ironing board that has a metal stand on the end for your iron. I plug my iron in when I start my day and leave it on till I’m done. It’s great to have a hot iron at the moment you need one, and leaving it sitting on the metal stand means you don’t have to worry about jostling the ironing board as you work and knocking your iron onto the floor…or hand…or lap.
This is also a great way to make sure that nothing catches fire!
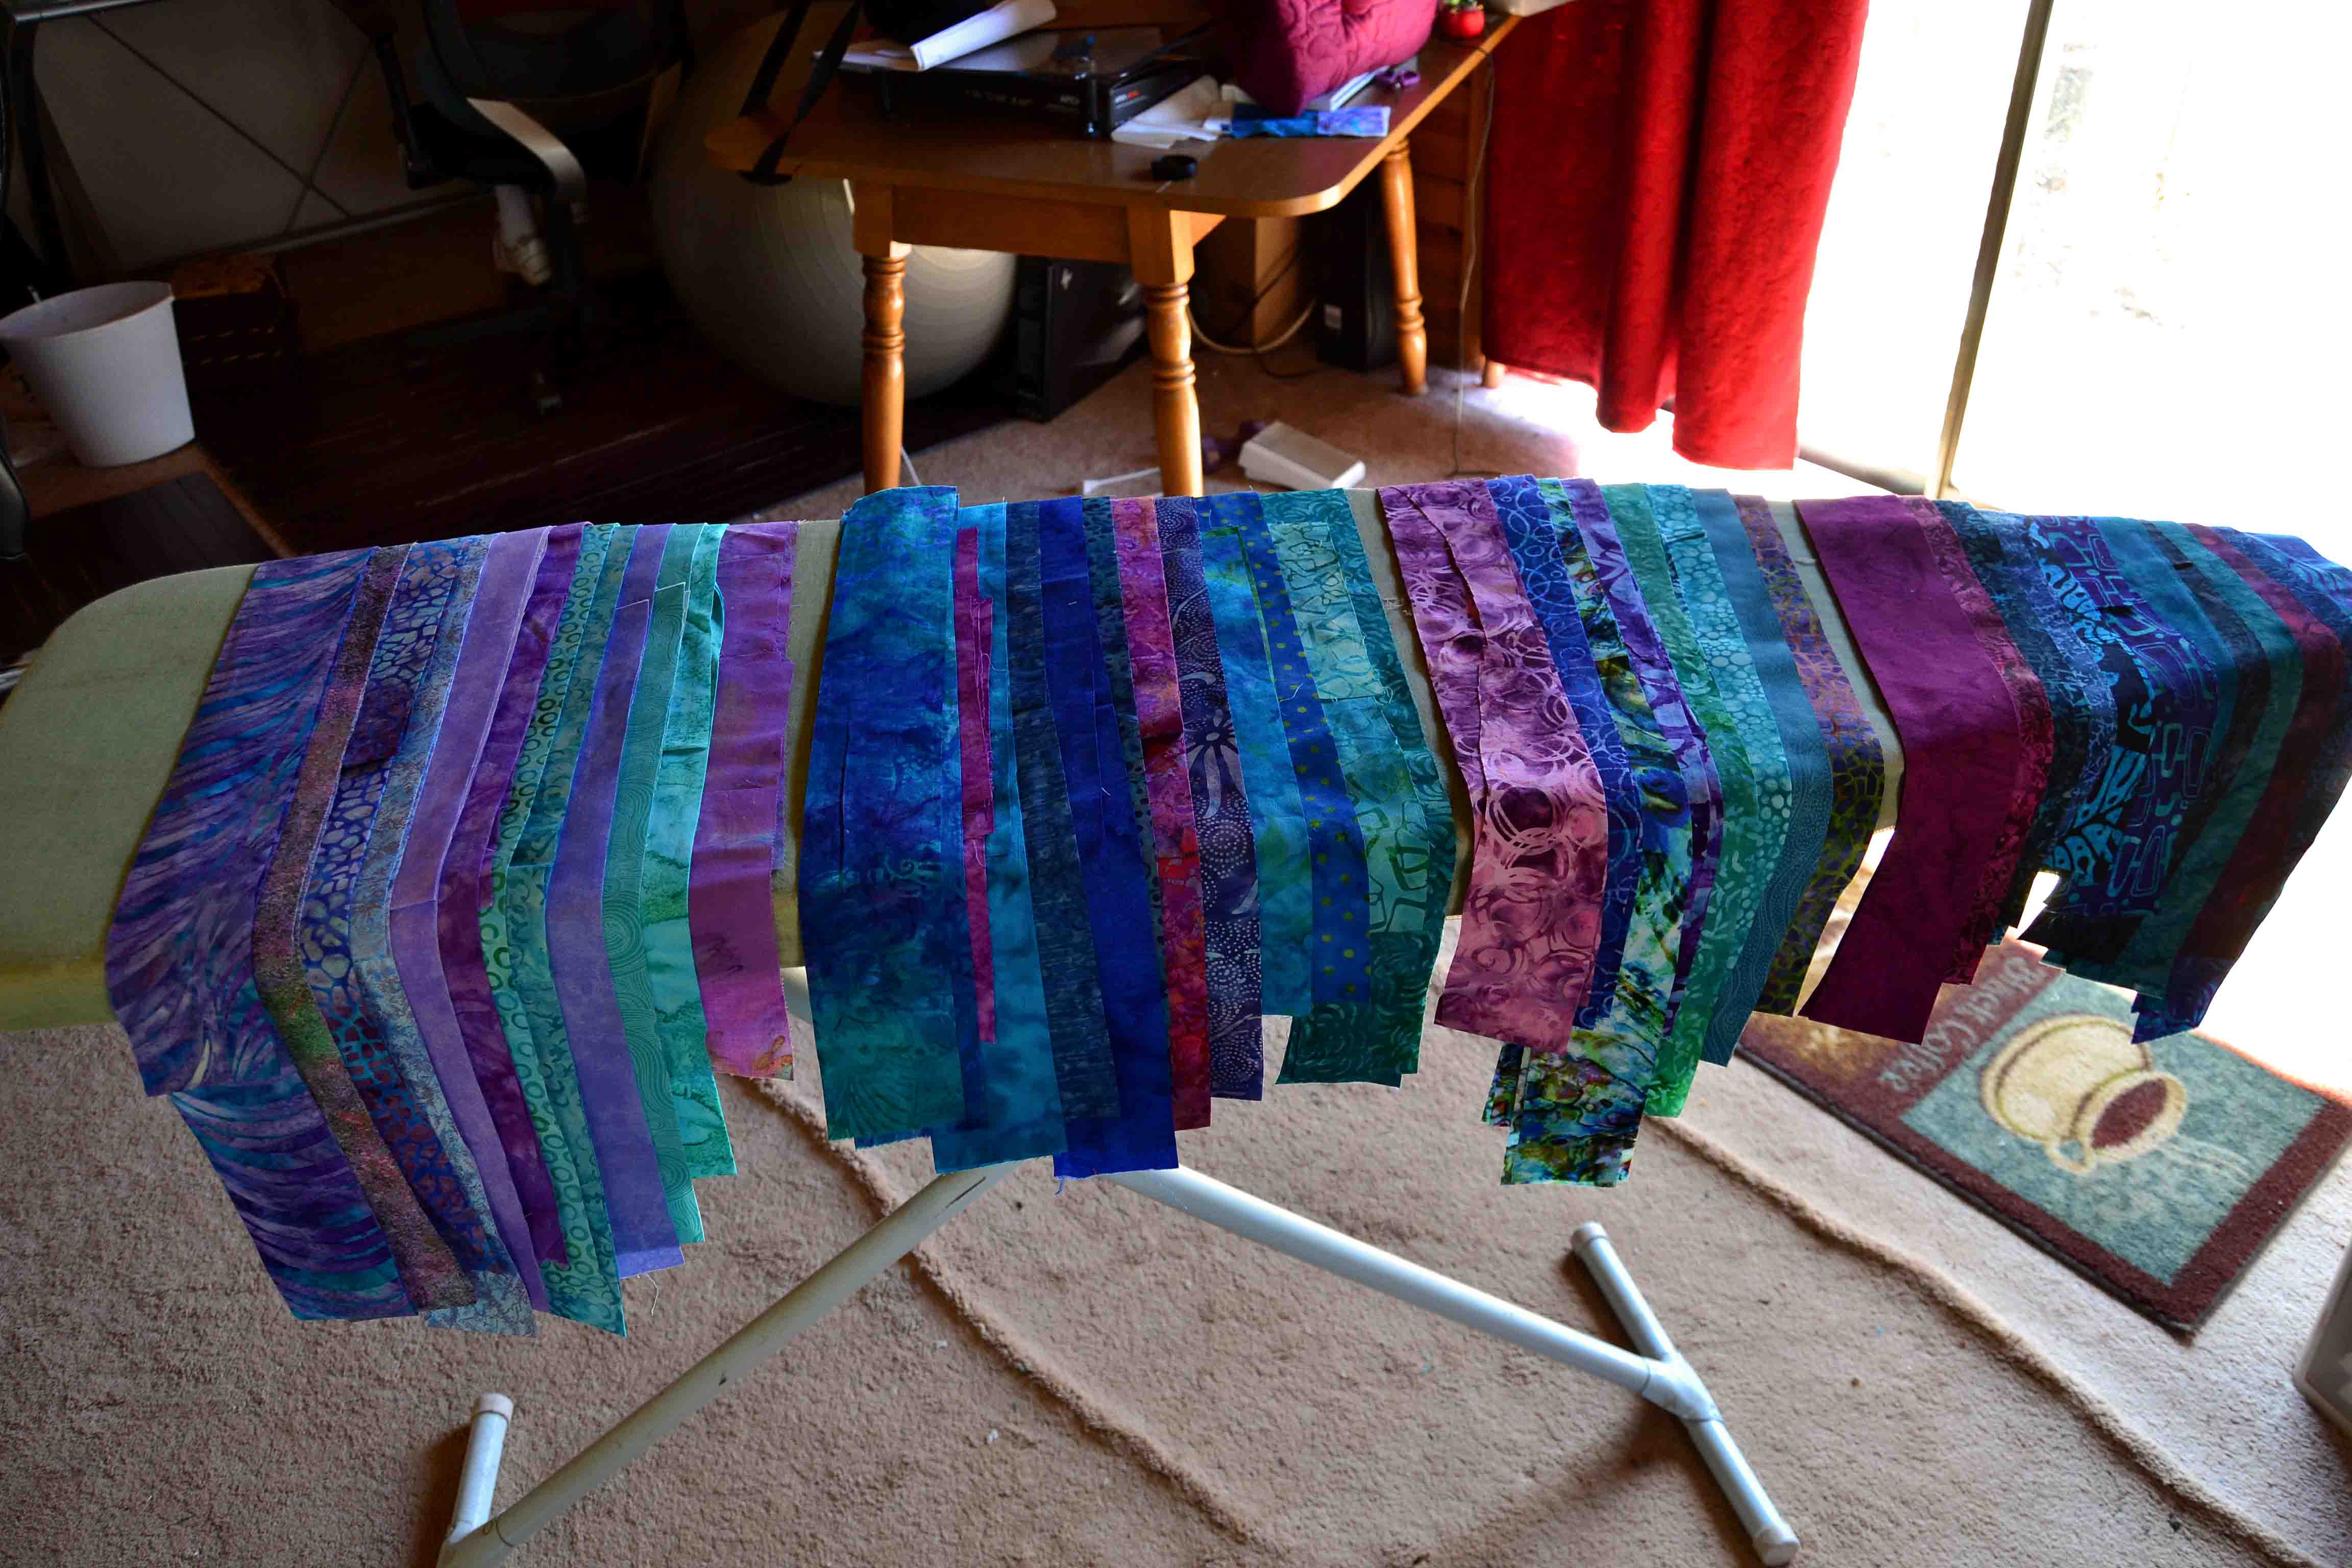
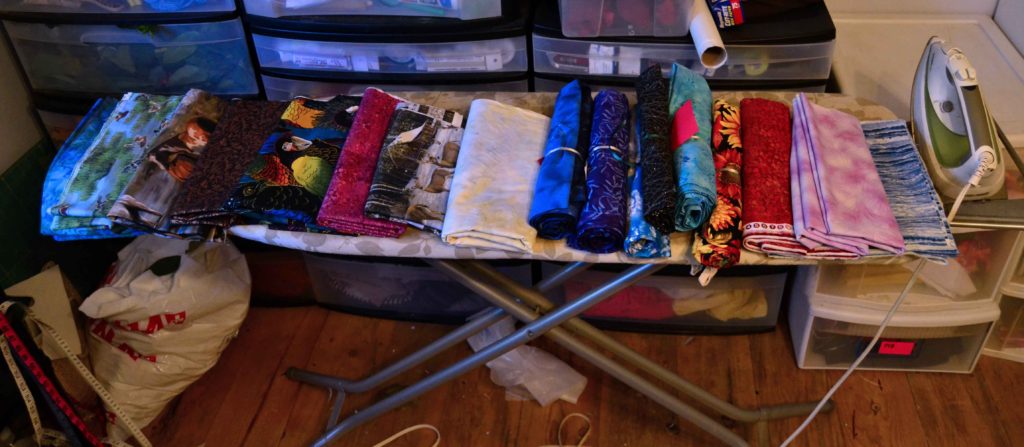
If, by chance, your ironing board breaks in some way, DON’T throw it away. If you have room, keep it and set it up as a place to hang your ironed fabrics, strips, and applique shapes of the project you’re working on.
Broken ironing boards also make great extra desks – I do my month-end books on mine.
A second ironing board also comes in very handy for holding the excess weight of a quilt as you’re feeding it through your machine. Simply set it up on your left-hand side (if you’re right- handed), and at right angles to your sewing machine at the same height. Lay your project on this instead of on the floor or on your lap.
This works great and saves a lot of wear and tear on your shoulders!
Irons – A Sewing Tool You Cannot Do Without!
That you will need an iron is a given. But what make and what model?
I must be honest here. I am NOT an iron-whisperer. As a matter of fact, my feng shui is kryptonite to irons. I never abuse them but they die anyway.
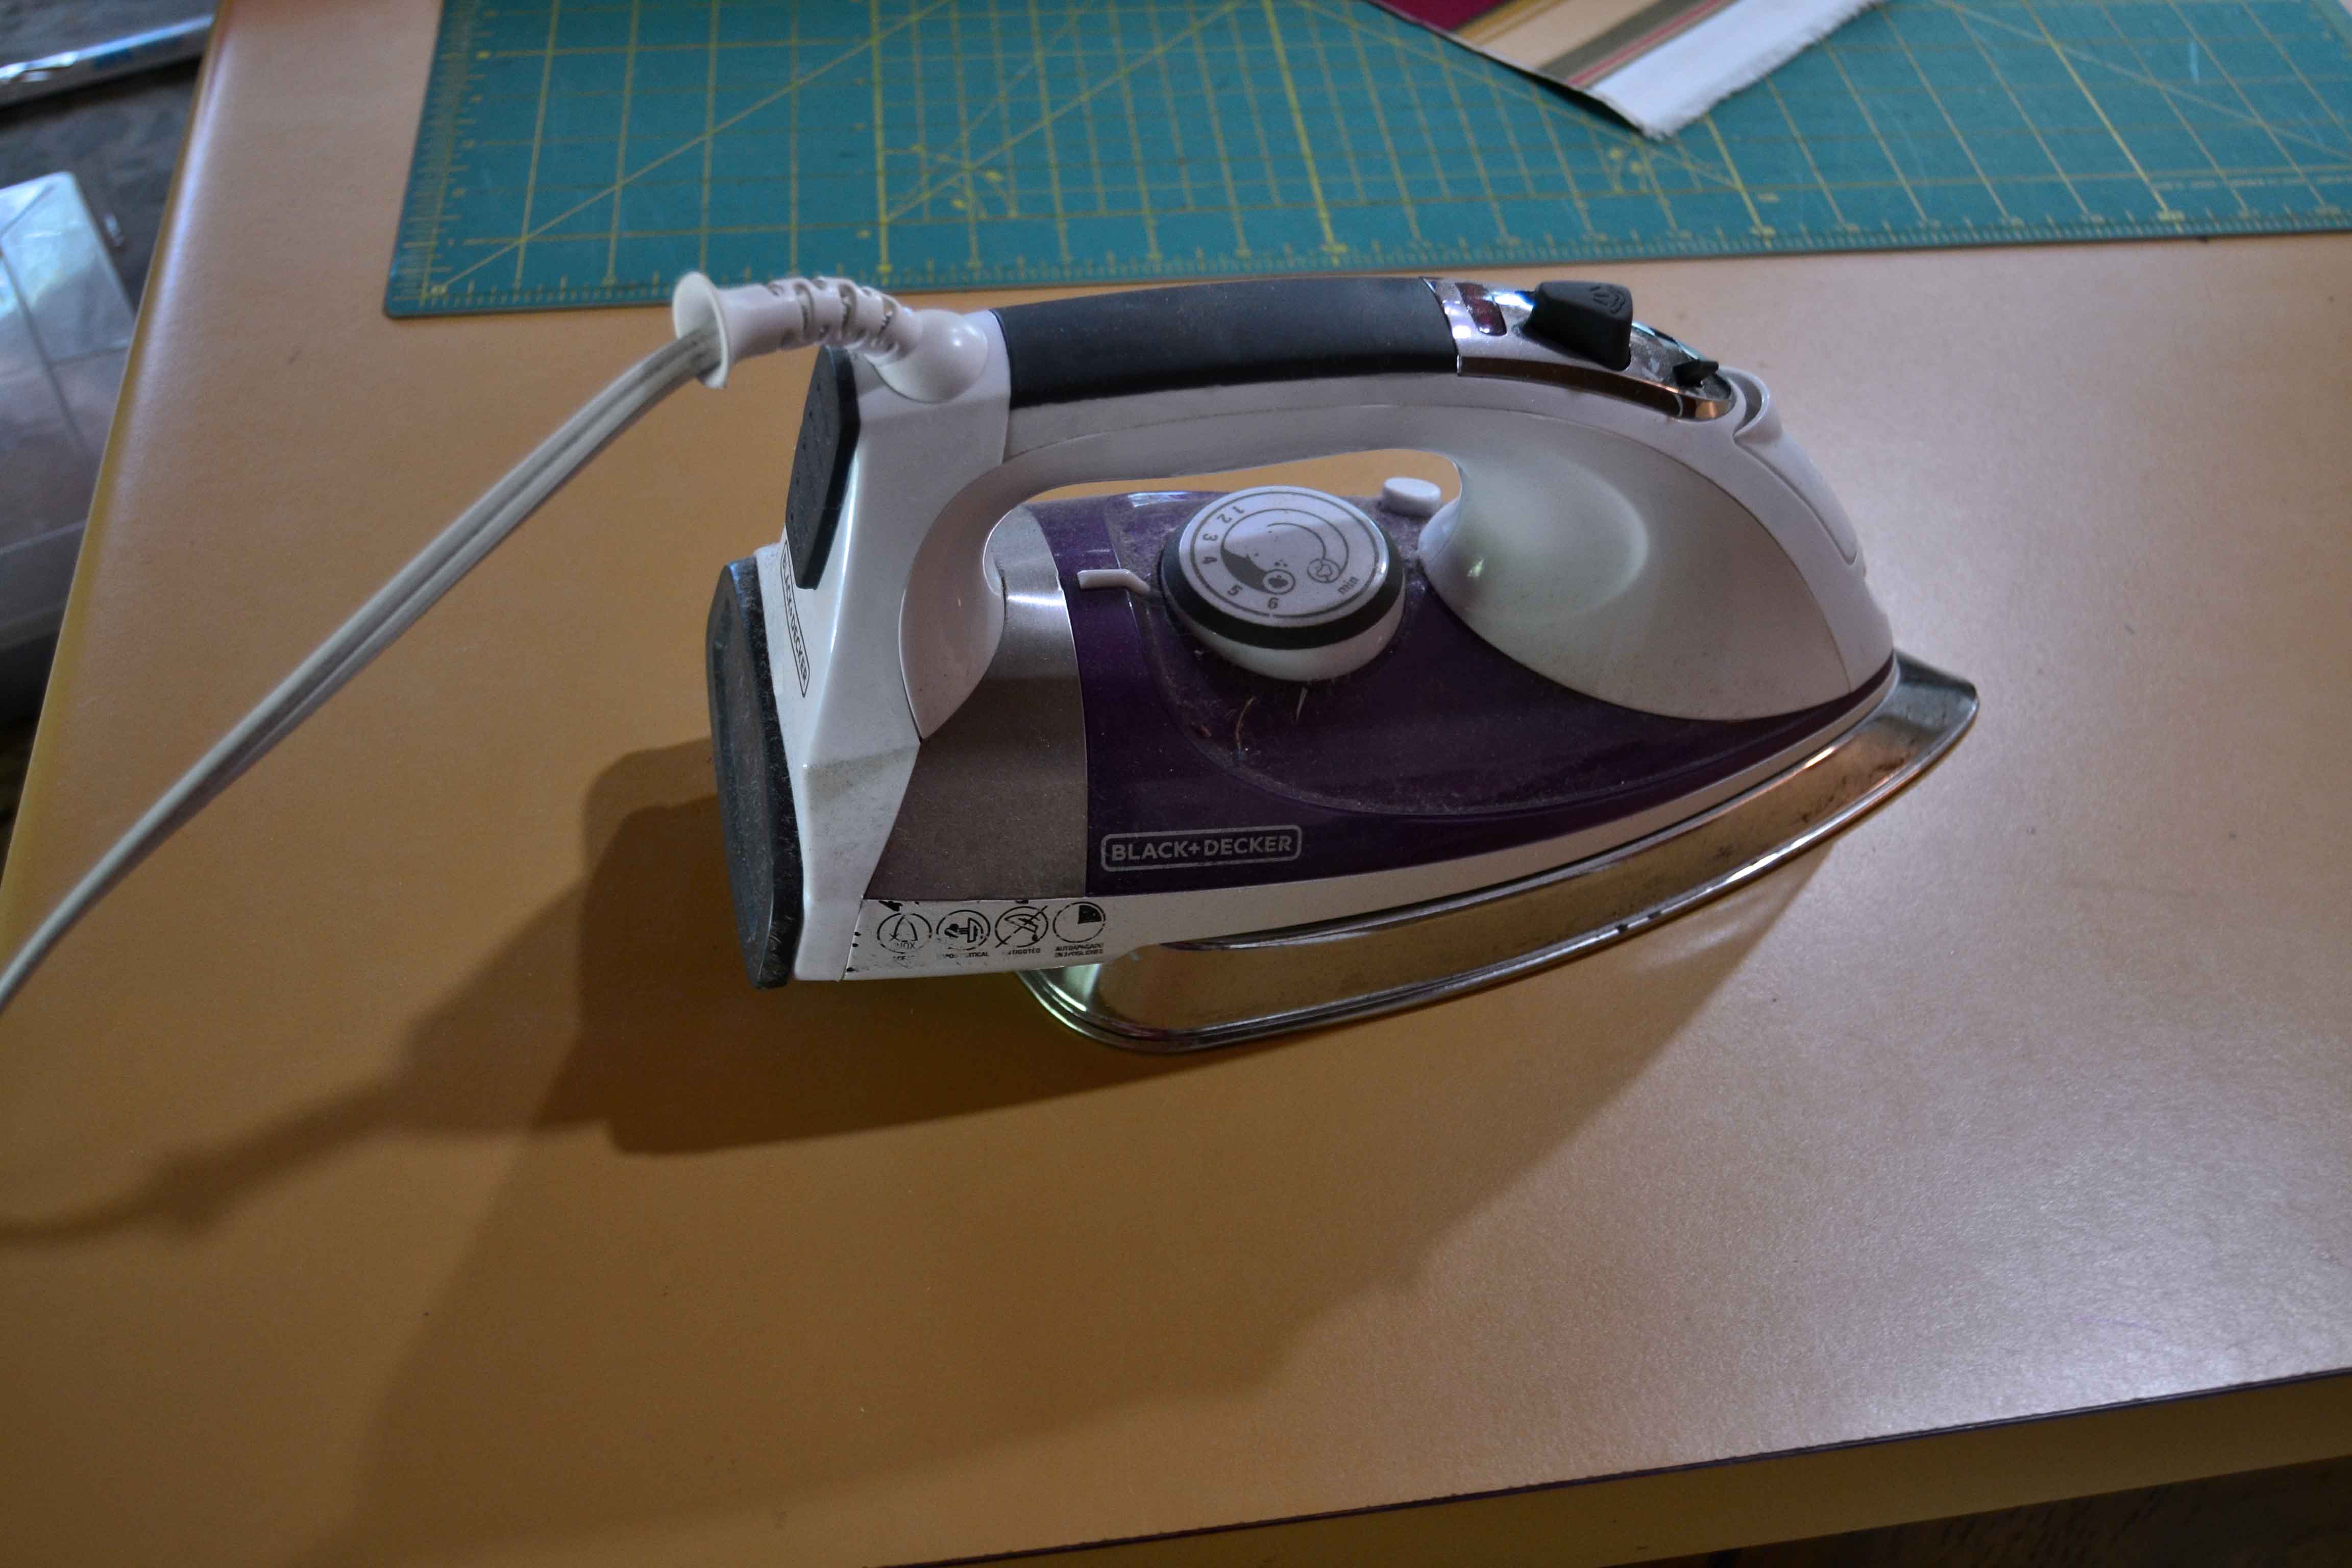
I always follow the manufacturer’s instructions diligently, never fill them with plain tap water, and turn them off when I’m not using them. Yet anyone would think that I am a closet iron abuser since they still choke, burble, and die eventually; but since I have the same effect on wristwatches, I have decided not to take it too personally.
As a result, I buy cheap irons that have no reservoirs to fill and 10 different setting options to choose from.
When I need to steam something (like seams) I spray the area first with (gasp) tap water that I keep in a handy-dandy spray bottle and then I just set my hot iron on it to press it. It works like magic.
When my iron gives up the ghost (every few years) I simply buy a new, cheap one.
There are too many things in this world to worry about and I’ve decided that the reason irons hate me is not going to be one of them.
I do have one smaller iron which I use in tiny, tight corners. It’s actually a long wand with a very small clover leaf shaped foot at the end. It’s small, it’s hot, and it’s perfect for every little thing.
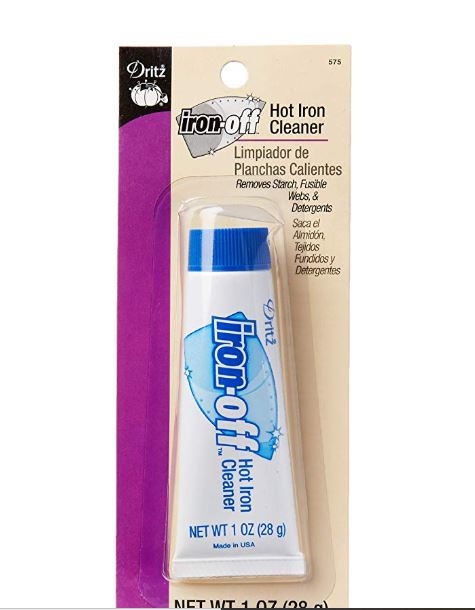
Iron-Off Hot Iron Cleaner by Dritz
This is a fabulous product that takes all of the frustration out of keeping your iron plate clean and gliding like new. Basically if you use your iron more than once a month you’re going to want a little bottle of iron-off.
Rulers
Although I consider myself a quilting rebel and loathe matching corners, etc., this does not negate the need for rulers and accurate measuring. If we’re being totally honest being a quilting rebel and liable to taking hard left turns from the norm actually means using rulers a lot more – because otherwise you’re going to end up with a nasty mess.
I use rulers constantly, and as you would expect, there are rulers for every type of measuring you need to do.
Measuring Tapes
This is the #1 type of ruler. They are soft and flexible, come in 2-3 foot lengths, and are utterly indispensable when you need to measure anything over 12” long. Get one and keep it handy. Trust me, this is one sewing tool you won’t want to do without.
As you can see, I’ve used this puppy so often that there are breaks and pieces of it missing…
School Ruler
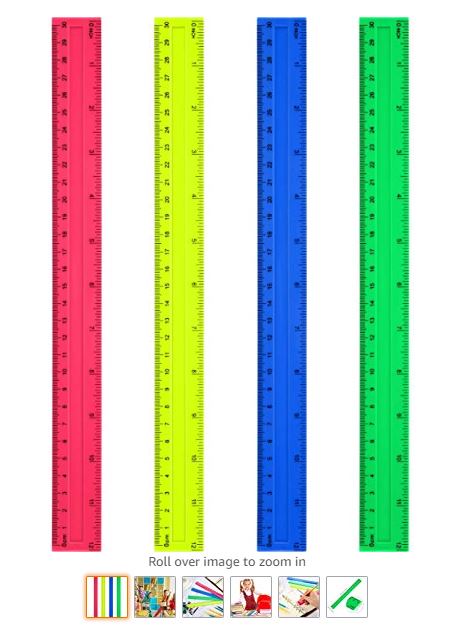
I have a few of the old rulers the kids used for school and I use them all the time. They’re easy to store, measure up to 12”, and have nice, straight, hard edges. I don’t just use them measuring, however. Here are a few other things I use them for:
- Guides for drawing straight lines (lay the ruler on your fabric and presto!)
- Making new patterns on paper (we do this a lot at Princess YellowBelly Designs)
- Smoothing out creases
- As a barrier for keeping things from rolling off the desk
Sewing Gauge
I did without one of these for years till Barb convinced me to give it a try and now I use mine constantly. It is my go-to for when I need small, extremely exact measuring. My sewing gauge is made by Dritz, is made from a light-weight, bendable metal, is 6” long and has a slit down the center that a blue plastic gauge slides back and forth in. The blue plastic gauge has 2 points sticking out either side of the ruler that lets you mark your fabric in exact n’ths of inches or centimeters.
Even and especially in fabric art, details and minutiae matters.
Hard Plastic Ruler
The ruler I am talking about here is the 24”x6” one that fits the standard 18”x24” cutting board. This is an absolute necessity as you can’t use your cutting board and rotary cutter (see the sharp stuff article) efficiently if you don’t have it.
I bought mine 27 years ago and have put thousands of miles on it and even though some of the numbers are getting worn it still works like a charm. Get one!
Cutting Board
I’m including this here because although a cutting board is for cutting fabric on, it is also a ruler. By using this board and the hard plastic ruler that fits it, you will be able to cut any number of fabric strips and pieces quickly, cleanly and accurately. There are many different sizes and shapes of cutting boards out there but all I have ever used or needed is the standard 18”x24” one.
Specialty Rulers
These are all the hard plastic rulers that come in all shapes and sizes and often correspond to one specific pattern. They come in triangles, circles, rectangles, squares, swirls, etc. and take up a lot of storage room. I try to avoid them if I can but now and then I succumb because they are attached to a pattern that I just can’t resist and then never get around to making anyway.
When this happens, learn to forgive yourself, store them out of sight and as soon as possible, gift the whole kit to someone else.
Small, Essential Sewing Tools and Their Uses
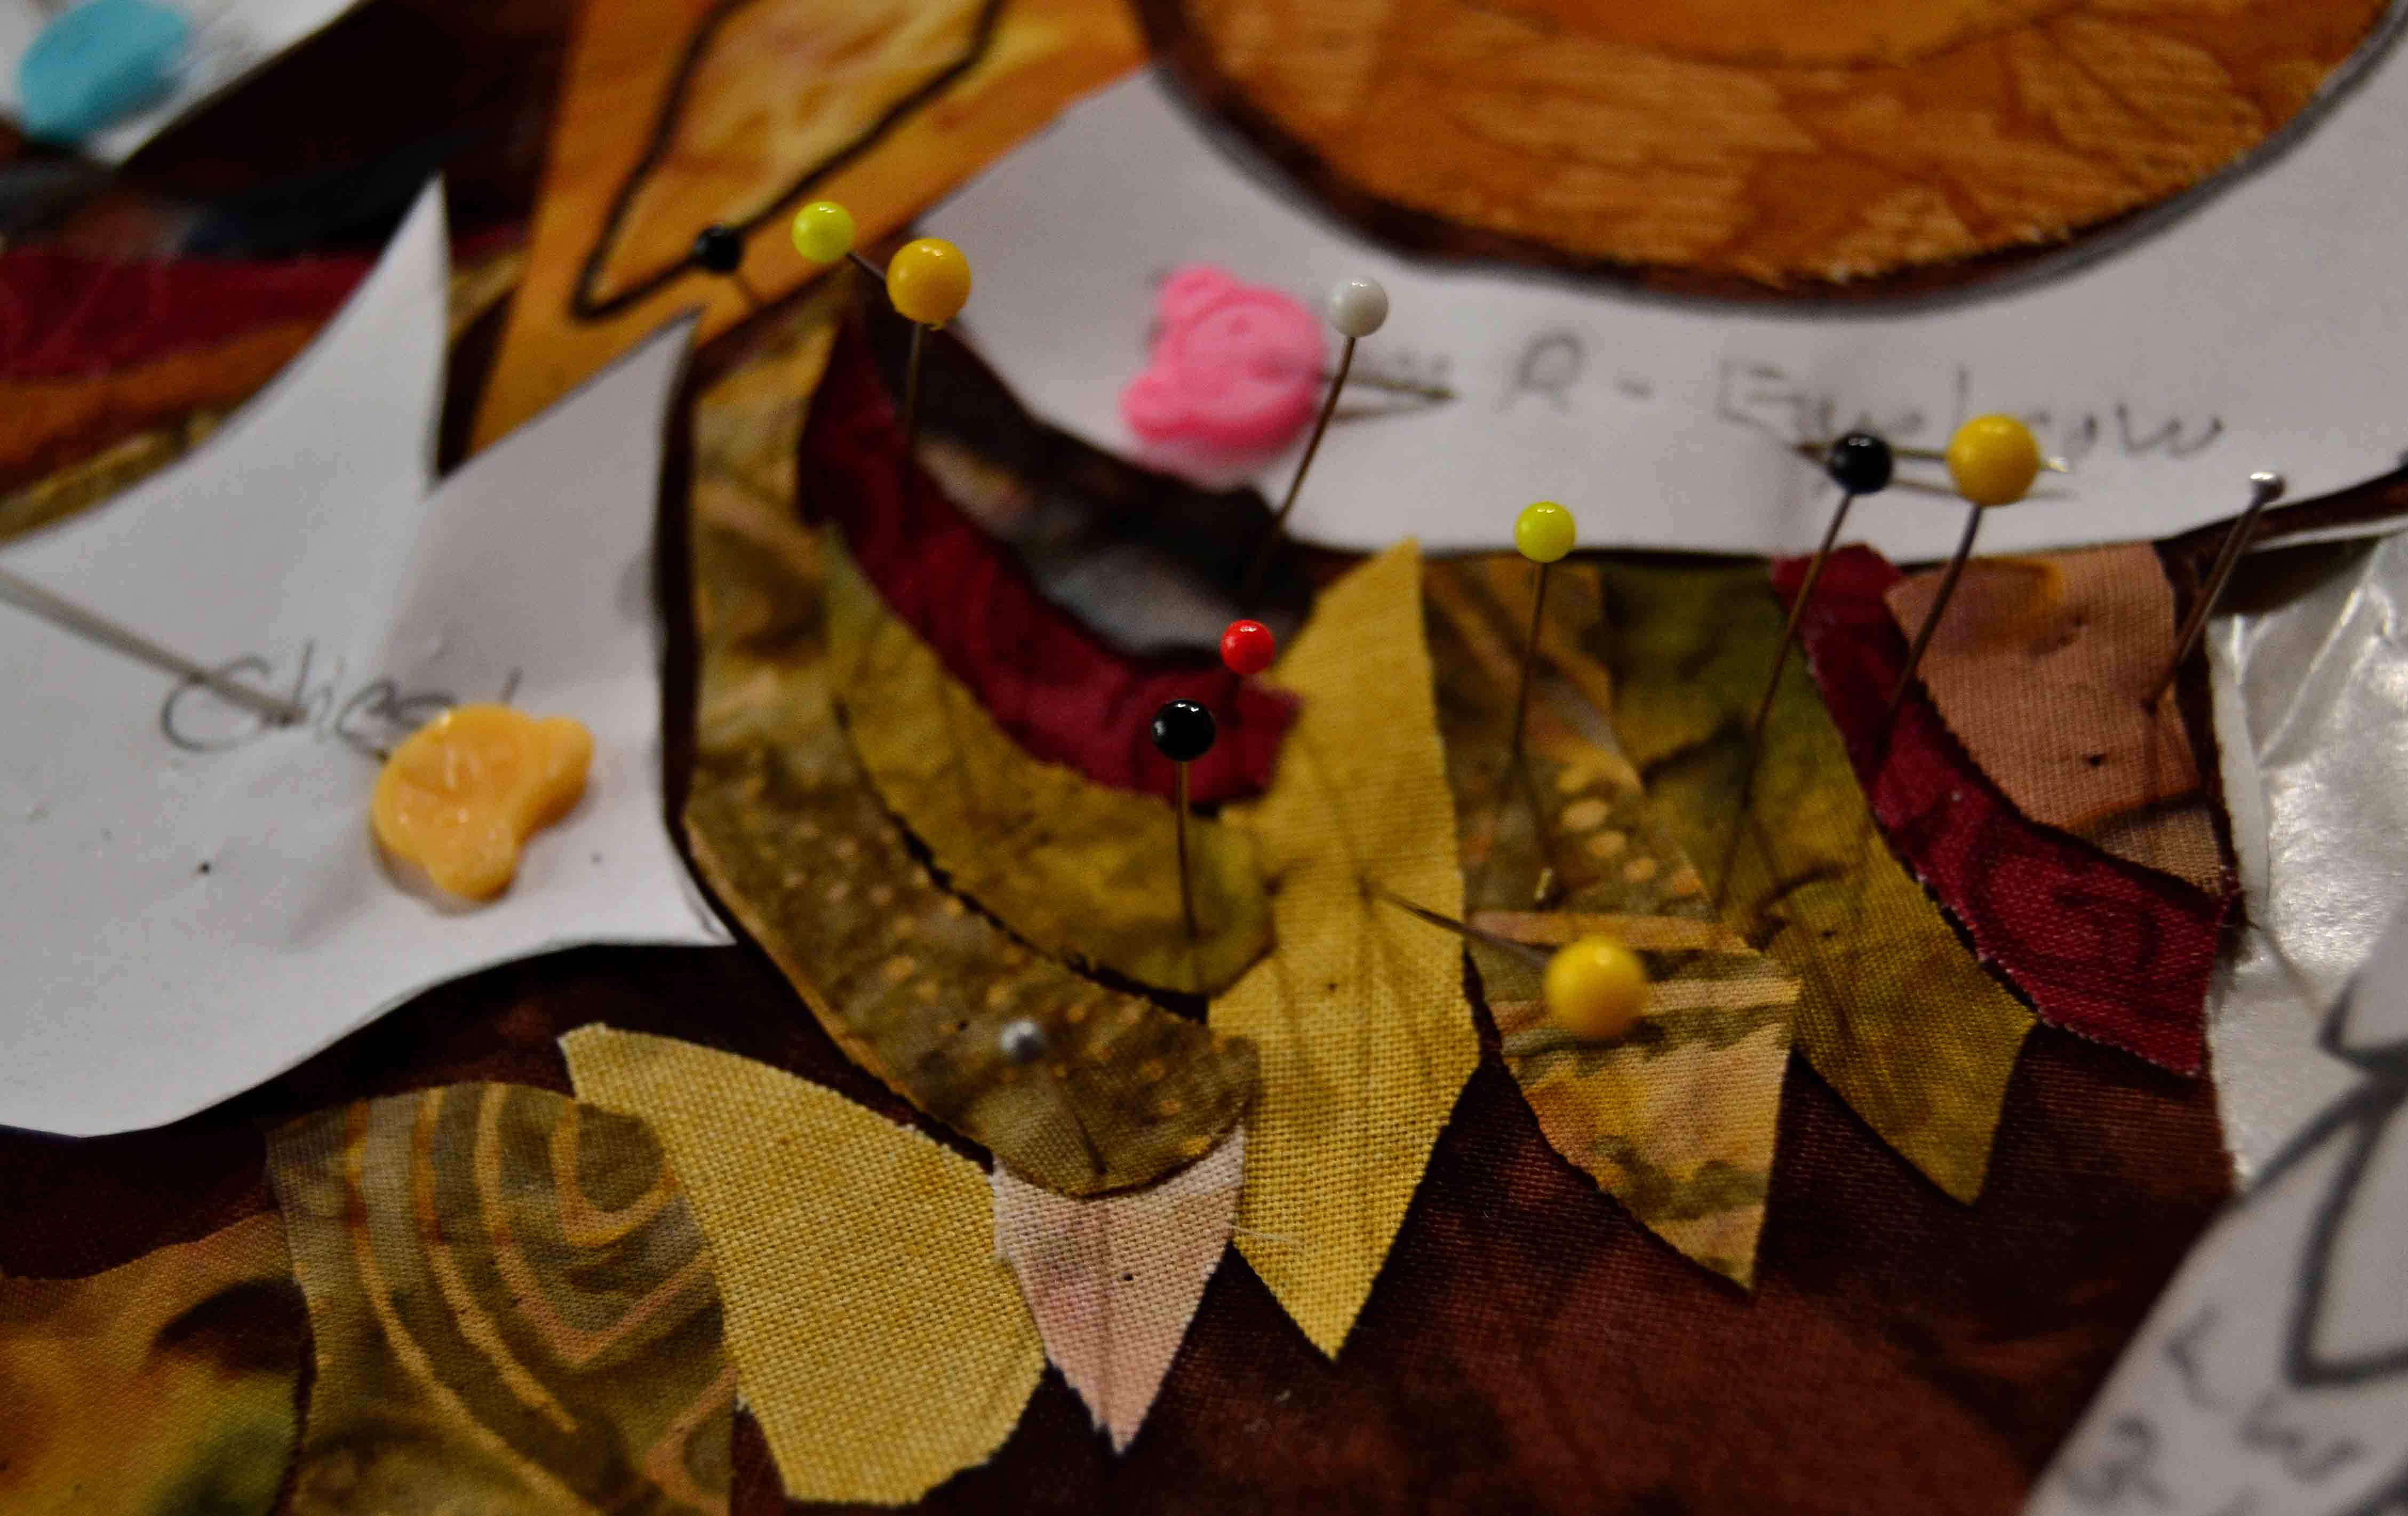
These are the sewing tools that I keep right next to my sewing table in a kidney dish that I brought home from the hospital years ago.
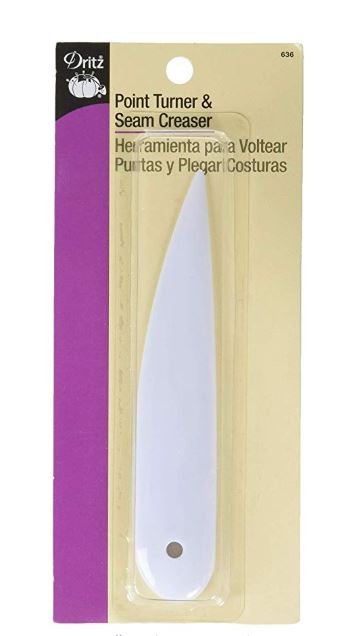
Point Turner
This 5” long piece of hard plastic is completely necessary any time you need to push out a point or a curve in a project. It has an elongated teardrop shape, and, like its name suggests, it comes to a sharp point which you can slide into hard to reach spaces and use to gently push.
Nothing else (scissors, pencils, skewers, etc.), work like this little tool. It’s one of those tools that saves endless frustration.
Needle-Nosed Pliers
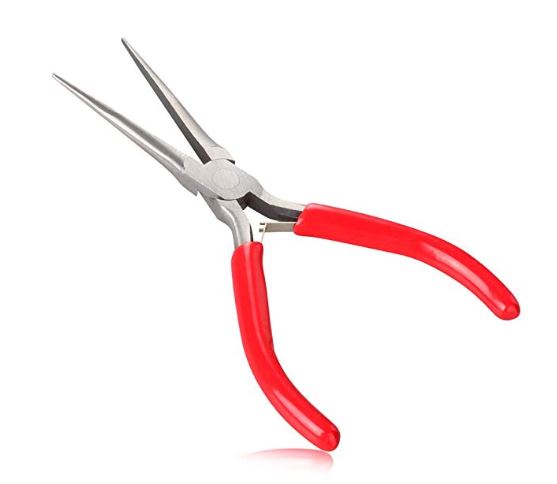
Michael says I stole these from his tool box but since they’re still under the same roof, I think it’s more accurate to say that I appropriated them (permanently).
These pliers come into play when you need to pull the sharp end of a pin out of a project and it’s stuck and the head’s come off. They’re also great for pulling thread snarls out of your machine’s bobbin well, and helping to pull hand-sewing needles through thick fabric sandwiches. Trust me, it beats a thimble.
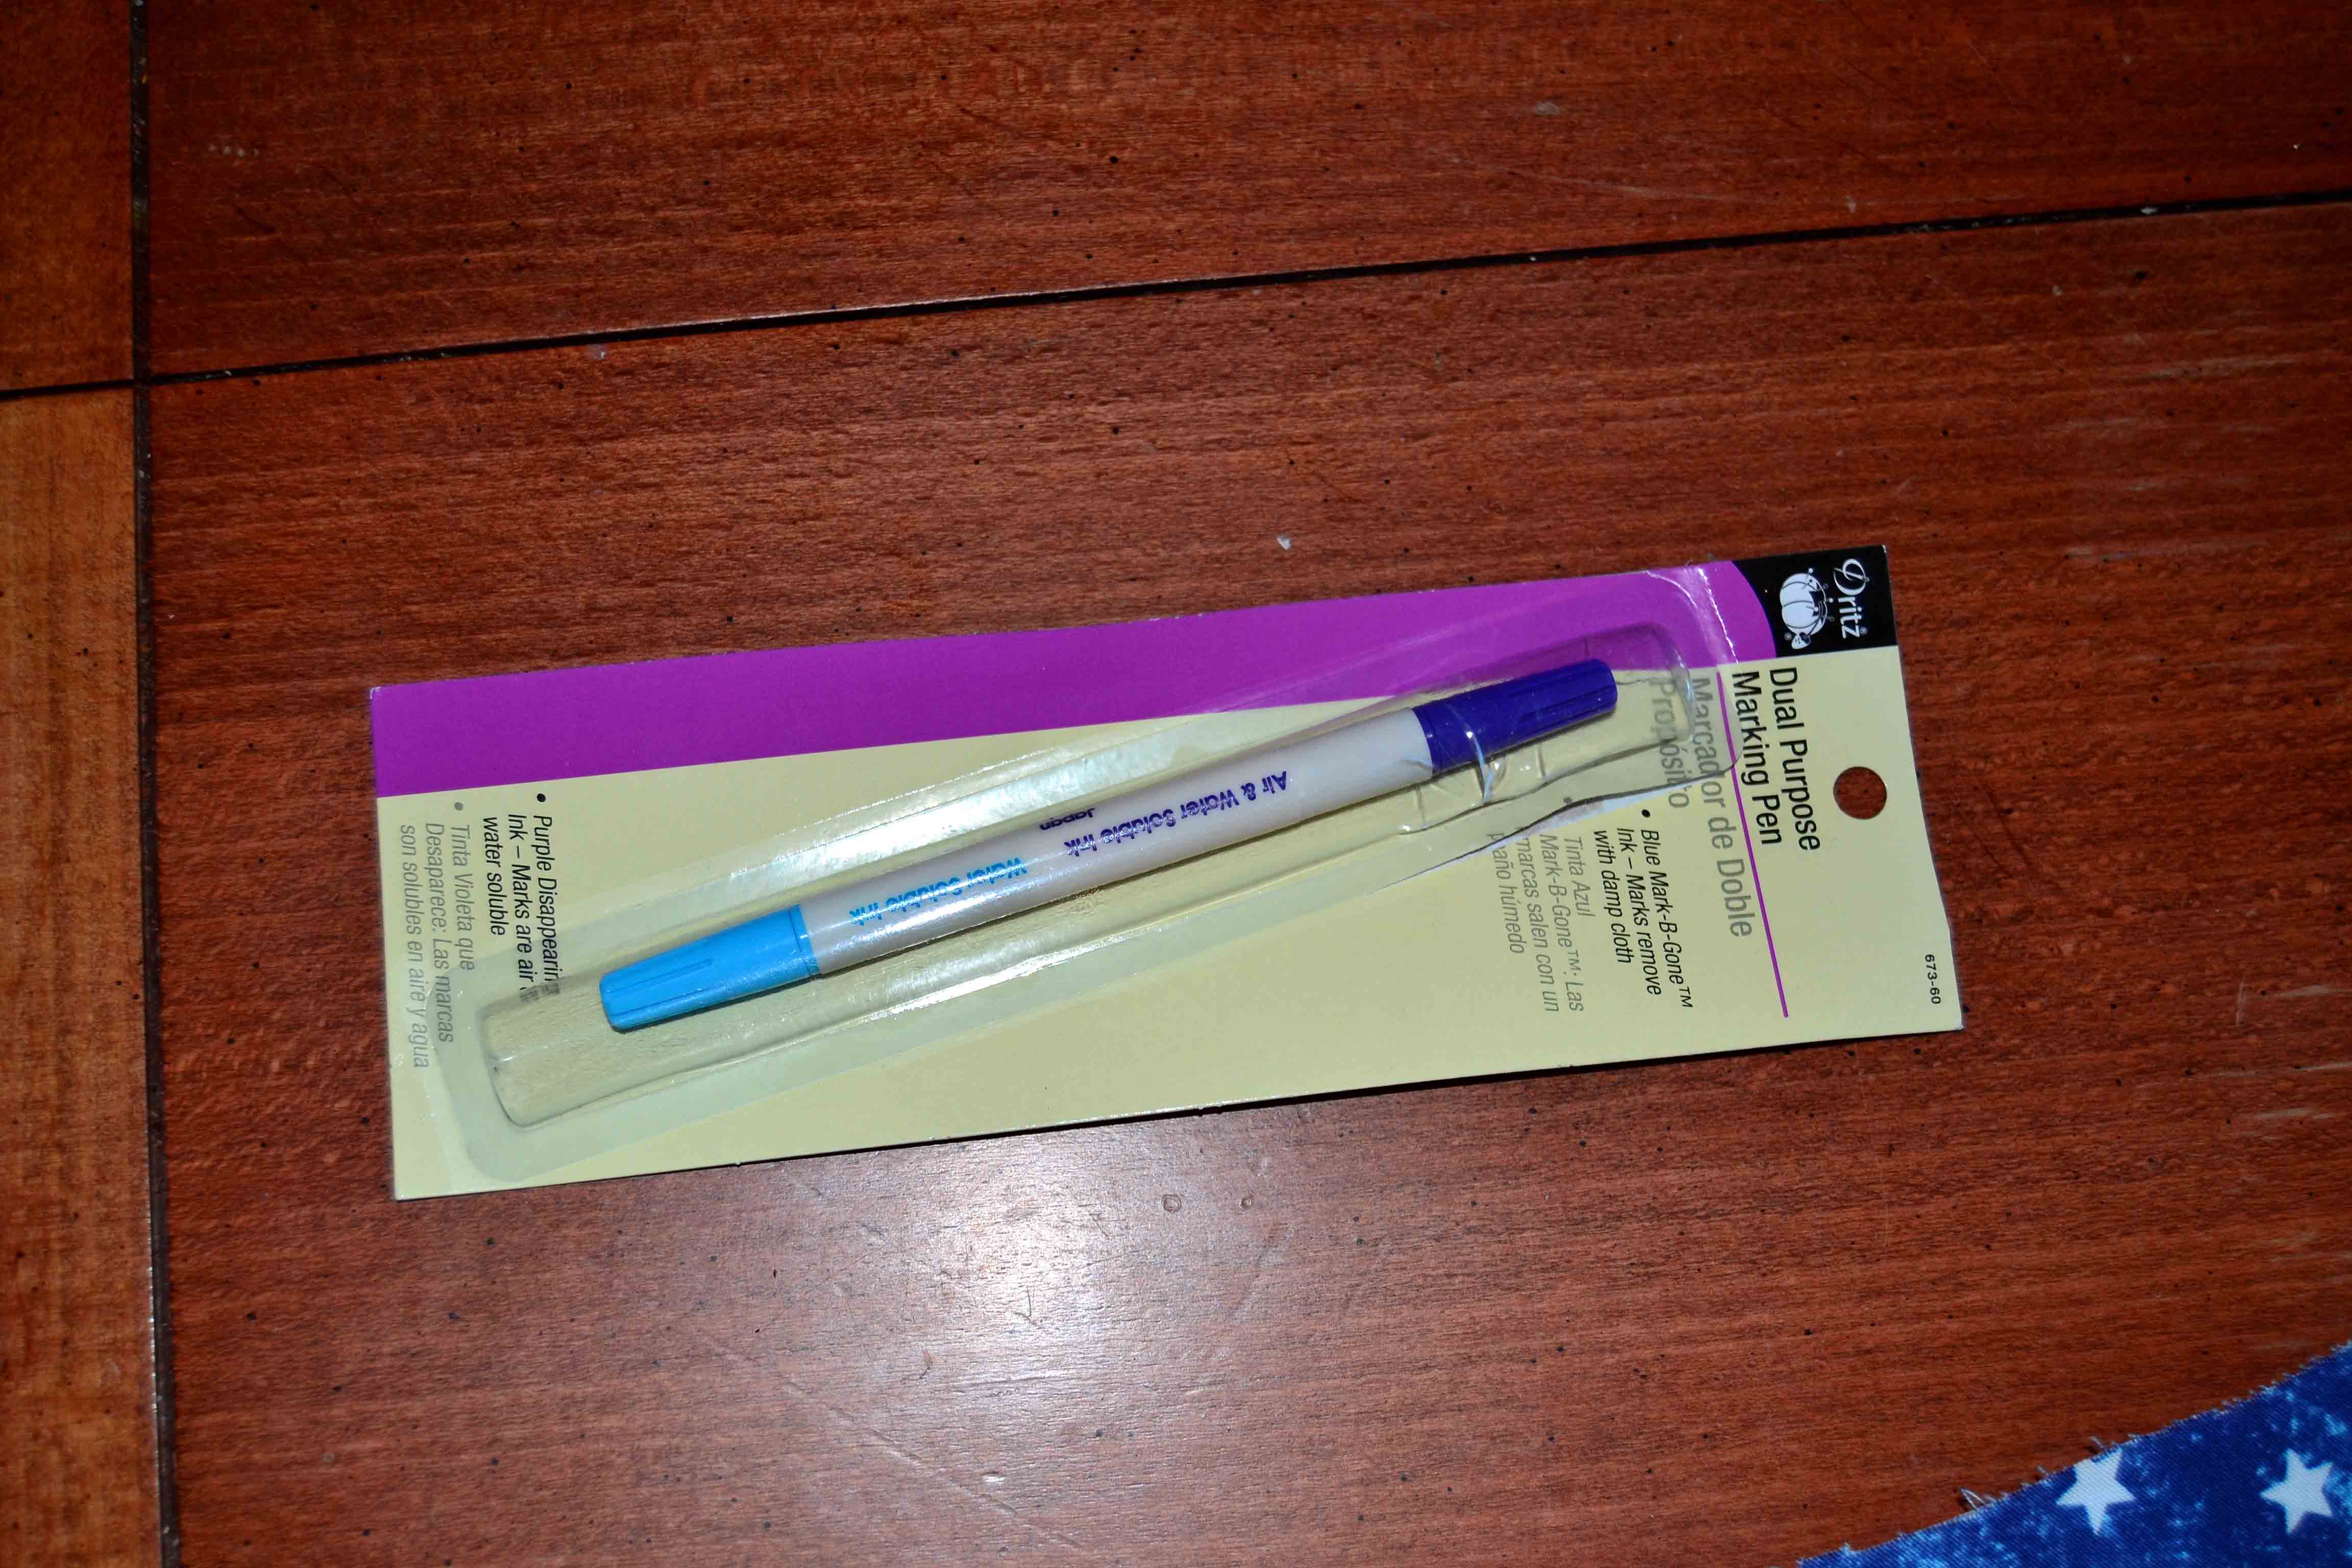
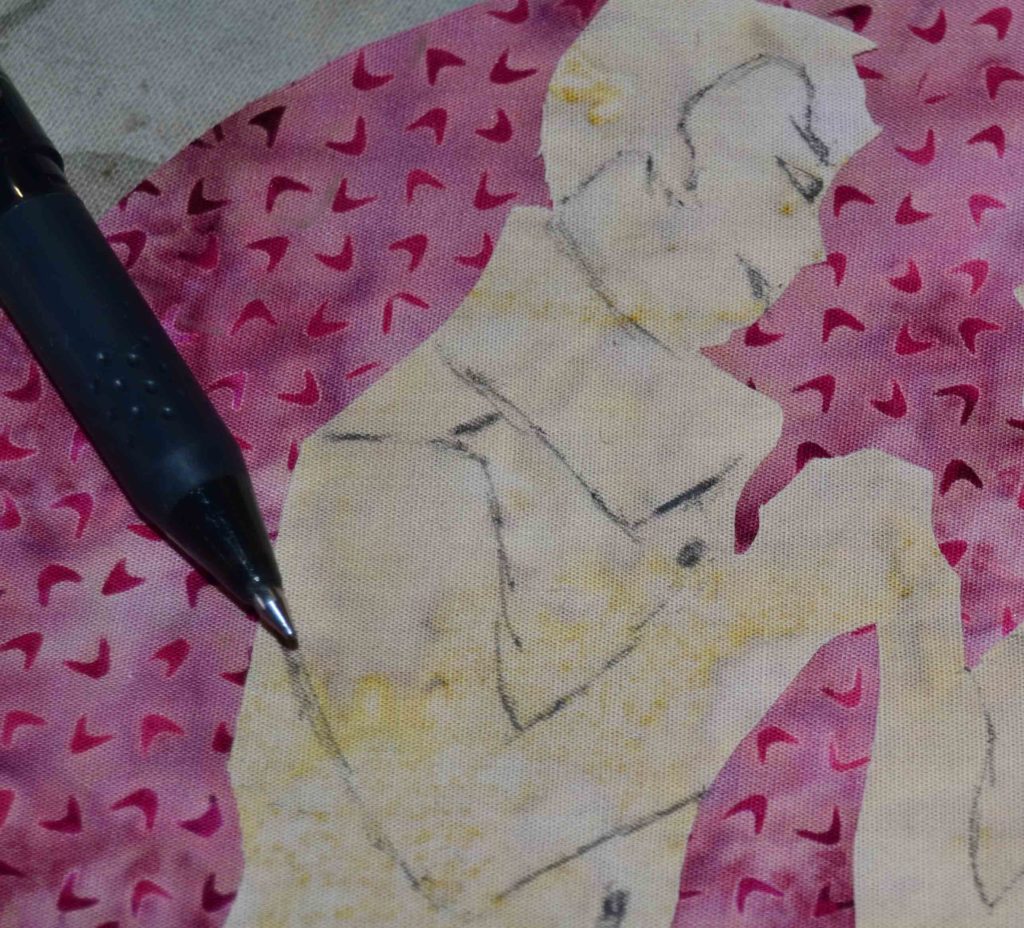
Erasable Pens
These are exactly what they say. Your draw a line or shape with them and after you sew over it simply apply a hot iron and abracadabra – it’s gone! It really does work like magic. They come in about 6 different colors but I generally like the black ones best.
Fabric Glue
I like to put a drop of this under any button or bead that I sew onto a project because it’s a 2nd layer of protection. Simply apply onto the bottom, lay something heavy on top and leave for 12-24 hours and you have a permanent bond that won’t come out in the wash.
This is especially important if you have small children around. An excellent brand of fabric glue is Aleene’s.
Surgery Clamp
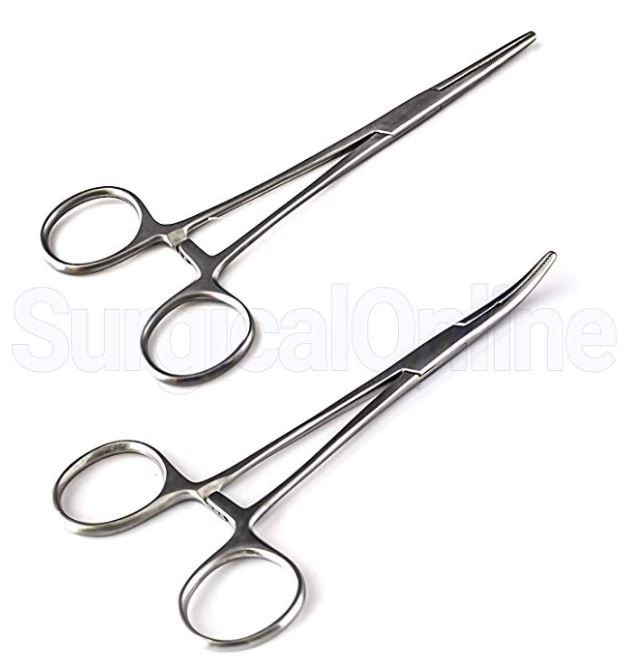
I stole – err, appropriated – these from Michael as well. I guess he had them because he used to doctor cattle when we were ranching, and he doesn’t use them anymore, so I don’t see why I shouldn’t help myself.
Anyway, I have re-purposed them as fabric tube turners. These clamps look like a short pair of scissors with the tips turned up but they’re not sharp. The handle end has two little metal protrusions that you can clamp together. I simply insert the blade end into a tube, clamp the top end together and pull gently.
They work great! If your guy doesn’t have a pair of these handy, I have seen “real” point turners for sale in quilt magazines. I often use safety pins to help turn my tubes, but if your tube is too small for that, you may want to invest in one of these.
Spray Starch
This is marvelous stuff!! You simply spray it onto fabric and run a hot iron over it. It not only starches your fabric beautifully so that it will hold its shape as you cut and sew, but it removes ALL wrinkles. You know, those wrinkles that have been there since you stored that particular piece of fabric? Spray starching and ironing takes those right out the first time! I wish I could find some that would work on my face.

This tool will take you from… 
This… 
…To this. 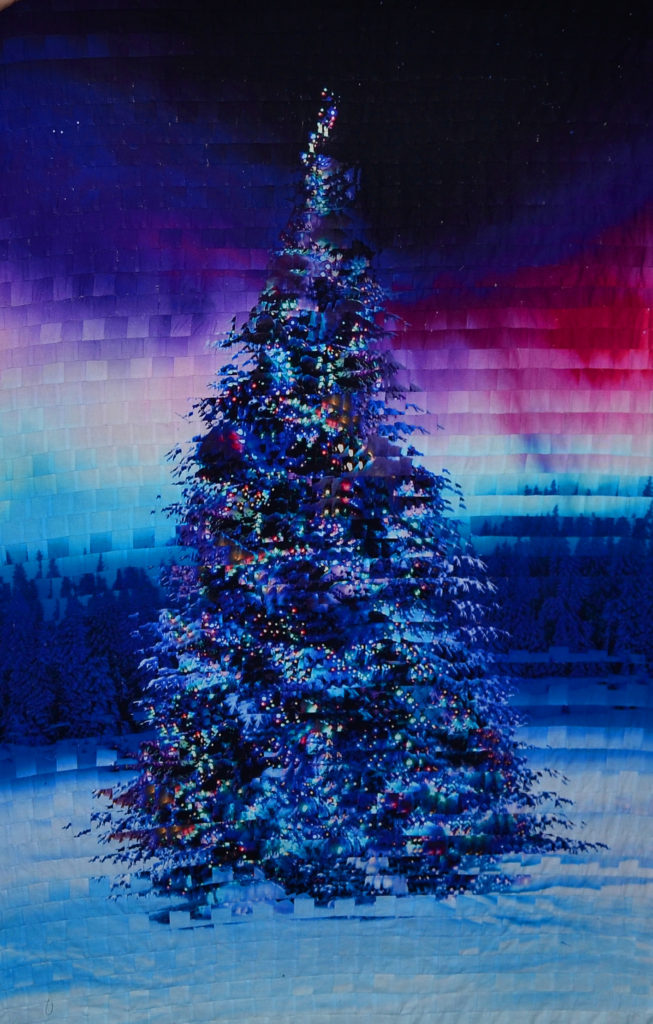
The cheapest way to buy spray starch is by the gallon and then pour it into individual spray bottles.
The best brand available that I have found is Mary Ellen’s Best Press. It comes in different fragrances but if I were you I would get the plain scent. When you put a hot iron on the scented stuff, especially if you’re ironing a lot of fabric, the smell will about knock you out.
Beware of scented spray starch!
Basting Spray
This is just a mild, sprayable glue.
Basting spray is one of my favorite sewing tools because it saves a great deal of time and frustration. It lightly glues the layers of your project together without needing to pin – especially for the smaller projects. Basting spray also stops 95% of wrinkles from forming while you’re quilting.
I’ve found out that if you iron your project front and back after you’ve basted it, it not only gets rid of all those wrinkles but the heat of the iron helps the basting spray to adhere more tightly so things won’t move. It’s great stuff.
Beware though – this stuff is extremely sticky, so go down to the local dollar store and buy a cheap shower curtain. Lay this on a flat surface and then lay your project on top of it so that any residual spray will not ruin the surface of your table or counter.
Thimble
These come in extremely handy when you’re hand-sewing as they really save the tips of your fingers.
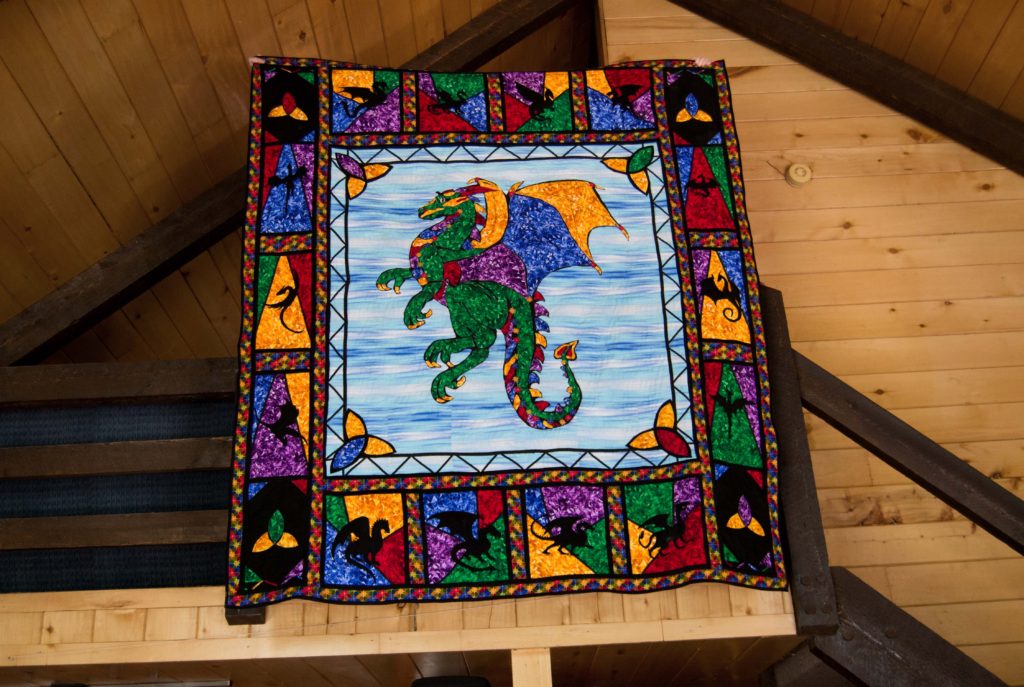
Sharpie Permanent Fabric Markers

Actually, these are permanent on anything you use them on, but fabric is one of the best. I bought an entire color range of these because you never know which color you’re going to need. I use my black one the most.
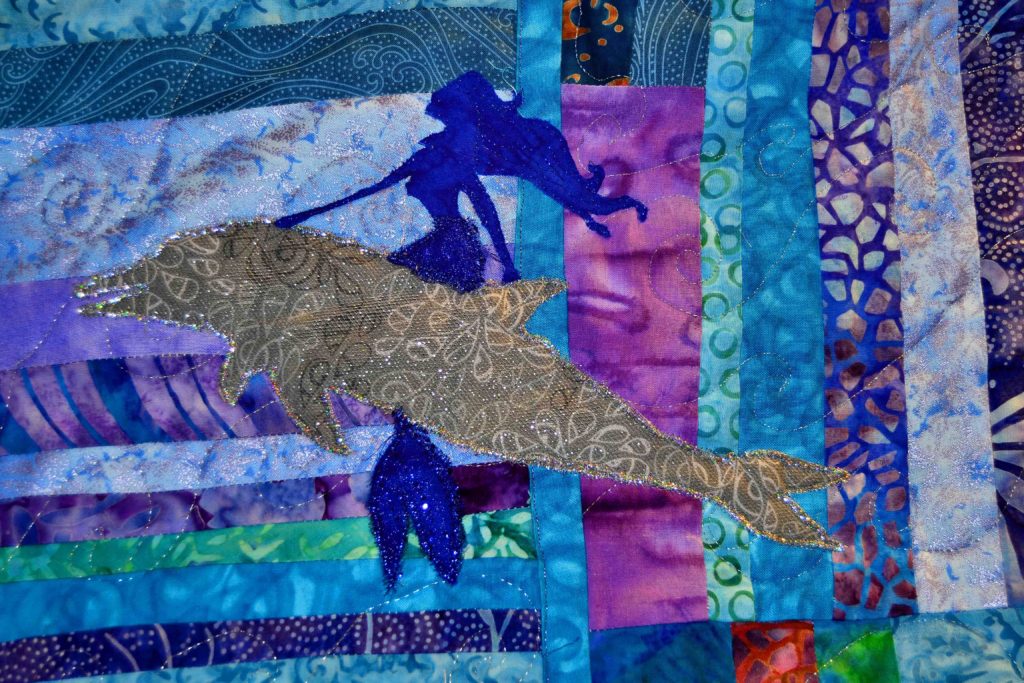
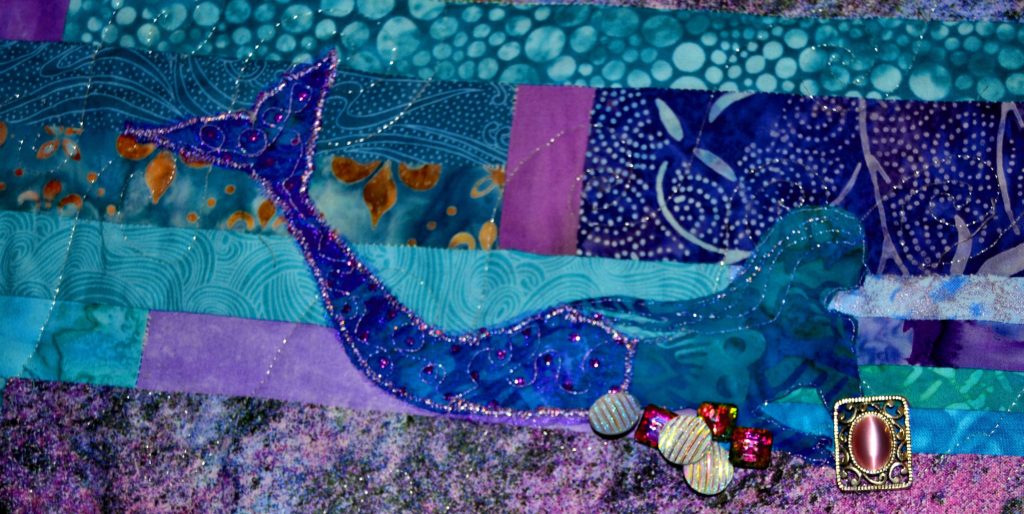
These come in very handy for drawing in lines that are too small or difficult to sew like the mane on my Sunset Horse and the scales on my Dragon Quilt. They’re also great for marking over things you want to disappear like the top thread that shows through on the black backing during quilting.
They’re also great for covering up mistakes and for filling in gaps in your satin stitching, etc. Very versatile and relatively inexpensive.
Calculator
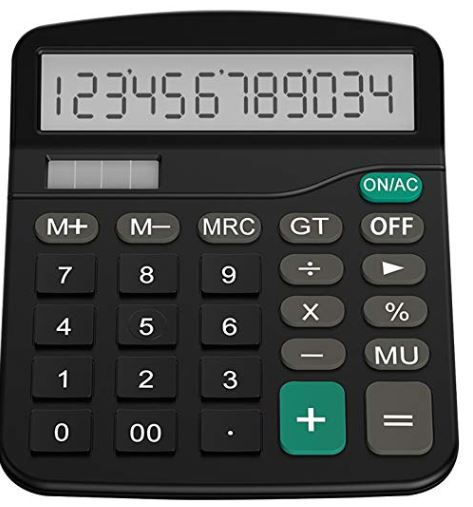
I used to do all the math in my head, only to realize time and time again that I had done it wrong and wasted a lot of fabric. Adding and multiplying all those fractions can turn your brain inside out, so use a calculator instead and be accurate and frustration free.
I’m a little short-sighted, and I hate the complicated calculator my daughter got during her high-school algebra days, so one Christmas the kids got me an over-sized calculator. It has huge push buttons, runs on a battery, and does simple elementary level math – addition, subtraction, multiplication, and division. If you need anything more than that in your quilting – we can’t help you, so please go away! (Or write us about your genius…it’s your choice.)
Lint brush
There are different types of lint brushes, and they’ll all work…but my favorite so far is a brush for pet hair – go figure!
I use this on the front and back of every project as soon as I finish it. It effortlessly removes the batting fluff, thread ends, dust, etc. that accumulate on every project and can be seen on black fabric like glowing neon.
A few swipes with the lint brush and it’s clean and professional looking.
I also run it over any panels that I’ve had on display before I pack them away, as it removes all dust and helps keep your art clean and slows down deterioration.
Remember to Let Us Know About the Unique Sewing Tools in Your Tool Kit
This is my basic tool kit, the tools I use almost every time I sit down to sew. Since I use them all the time I have made sure they’re of the best quality because when it comes to sewing tools cheap = frustration.
So buy the best tools you can afford and they will reward you for decades to come. And remember, the best doesn’t always mean the tools with the most bells and whistles.
We really do love to hear about tips and things from our members and followers. You can let us know in the comments, or follow us on Facebook! We do a lot of fun stuff over there and save cool ideas from other artists all the time.
To the greater good of your quiltivity,
Karyl
Stock Your Toolkit with the Right Equipment – Sewing Machine Edition
Stock Your Tool Kit with the Right Equipment – Sharp Stuff Edition