Spray starch for ironing quilting fabrics is another one of those inventions that have made not only ironing but the entire quilting process a whole lot more fun and accurate. Back in the day – when I was a shiny new quilter still wet behind the ears – I only used water in a spray bottle to steam iron my quilts, and this worked okay for the most part.
You should also know that I’m one of those quilters, who, for some strange reason, cannot keep the steam feature on an iron working.
I’ve had about five different irons in the last fifteen years. I follow the directions carefully, and use distilled water to prevent mineral buildup, and within a few uses the mechanism fails.
Even Michael – my own handsome Prince BlueShoe – can’t figure this one out!
Achieving a sharp, professional look is much easier with spray starch
The Advantages of Using Spray Starch for Ironing Instead of Water
My steam-destroying abilities is why I started using a spray bottle in the first place, and maybe one reason I found it so easy to switch over to using spray starch for ironing, since there are some things that water won’t do for your fabric that spray starch will.
It takes a lot of water to get out the really deep creases
You actually have to get the fabric wet, not just damp, and hold the iron down on it for a lot longer to get these deep creases out. Then, since the fabric is so damp, you have to waste time ironing it till it dries.
Spray starch, on the other hand, will take even the deepest packing creases out with just a few squirts of starch and maybe 10-20 seconds of hard pressing with the iron.
Water will not stiffen fabric
Getting out the creases without spray starch is doable, if time consuming, but ironing with water will not stiffen your fabric – it leaves it in the same soft state as when you started. Using spray starch for ironing, on the other hand, stiffens your fabric nicely and holds it that way.
Therefore it’s much easier to make straight and even cuts, and to sew straight seams.
Something I’ve noticed about quilting over the years is that fabric has its own personality, and some fabrics are ornery. Sometimes when I’ve used water, and cut a line I know was straight, I’ve sewn it later and found what should have been a perfect 2 inch wide strip warped.
This is because of the natural stretch in the weave of the fabric – and yes, even some quality batiks will do this, it’s just the nature of the beast.
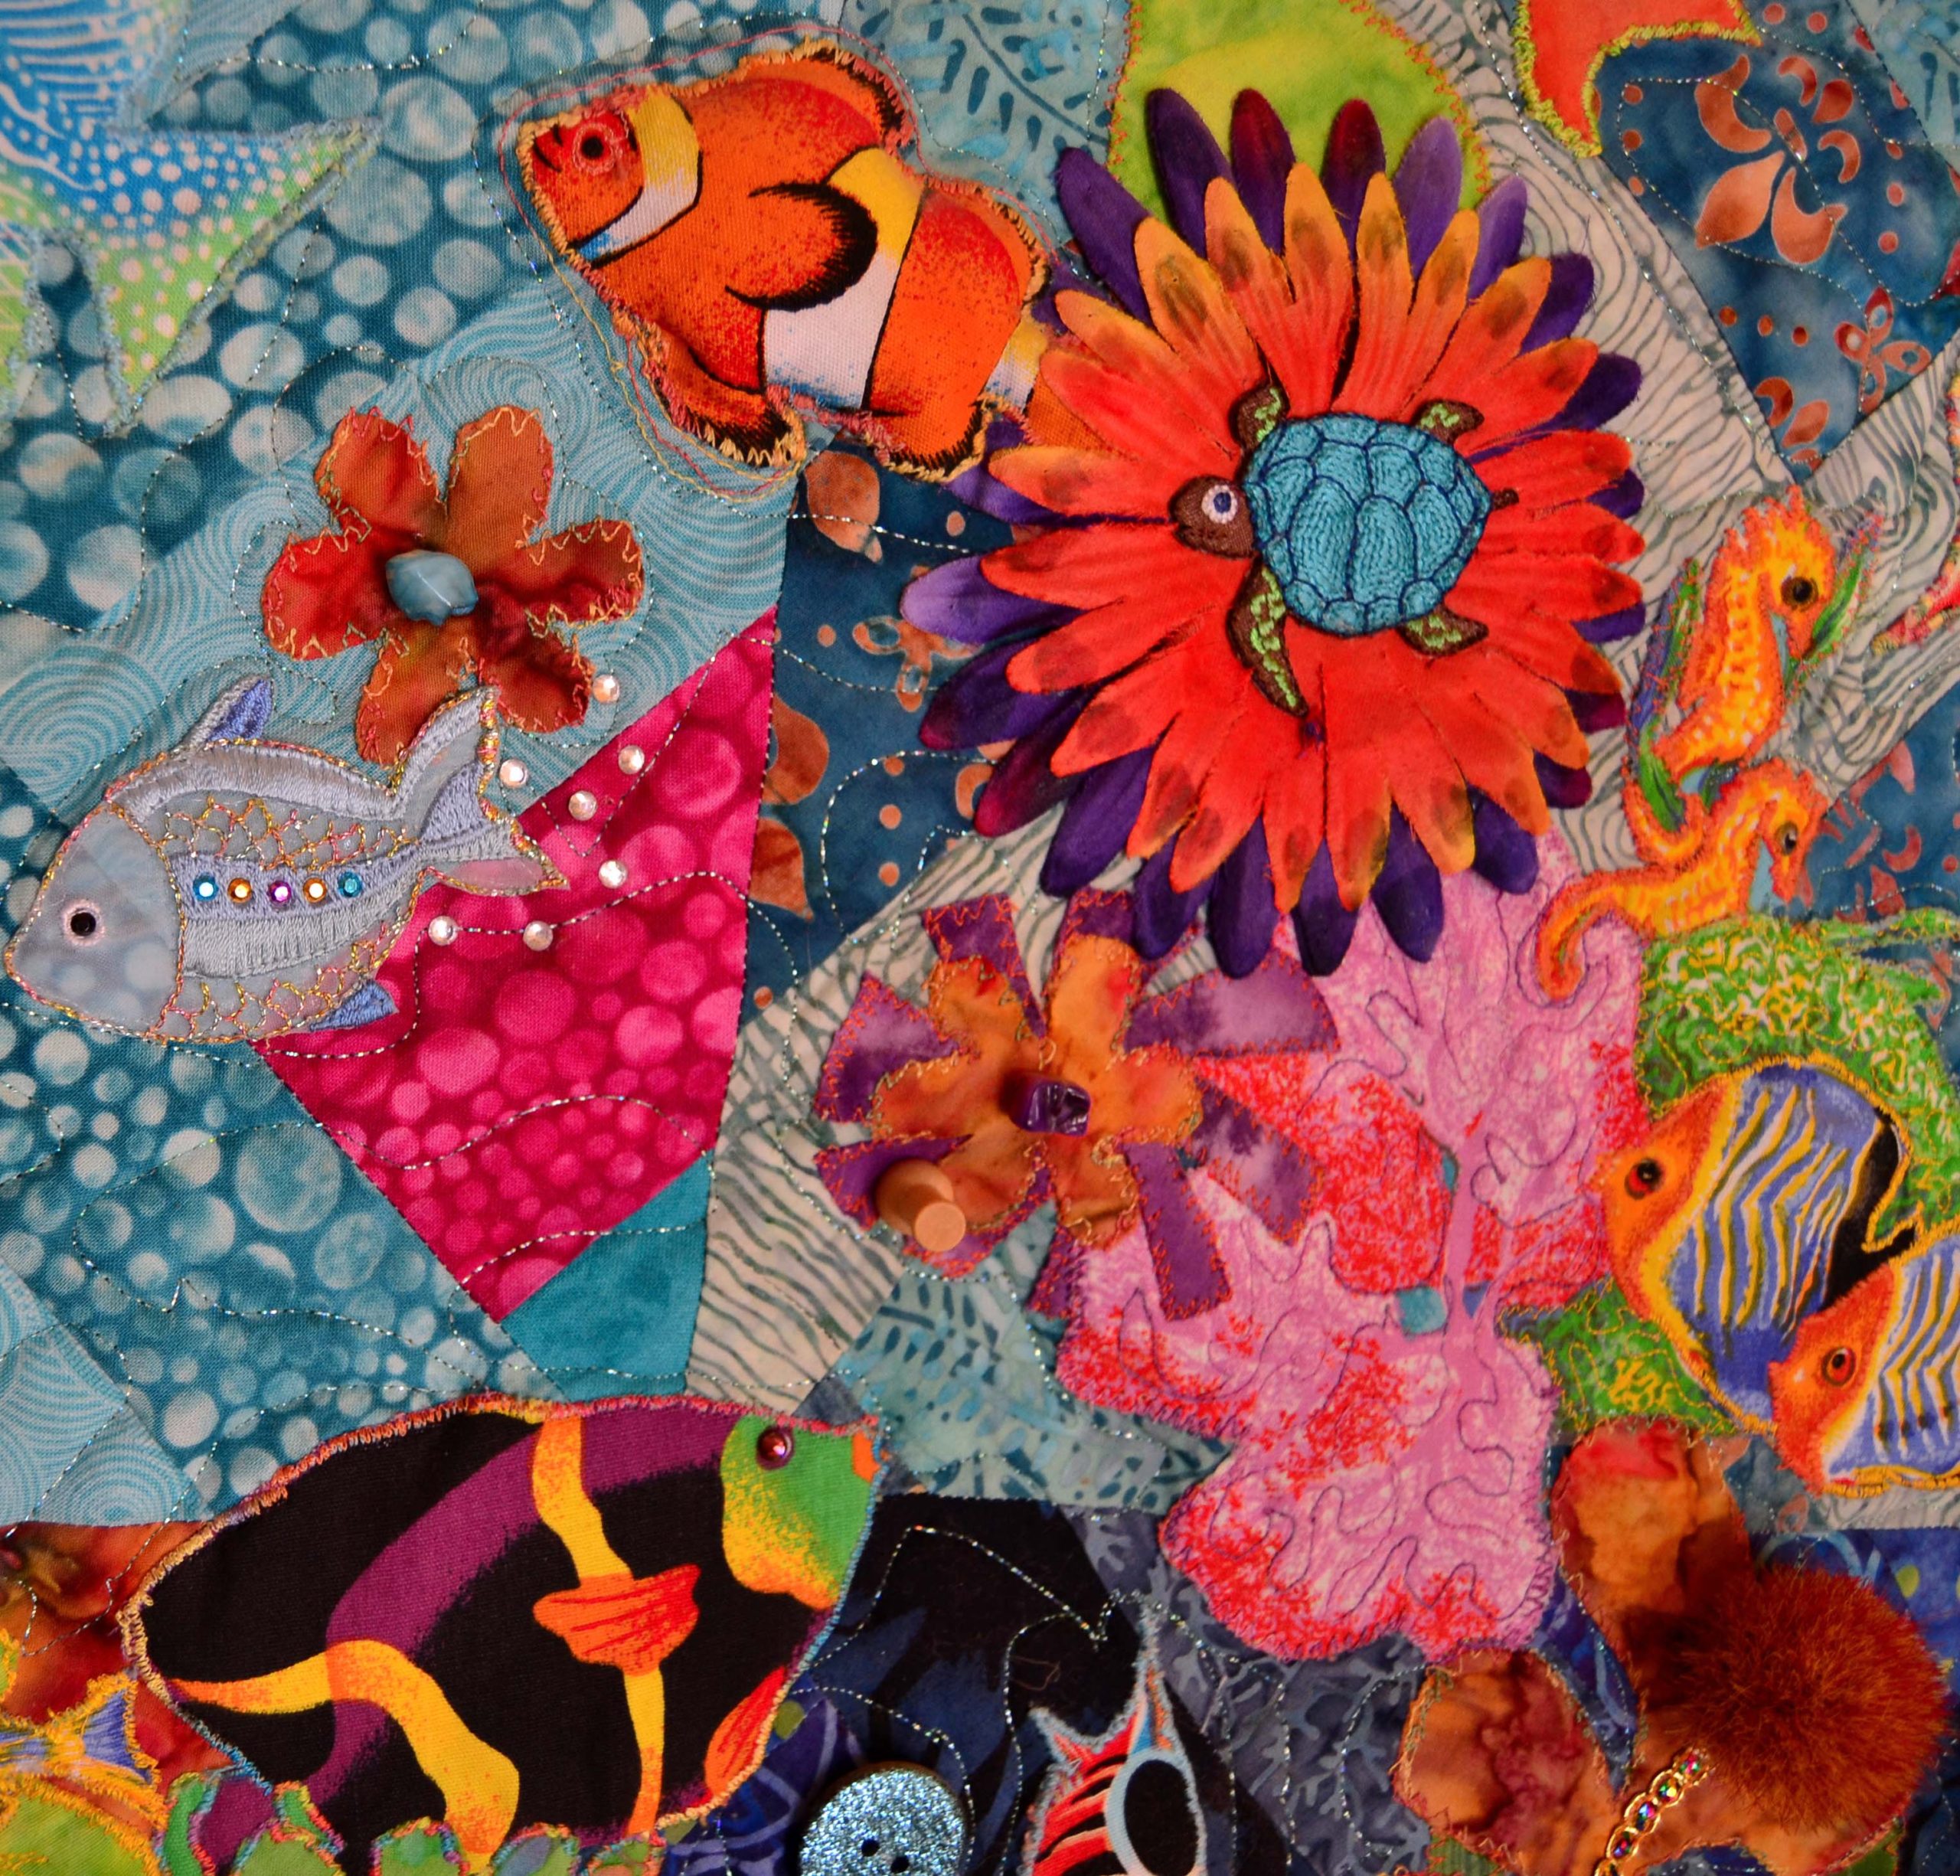
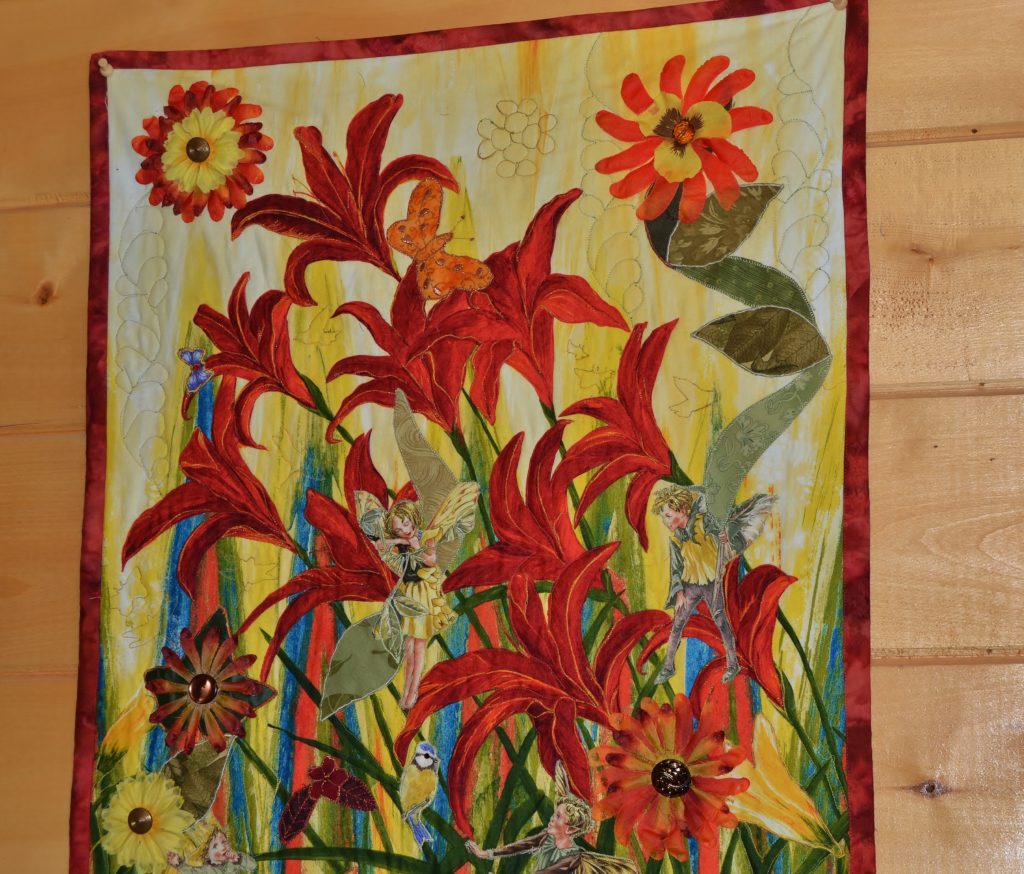
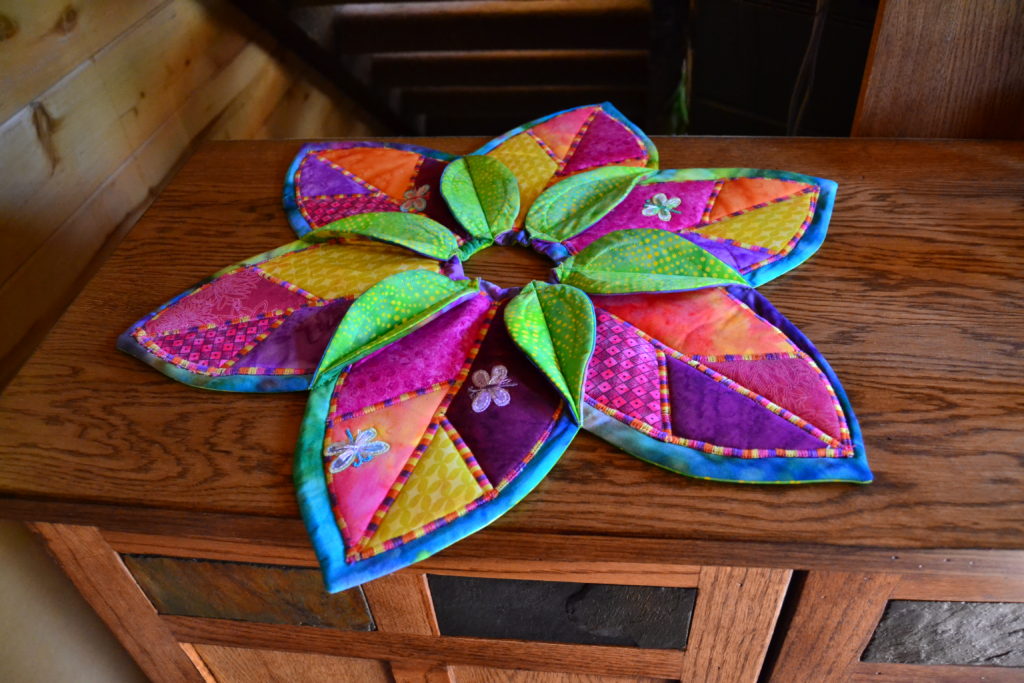
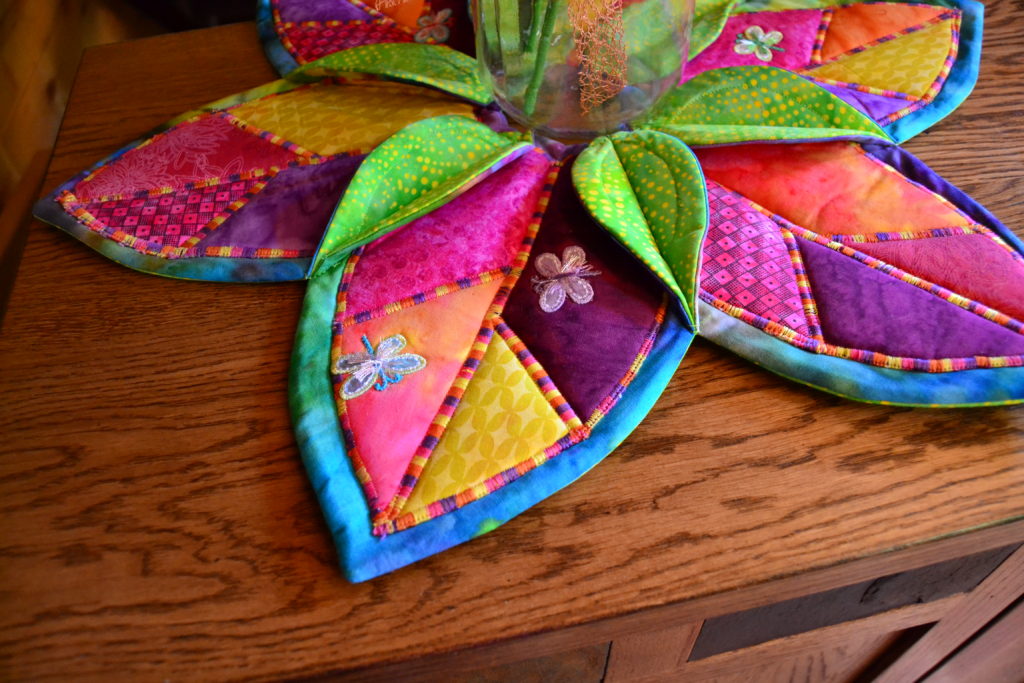
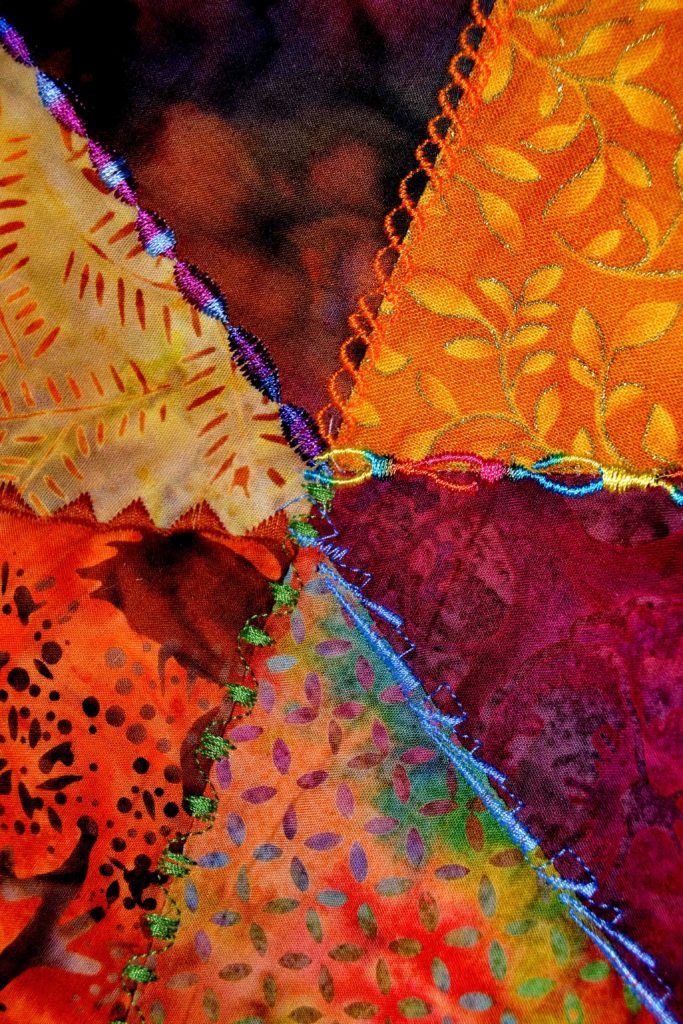
To get from this… 
…To this… 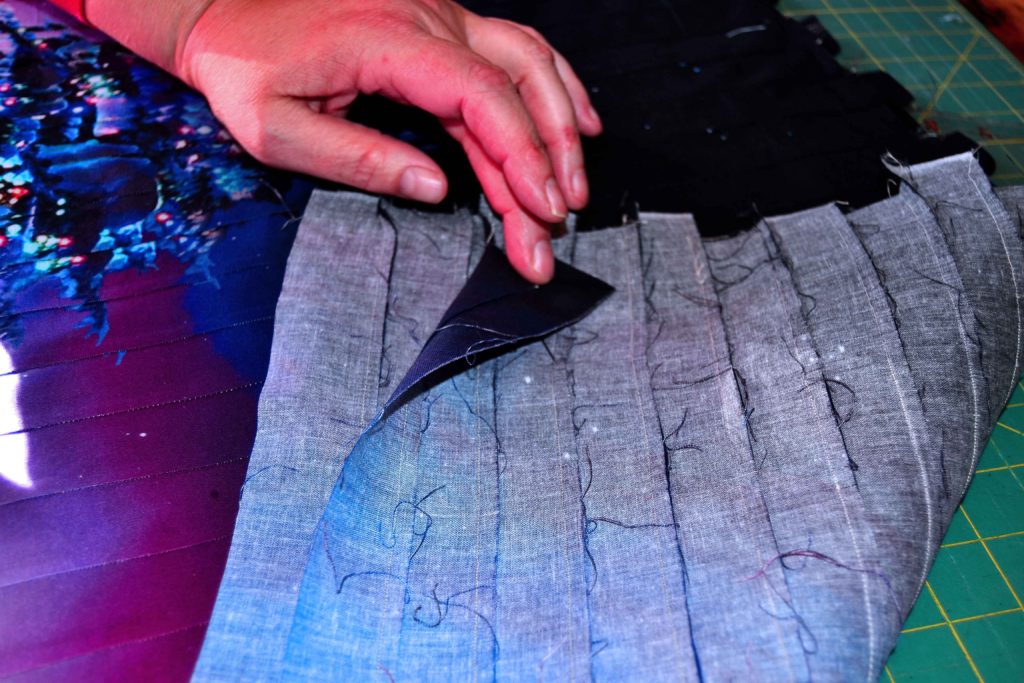
Your foundation seams need to look like this!
Spray starch effectively immobilizes the weave of a fabric in the short-term.
As with anything else, if you want the finished product to look great, you need to spend time and energy getting the foundations right. In quilting, these foundations are your cuts and your seams.
Water doesn’t make seams open up
It takes a LOT more time to get your seams to stay lying flat after you iron them open if you only use water. This can be really annoying on some strip piecing projects, especially on Bargello quilts, where the seams absolutely must be opened.
When you use spray starch for ironing seams open, the fabric is already stiff, and just pressing the tip of the iron into the opening of the seam will encourage the seam to open up and lay flat for a few inches at a time.
As an aside, if you sew a seam within a few days of having spray starched your fabrics, you can use water spray as a way to conserve money on spray starch.
Spray starch can stand up to several applications of water steam before it starts to wash out.
It is much easier to quilt over fabric that is starched than it is on water-steamed fabric
Your fabric will pull more evenly through the machine and not want to bunch up. It makes for a much smoother and professional looking product.
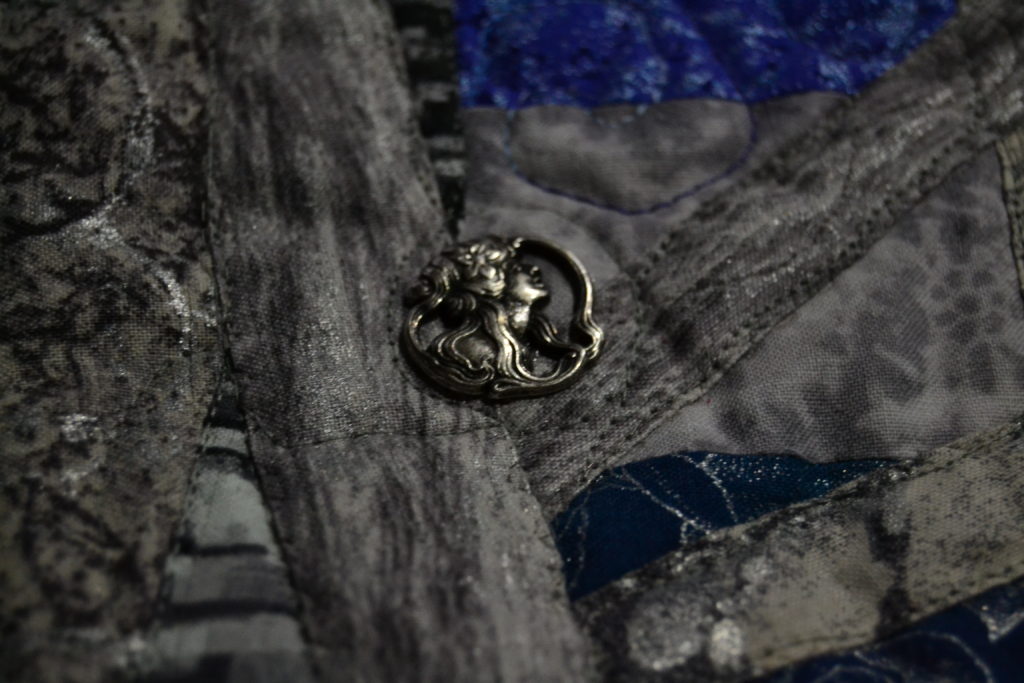
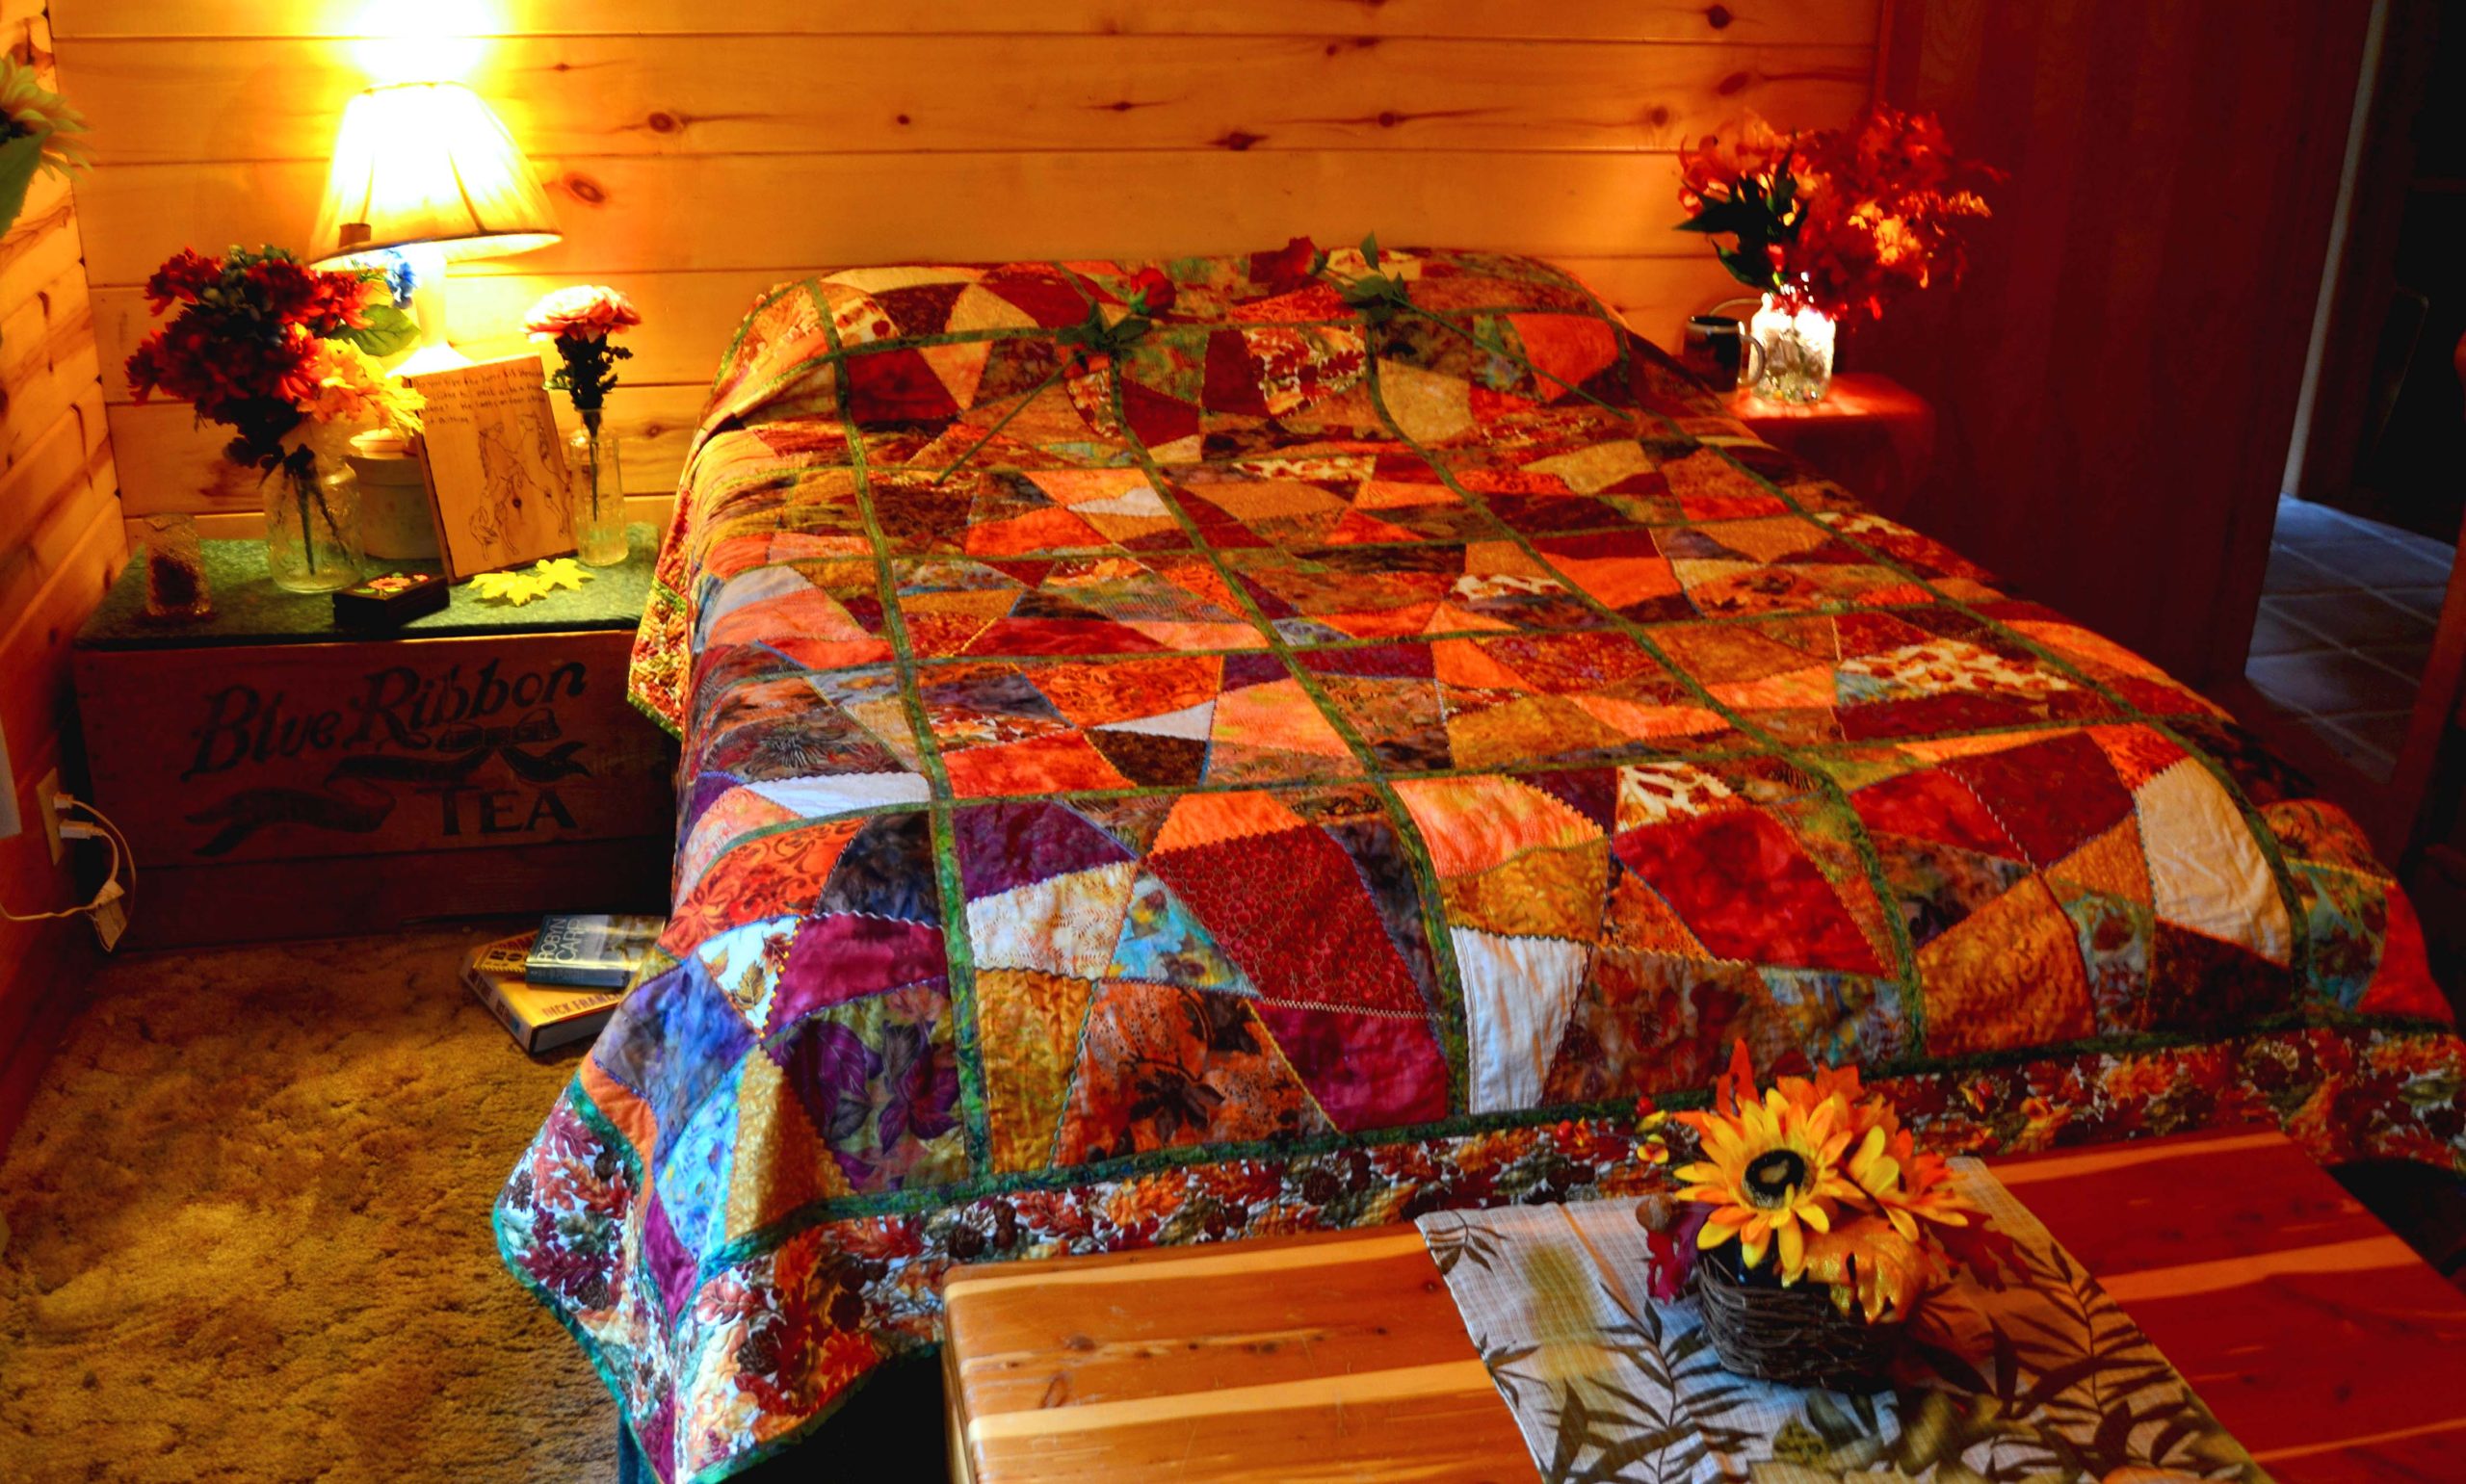
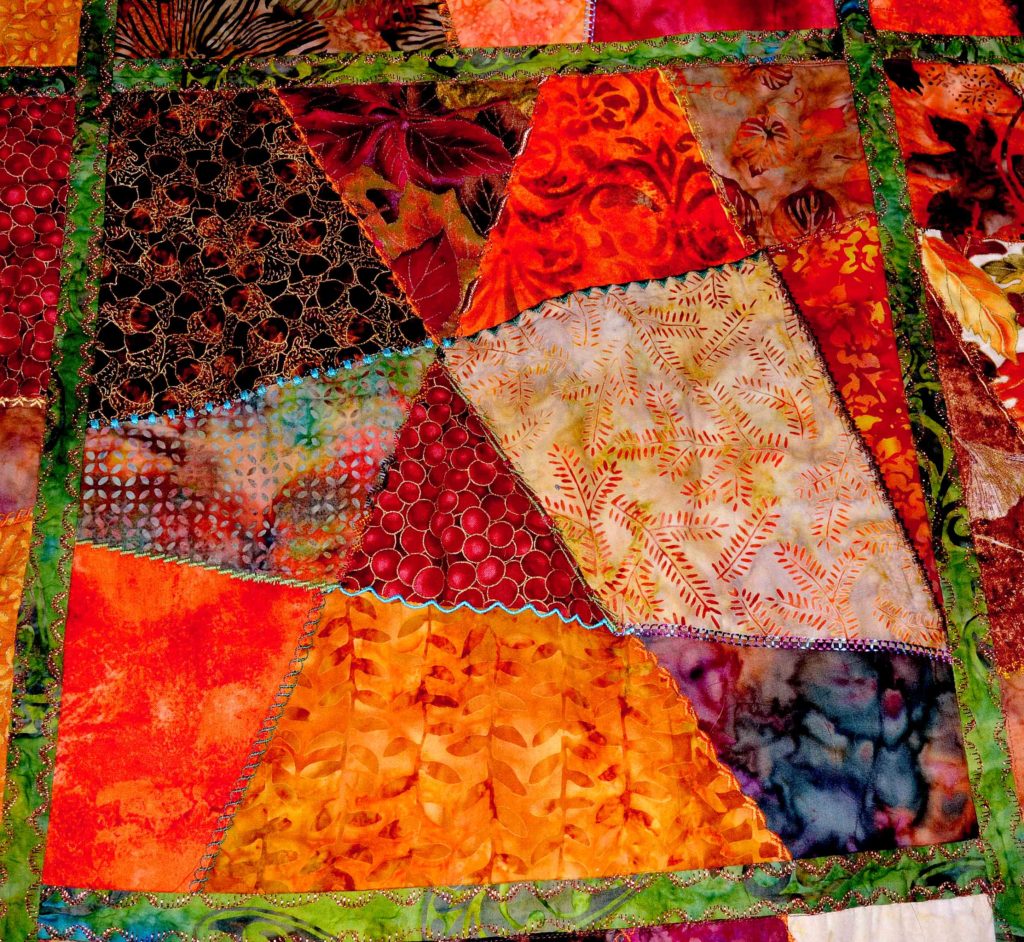
In a Bargello project all seams must be ironed open and flat 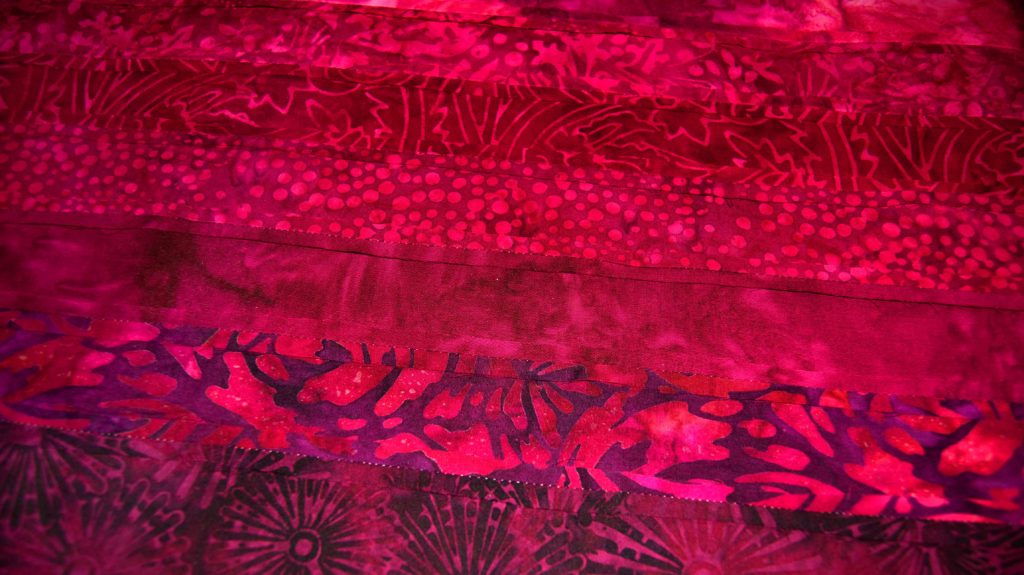
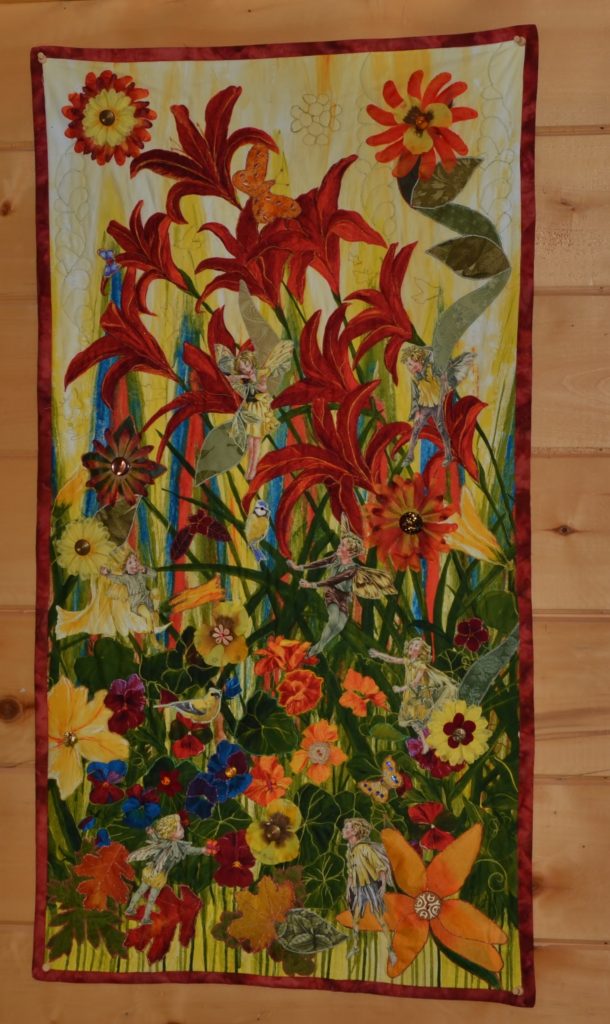
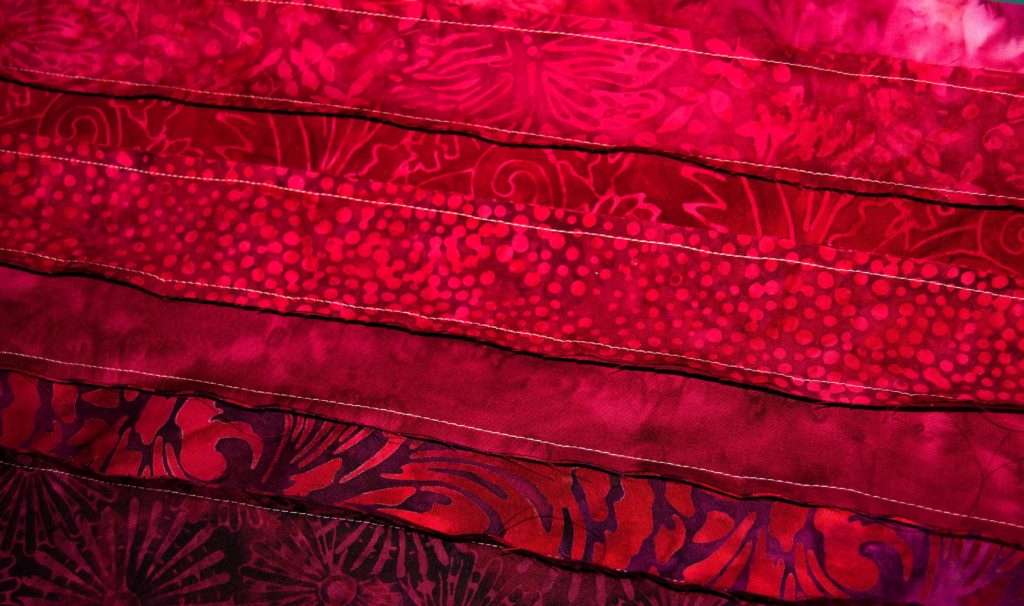
And once they are… 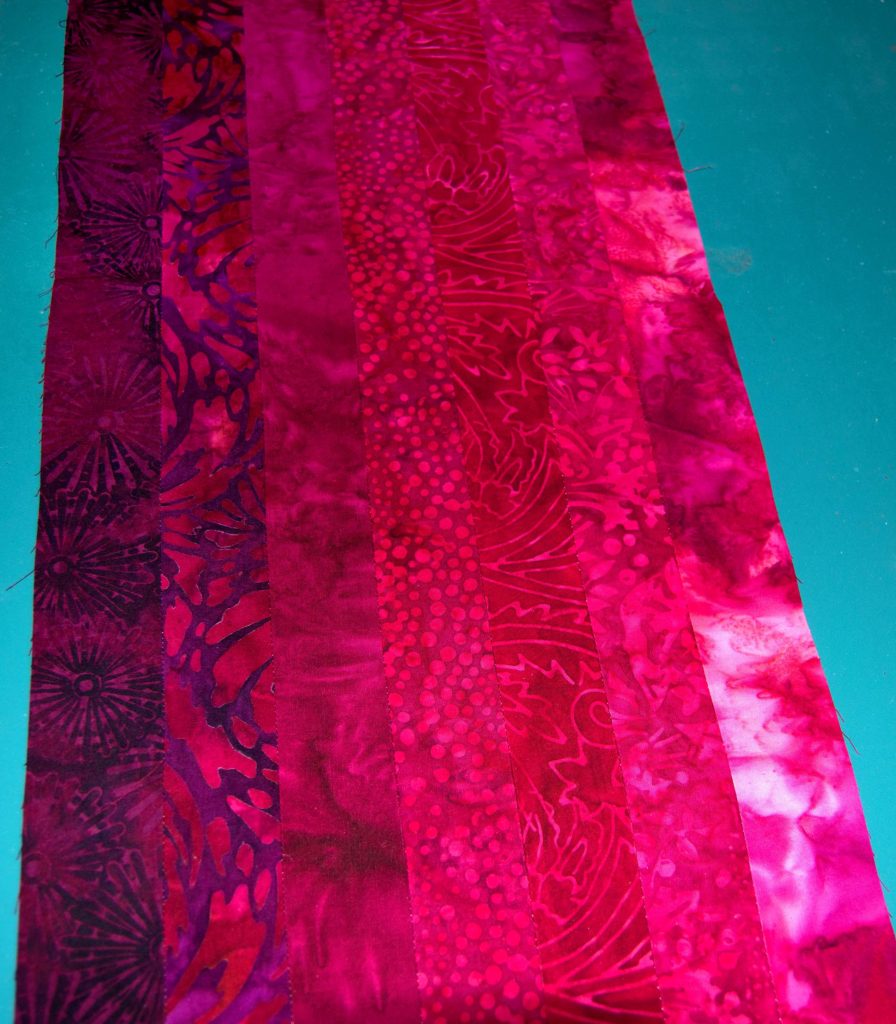
…You can achieve this amazingly flat, crisp, and solid result.
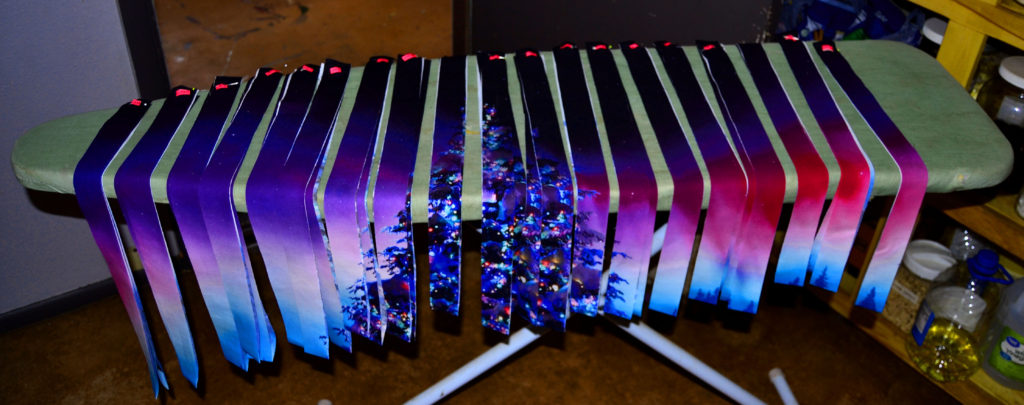
Using spray starch for ironing quilt backings helps to reduce quilting pleats
When you spray starch your backing before you layer it with the batting, it is surprisingly easy to iron out any creases and to keep them out. Since I started doing this, I never have to pin my backing/batting layers – except for large queen quilts – and the only creases I get (if any) are very small and hardly noticeable.
The Best Ways to Use Spray Starch for Ironing Quilting Fabrics & Projects
Now that we’re all in agreement about the benefits of using spray starch instead of just water, there are a few tips to ironing with spray starch which will make your experience much better.
Don’t spray the starch on the right side of your fabric
Always spray it on the wrong side. There are some fabrics that spray starch doesn’t seem to adhere to as well as others, and the starch will leave a shiny, opaque white residue that can’t be rubbed off. This residue is subtle, but it will detract from the appeal of your quilt if it’s on the front.
There’s no telling which fabrics will pick this up and which ones won’t, and if you get this stuff on the right side you have to wash the fabric.
Thankfully, this residue doesn’t matter if it’s on the wrong side of the fabric. It doesn’t seem to make any difference to the texture of the spray starched fabric, or gum up my machine, so if it’s hidden I don’t fuss over it.
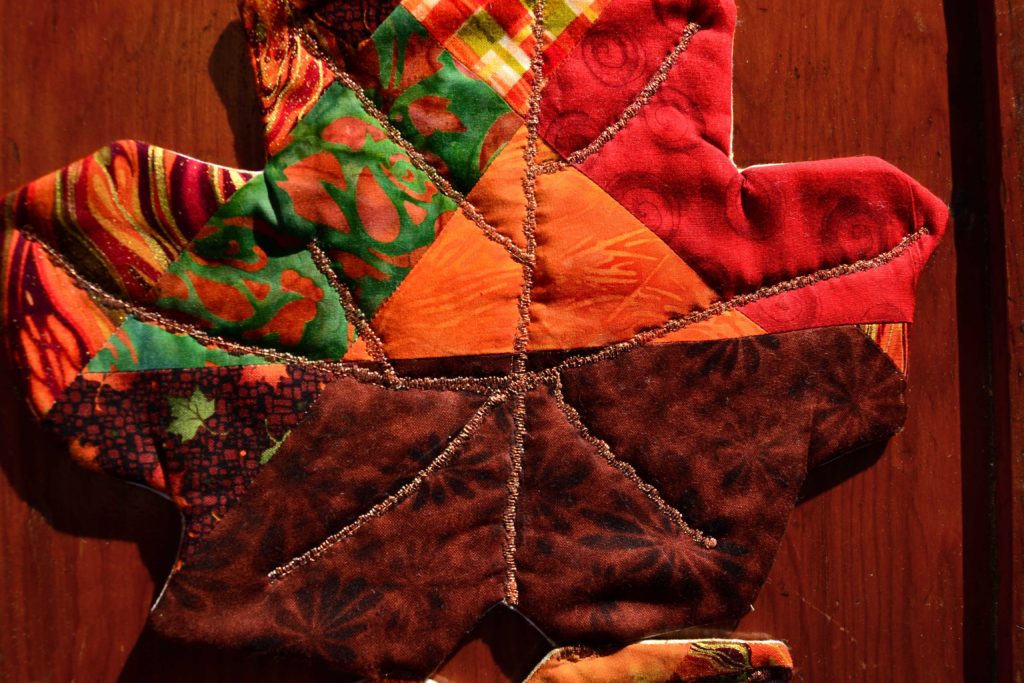
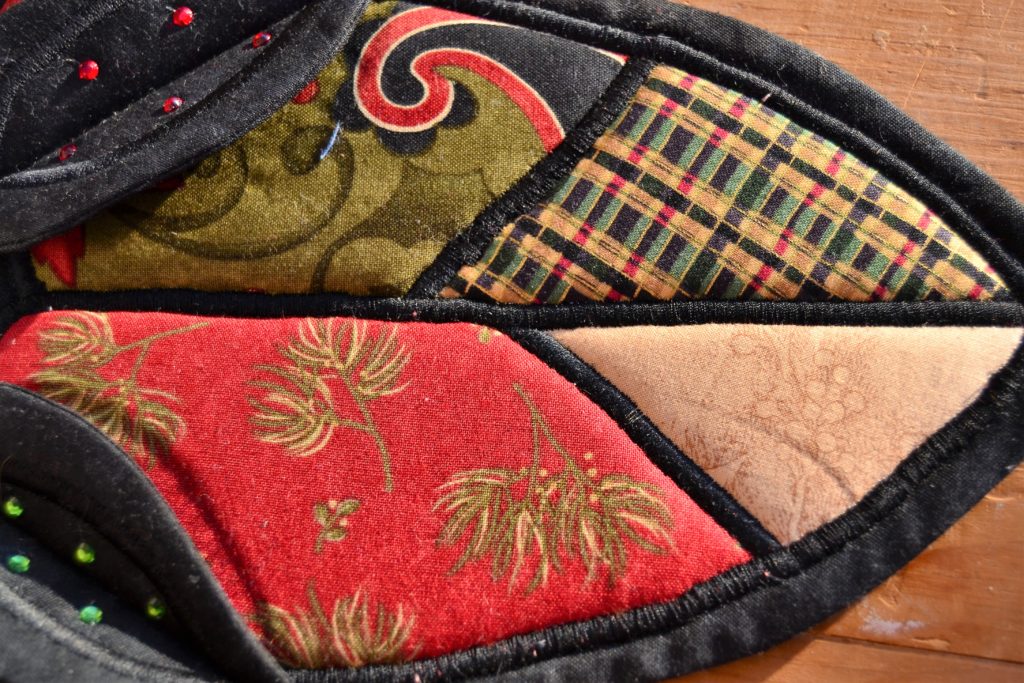
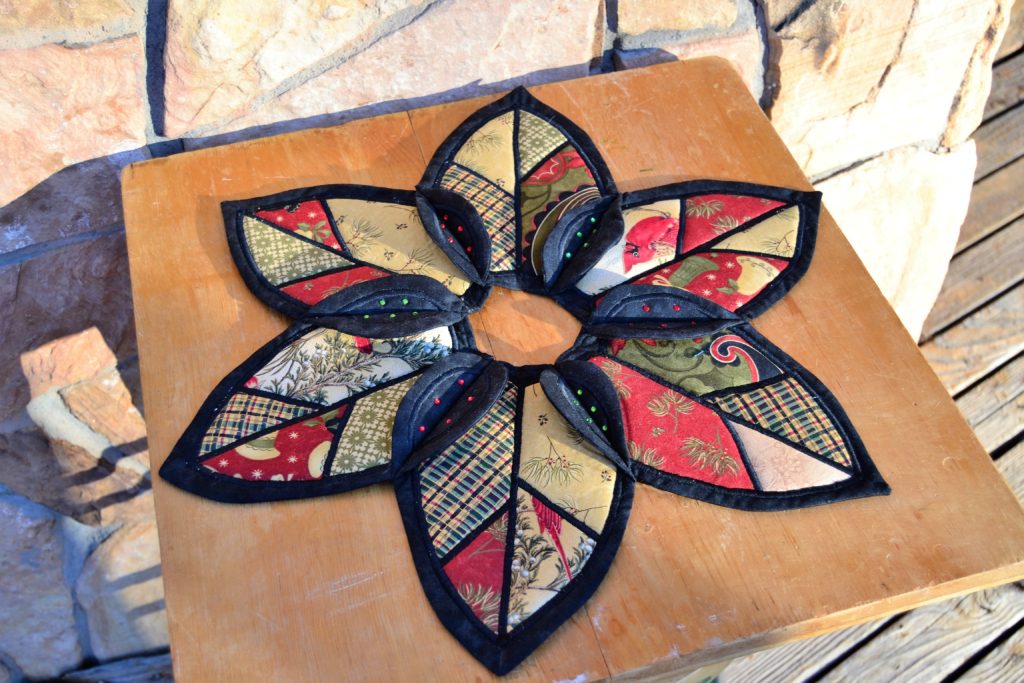
Spray starch every step of the way
If you sew one section, then cut and re-sew – like in a crazy quilt, for example – spray starch & iron again before you resew. This helps to keep your different sections even and straight. I also like to spray starch my backing fabric, as I mentioned above, as it really helps cut down on my pleats.
I will, however, add one caveat.

Some fabrics, mostly the cottons you’ll get from non-specialty stores like Walmart, will require constant spraying. Others, mostly high-end batiks and landscape fabrics from quilt stores, will require minimal spray starching, and will keep the spray starch even if you steam iron the fabric with water several times.
A general rule of thumb is that if a fabric feels slightly stiff right off the bolt, then it’s going to hold spray starch well. If it’s soft and moldable from the get-go, it will take more spray starch to keep the stiff, structured texture that makes quilting so much easier.
As you spend time using spray starch for ironing your various quilting fabrics and projects you’ll develop your own instinctive feel for when to use, and when to save, spray starch.
Don’t be afraid to re-starch fabric after time has passed
Life happens to the best of us. We all start projects and get interrupted, then go back to it days, weeks, months, and even years later. If I have starched and sewn something and then put it away for a while, I always re-starch before I start again, as it seems to me that the effectiveness of the starching fades over time.
This has its positive side, as well.
Once you’ve made a quilt project, the spray starch will fade out even if you never wash the piece, and within a month or two you won’t be able to feel any unnatural stiffness in the fabric. I think this is especially nice if you’re making a baby quilt, since babies and kids have very sensitive skin.
Use the “low-weights, high-reps” principle for stubborn creases
The really deep, hard creases in fabric that has been folded for a while will need more spray starch than normal. However, spraying heavy amounts of starch all at once will increase your chances of getting that icky white residue, and will also make the fabric tacky, rather than stiff.
Instead,
try using two separate applications of starch, but don’t spray too
heavily. The creases come out much more
easily if you spray lightly (one or two spritzes), hold your iron down to the
count of 10, spray lightly again and repeat.
Buy your spray starch by the gallon, and not the 16 oz. spray jars
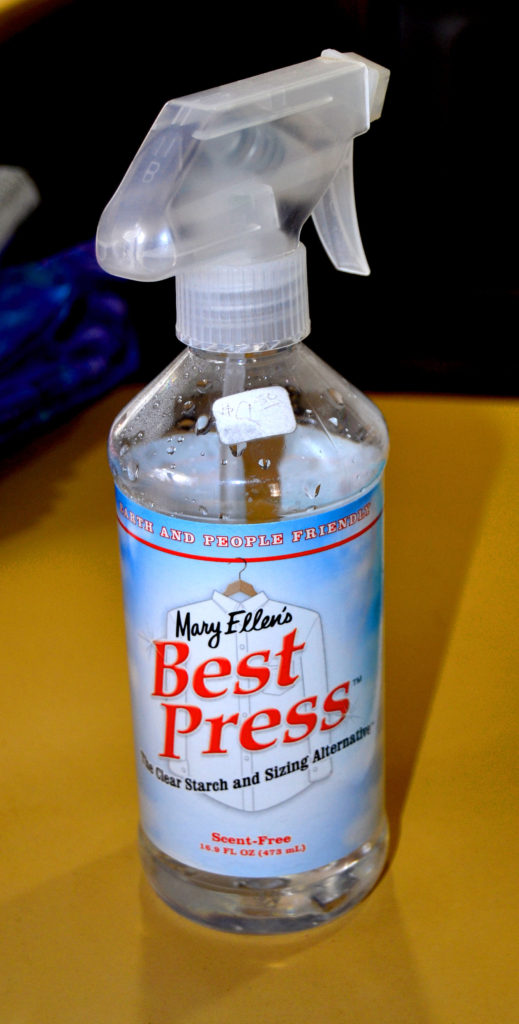
Spray starch is one of those things that is much more economic to buy in bulk. For instance, I just bought a gallon of Mary Ellen’s Best Press from Amazon for $44.23.
This may seem like a lot, but at my local quilt store they’re selling the 16 oz. spray bottles for $18.50 each. Since 4 of these will fit in one gallon, the total cost of buying it this way would be $74.00. So, by purchasing it by the gallon, you’ve just saved $30.00! Awesome!
I bought 2 spray bottles to begin with, and I just refill them from my gallon jugs. This is by far the cheapest and best way to go, because if you do much sewing, and get hooking on using spray starch for ironing – which you will – you’ll go through a LOT of spray starch.
The price varies from time to time, but it’s still the cheapest way to buy this essential quilting supply.
Don’t ever buy scented spray starch
They usually add scents like lavender to spray starch. And it smells nice in the bottle, but once it gets hot – YUCK!
Spray starch has a pretty intense smell to start with, think about doing laundry in a room with no ventilation and you’ll get the idea. When you add scent to it the smell tends to permeate the entire room as well as your fabric. And unlike the efficacy of the spray starch, the scent will linger until you wash the fabric in a machine.
Plus, I’m one of those people who tends to have minor allergic reactions to certain scents, and this smell gives me a headache, which I really like to avoid!
Be ready to get a new ironing board cover regularly
Because spray starch is by its very nature sticky, it will leave a bit of a mess behind on your ironing board and your fingers. Fingers are easily washed as are ironing board covers. But since a new ironing board cover costs just a couple of bucks, I don’t usually both since it’s a bit of a pain.
I generally get a new cover every year to 18 months, since the wear and tear of various products takes a toll on these cheap cotton covers.
Our Recommended Brand of Spray Starch for Ironing Quilting Fabrics
I’ve tried a number of different starches over the years, but have settled firmly on Mary Ellen’s Best Press.
It’s the least messy, it comes with an unscented option, it comes in gallon containers, and it’s easily available. If you haven’t used spray starch before or haven’t used this brand, I would really urge you to try it.
Best Press has made my ironing much more fun, and has helped to make my sewing experiences a great deal less frustrating because it’s so much easier to get straight, even pieces.