
Most of us think of our quilt backings as necessary – after all, a quilt is a fabric sandwich – but boring in a sort of: “ho-hum, who will ever look at this” way.
This is an understandable attitude, and, as only a few people will look at your backing, it’s also a truism…up to a point.
But just because most of the initial WOW factor is on the front doesn’t make your quilt backings any less important. And there is one very important class of people who who will look at them – other quilters of course!
The first thing another enthusiast does is to flip your project over and look at the back. This same principle applies to other crafts, like embroidery, as well.
We do this because only by looking at the “hidden” side can we really know how much work went into a project. Quilt backings tell us other things, as well, like the skill level of the quilter, the value of the quilt, and even if the quilt is a viable winner in a quilt show.
Why Your Quilt Backings are Just as Important as Your Fronts
Creating a Firm Foundation
Think of your backing as the foundation of your quilt. While it is mostly out of site, it is vitally important to the each quilt’s overall appearance, strength, and durability.
Square Footage
Despite its apparently subtle role in the appearance of a quilt, the backing is actually the single largest area of any quilt.
This appears to be a no-brainer but it would surprise you to know that to a vast majority of quilters, the backing is an afterthought. Our miserly or lazy justifications go something like; “since it’s only covering the back and no one’s going to look at it, any old thing will do.”
WRONG!
Not only is your quilt backing the largest in terms of square footage and coverage, it also will take the brunt of wear and tear during the lifetime of your quilt.
Strength & Durability
While your beautiful quilt top is exposed only to the air, and is usually protected from people and pets, the quilt’s backing will rub up against anything and everything. If your quilt backing starts to wear or develop holes, it means you have to patch creatively – which is painfully time consuming – or your quilt may eventually be destroyed.
Also, your quilts are works of individual, unique, and powerful art. You want your quilts to last as long as possible, even long enough to be handed down to future generations.
For these reasons the quality of the fabric for your quilt backing needs to be carefully considered.
This means durability and that comes from the strength of your fabric.
I used to buy much of my fabric at Walmart (when they still had a large fabric selection), and I was always pleased with how much less they cost than the fabrics at the quilt store. However, as I sewed and quilted with these fabrics, I began to notice some serious downsides:
- How quickly these cheap backing fabrics faded…
- A tendency to wear holes through areas that were frequently handled…
- Frayed through seams…
- And generally just did not wear well at all!
That got me to thinking about the quality of my fabric versus all the work that goes into a quilt, and I came to a surprise conclusion.
I was wasting both my time and my money by trying to quilt on the cheap.
Pricing
Not that anyone from Princess YellowBelly Designs – and least of all thrifty me – would recommend spending exorbitant instore prices for anything, especially backing.
Shopping around and getting the best deals possible just makes good sense, but compromising on the quality of your fabric is not.
One of my earliest – and most embarrassing gaffes – was in trying to use a brand new, flat cotton bed sheet as a backing! Most sheets are 14 count cotton thread, and you all know how quickly they wear out when in constant use. Sheets are made for beds and are not woven tightly enough for long lasting durability.
Do NOT use them on the backs of your quilts!!
How to Choose the Right Fabrics for Your Quilt Backing
Despite the epic failure of my bed sheet quilt backing, it turns out that some of the reasons I had for trying it were actually viable:
- Bed sheets are big
- I didn’t have to piece my backings, which is a pain
- I didn’t have to hand sew the back seams of a king quilt, which is a real pain!
Well, the quilting world caught on to the reluctance of quilters to piece their quilt backings and they came up with a solution – backing fabric.
Ta-da!
Quilt backing fabric comes at 108” wide, which is wide enough to cover a queen sized quilt.
The quality of these fabrics are top notch, which means they have great durability and strength, and there are a plethora of colors and design options out there.
And every time I open a quilt magazine, there are new colors available. At first they only came in boring neutrals but now these lovely, time-saving fabrics pretty much cover the color spectrum.
The cost is an average of $14.00/yd. which seems quite expensive at first, but when you do the math, it’s usually cheaper to go this way rather than buying the regular 45” wide fabric and going to the trouble of piecing it.
For example:
1 queen quilt is approximately 90”x100”. So with fabric that’s 108” wide, you’ll need roughly 3 yards. At $14/yd. that’s $42.00. If you purchase regular 45” wide fabric you will need at least 6 yards. At $11/yd. this will cost you $66.00 and you still have to piece it.
Backing Motivations
This may sound weird, but bear with me here and you’ll see what I mean. When it comes to backing, I think there are 2 schools of thought. Both sides of the coin can be right, depending upon the particular project, so it’s worth putting some thought into your quilt backing needs before laying out any cash.
1. Functional Quilt Backings
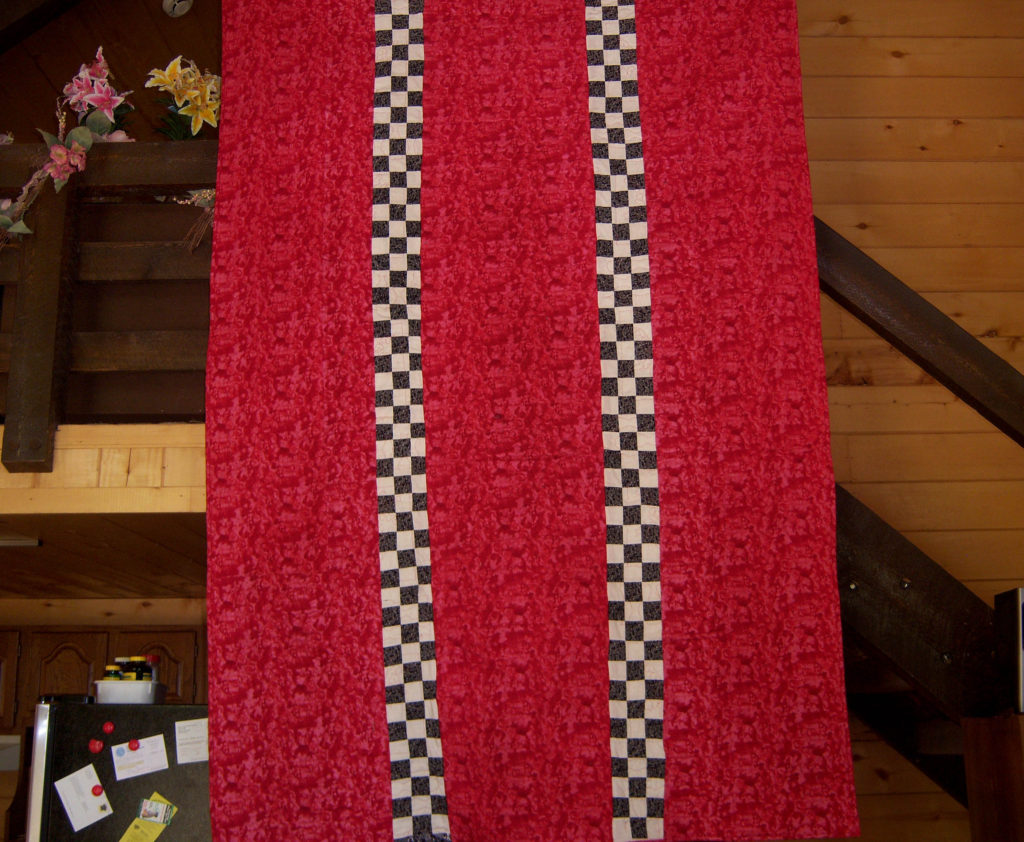
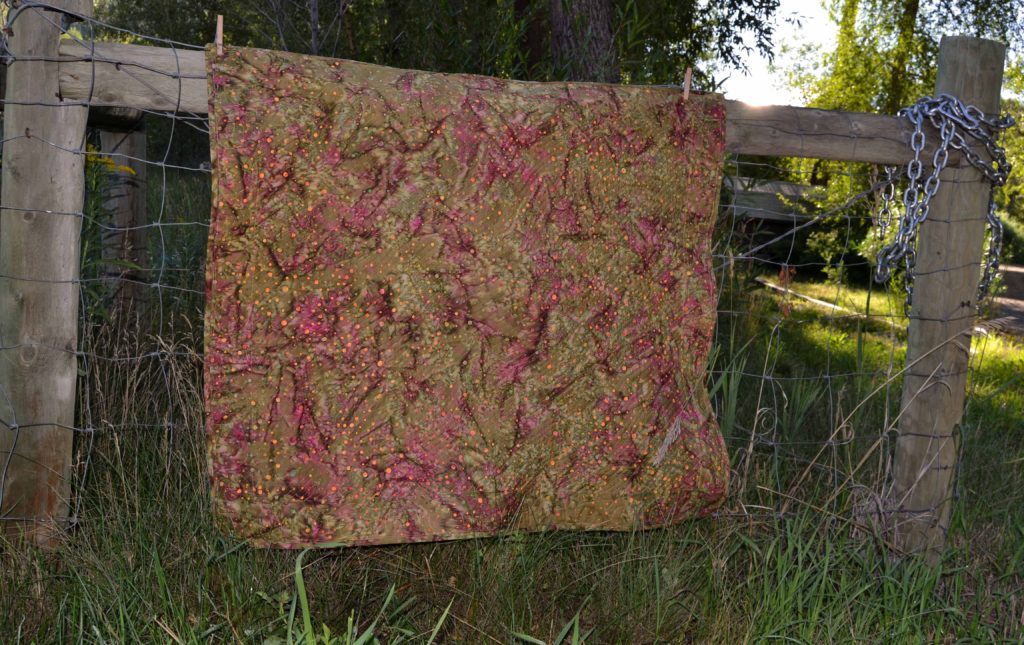
If you want a purely functional backing that more or less disappears in relation to the beauty of the front of the quilt, I recommend purchasing a mottled fabric.
It really doesn’t matter what color you choose or how bright that color is, the important part is the pattern. The more mottled or busy a pattern is, the more the quilting vanishes. This is useful if the pattern you’re quilting isn’t your focal point, or if it doesn’t make sense in abstract – such as outlining solid shapes in the front of the quilt.
Mottled quilt backs also helps to hide all those little mistakes that we’re not admitting we make. I do this a lot. It’s the quickest way to getting your backing knocked in the head.
Also, use a matching thread in your bobbin and the quilting will disappear even more.
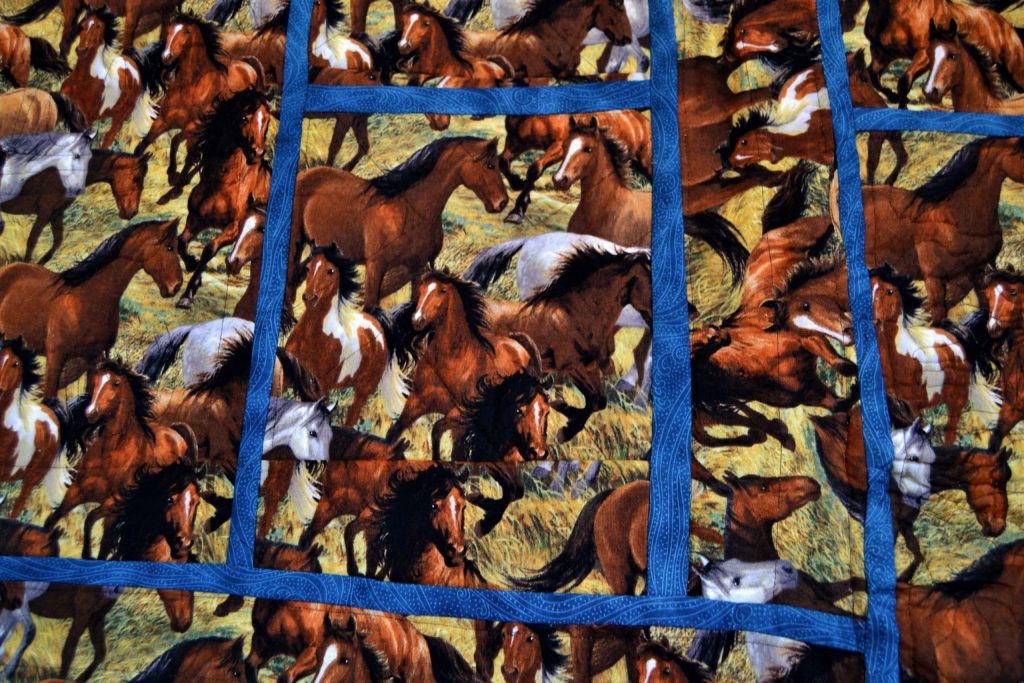
2. Statement Quilt Backings
Sometimes, though, I take me a notion and decide that the backing has to say something.
For example, in my Home Pastures quilt – which features horses – I decided the backing needed to look like pastures too. So I used a fabric that was covered with horses in a field, and I “fenced the pastures” by using a strongly contrasting color during the sashing stage.
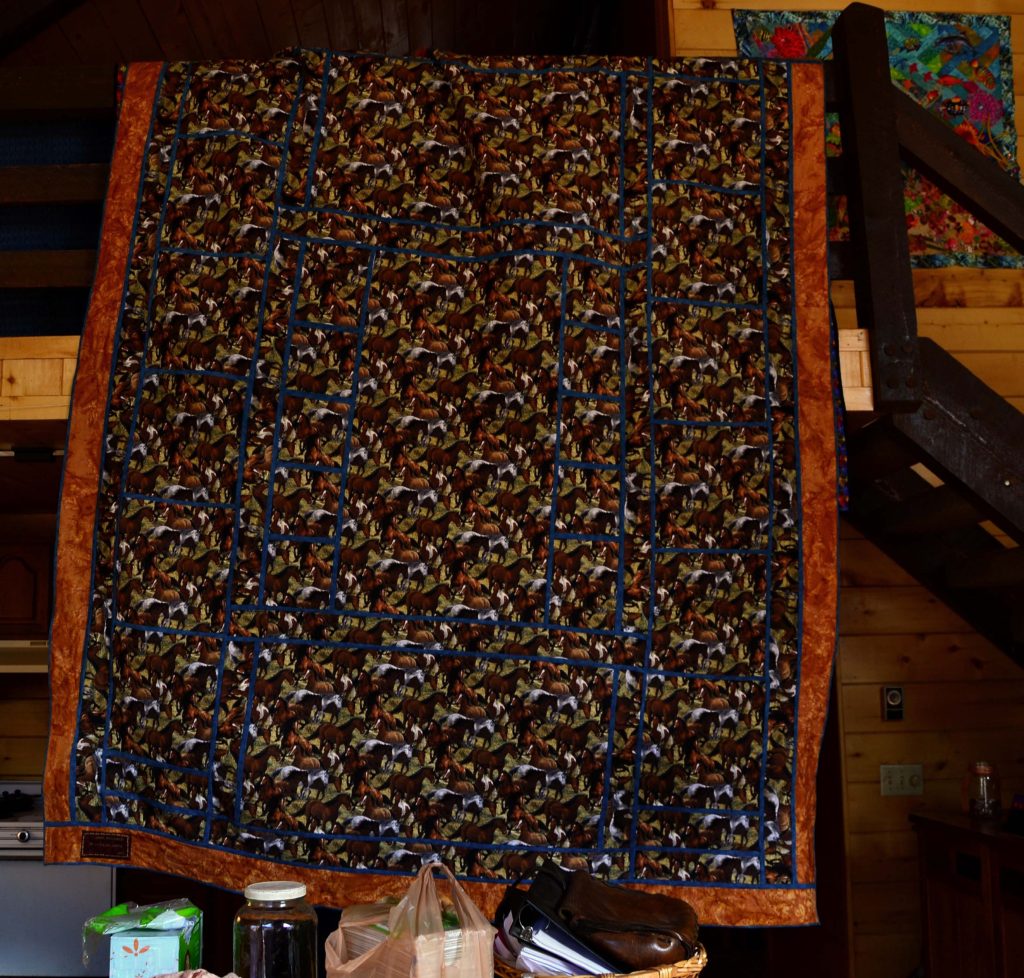
It was extremely creative if I do say so myself, and it made for a visually effective backing. The best part, of course, was that the pattern of the horses completely draws the eyes, and no one (not even me unless I’m looking very hard) can see the quilting!
If your quilting pattern is one of the focal points of your quilt, then you’ll want to choose a backing fabric with little to no pattern.
You can also use a highly contrasting thread in your bobbin, and voila!
Your backing is now visually appealing.
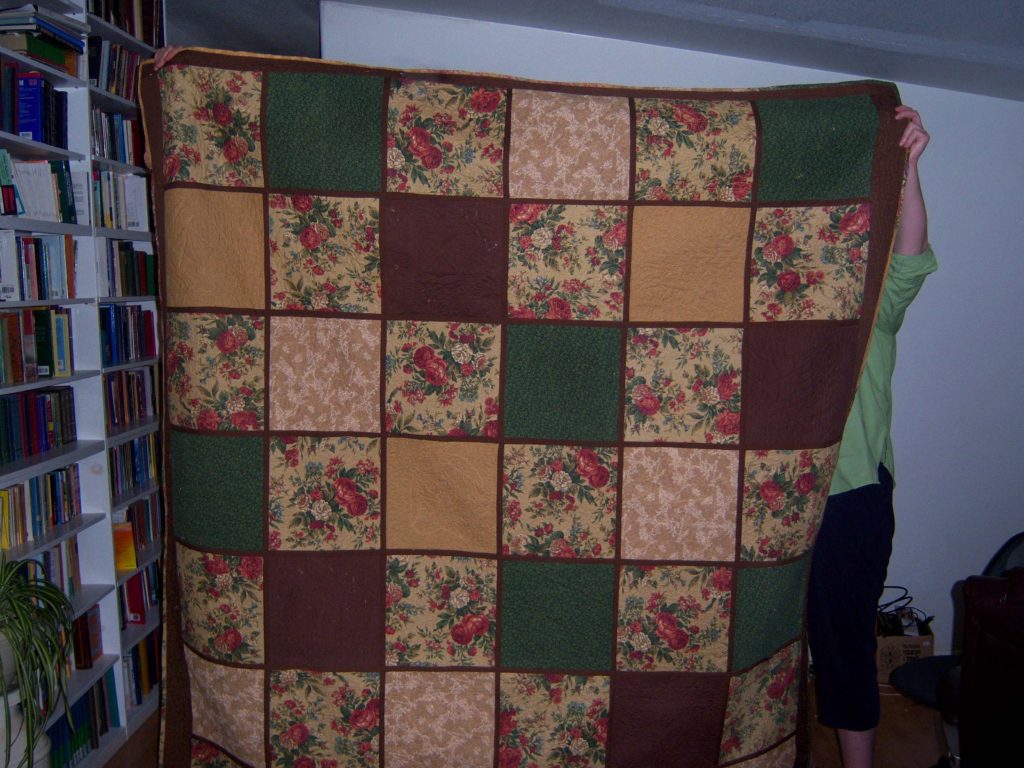
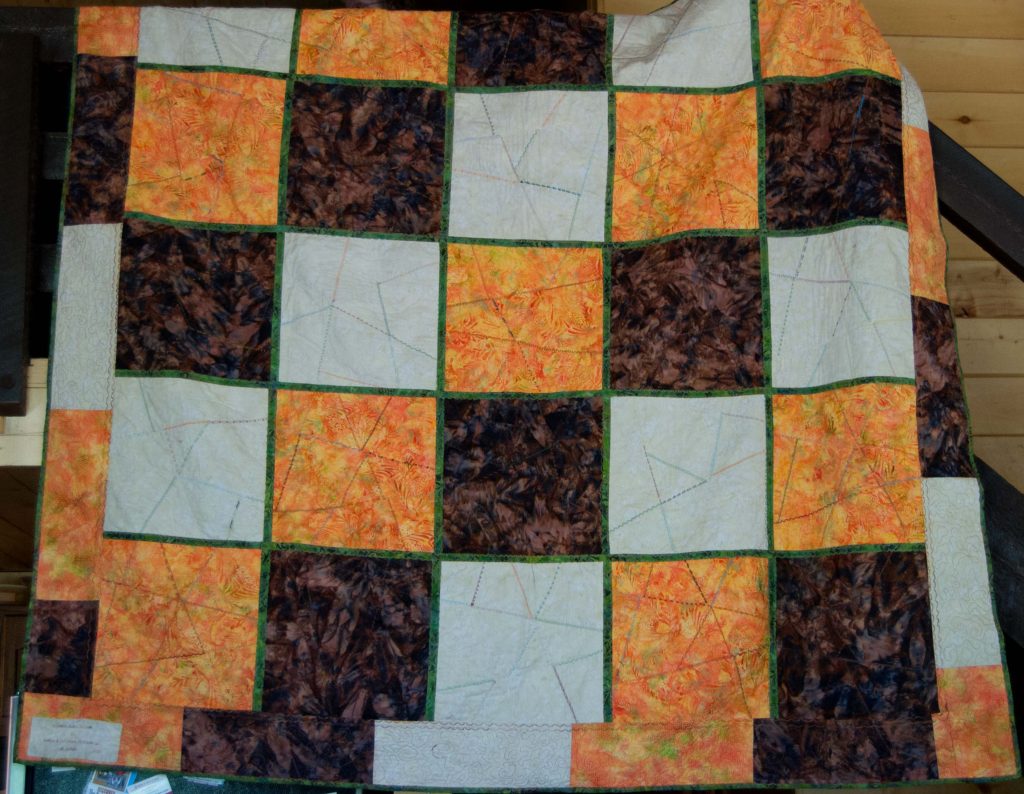
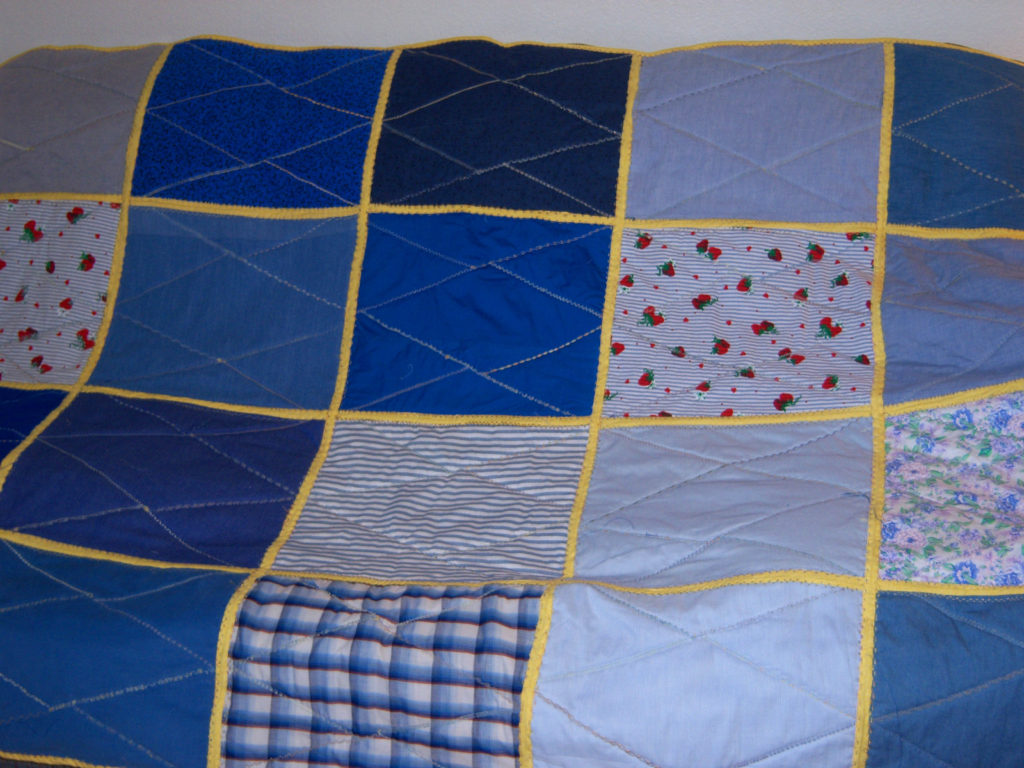
Disposing of Odds & Ends
If you don’t mind piecing, backings are a great place to get rid of – oops – I mean to say incorporate scraps from your stash. You can sew these pieces together in a recognizable pattern or just sew them any which way for a scrappy backing. It all works.
I will also often use the leftovers of a fabric from the front of a project to start off a scrappy backing.
This helps to pull the entire project together visually, especially on smaller projects like wall hangings and table runners, and makes aesthetic sense to everyone.
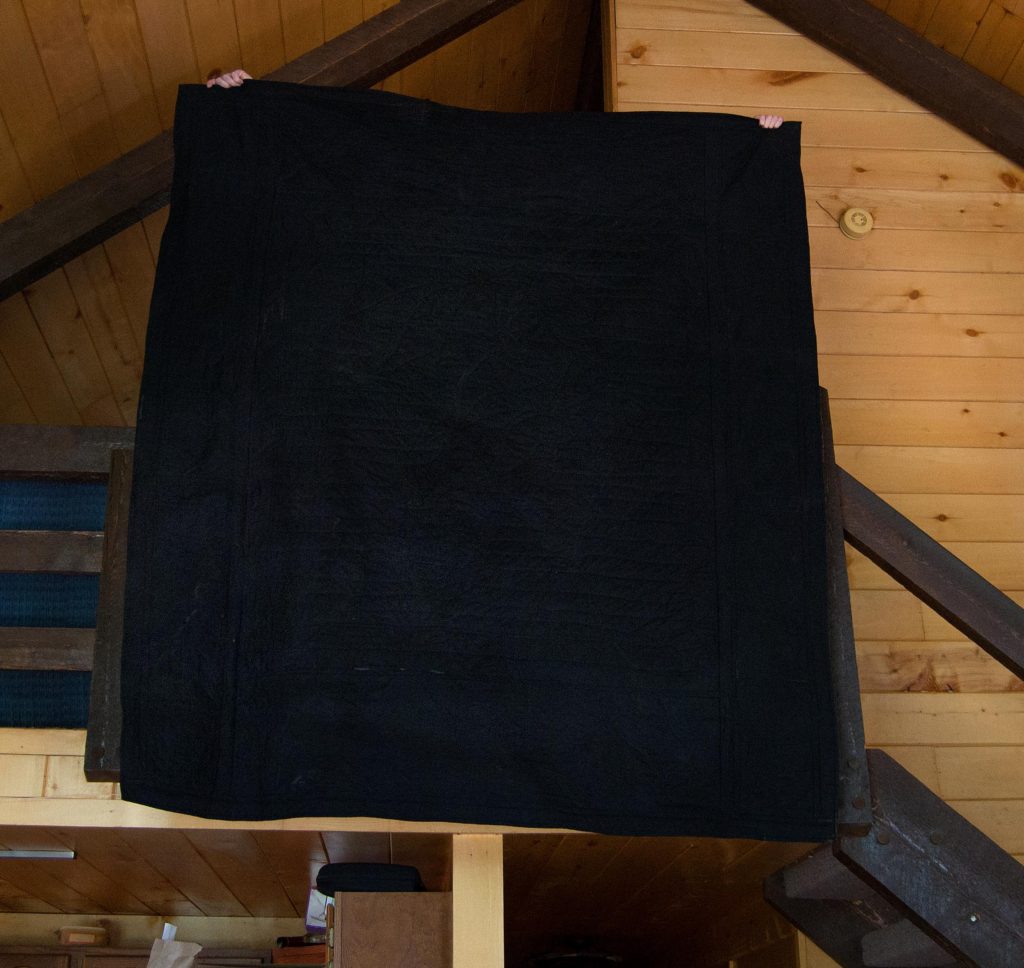
A Word about Black
I use black fabric quite often for my backings, especially on my silhouette panels, or when I really want to make a dramatic statement – like on my dragon quilt. Black is wonderful because it can either highlight your quilting pattern if you use a contrasting thread, or vanish all your quilting, if you use black thread.
But beware! It’s very hard to see what you’re doing!!!
Michael rigged me an extra LED light that I can use when I’m quilting on black for this very reason. It’s mega frustrating – at least for me – but also well worth the trouble.
Getting Your Backing Flat
Getting your backing to lay flat and smooth as you quilt is essential, but unless you have a long-arm quilting machine with rollers to hook your project into, you’ll have to do it the old fashioned way.
Ingenuity.
I tried all of those quilting “helps” that are supposed to help you hold your project tightly and they now live in the back of a closet somewhere. I’ll review them eventually…
After a lot of frustration and wasted money, I finally came up with a fairly simple method that works well for me. Here it is:
- DO NOT trim the top of your project before layering it for quilting
The quilting itself will distort the edges somewhat and you will need to trim again after your project is quilted. If you trim beforehand as well, you will end up cutting off a good sized edge along the outside of your quilt. I once lost an entire border this way.
- Always cut your backing piece and your batting at least 3” wider all the way around
This is because the quilting process distorts your project slightly. I for one have been known to quilt myself right off the edge. Those extra inches give you vital wiggle room.
- Spray starch and iron on the wrong side of your backing.
Occasionally spray starch will leave behind a weird shiny residue. It’s almost impossible to get this off without washing the fabric.
- Buy a cheap, thin shower curtain from your local Dollar store.
Basting spray, by its very nature, is sticky – very sticky. It will stick to anything in the vicinity, including whatever surface you’re working on and from experience I know that it is incredibly difficult to remove.
Laying your new shower curtain down on your working surface before you layer and spray your project will give you a no-muss-no-fuss clean up. These shower curtains can be used over and over again. Get one!
- Layer your project, starting with the backing, wrong-side-up, and spray it with basting spray.
- Layer your batting on top of that.
- Smooth this out as much as possible.
Note: It really helps if you can get another person to help you hold the batting tight as you lay it down.
- Spray the top of your batting with basting spray and lay the front of your project down on it right-side-up.
Get the top as smooth as possible by pulling and pressing smoothly. Once again, another pair of hands will really help to keep your panel smooth.
- Once the top is as smooth and wrinkle-free as possible, flip your project over to the back.
Your backing will now look like elephant skin…but here is how you fix this.
- Determine the middle of your backing and gently pull up the backing from the batting.
The basting spray allows you to reposition fabric numerous times without having to re-spray. Have someone press down firmly on the mid-point while you pull your backing straight and lay it down again. Smooth out.
- Repeat as needed.
- When your backing is as smooth as possible, iron it with a hot iron.
This adheres the basting spray tightly enough to hold your fabric in place without pins. Usually. Occasionally I do use a handful of safety pins to help hold a very large or very heavy quilt sandwich in place during quilting.
Sometimes I have to work in sections if my project is very large, and sometimes I have to lift up, re-spray, and iron again before my backing will behave. But it’s well worth the effort! You end up with a smooth backing and no pins!!
- When your backing is as smooth as you can make it, flip your project and repeat for the front.
I always do the front last because that’s the one people mostly look at. Once you have your entire quilt sandwich smooth and ironed, it will hold that way for about one week, before the basting spray starts losing some of its moxy.
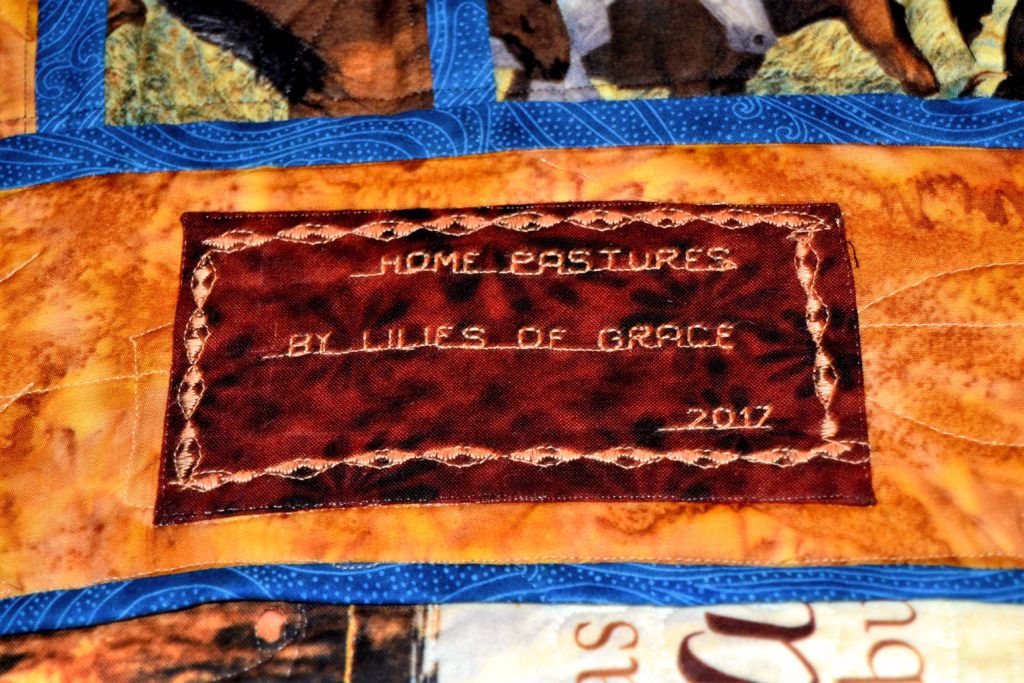
Don’t forget to finish your quilt backing with a name tag!
If you think it will take you longer than this to quilt your project, I would put in a few strategic pins to help encourage it to stay smooth and flat. Pins, used sparingly, are also a good idea if your project is the size of a twin quilt or larger.
- Once your project is ready for quilting, start as close to the center as possible.
Using your hands, fingers, wrists and elbows, pull gently on your fabric as you work your way to the outside. I have found that with this method, I get a completely smooth front and back about 75% of the time. When I don’t the pleats are almost always on the backing and is never more than a small wrinkle or bubble that is almost impossible to see due to our disappearing tricks.
Since I started using all these tips and tricks that I’ve outlined above, my projects became a lot more doable, easier to handle, visually more appealing, and a lot more rewarding. I really started enjoying the entire process a great deal but beware – the more you enjoy it, the more addicted you’ll become!
Here’s to your future smooth-quilt-backing success.
Everything is very open with a really clear description of the challenges.
It was really informative. Your website is useful.
Thank you for sharing!