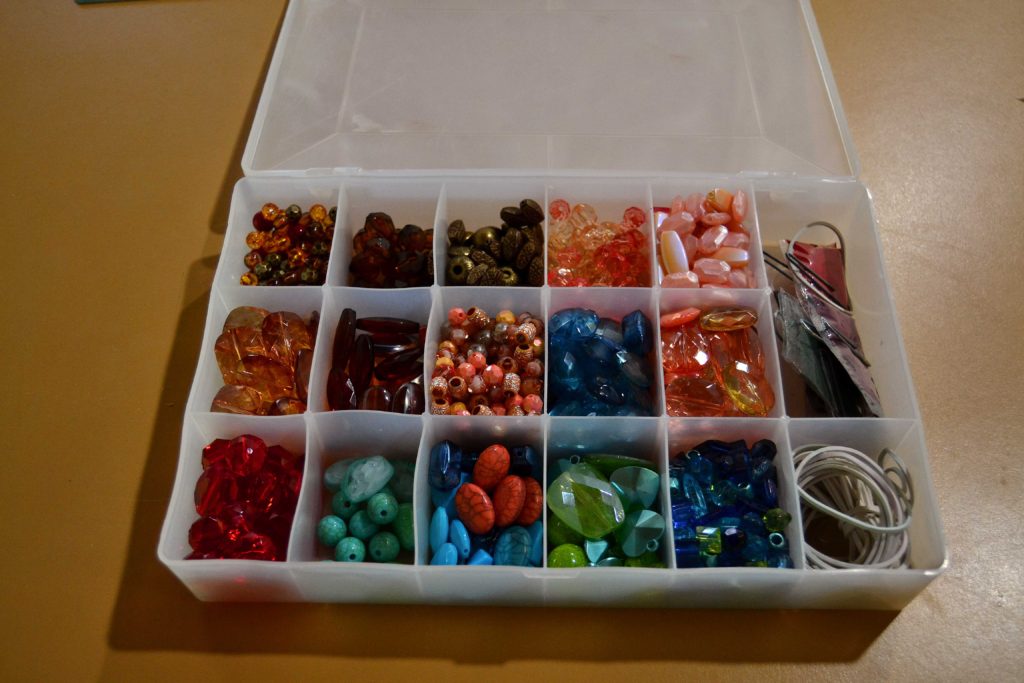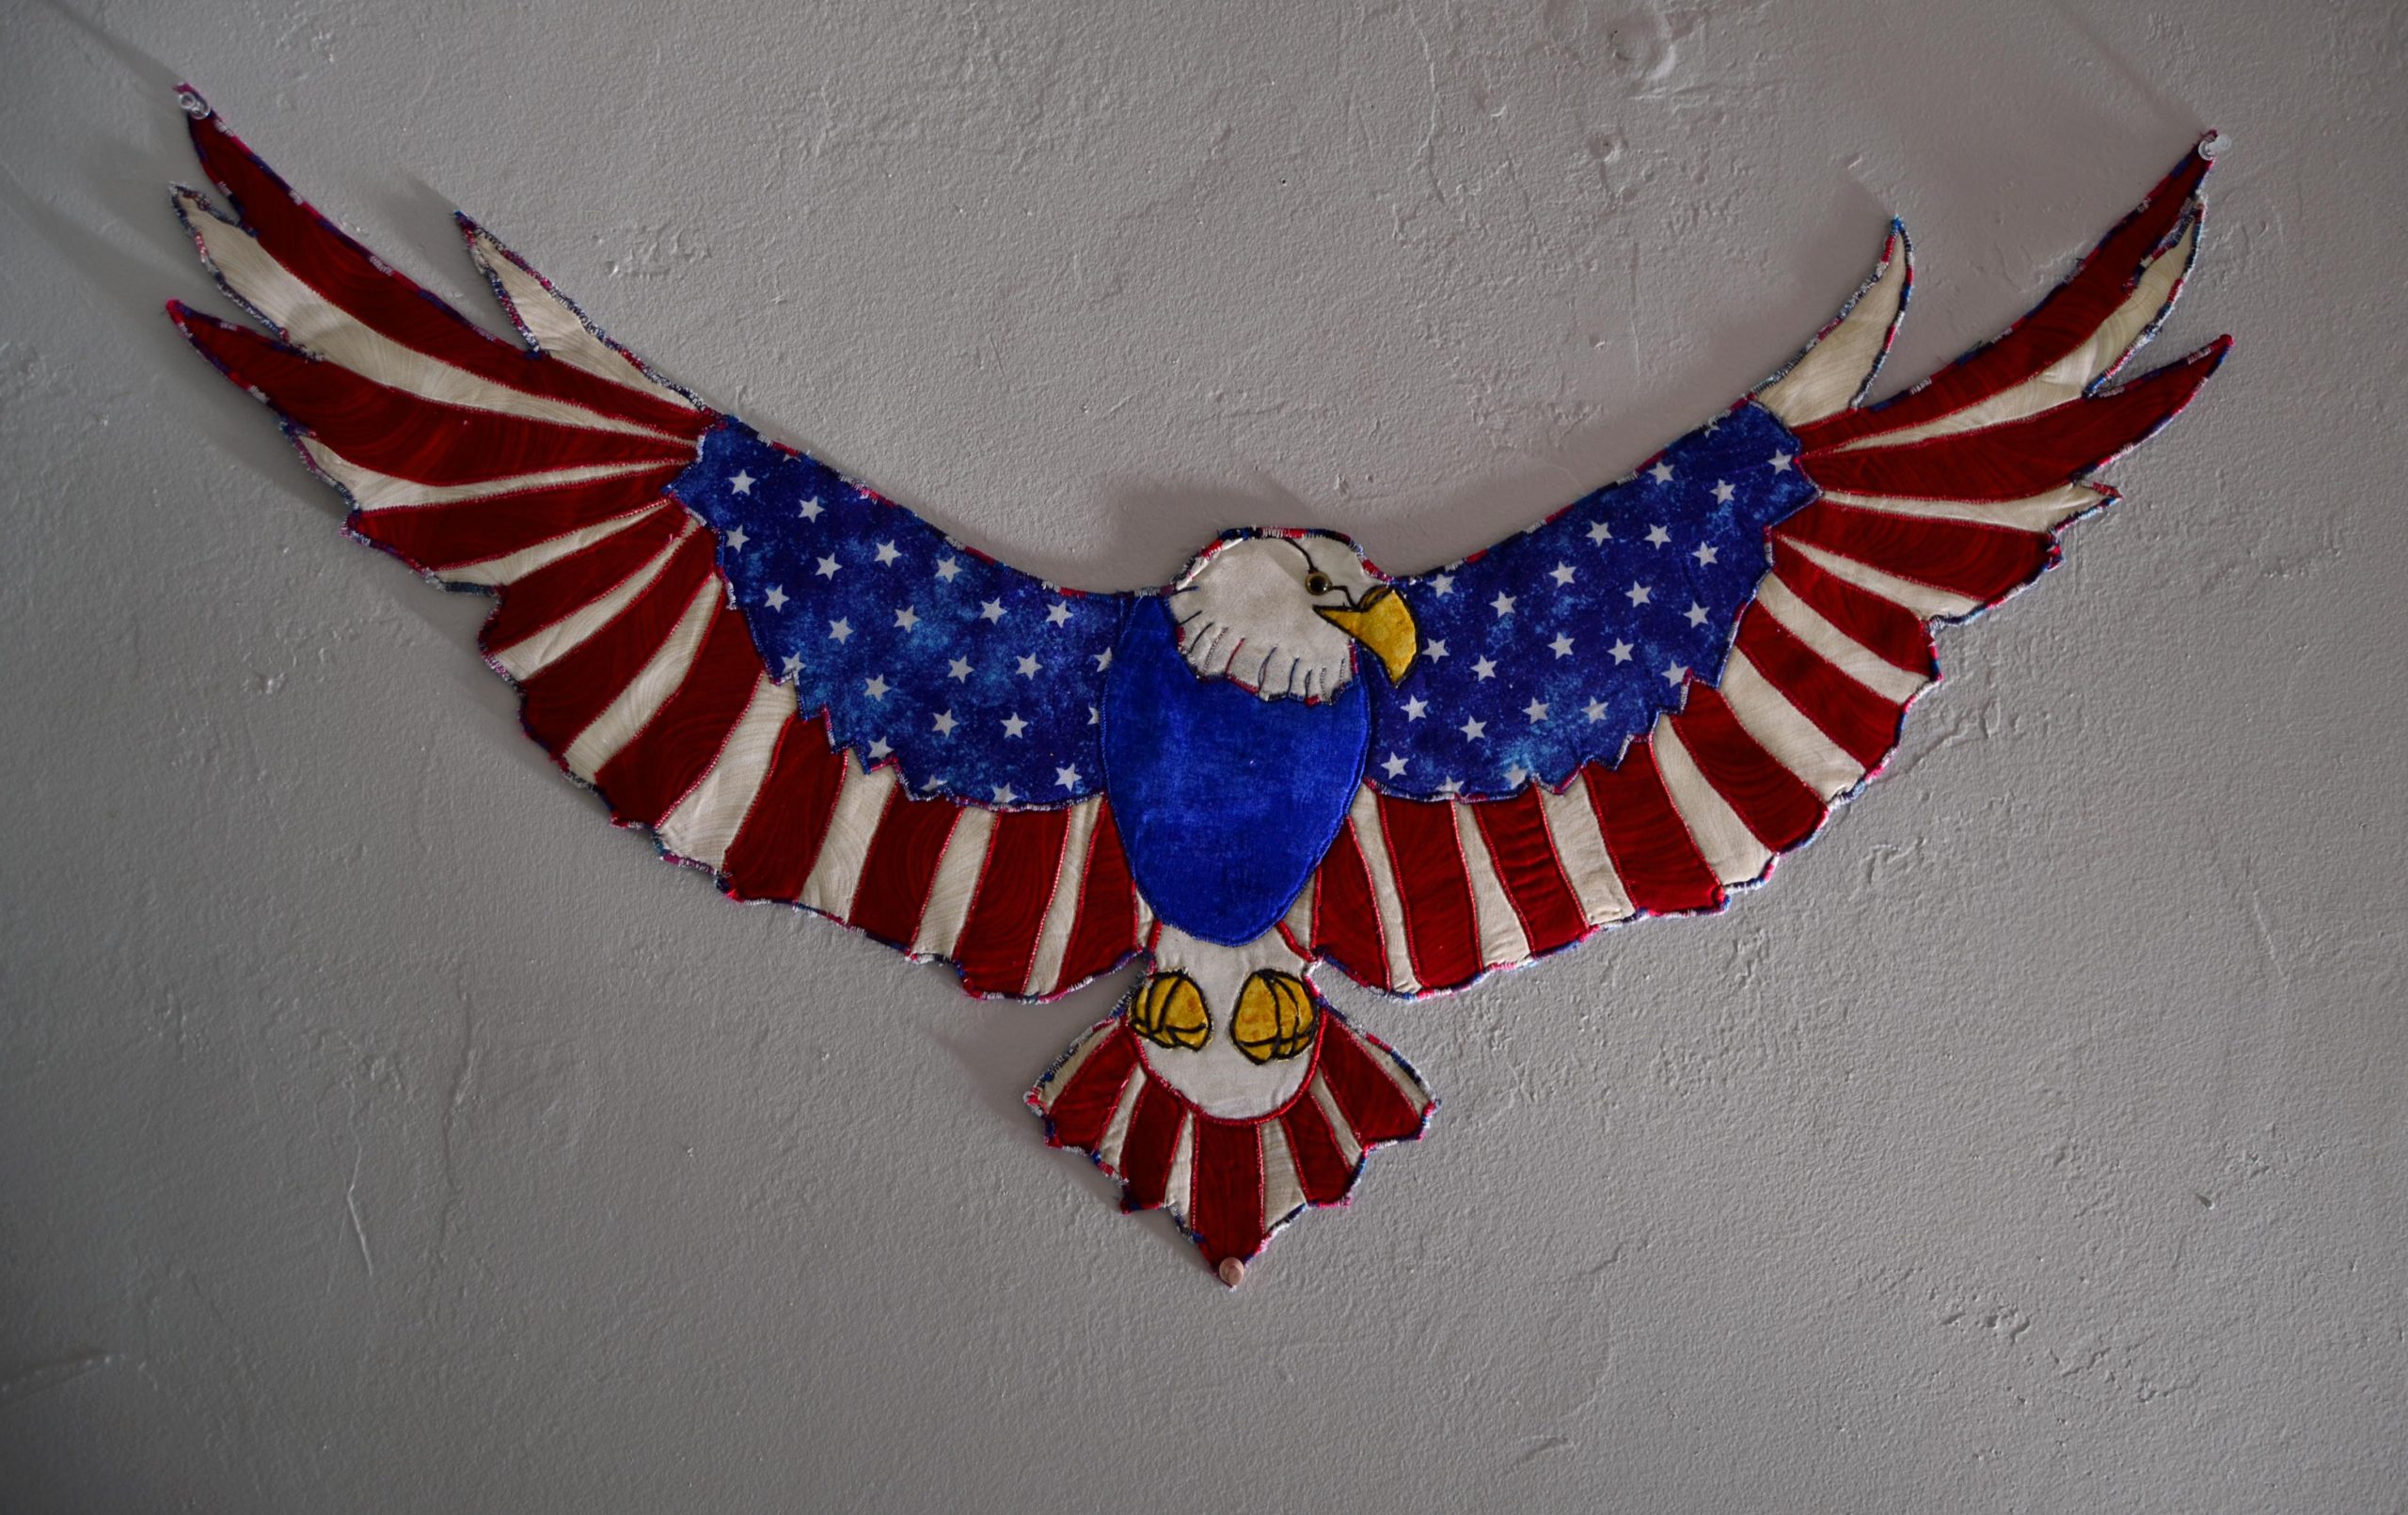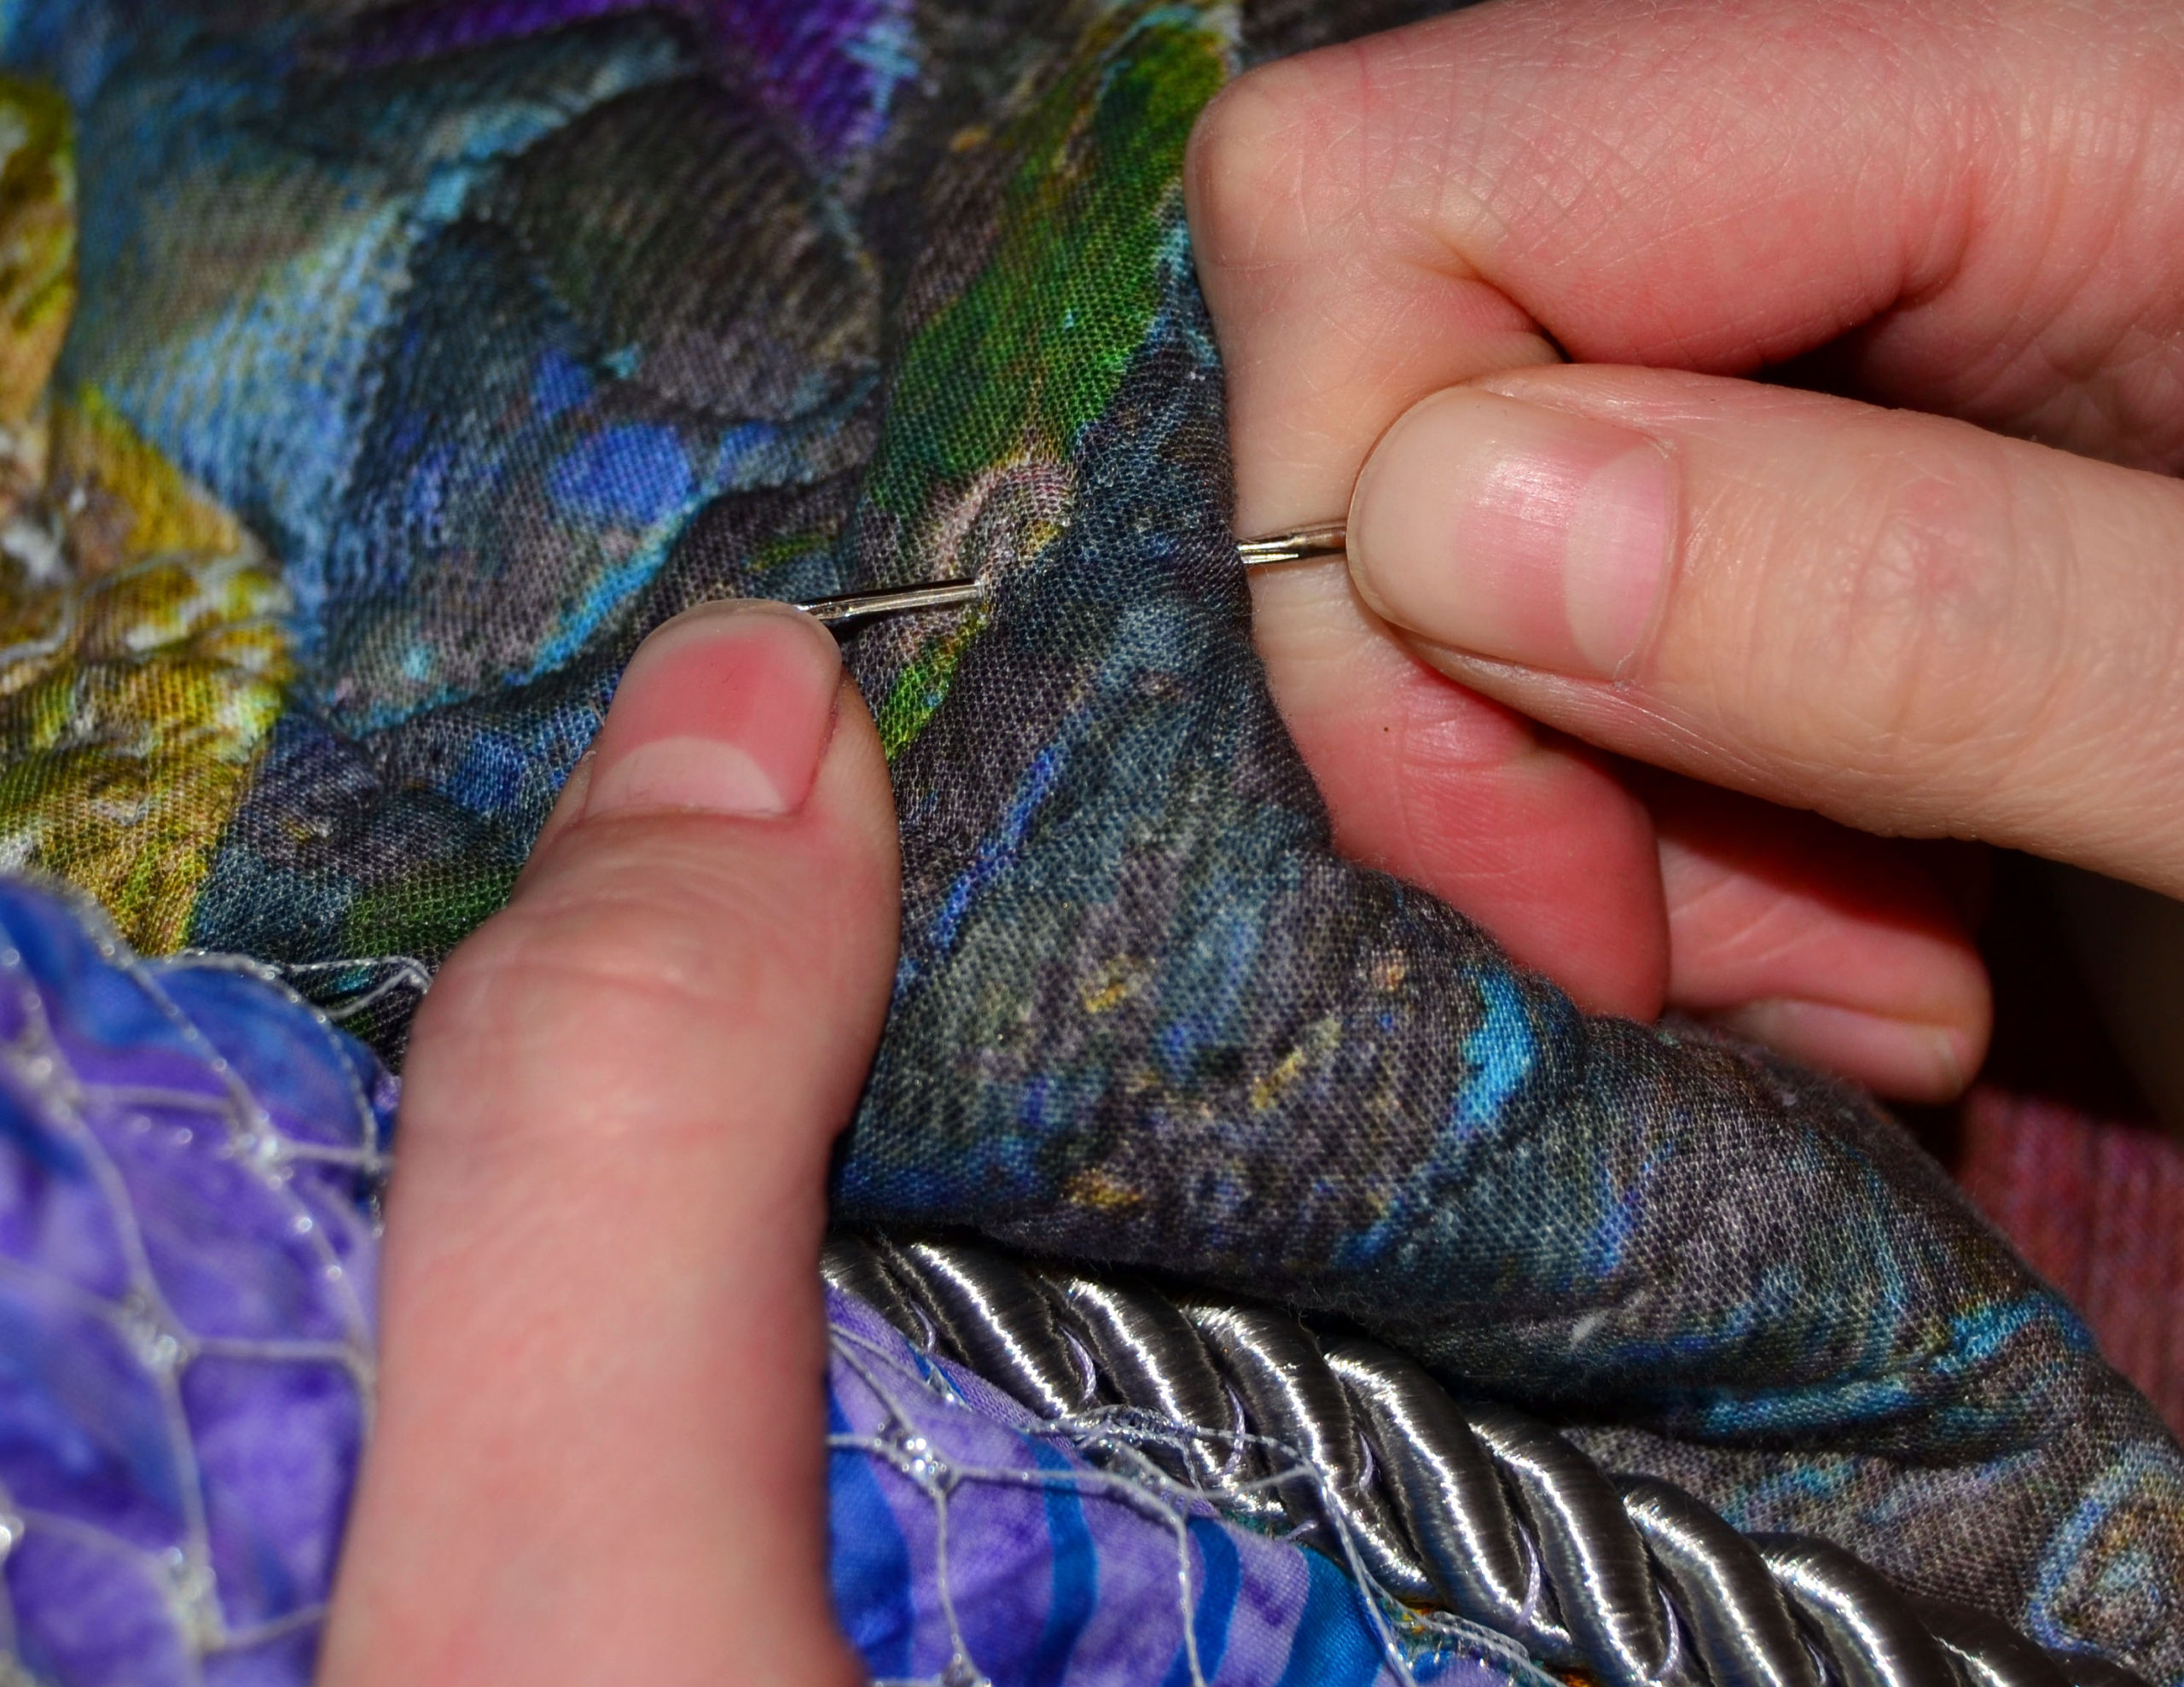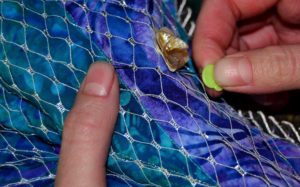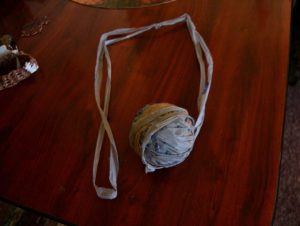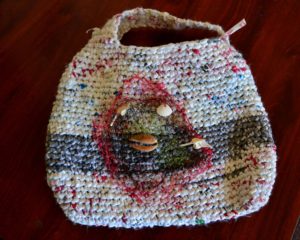
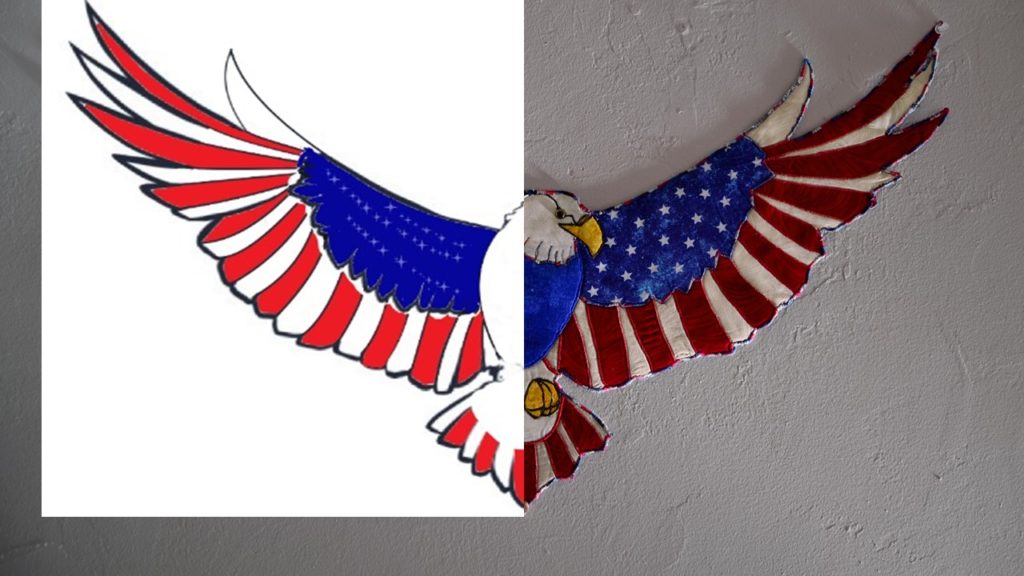
A few months ago an enterprising artist had an idea for us on how to change up one of our original patterns. It was such a fascinating idea that we offered her a series of gifts:
- A FREE quilting pattern for Freedom Flight (the pattern she was interested in changing)
- FREE access to the video tutorial series
- Exclusive access to our help (if and as needed)
In exchange, we wanted the rights to publish her story, and follow along as she worked on adapting it. If and when she does need our help, we’ll do it via a Zoom call and then publish those videos for your viewing and learning pleasure.
In short, we saw a fantastic, fantastic opportunity to grow our own creative reach. I’m about to tell you that you have an opportunity to:
Get in on the Action!
- Get any original pattern by Princess YellowBelly FREE!
- Also get complimentary access to any supplementary tutorial materials – videos, articles, pictures, etc.
- And get the kind of exclusive access to us that Carrie’s enjoying
That’s right! If you choose to take advantage of this offer, you won’t have to pay a cent for any one of our unique, tested, hard-won and original patterns that inspires you. We’ll send you the original pattern of your choice, access to any video tutorials we might have, and give you inside access to our hands-on help and advice, completely free.
How to Take Advantage of this Unprecedented Offer
I’d love to be able to just offer any-and-everyone this kind of insider access. Unfortunately, though, we do have to put some limits on this opportunity.
One thing that we’ve found about Princess YellowBelly is that our creativity grows from the creativity of others. Each unique artist, each Seam Ripper Champion that we’ve had the privilege of meeting and learning from has made us better.
In short, your creativity is both inspirational and vital to us.
Most Important: Have a Creative Idea
What we want – what we’re actively looking for – are your ideas of our designs. How can you think to change, update, and transform the patterns that we’ve spent so much time and love changing and transforming ourselves.
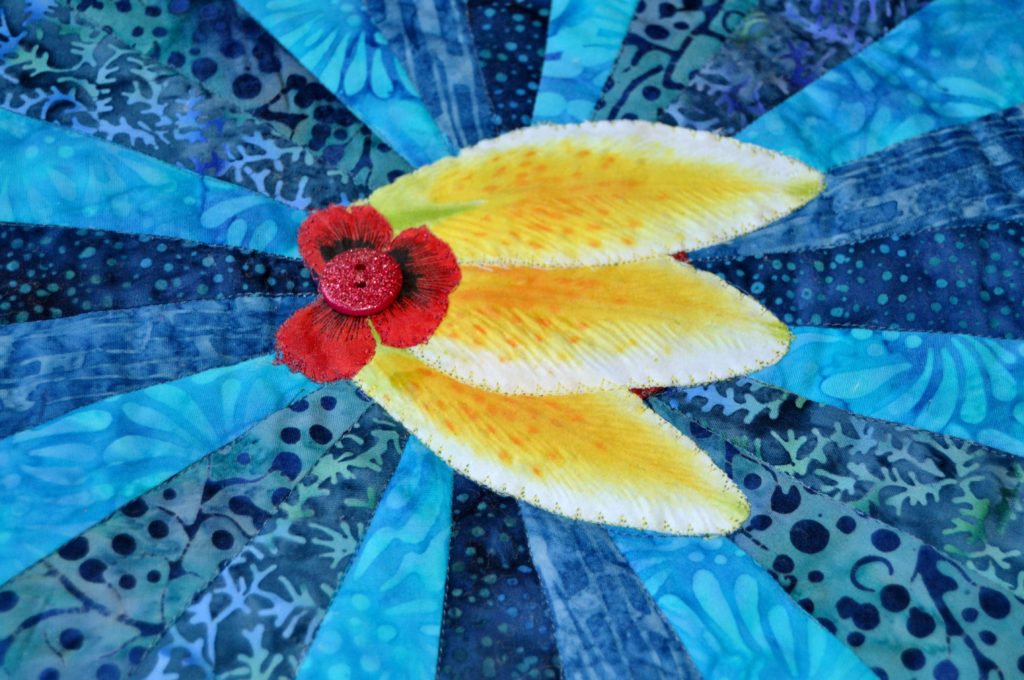
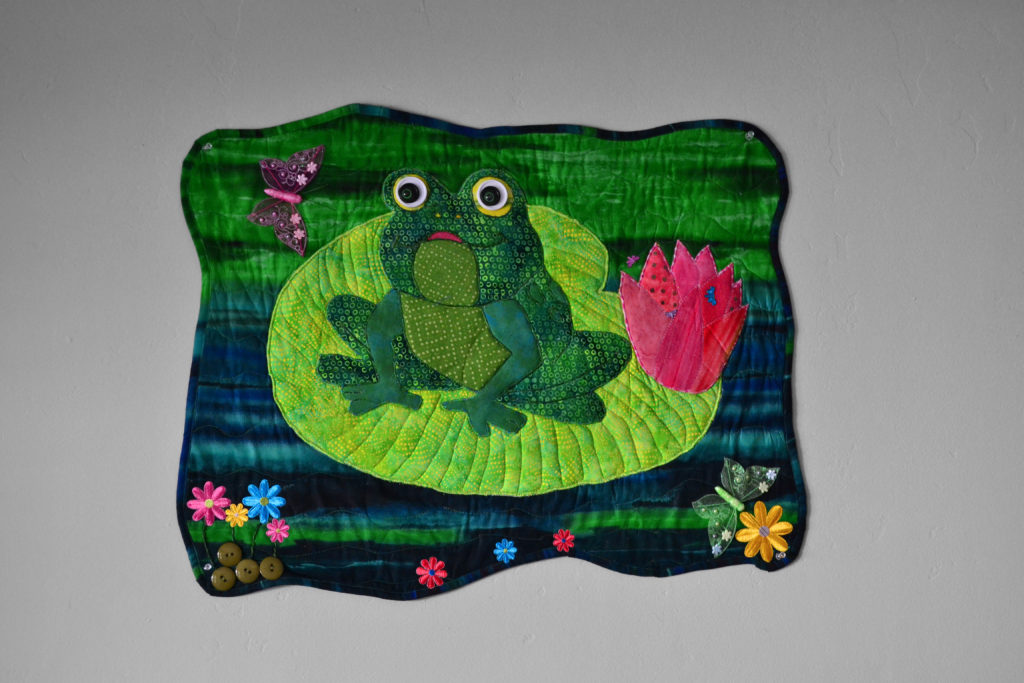
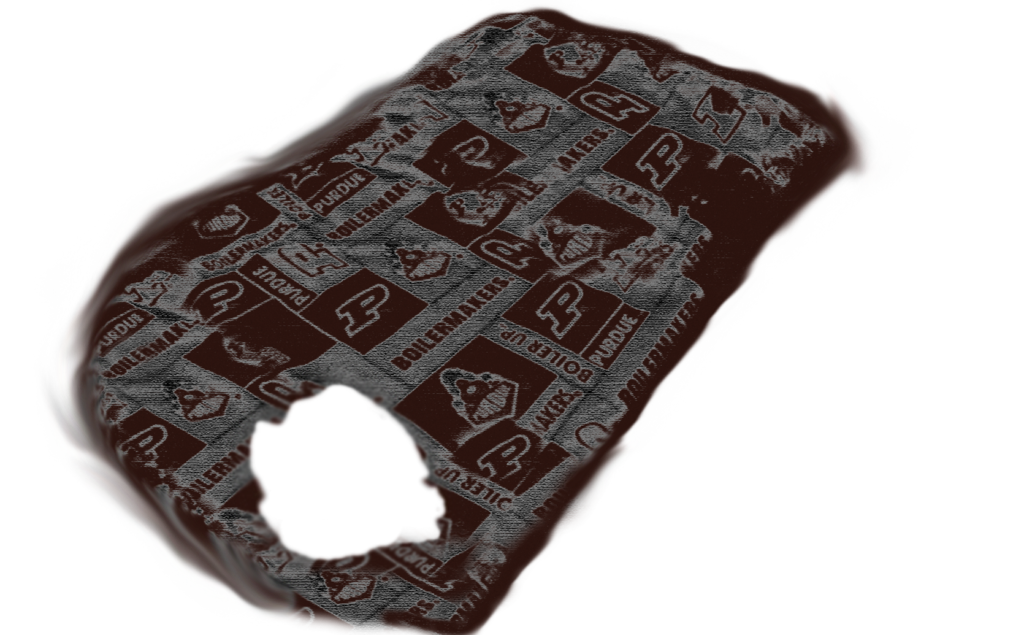
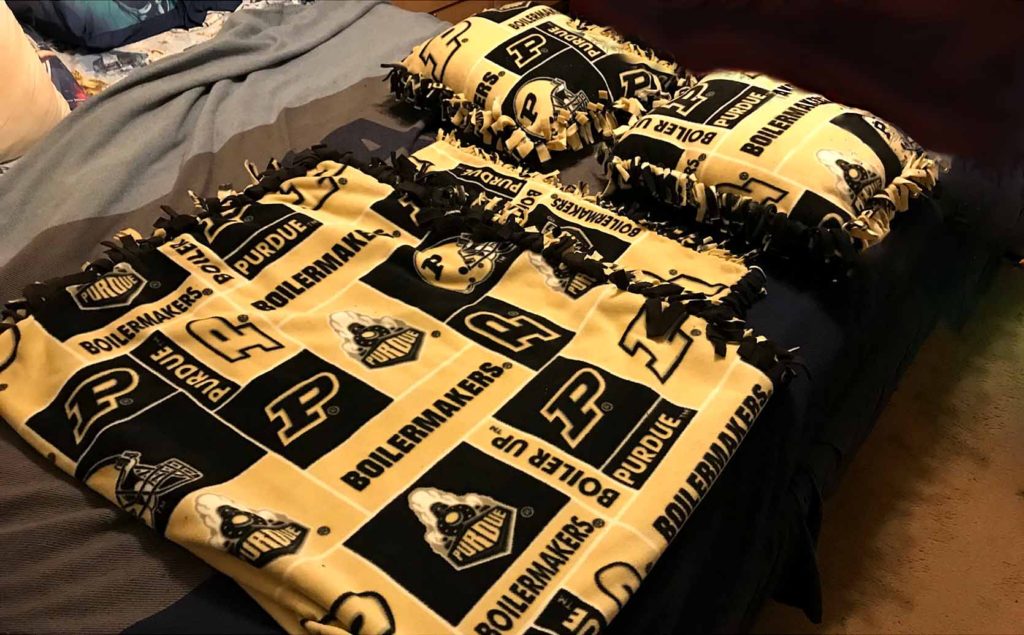
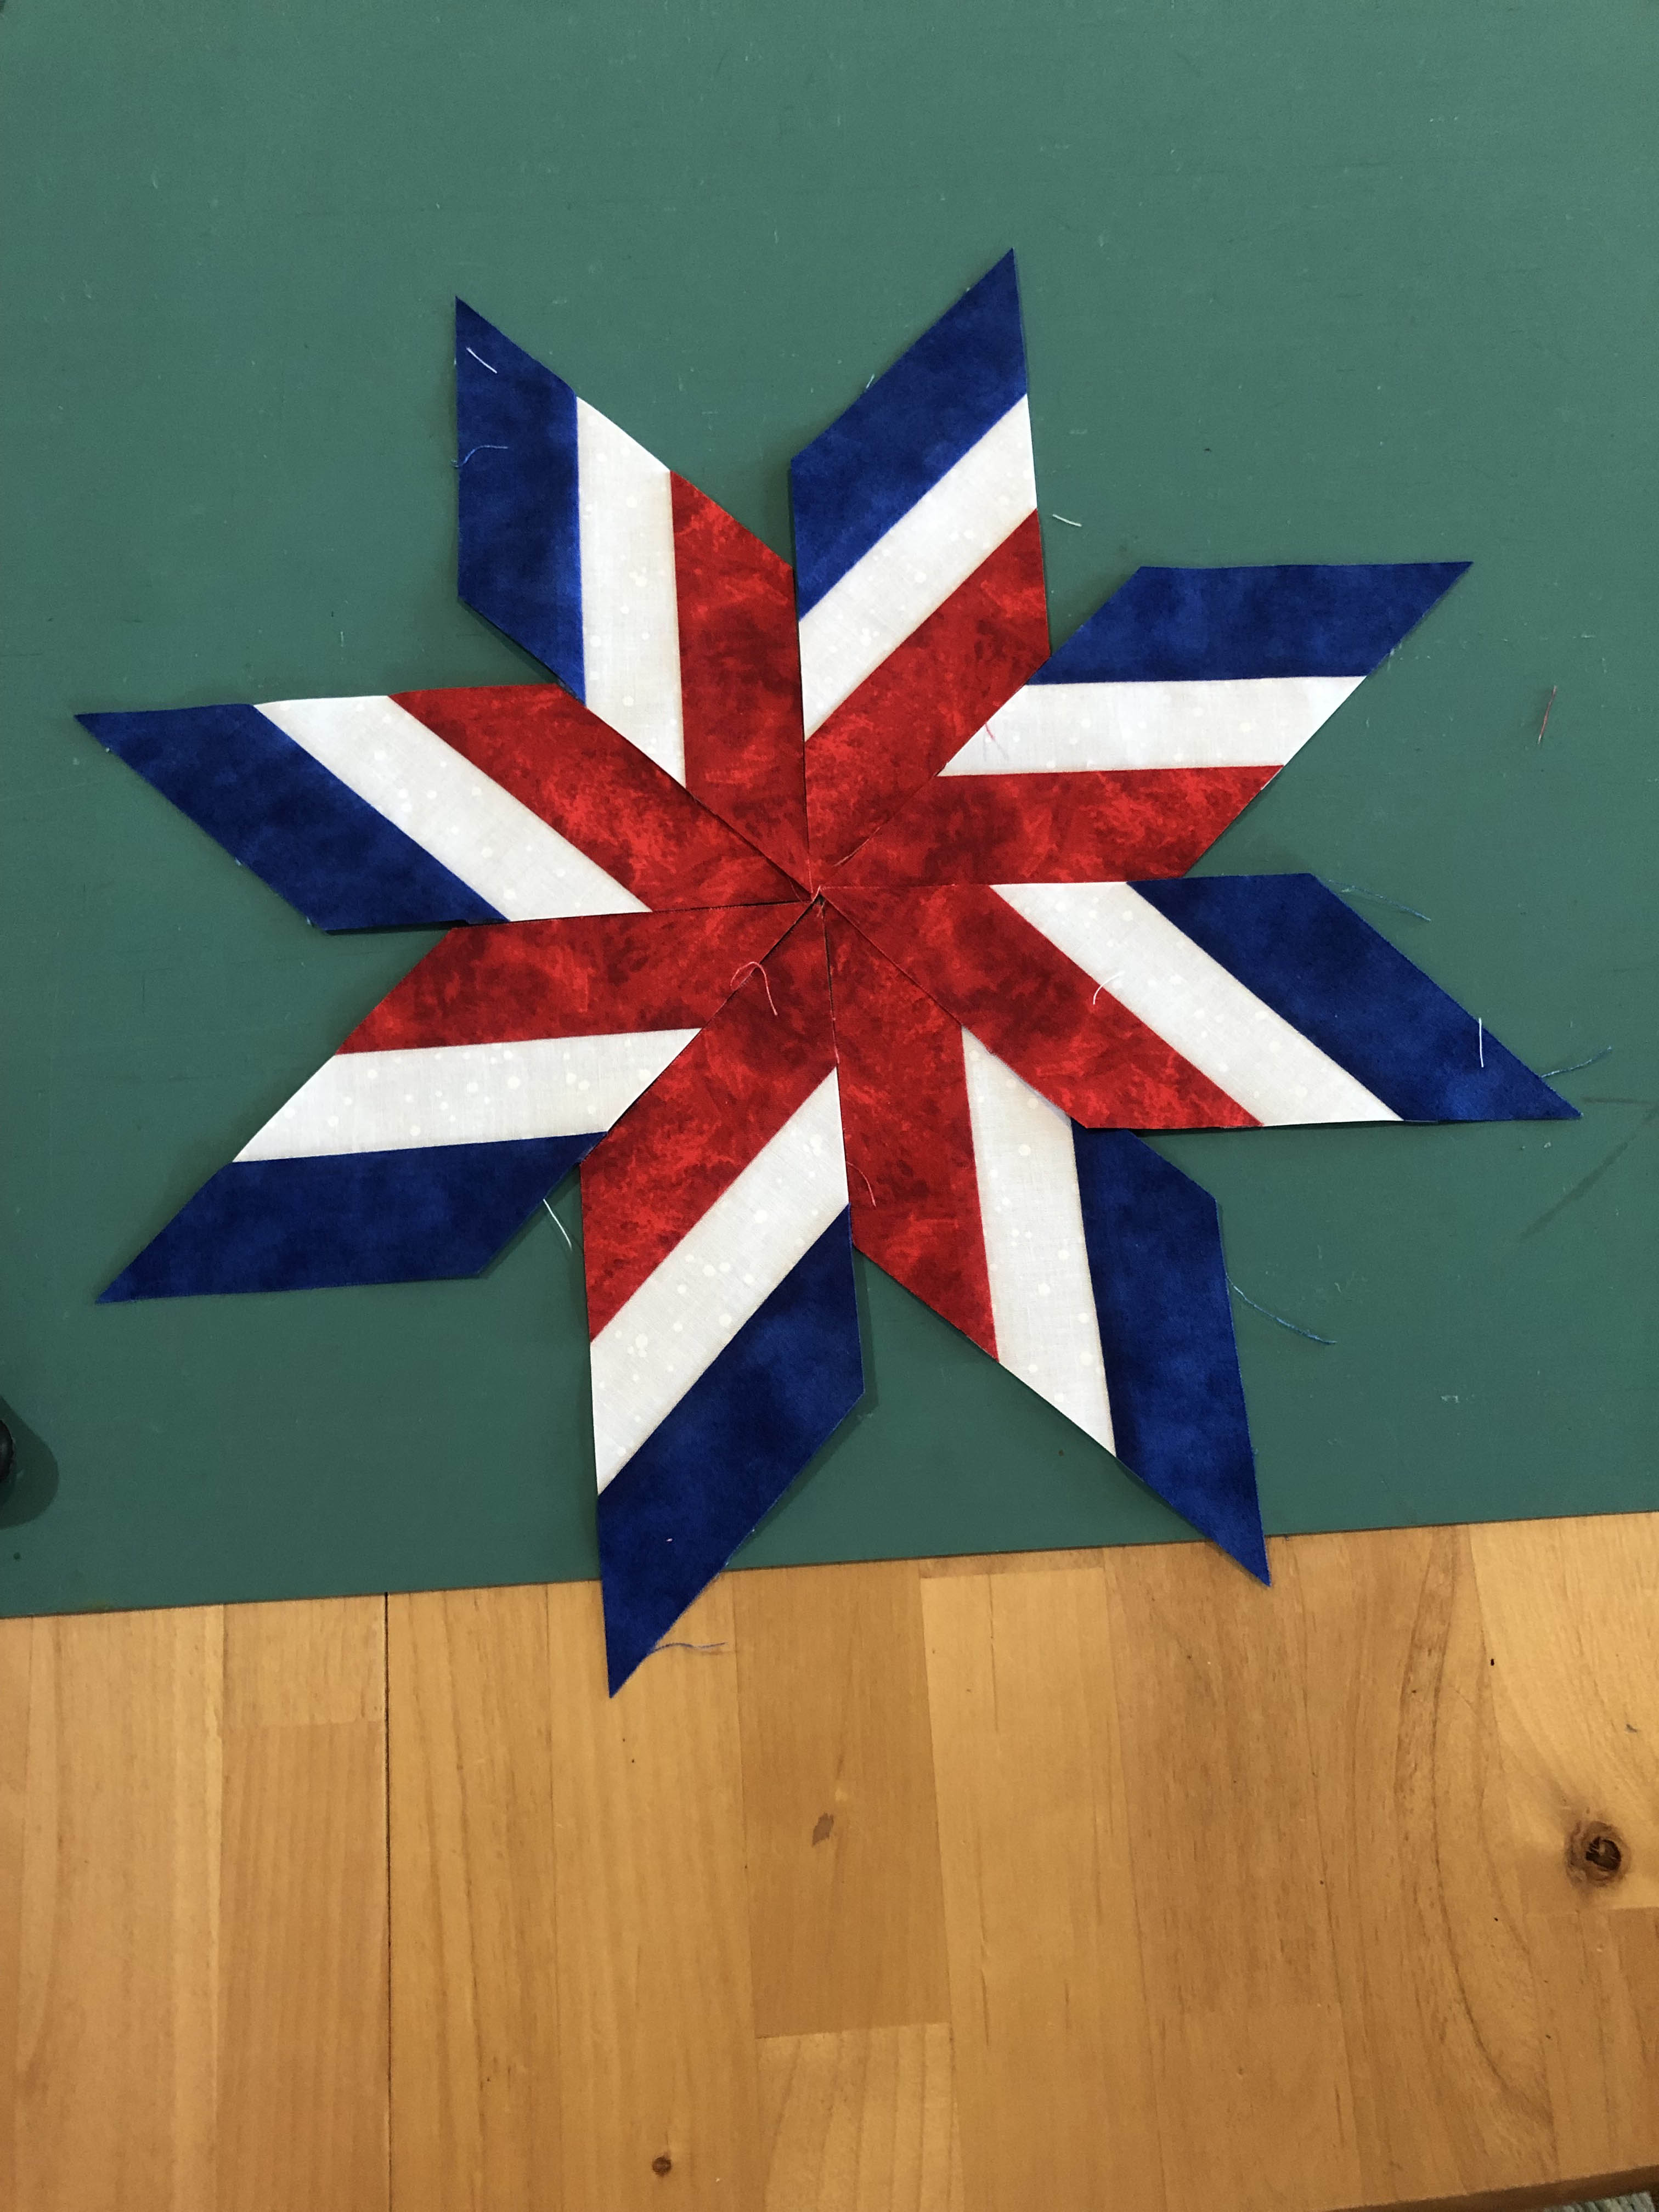
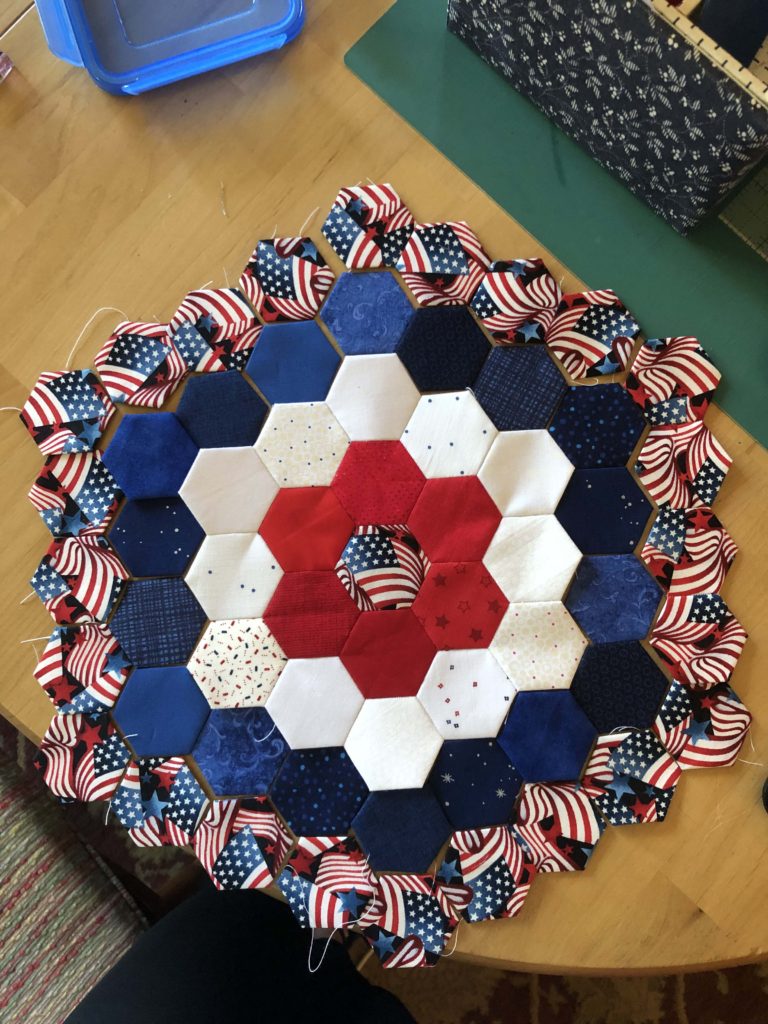
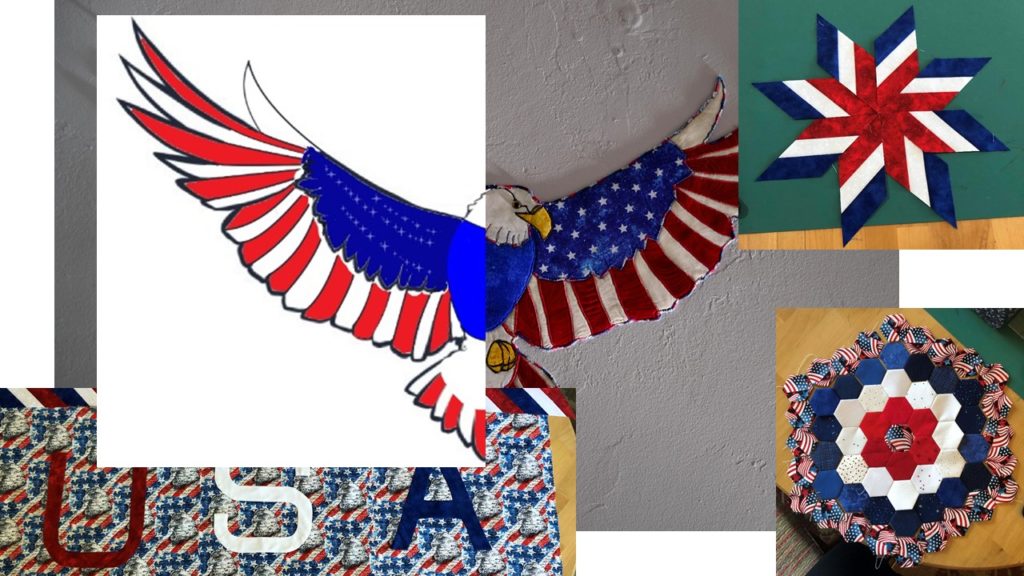
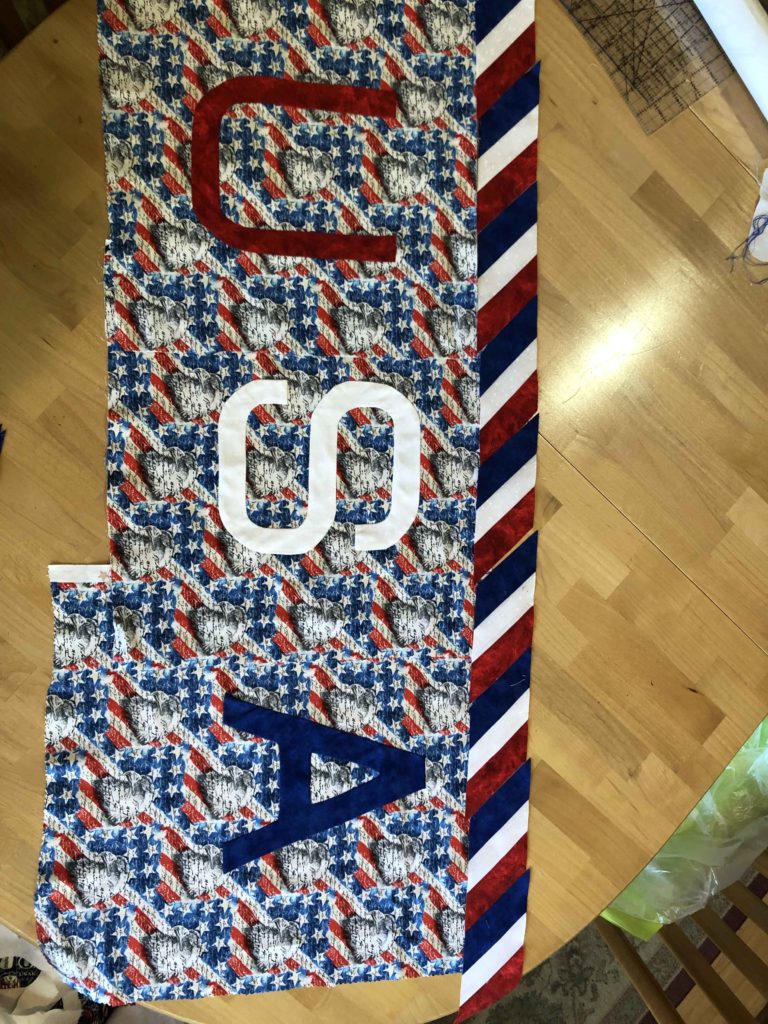
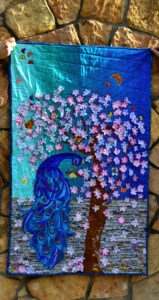
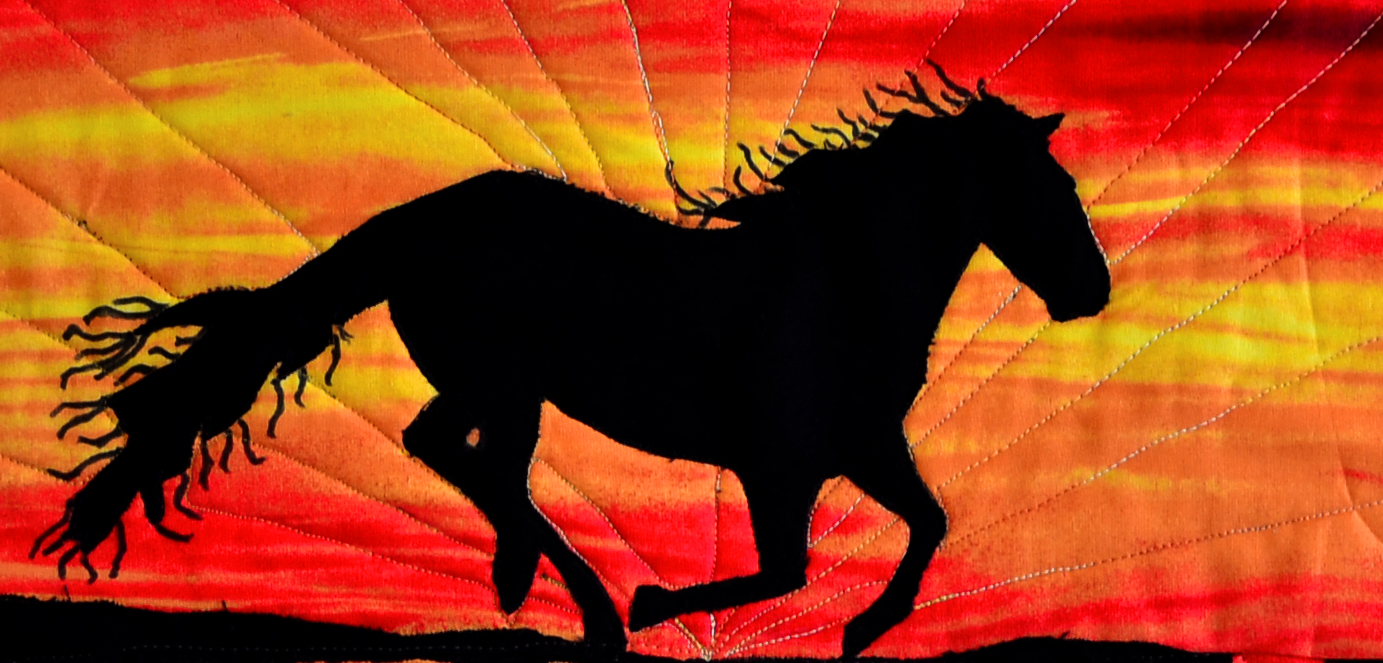
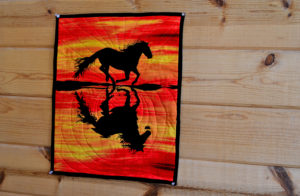
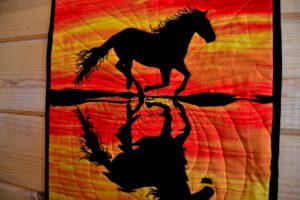
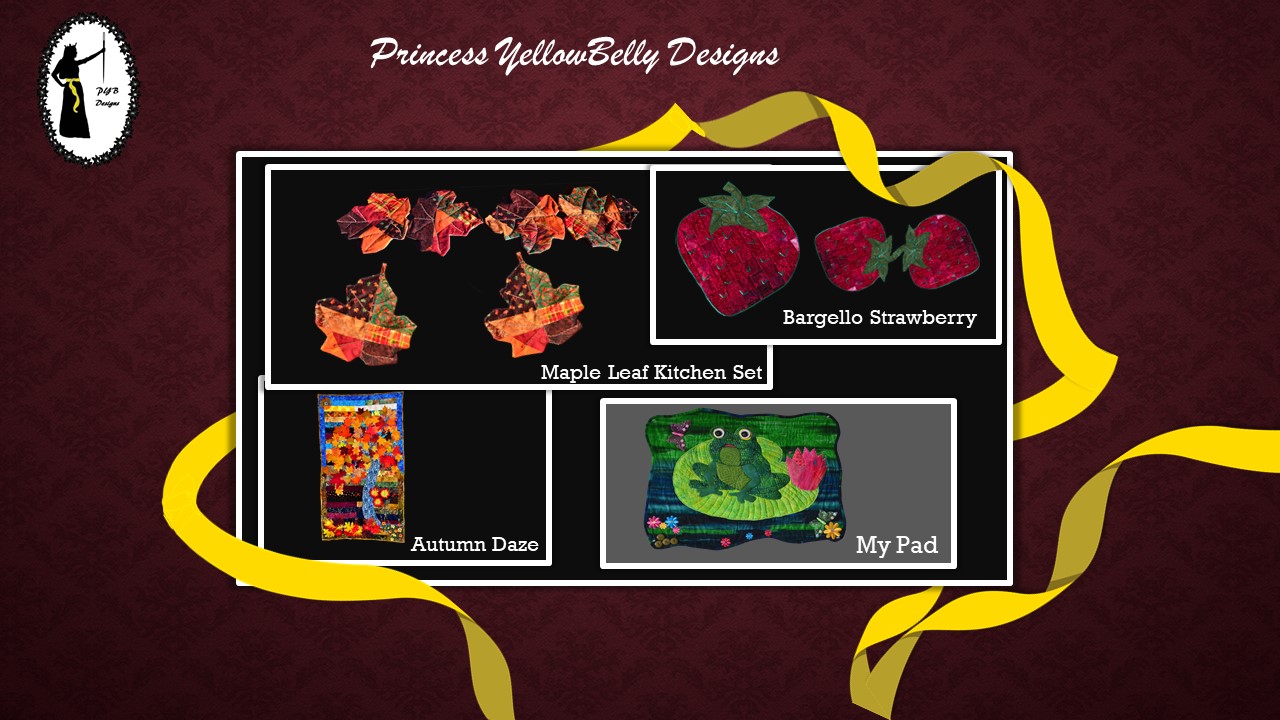
Take a look at any of the original quilting patterns in our Shop; Freedom Flight, My Pad, The Christmas Bells; and think of how you’d like to do it differently.
- Would you like to change The Christmas Bells pattern (coming soon) into a runner, rather than a topper?
- Would you like to shape the edge of Autumn Daze?
- Could “My Pad” be made into a centerpiece for a (more) traditional quilt like Carrie’s doing with Freedom Flight?
If you’ve got an idea for us, here are the conditions to meet in order to get that FREE pattern, insider access, and supplemental tutorials.
For Newsletter Subscribers
If you’re a newsletter subscriber, congrats! Not only do you have FREE insider access to our newest content, insider access, and first-look privileges, (not to mention a copy of our 52 Fabric Art Success Tips), now you can take advantage of this offer in four easy steps.
All you (loyal subscriber) have to do is:
- Open your email
- Find any one of our newsletter issues
- Hit “Reply”
- And tell us about your brilliant idea
We’ll review your idea, offer any answers or suggestions that we can, and set up your first sharing article and receipt of your new PYB original pattern – and support elements.
For Non-Subscribers
If you’re not a subscriber yet…what are you waiting for?!?
Seriously, though, if you’re not a subscriber you’re still more than welcome to participate in this challenge and win yourself a FREE pattern, plus all the supplemental materials.
All you have to do is purchase something from our Store; anything at all:
- A finished quilt
- A table runner
- Another pattern
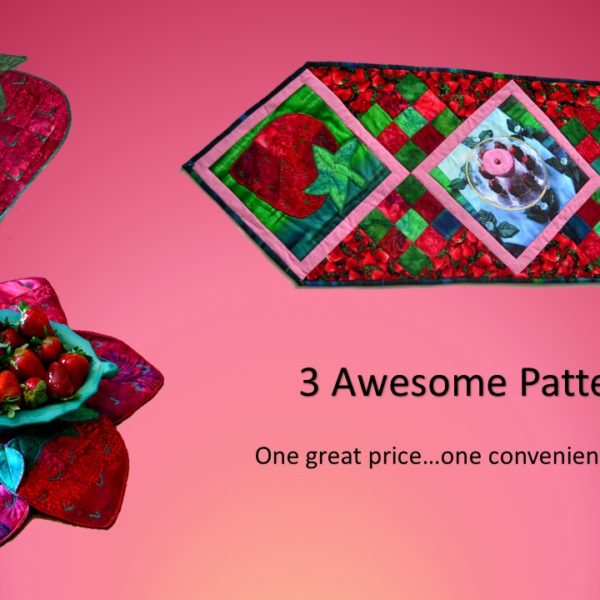
Strawberry Patterns Combo Pack
- 3 PYB Designs original strawberry patterns
- One original printed photo panel
- The cost to get all 3 & the photo panel separately is $84.50 – save $12.05!
- Strawberry Farm-to-Table Runner
- Bargello Strawberry Table Topper
- Strawberry Patch Fruit Bowl Holder
- Strawberry Smoothie Printed Photo Panel
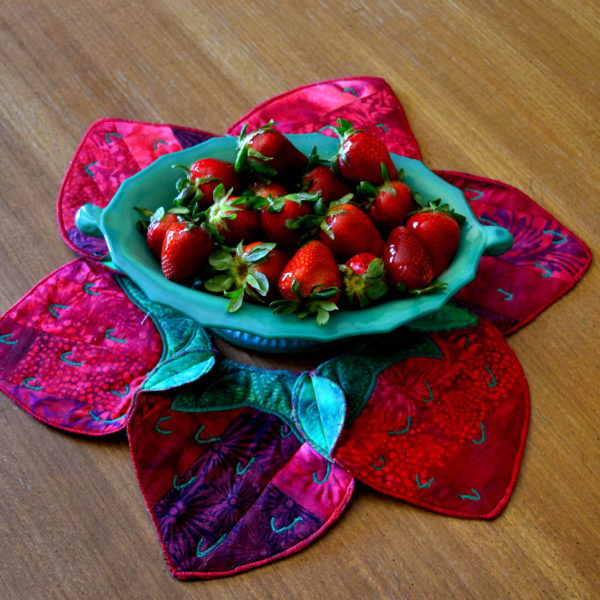
Strawberry Patch Quilted Centerpiece / Fruit Bowl Holder
Shaped strawberry patch quilted centerpiece table topper
- 6 shaped strawberry mini-quilts
- Joined with green leaf 3D pop-up design
- Large hole in the center, perfect for holding a fruit bowl or large flower vase
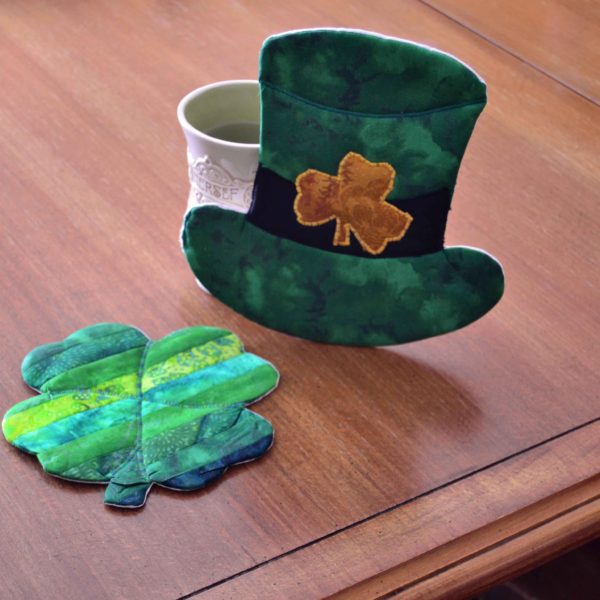
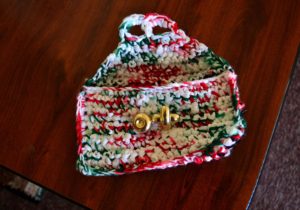
St. Patrick’s Day Mug Rugs – Set of Two
- Set of 2 St Patrick’s Day Mug Rugs
- Four-leaf clover / 7 inches X 7 1/2 inches
- Leprechaun hat with gold shamrock detail / 8 1/2 inches X 8 1/2 inches
- Green striped shamrock pot holder
- Leprechaun hat hot pad with black band
Once you’ve purchased something from us, all you have to do is Reply to one of the confirmation emails, let us know that you’ve got an idea to change one of our original patterns, and Bob’s your uncle!
Or you could subscribe to our newsletter, and Reply to any of your “Welcome to the Family” confirmation emails.
Your choice.
We really do hope that you take advantage of this unique and brand-new opportunity to participate in our ongoing fabric art adventure! We’re all about building a community that supports real quilting creativity (what we call “quiltivity). We want to both preserve and update the traditions and memories of those who came before us, and impart this artistic passion to a new generation.
Please join us! We can’t wait to see what you come up with.