One of the hottest new trends in the quilting world, and the unique realm of fabric art in particular, are fabric panels for quilting. These gorgeous panels can feature anything a digital artist can come up with, from peacocks, to cabins, to double-exposure photography panels like the new rave forest animals collections.
Every time I enter a quilt store or open a quilt magazine there are more of these printed sewing panels available, and they are getting more beautiful and detailed all of the time.
The question is, of course, what do you do with a printed fabric panel?
Have fun with printed fabric panels – after all, how could you not?
As with all the best products in fabric art, there’s actually quite a few things you can do with fabric panels for quilting, and these ideas range in difficulty from great beginner projects to difficult creations suited for confident and experienced quilters.
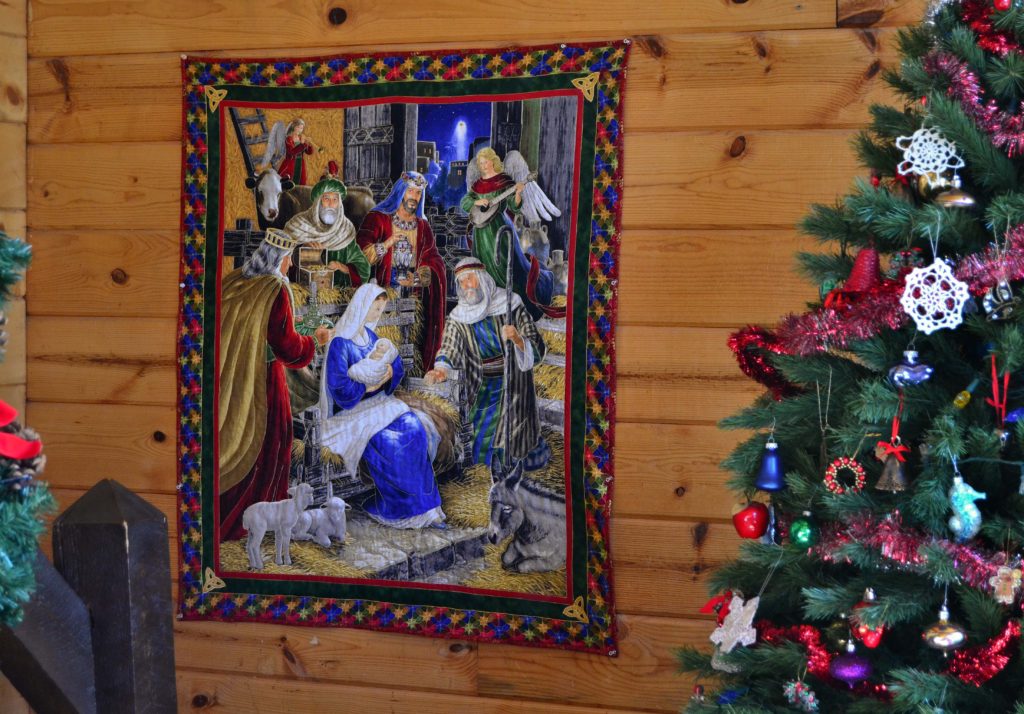
1. Add Outer Borders Only – Beginner Level
Some panels are so totally gorgeous on their own that to do anything except add a few borders to finish off the edges would be a shame.
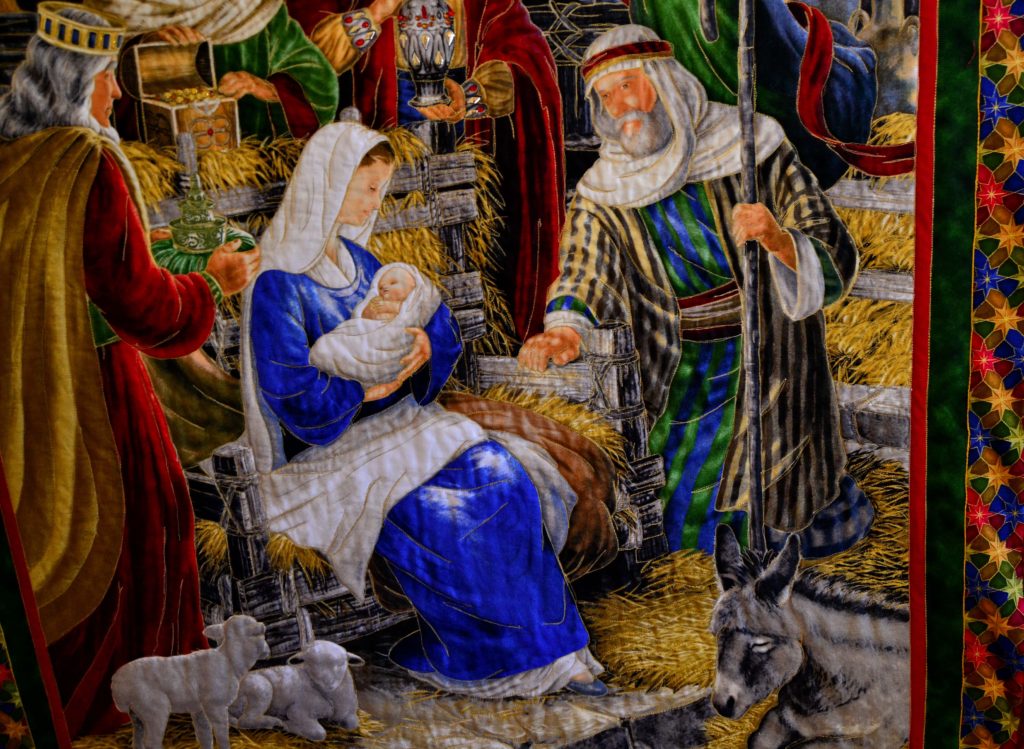
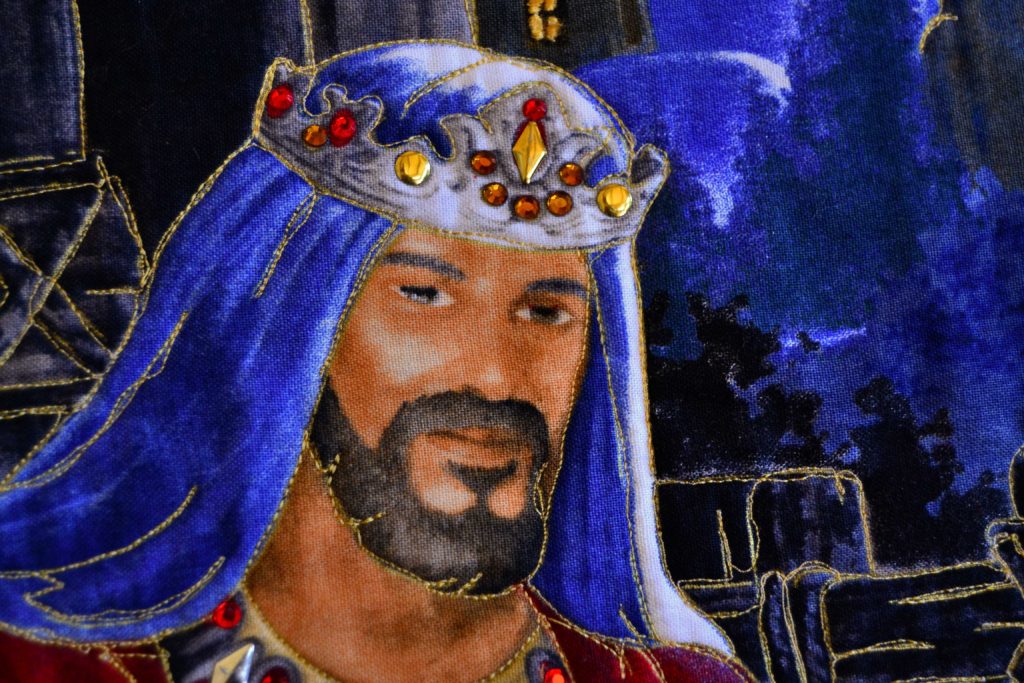
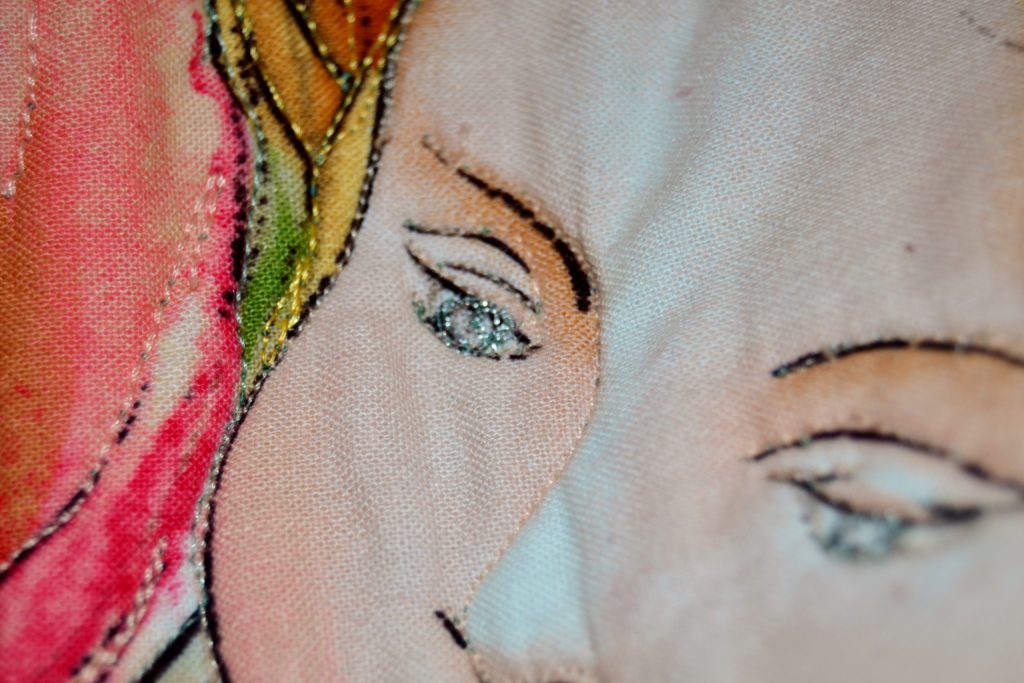
This was the case with my ‘Away in the Manger’ panel. It just speaks for itself. It was gorgeous just the way it came, but when I quilted it the figures literally popped and became very life-like.
Using fabric panels for quilted wall hangings is a great way to “wet your toes” in the quilting world. You’ll get practical experience in:
- Layering a quilt sandwich
- Quilting either a simple pattern or free-motion quilting
- Straightening up a quilted edge
- And binding a small, lightweight quilt
Also, if you’re working up towards the intermediate end of a beginner’s skill level, you can try adding simple pieced borders instead of just strip borders. You’ll get practice in piecing and measuring, without a ton of extra work.
Adding borders and binding to a printed fabric panel is also a great project for quilters who are too busy for a larger project – or who don’t want to pull a full-sized quilt through a home sewing machine.
So, if you love a panel just the way it is, add one or two borders, quilt & bind it, and let it shine on your wall.
You can also add to a panel by using “sparkly” accessories:
- Metallic thread
- Buttons
- Ribbons, rick-rack, and trim
- Hot-fix studs and crystals
2. Use Printed Fabric Panels for Quilted Table Runners – Beginner Level
Another option is not to add any borders at all.
Simply add batting and backing, quilt as desired, and finishing with a narrow binding.
Since most printed panels are 22”x44” this makes for a wide runner, but it works fine on a larger table. This can be a good choice for seasonal panels.
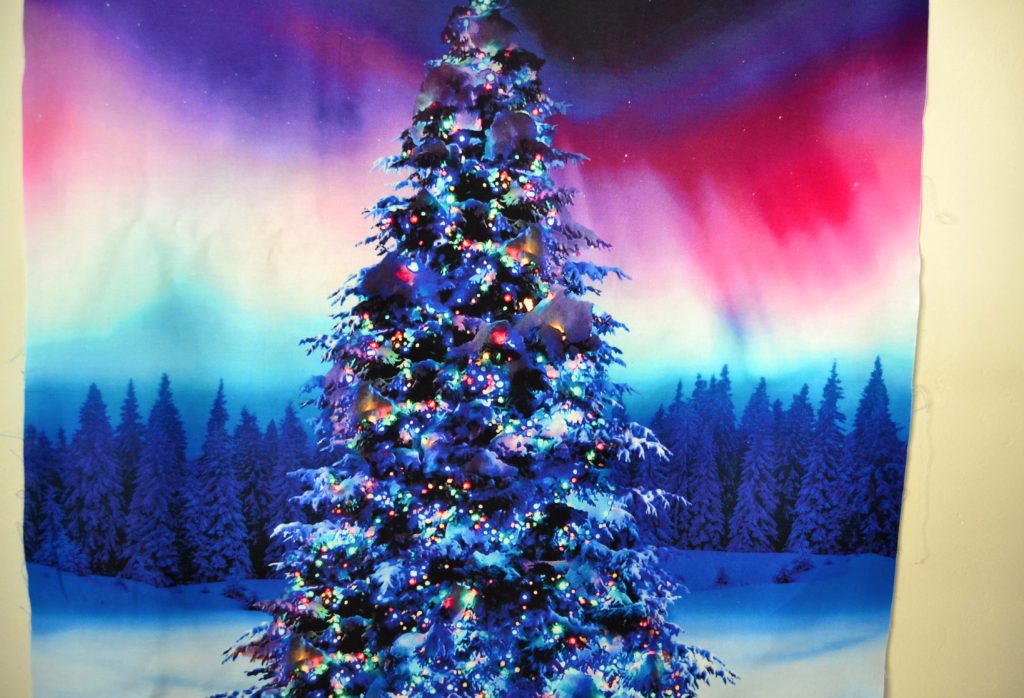
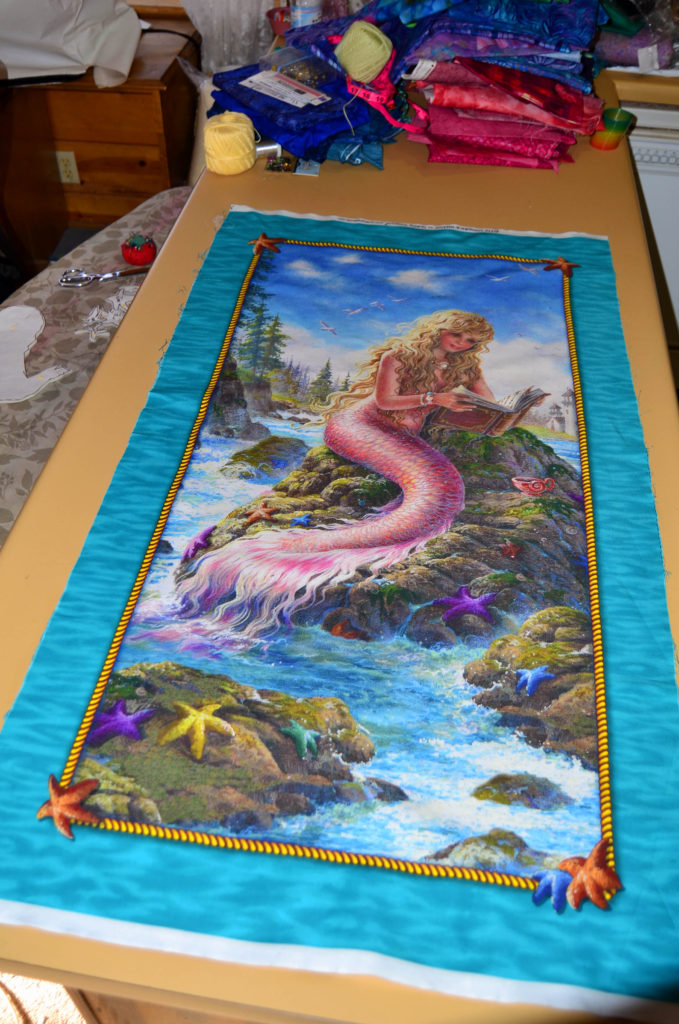
Both of these are examples of printed fabric panels for quilting just before they enter the quilting process. The ‘Northern Lights Christmas Tree’ will become either a large wall hanging, or a twin quilt, and the ‘Mermaid’ was designed from the beginning to be used in a twin quilt for a little girl.
Or, you can use smaller printed photo panels to make up the larger squares in traditional table runner patterns. One of our more recent projects – the Strawberry Farm-to-Table Runner – uses this technique:
3. Think of Printed Fabric Panels Like a Blank Canvas – Intermediate Level
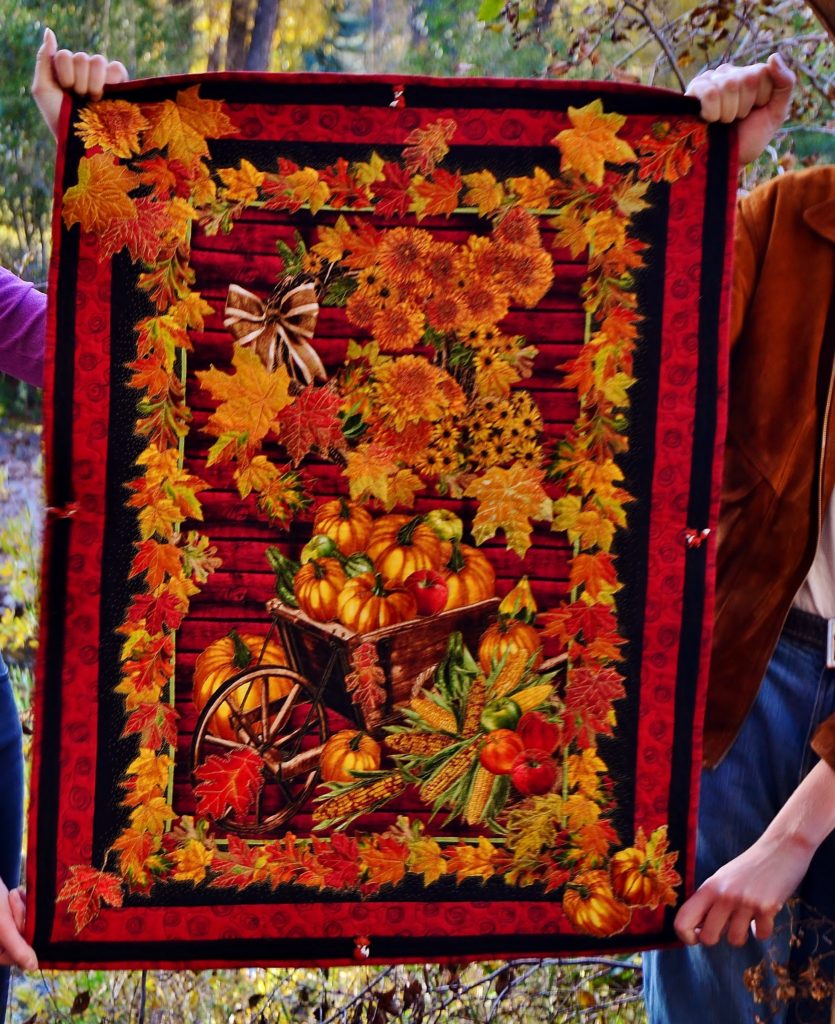
A lot of panels come with a border of images that are already in the main panel. For instance, my ‘Glory of the Harvest’ panel came with a border of printed pumpkins, corncobs, maple leaves, etc.
- I cut off this border…
- Fused the shapes with wunder-under…
- Fussy cut them…
- And then appliqued them onto the main panel…
I also found ‘corn-on-the-cob” fabric in the Halloween section and did the same, and then added a lot of autumn themed fabric leaves. Then I quilted the entire panel with metallic bronze thread.
The finished piece was not only prettier, it was also fuller and more 3-Dimensional.
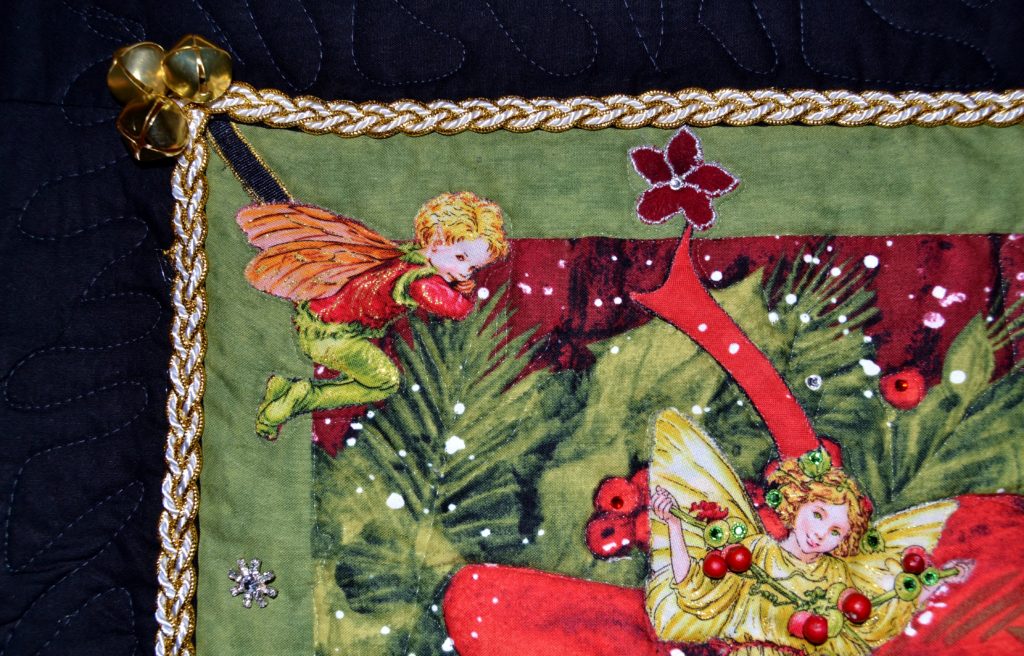
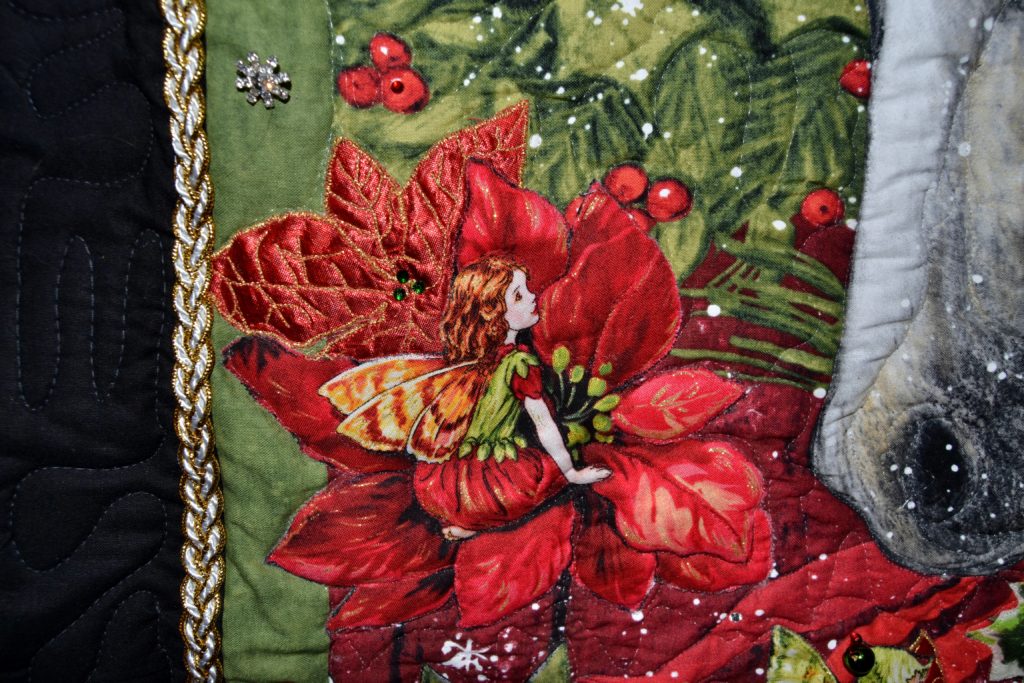
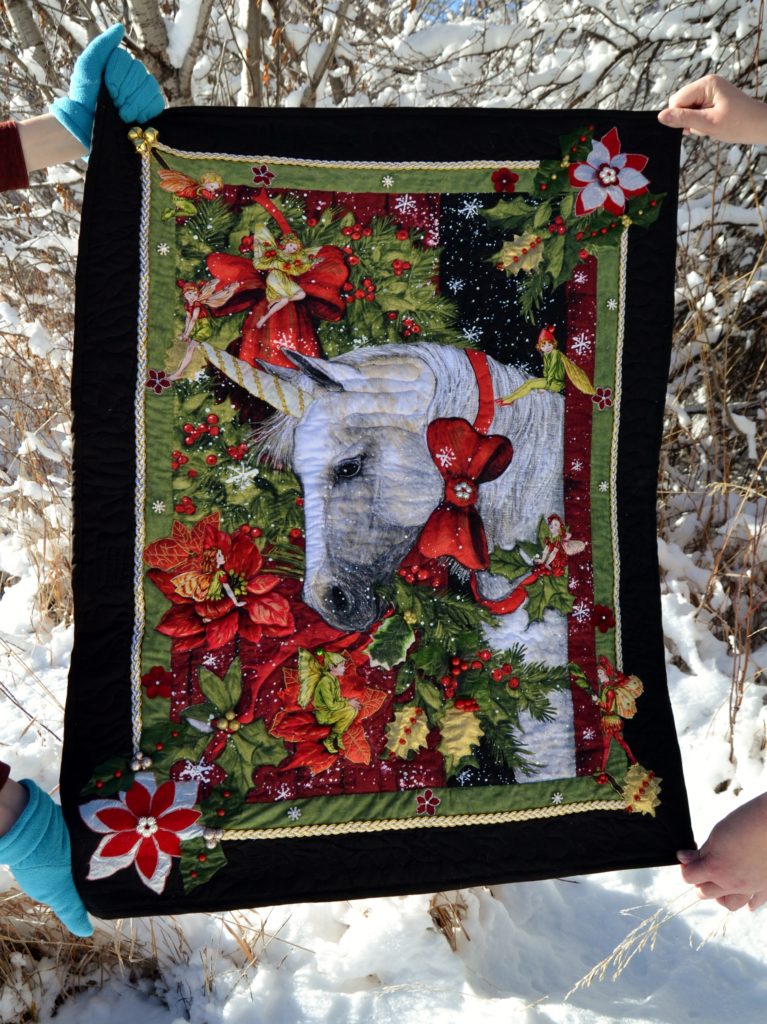
I did the same with my ‘Christmas Delivery’ panel.
Although I was primarily drawn to the image of the white horse the outside border included an extra red ribbon, holly leaves, etc. I liked the look, but felt that leaving it that way would look childish, rather than the magical landscape I saw in my head.
So I added a unicorns’ horn to the horse, placed the extra red ribbon around its neck, and added fairies and holly leaves everywhere. I really loved the finished panel.
You can always add borders to the outsides of panels like this, or even sew them into quilts, depending upon the level of your personal skill and (more importantly) ambition. When you begin adding more images into a printed fabric panel, you’ll learn how to:
- Visualize a final result without seeing anything concrete in the immediate
- Understand sizing and depth – don’t be too surprised if your first panels look just a little too fantastical, at least to your critical eye. With practice you’ll intuitively understand size and distance relationships.
- Fussy cut and applique unique shapes into unexpected places
And don’t just limit yourself to the shapes that come with some fabric panels for quilting.
Accessorizing a “blank canvas” can also include buttons, lace, rick-rack, and even permanent marker. So look carefully at every panel and see if there’s anything you can add to enhance the overall image you’re going for.
4. Fracture Them – Intermediate Level
Fracturing is a time-consuming and meticulous piecing project, but it’s also a lot of fun.
Despite my general aversion to anything that smacks of a “precisionist” quilting style, I have done quite a few fractures, and continue to plan new projects. I think it has something to do with the abstracted result.
You’ll need 4 exactly identical images to begin with and it’s best not to use images that have discernable eyes – such as in human and animal faces.
Natural images are perfect for fracturing:
- Flowers
- Bridges
- Landscapes
- Cars
- And suchlike
My ‘Poppy Water’ panel was my first fractured panel, and I would definitely recommend starting with something really simple like this.
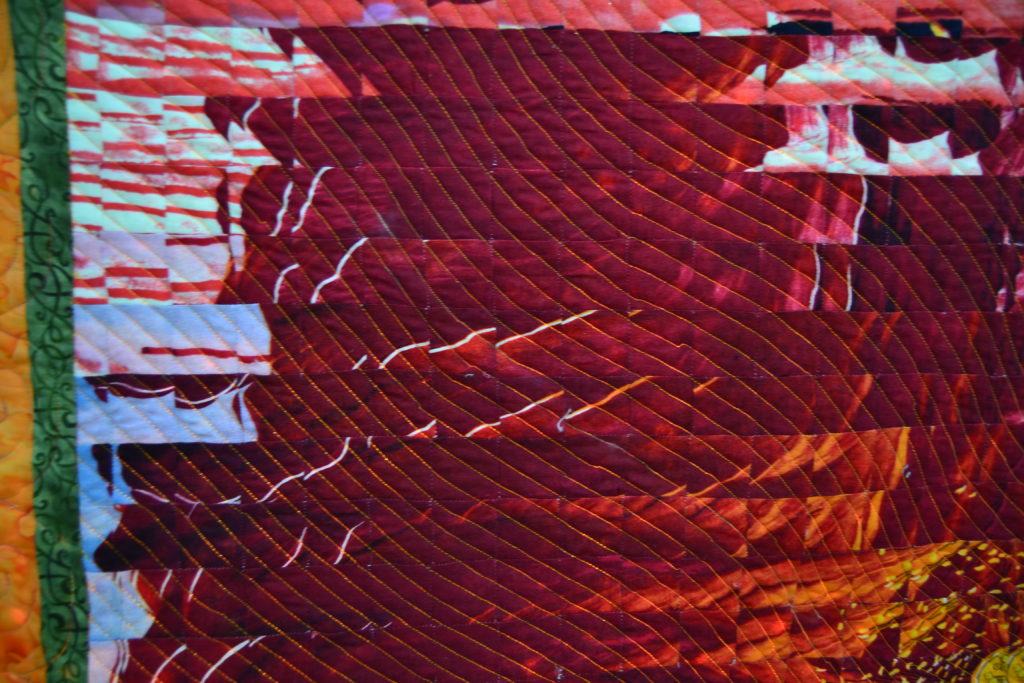
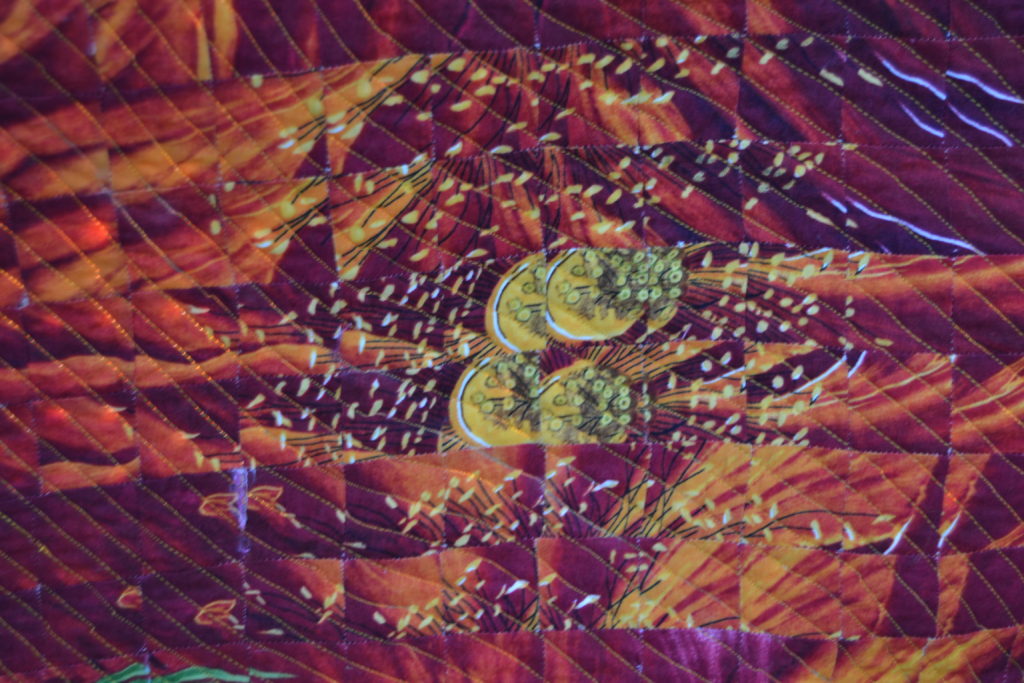
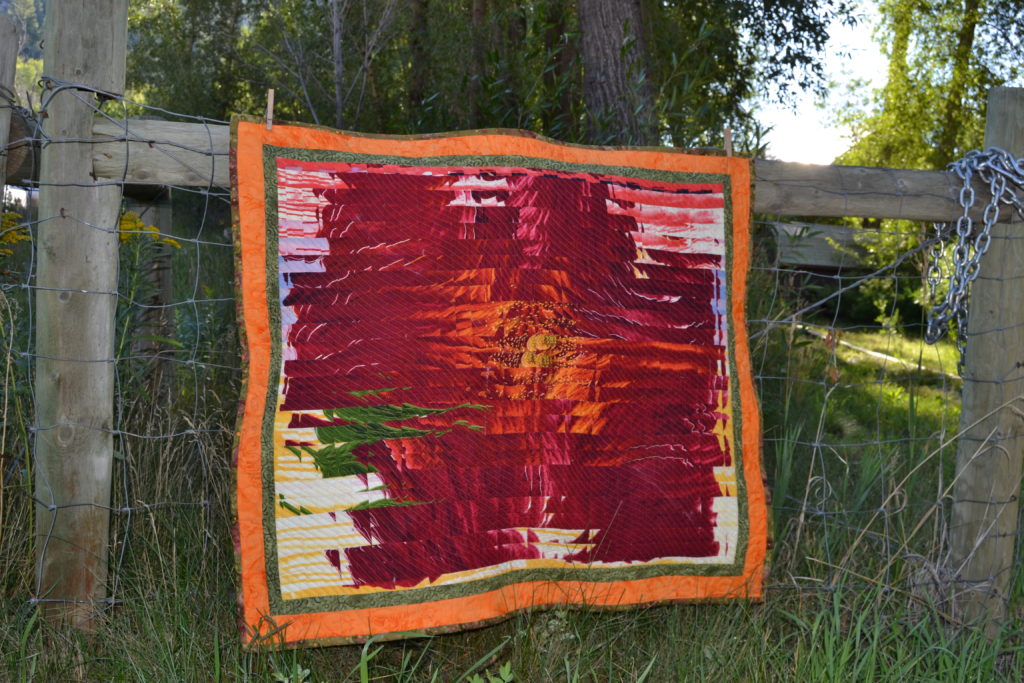
Fracturing blurs out precise details and makes the image appear staggered and rippled. It’s time consuming but well worth the effort. Fractures are great for learning how to:
- Sew in measured lines (you’ll have to sew an exact ¼ inch seam)
- Keep track of small, abstracted strips of fabric
- Follow a simple sewing pattern
- Rip seams – this part’s annoying, but fractures are one of those projects where you have to be ready with the seam ripper and a grin, because odds are you’ll mix up at least one strip set
I’m going to write a blog and do a video on fracturing soon, so keep posted. In the meantime, you can check out the book that taught us how to do it.
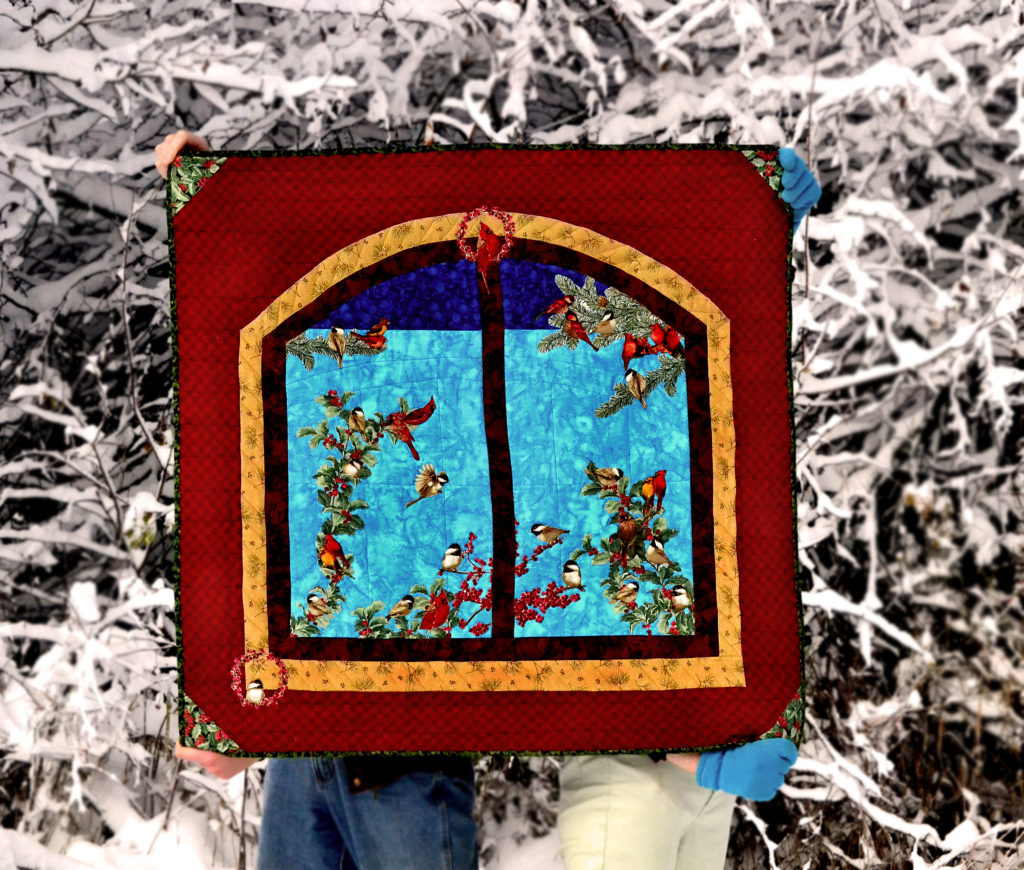
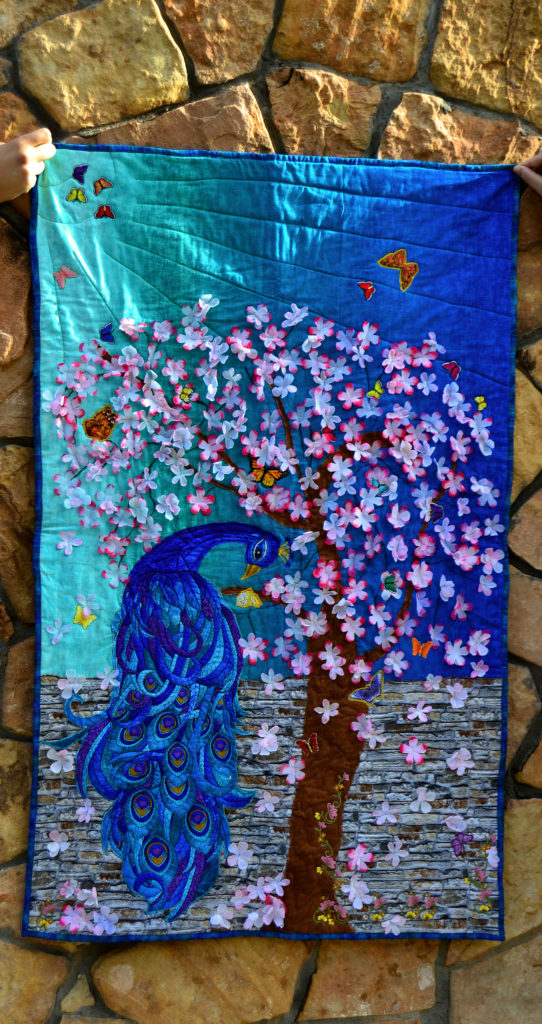
5. Cut A Printed Fabric Panel Apart – Confident Intermediate Level
Sometimes there’s one or two images in a panel that really draw your eye, but you’re not thrilled with the background, or one of the extra images.
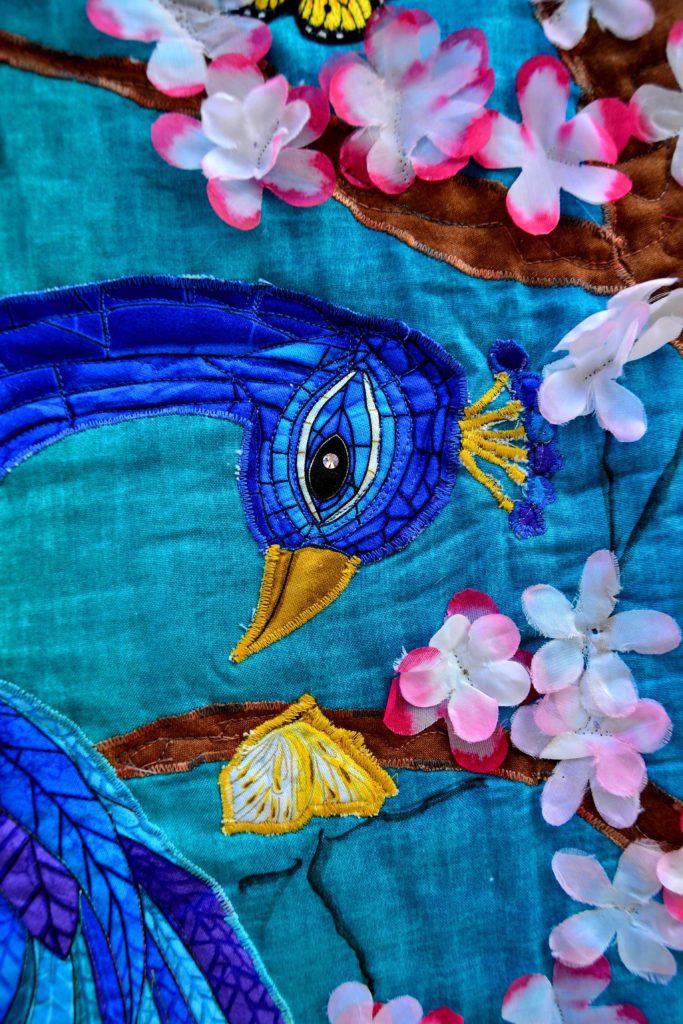
There’s nothing to stop you from fussy cutting out the images you like and constructing a new background altogether. I did this with both my ‘Peacock Panel’ and my ‘Wynter Carolers.’
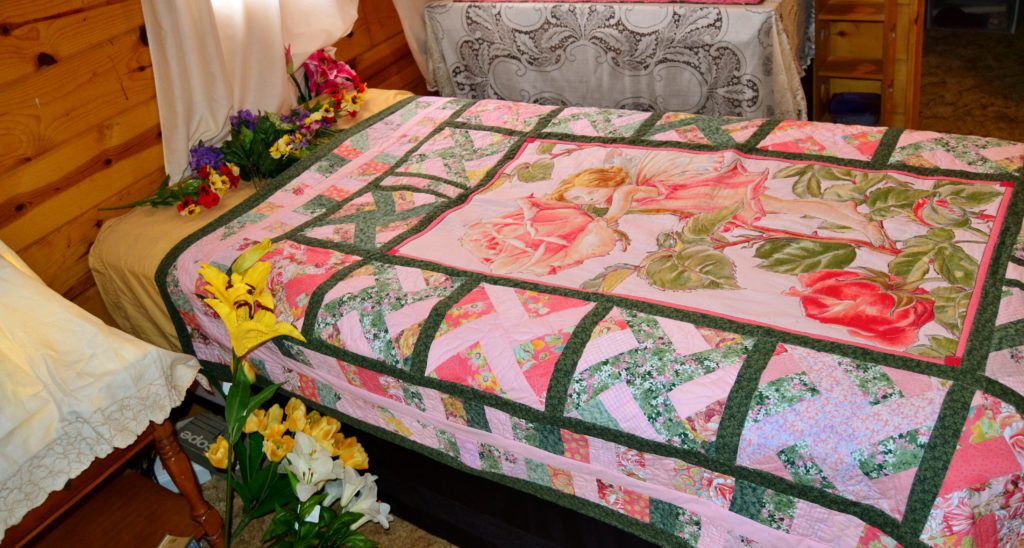
6. Fabric Panels for Quilting are…for Quilting! So Incorporate Them Into Quilts – Advanced
As I said before, many printed sewing panels are gorgeous and very life-like and much too beautiful to change in any way.
So don’t change them, let them shine in a quilt instead.
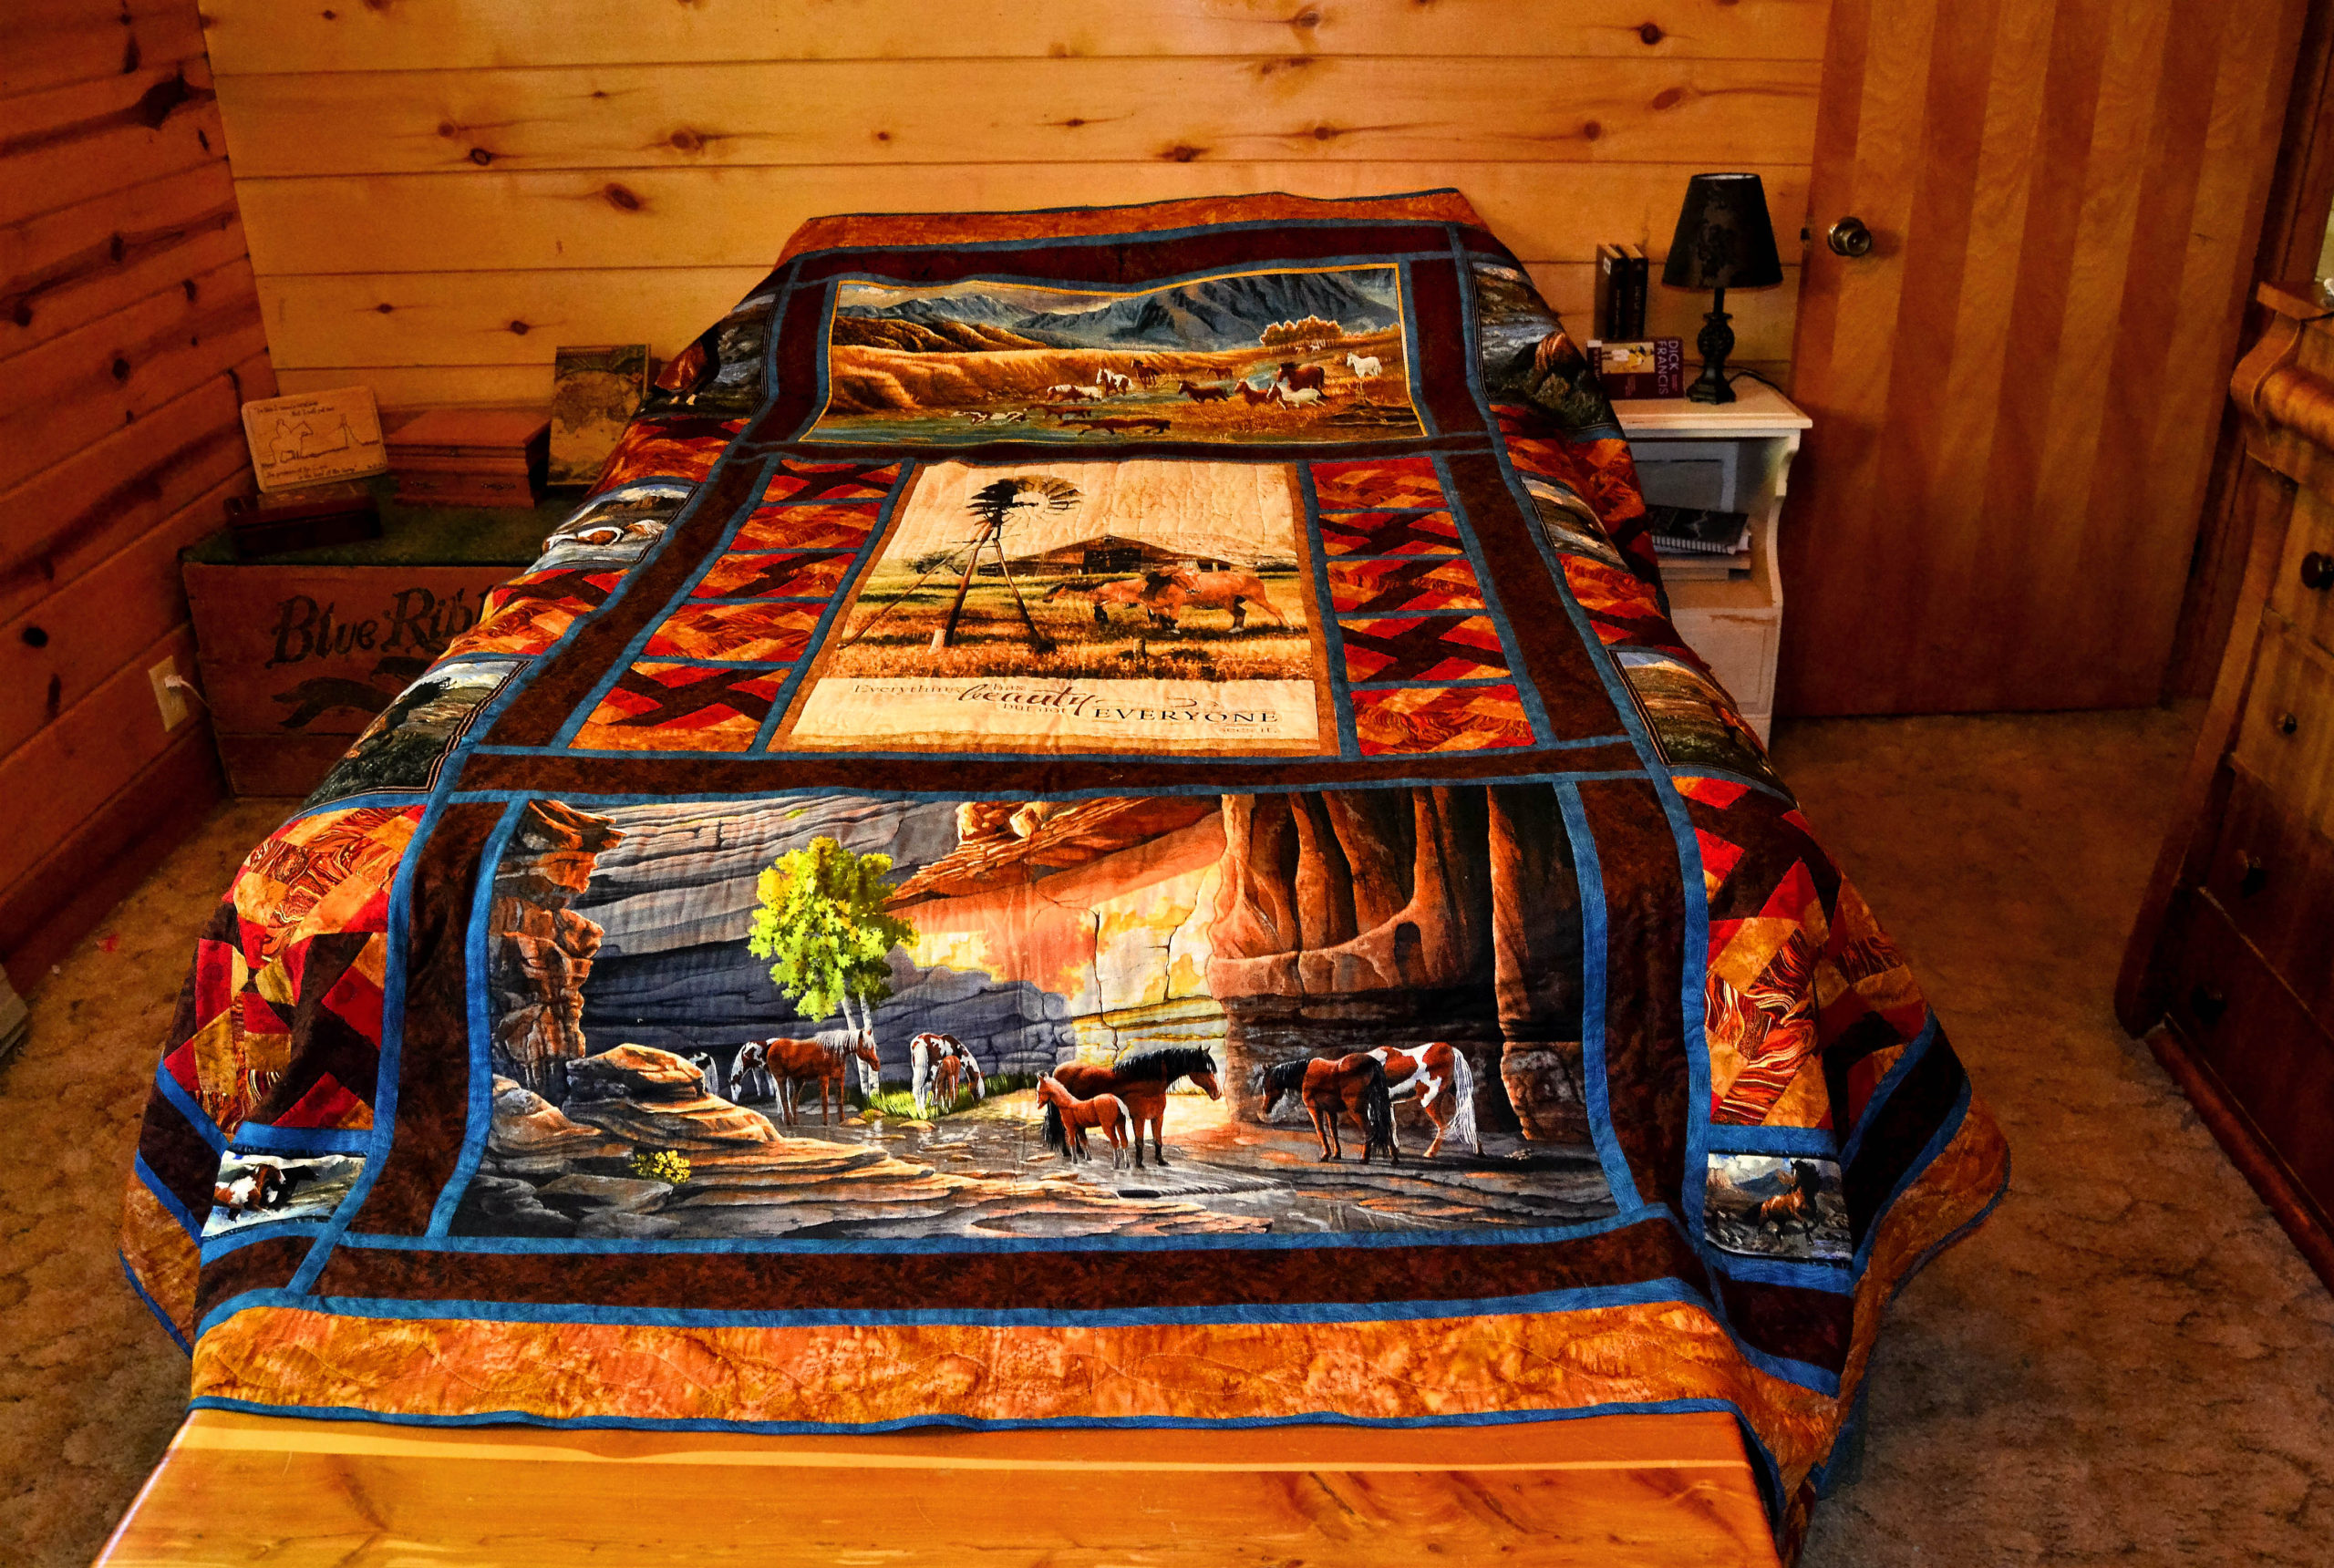
There are panels for every age group and any taste – whatever floats your boat. Last year I had a lady commission me to make a horse quilt for her horse-crazy son. She wanted it to be a queen and that’s a lot of area to cover.
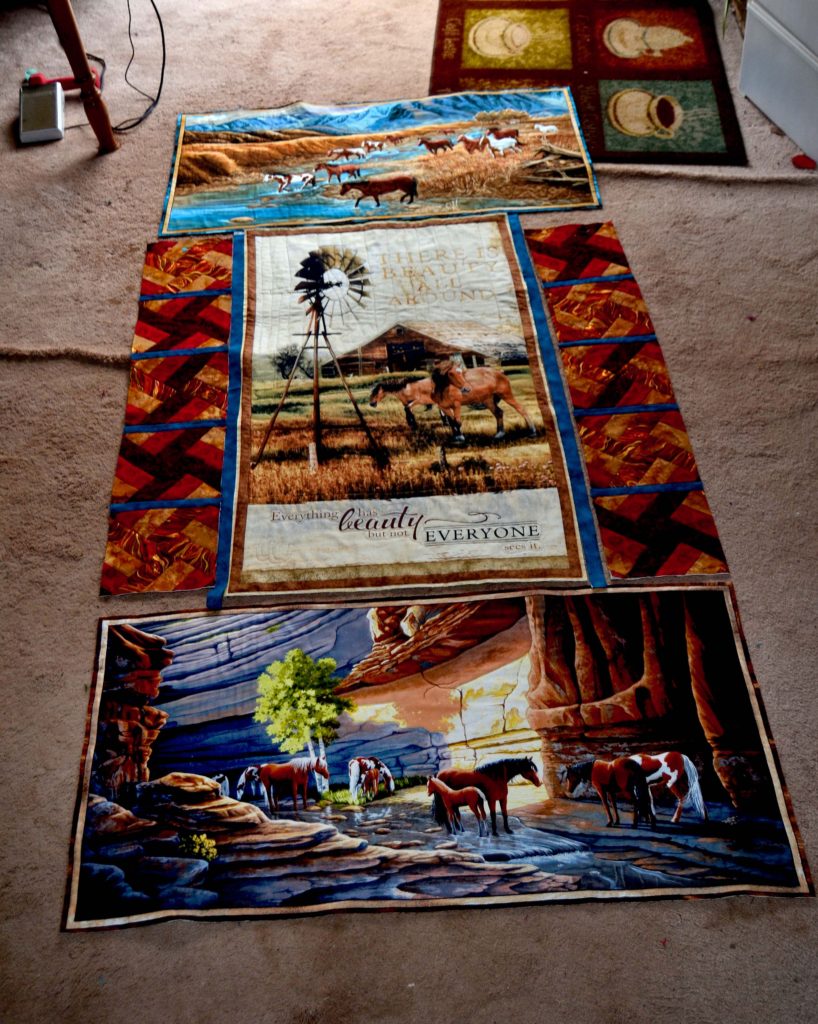
I decided to do it with 3 regular sized panels (these are 22”x44”) and 6 smaller panels.
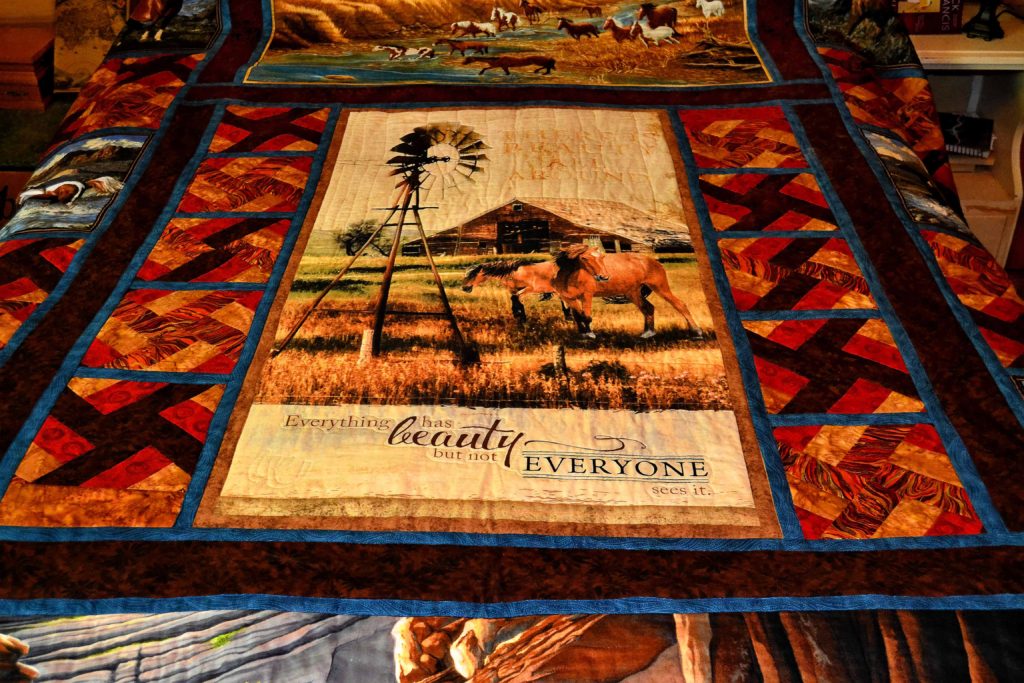
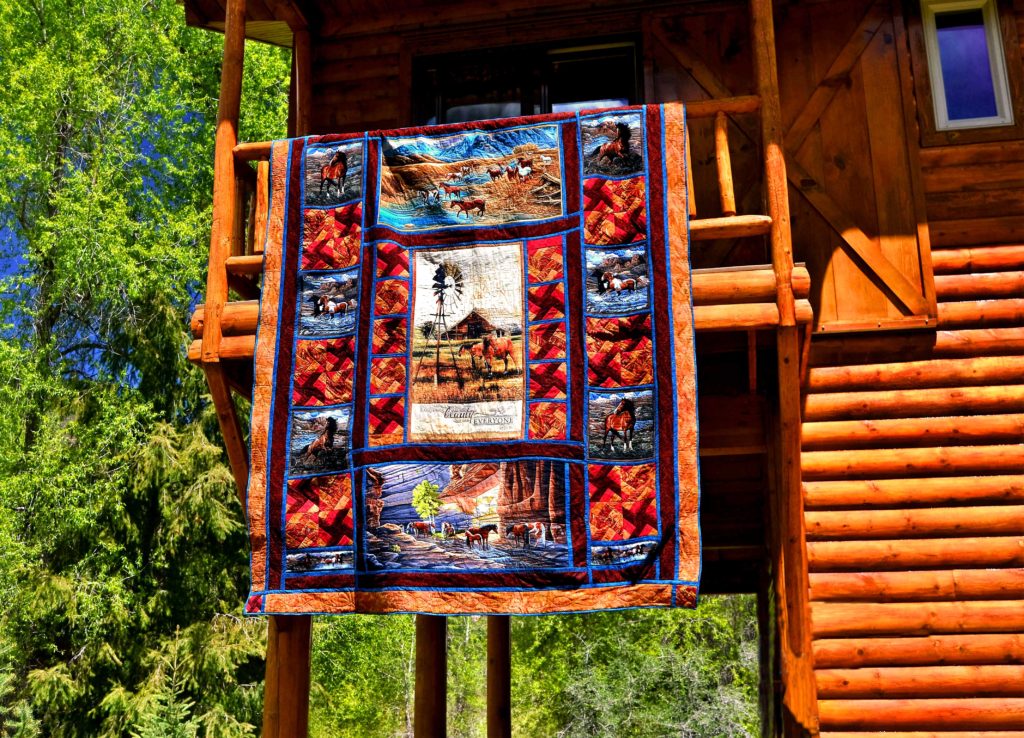
I incorporated colors from the panels into my borders and the result was my ‘Home Pastures’ quilt, which I think is beautiful.
It’s also totally unique – I know there’s not another one out there just like it.
I’m also currently working on a mermaid quilt that will be perfect for a young girl. Once again it was the gorgeous panel that I couldn’t resist so I bought it and then I had to think about what to do with it. I’m pretty sure any young girl will be thrilled with the result, and once again, it’s a completely unique creation!
This is a pretty advanced technique, however.
You have to be able to:
- Quilt
- Straighten a quilted panel (and I do mean straight!)
- Create your own quilting pattern – for Home Pastures I used a pinwheel design, but I had to resize each set of blocks and the strip borders as well, plus figure out the sashing lengths…
- Sash a quilt – this is a great technique, but it can be a little frustrating
- Coordinate colors – not always as easy as it sounds
- Quilt
- Be ready to get the seam ripper and the measuring tape and start over again
- Quilt some more
Granted, a smaller quilt is less to figure out – but it still requires a thorough understanding of many different quilting and sewing techniques and styles to pull off.
I definitely don’t recommend this type of project for a beginner, but it might be a good way for an intermediate level quilter to begin testing her wings, so to speak.
More than Six?
These are just a few of the ways I’ve sewn with panels in the past. And I’m sure that there’re many other ways to use printed fabric panels for quilting, and I’m sure you’ll think of them.
Please, if you find a panel you just can’t resist, let your imagination go and your creative juices flow!
There’s no right or wrong way to sew with these great additions to the quilting world. Simply feel free to create!