For quilters everywhere – but especially for fabric artists – free motion quilting is the most fun you can have outside of bars & bed. In fact, as my amazing quilter friend Barb often says, “Quilting keeps us off the streets and out of the bars,” in the first place.
You might be able to tell that free motion is my favorite part of the entire quilting process.
I can get positively tipsy on the entertaining, creative liberties of freewheeling around loops, spirals, feathers, shapes, and those odd jigsaw shapes only I understand. I guess this is because it incorporates two of my favorite elements in fabric art; thread and freedom.
Thread is one of my guilty addictions, I positively adore it.
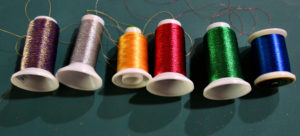
I love the plethora of colors and the way they can enhance any project; the colors…thicknesses…textures…variations…and possibilities.
The freedom comes with the free motion capabilities of my machine of course. And I do recommend that any creative quilter buy a machine that has a free motion quilting foot and put it to good use! But I also geek out over the opportunity to quilt whatever and wherever I choose. It’s extremely liberating!
“FREEDOM!!!”
It’s also a little intimidating and overwhelming the first few times you try it.
For those of you who are used to being told exactly what to do and how to do it every step of the quilting process, this is completely understandable. I used to do things this way, and I would obsess about the final quilting process – especially when the pattern would say, “quilt as desired.”
I mean, what did THAT mean? Gradually, though, I realized that I could quilt almost anything, and it would look great, especially with the right thread choice.
As I share my journey from timid, mouse-in-the-corner, follow-the-lines quilter to a freewheeling genie, I hope you’ll get inspired to unleash your inner creative tiger, and let loose in the colorful world of thread and free motion quilting.
Plastic Guidelines for Free Motion Quilting
As I quickly learned quilting styles like “quilt-in-the-ditch” will only take you so far. And while those are useful techniques that certainly have their place in certain projects, you can do and be so much more when you drop the feed dogs and spin your quilt through the machine.
Using Iron-out Pens
When I first started with free motion quilting, I bought a lot of those plastic quilting guides that you lay down over your project and trace over with an iron out pen.
This is great if your project needs a specific pattern, but is very impractical when you’re doing a large project as it takes a long time. Ya’ll may remember my great capacity for patience…so, yeah. Moving on.
Using plastic guides also uses up your iron-out pens pretty quickly, and those puppies don’t come cheap!
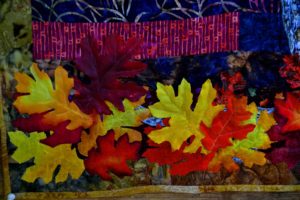
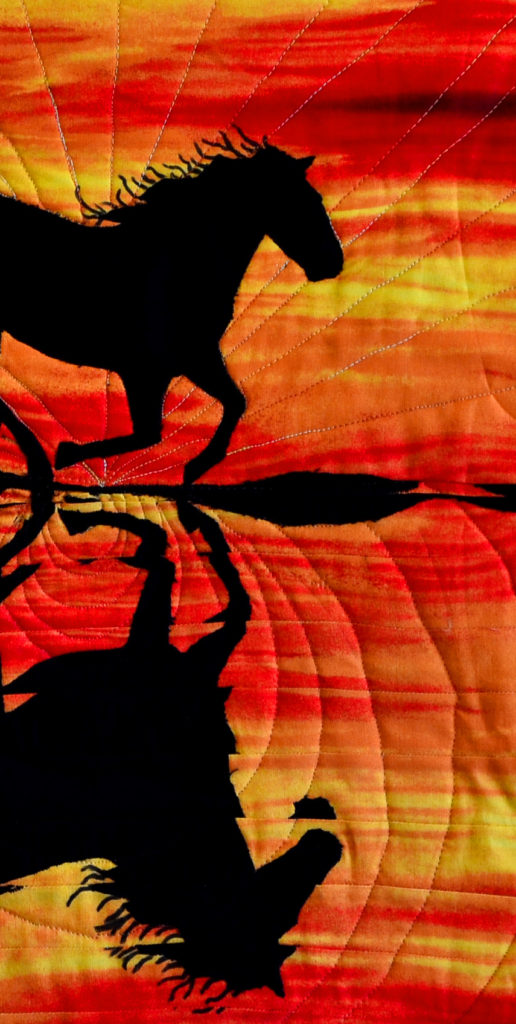
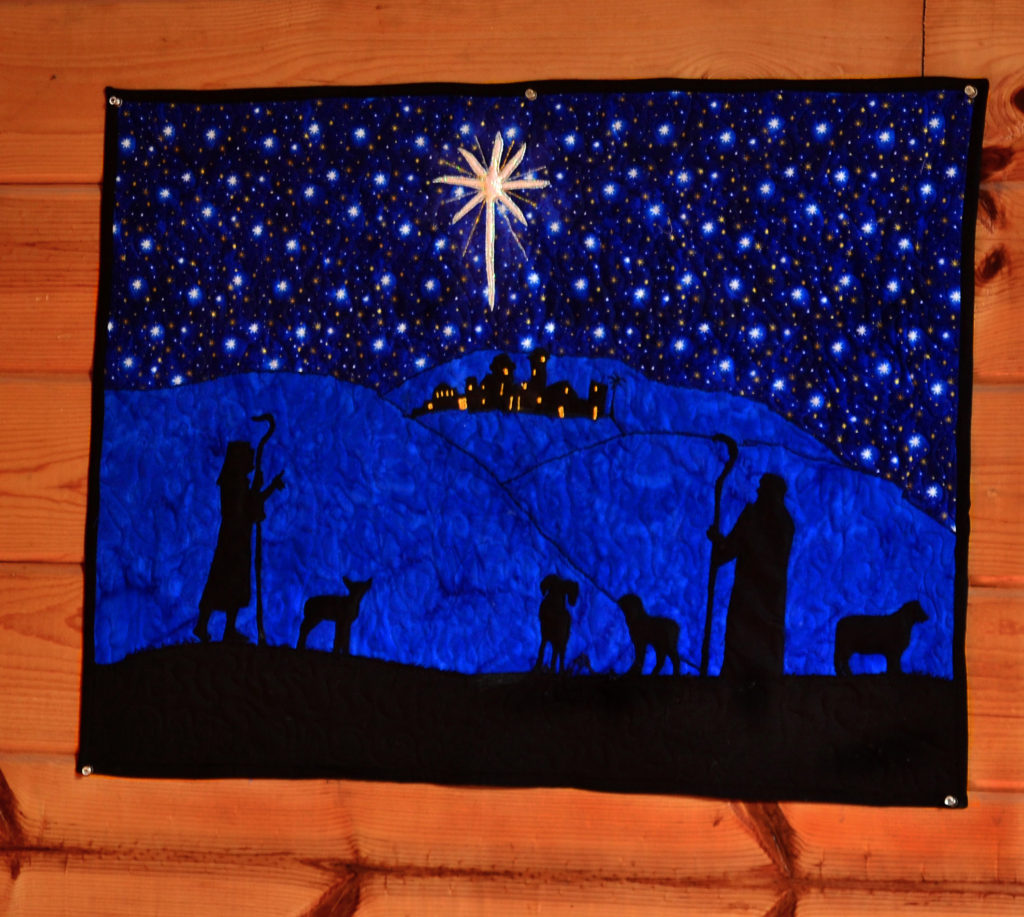
This panel was quilted using iron-out pen to create a sun-ray guide – which works great for small projects. 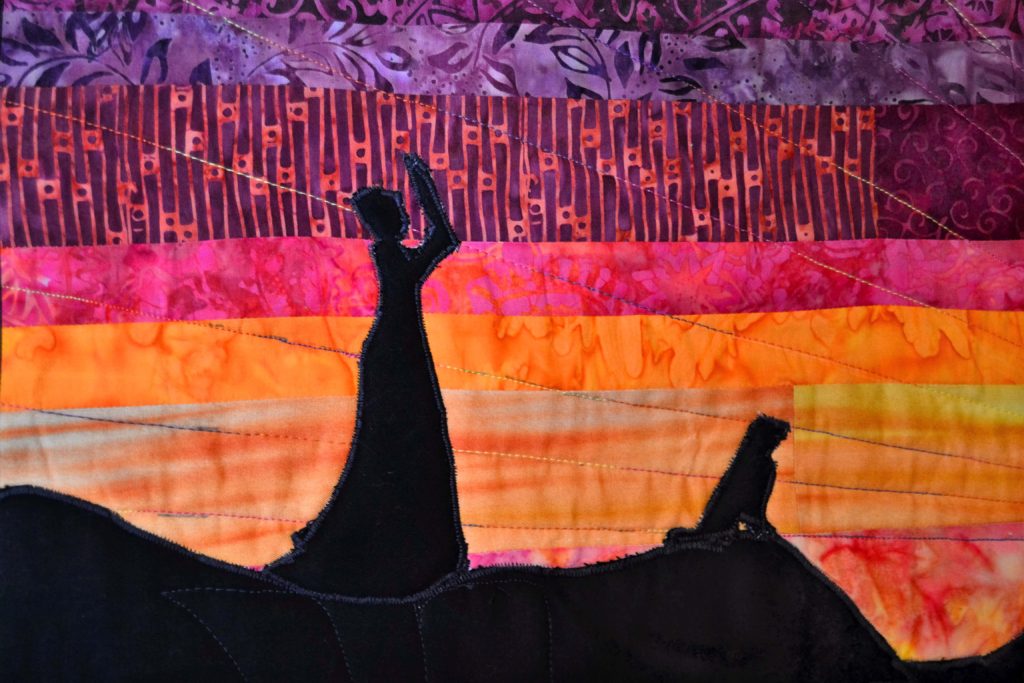
Using ponce chalk
After this I tried the ponce and chalk option. A ponce is basically a small box with a sort of cheesecloth bottom. You fill the box with powdered quilting chalk and bang it down over your plastic quilting guide until the chalk marks out your quilting design.
I found out that while it certainly is faster, it’s also a great deal messier, with chalk on everything, including up your nose and in your eyes.
The biggest trouble here is that powdery chalk, by its very nature, rubs off, and you can only do relatively small sections at a time. Also, I discovered that some fabric is slippery (even cotton ones), and the chalk just slides right off.
Also the pattern is much clearer if you have extra hands hold the plastic guide down – and my kids had a weird aversion to me banging the ponce down over their fingers. Go figure.
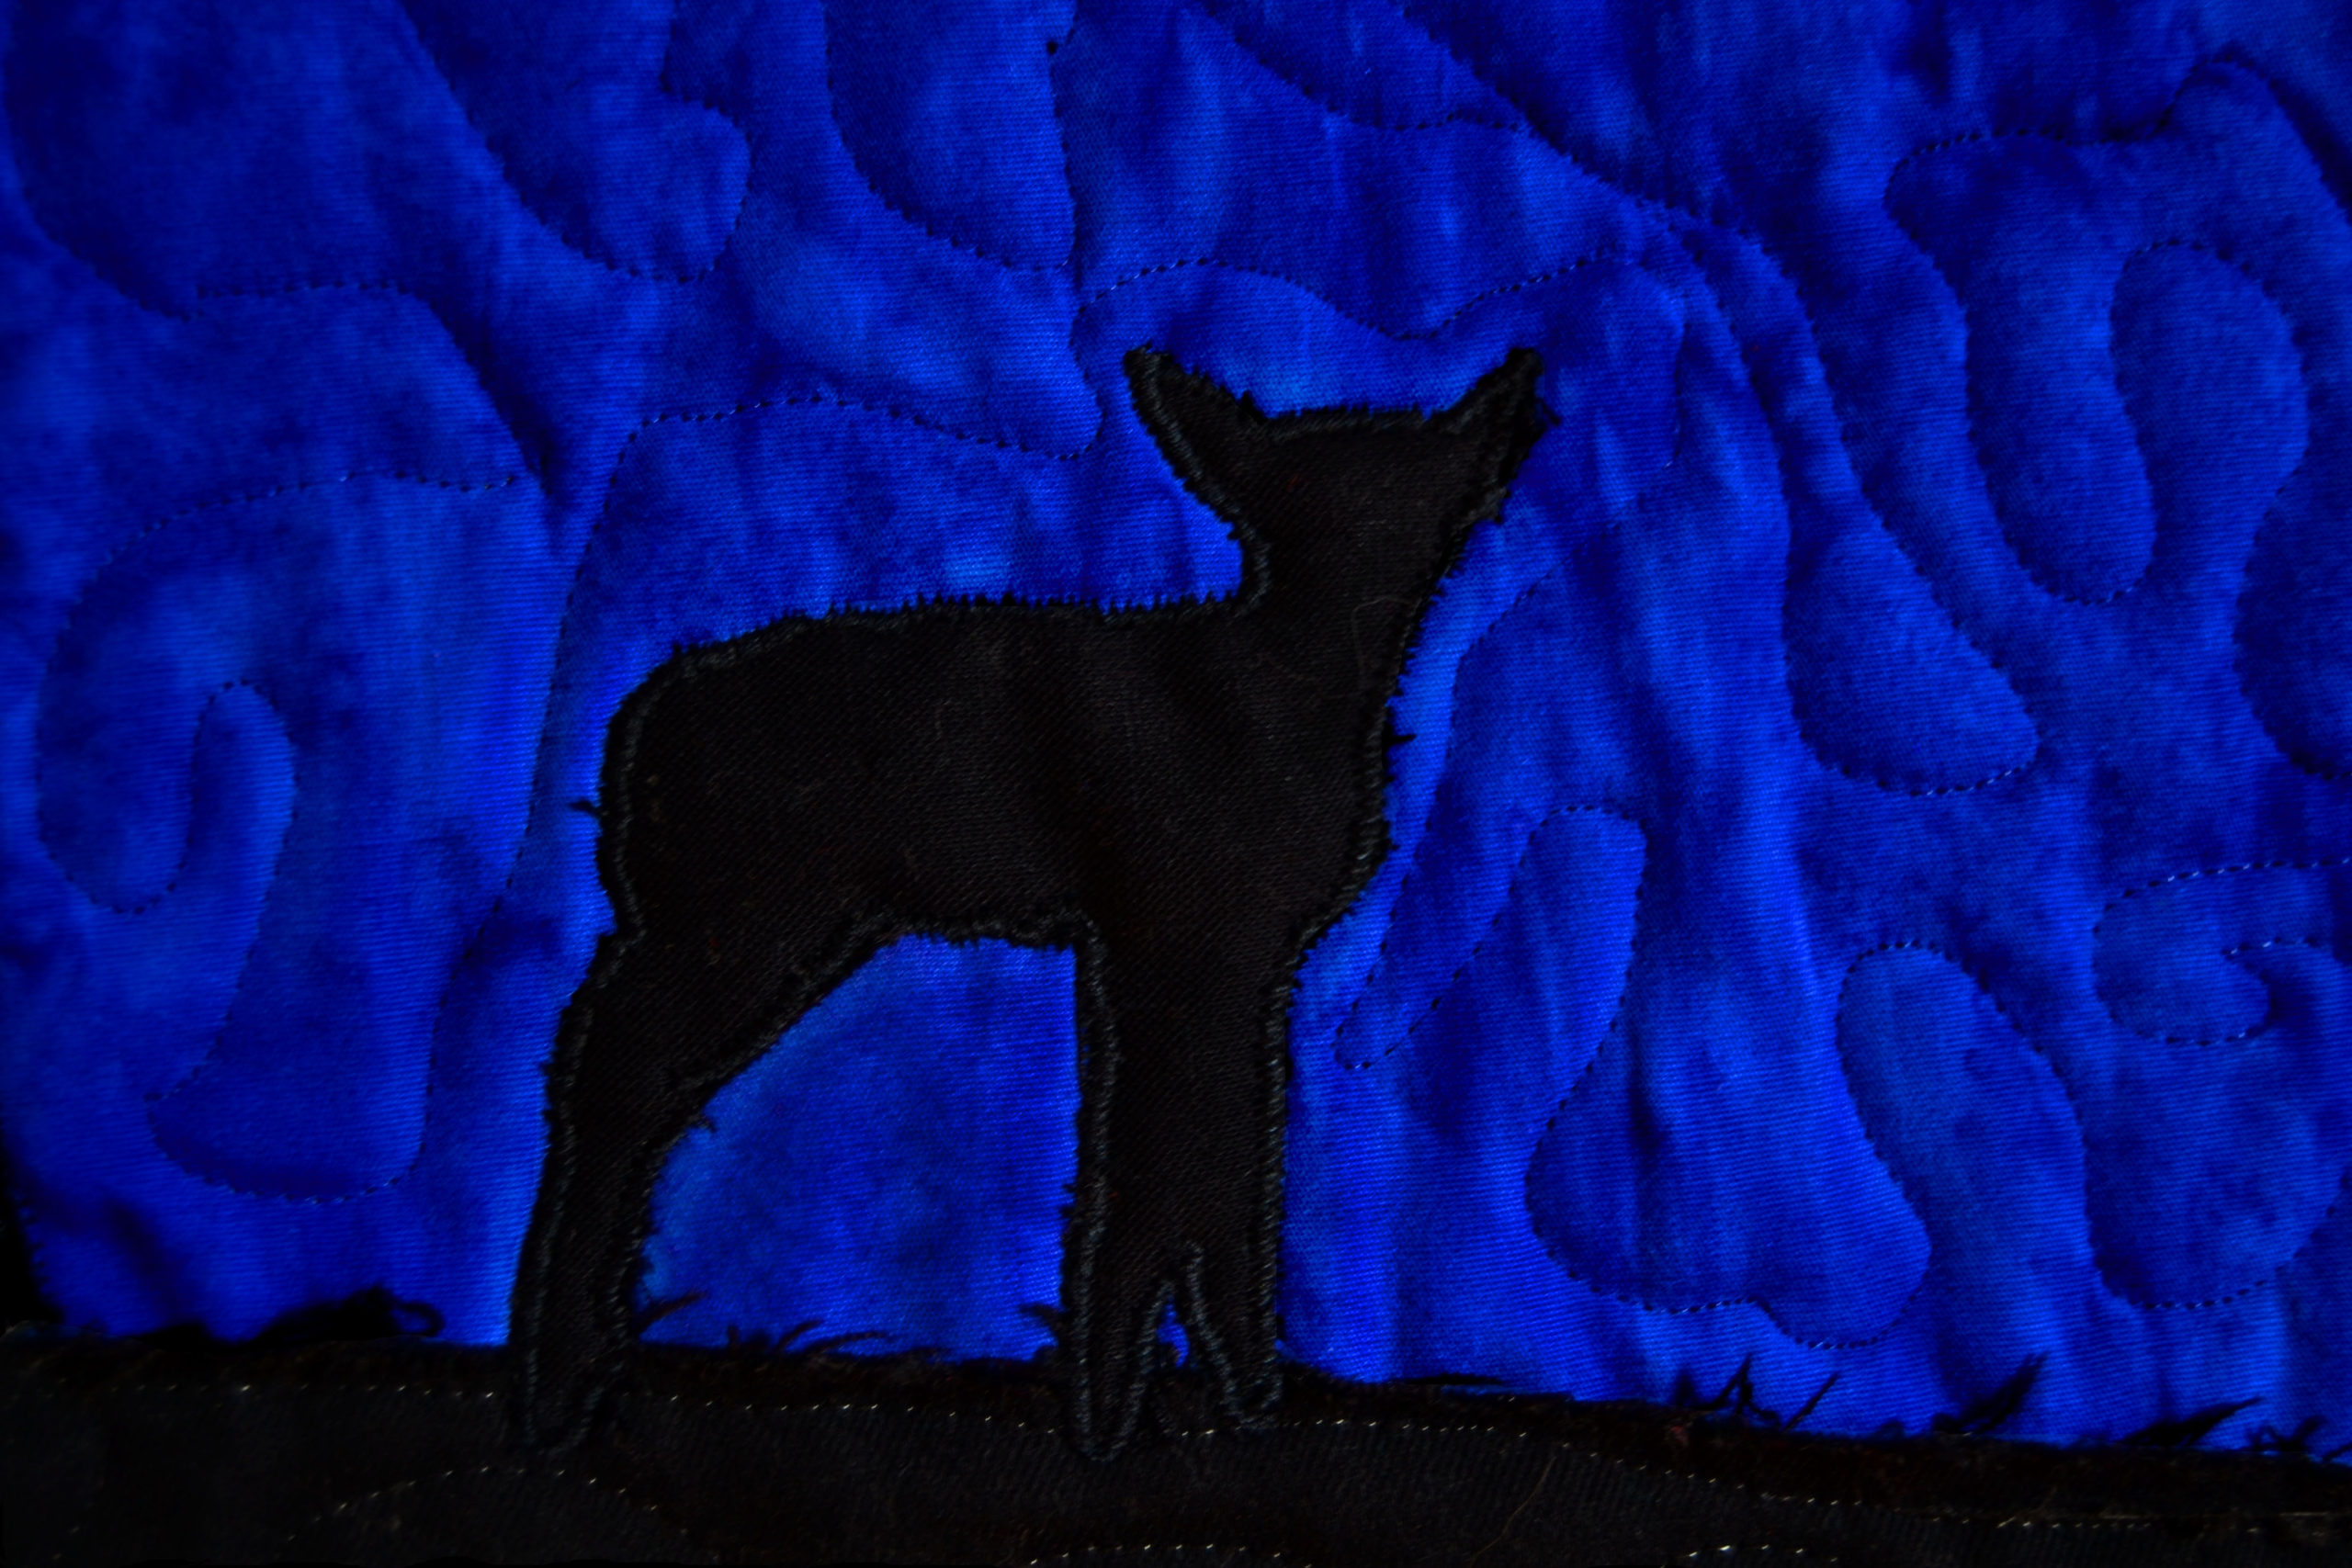
So now, if I have a specific pattern I want, and the fabric is dark, I will use chalk, but I use my chalk line drawing tool and I only do this if the overall project is small.
This method made the star shapes on my ‘Camel Panel.’

Unavoidable Errors
I also learned that the only real way to get a perfectly quilted design is to have a long-arm, computerized quilting machine. But since I don’t have $30,000 to spend on a machine that won’t fit in my house anyway, I had to learn to live with human errors.
At first these unavoidable jigs and jags would make me wince, but no one ever noticed them except me, and given enough time, even I could barely find them.
So I thought, “what the heck, why go to all this trouble if no one but me really notices.”
Next, I bought a few free motion quilting how-to books that teach you how to do this the “right” way. And if you’re drawing challenged – like my girls – these might really work for you. I can’t recommend any of them, however, because that’s not how my mind works.
I also find it impossible to make every shape the exact same size each and every time.
This is especially true when I quilt the feather shape – my feathers change size and shape with alarming regularity.
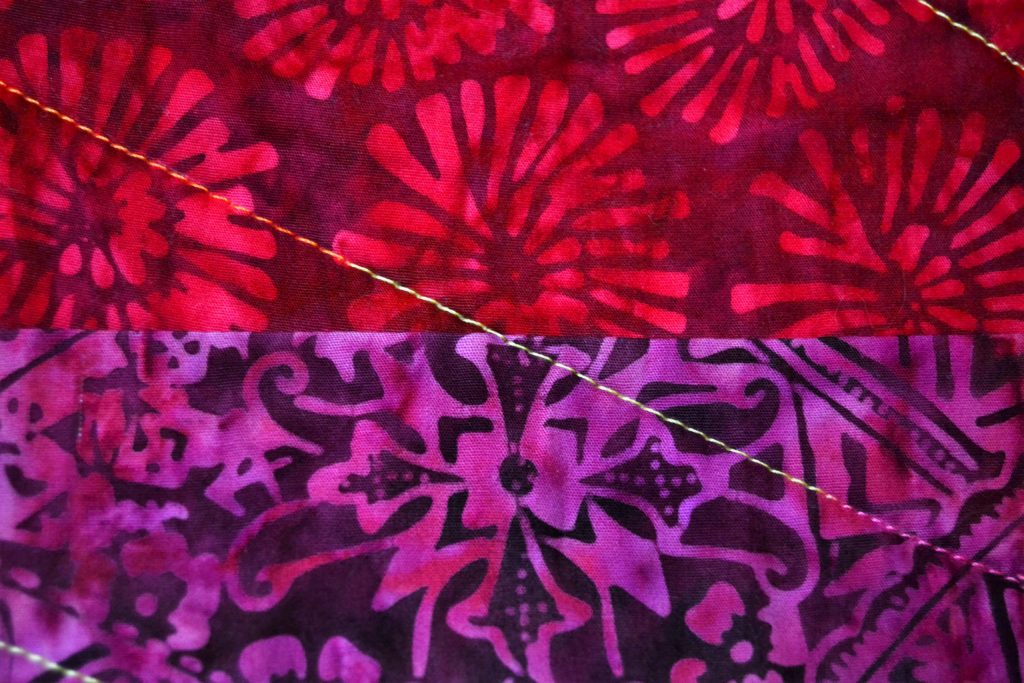
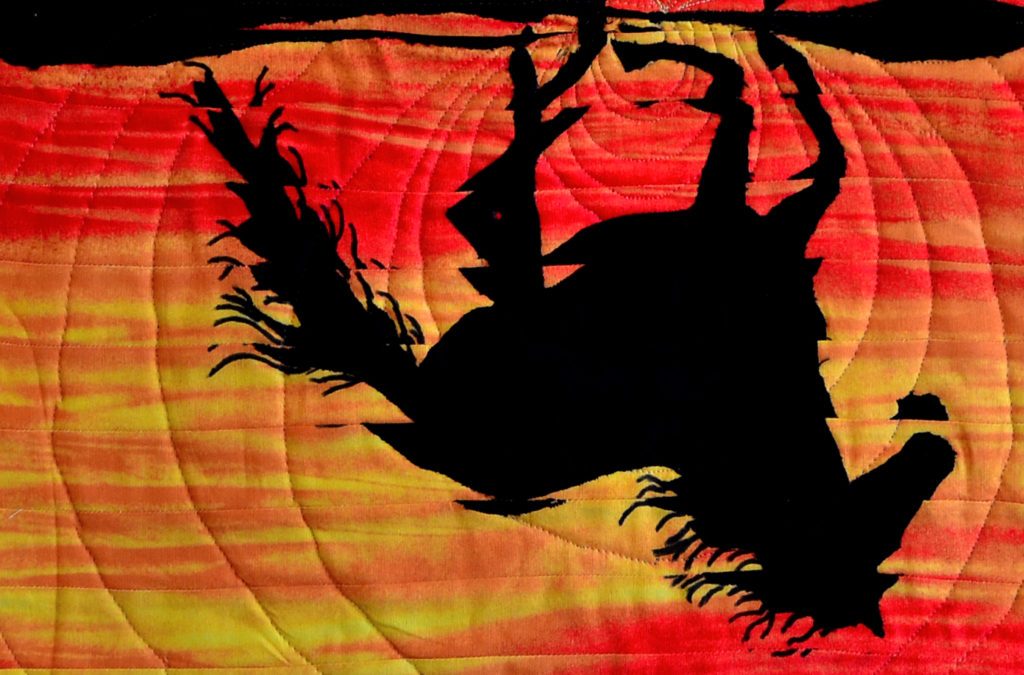
You can see the unevenness of this quilting design if you look for it – but it only adds the naturalistic style! 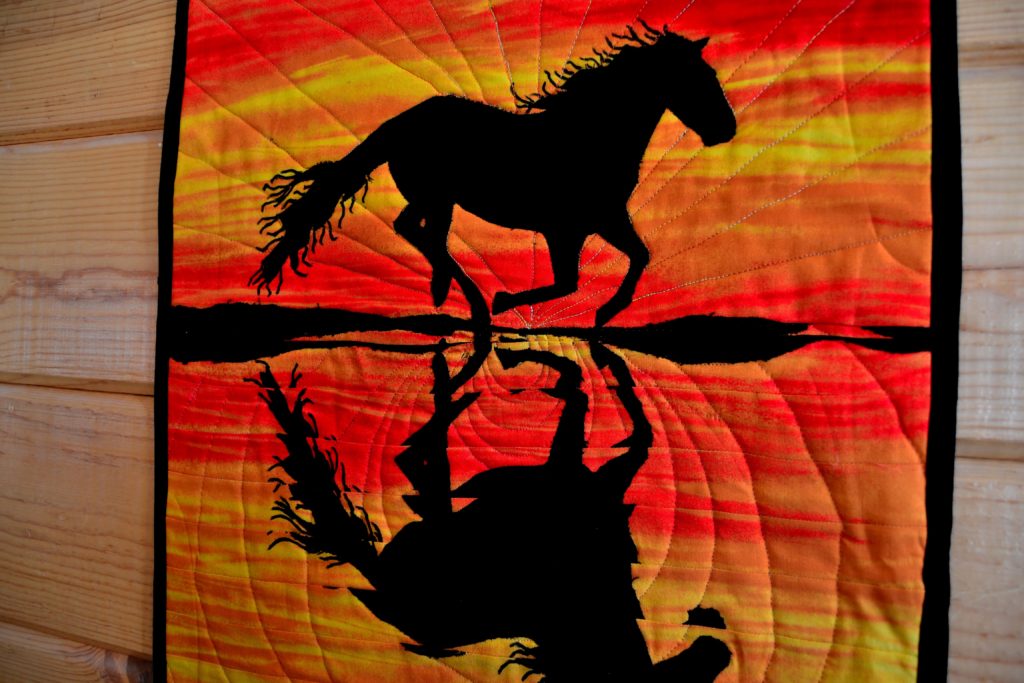
Natural Free Motion Quilting Styles

Finally, I found a teaching video by Judy Hansen entitled Free-Motion Quilting for Newbies, it’s an absolutely super teaching video.
What I liked most about it was that Judy gives you permission not only to experiment, but also to make what I used to call a mistake but she only considers variations in the pattern. As she says, “Nothing in nature matches, so don’t worry about your quilting patterns matching exactly.” What freedom!
This permission slip really started my creative juices flowing, and now I am fearless when I start quilting a new project.
No one will know you’re perfect – even if you are
The thing you’ll notice is that non-quilters will be so awed by your talent that they’ll never notice a few wigs and wa-wa’s. More importantly, when you stop trying to impress everyone with your perfection you’ll set your soul free.
Amazingly enough, you’ll also find that the brain sees what it expects to see. Your eye may be seeing one thing, but your brain will present a completed image.
For example, if you’re looking at a quilted piece your brain will show you a beautifully quilted overall pattern, no matter the wa-wa’s. You have to actually stop and look very carefully before your brain picks up any ‘imperfections’.
Most people will not take the time to do this, and you’re home free!
Listen to your quilt
This’ll sound weird to non-quilters, but if you listen to your quilt project every step of the way, it will tell you what pattern that it wants to be quilted with.
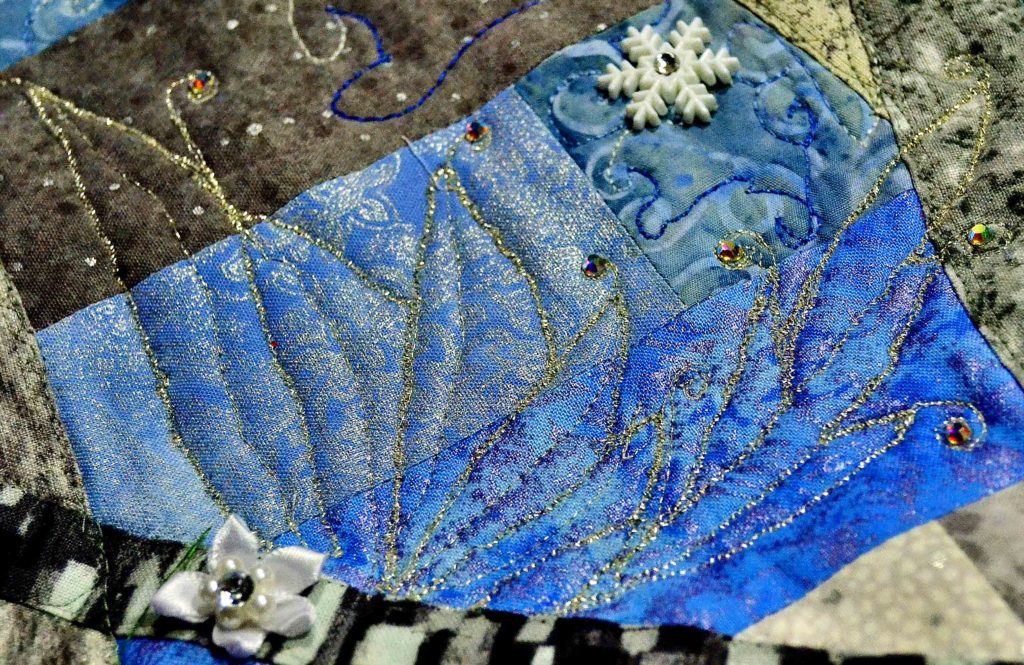
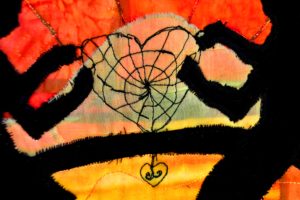
For instance, my ‘Winter Wonderland Panel’ wasn’t originally a fantasy landscape. I came to understand, however, that there were fairies hidden in the woods. They were shy, but definitely proud of their wings.
So, if you look closely, you will find 3 sets of fairy wings in my quilting.
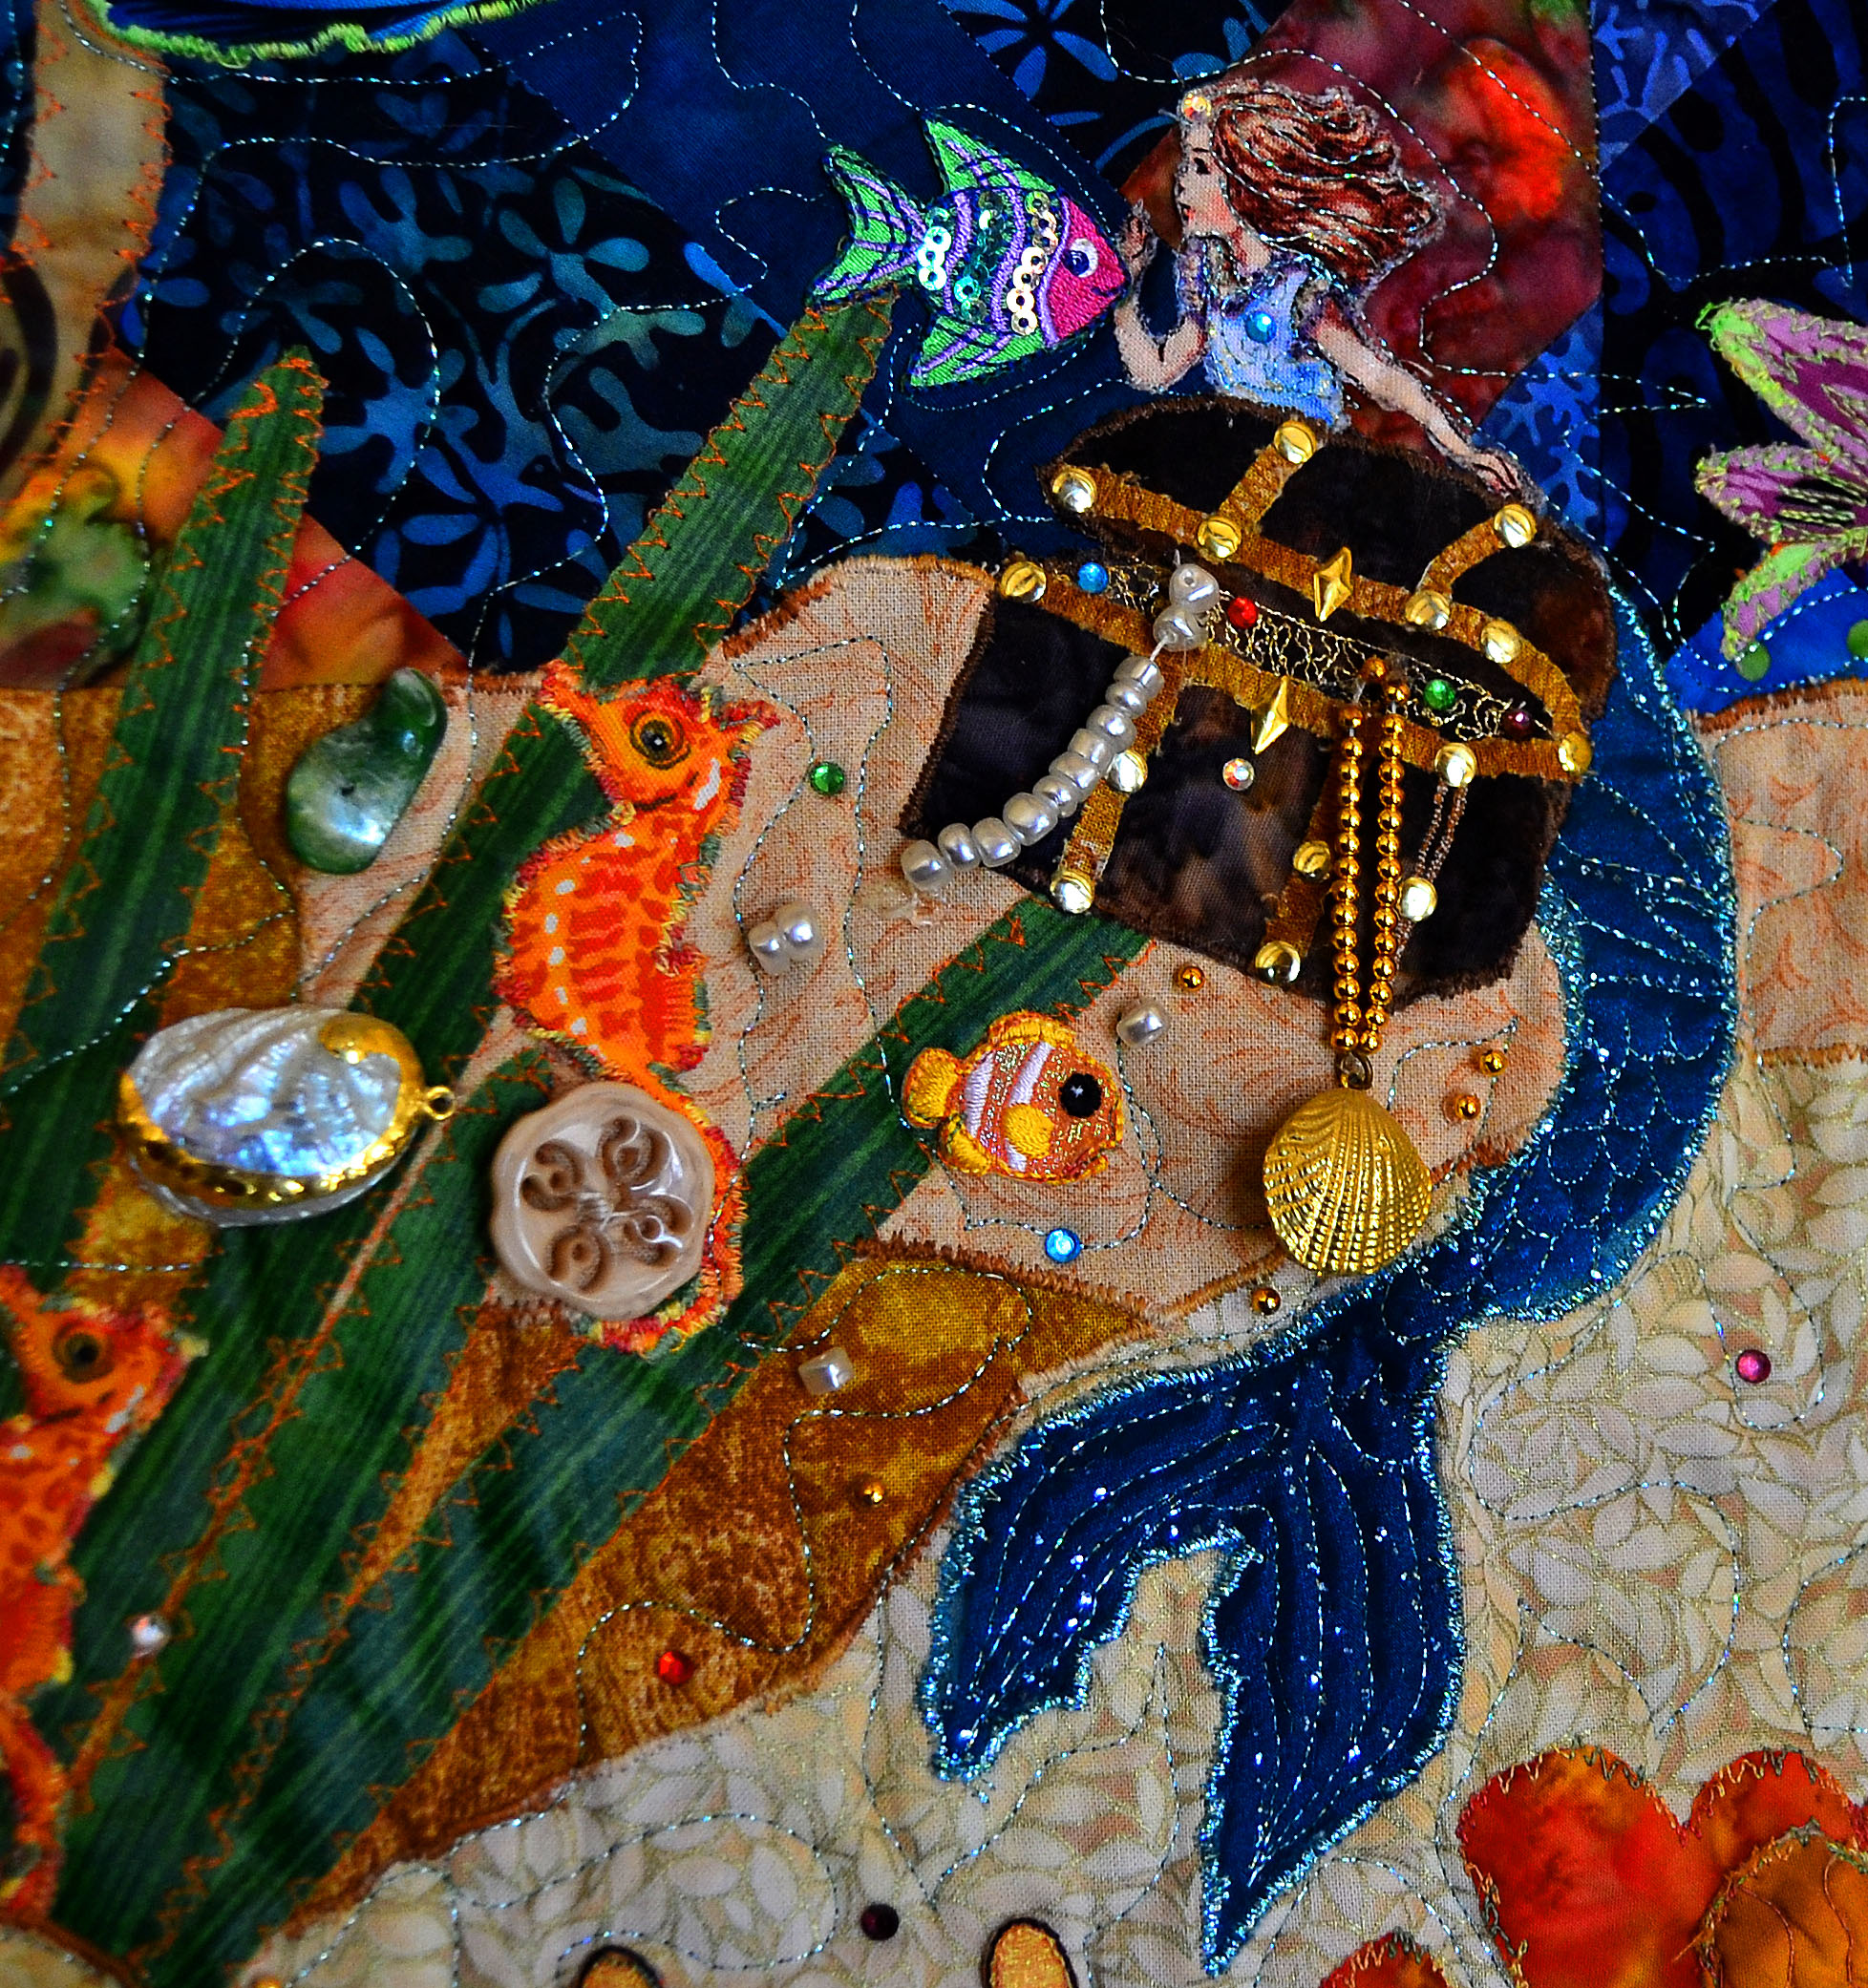
In the mermaid quilt that I’m currently sewing, I’m going to use a wave pattern, as the borders represent the ocean. So look carefully at your project and let it tell you what it needs to really shine.
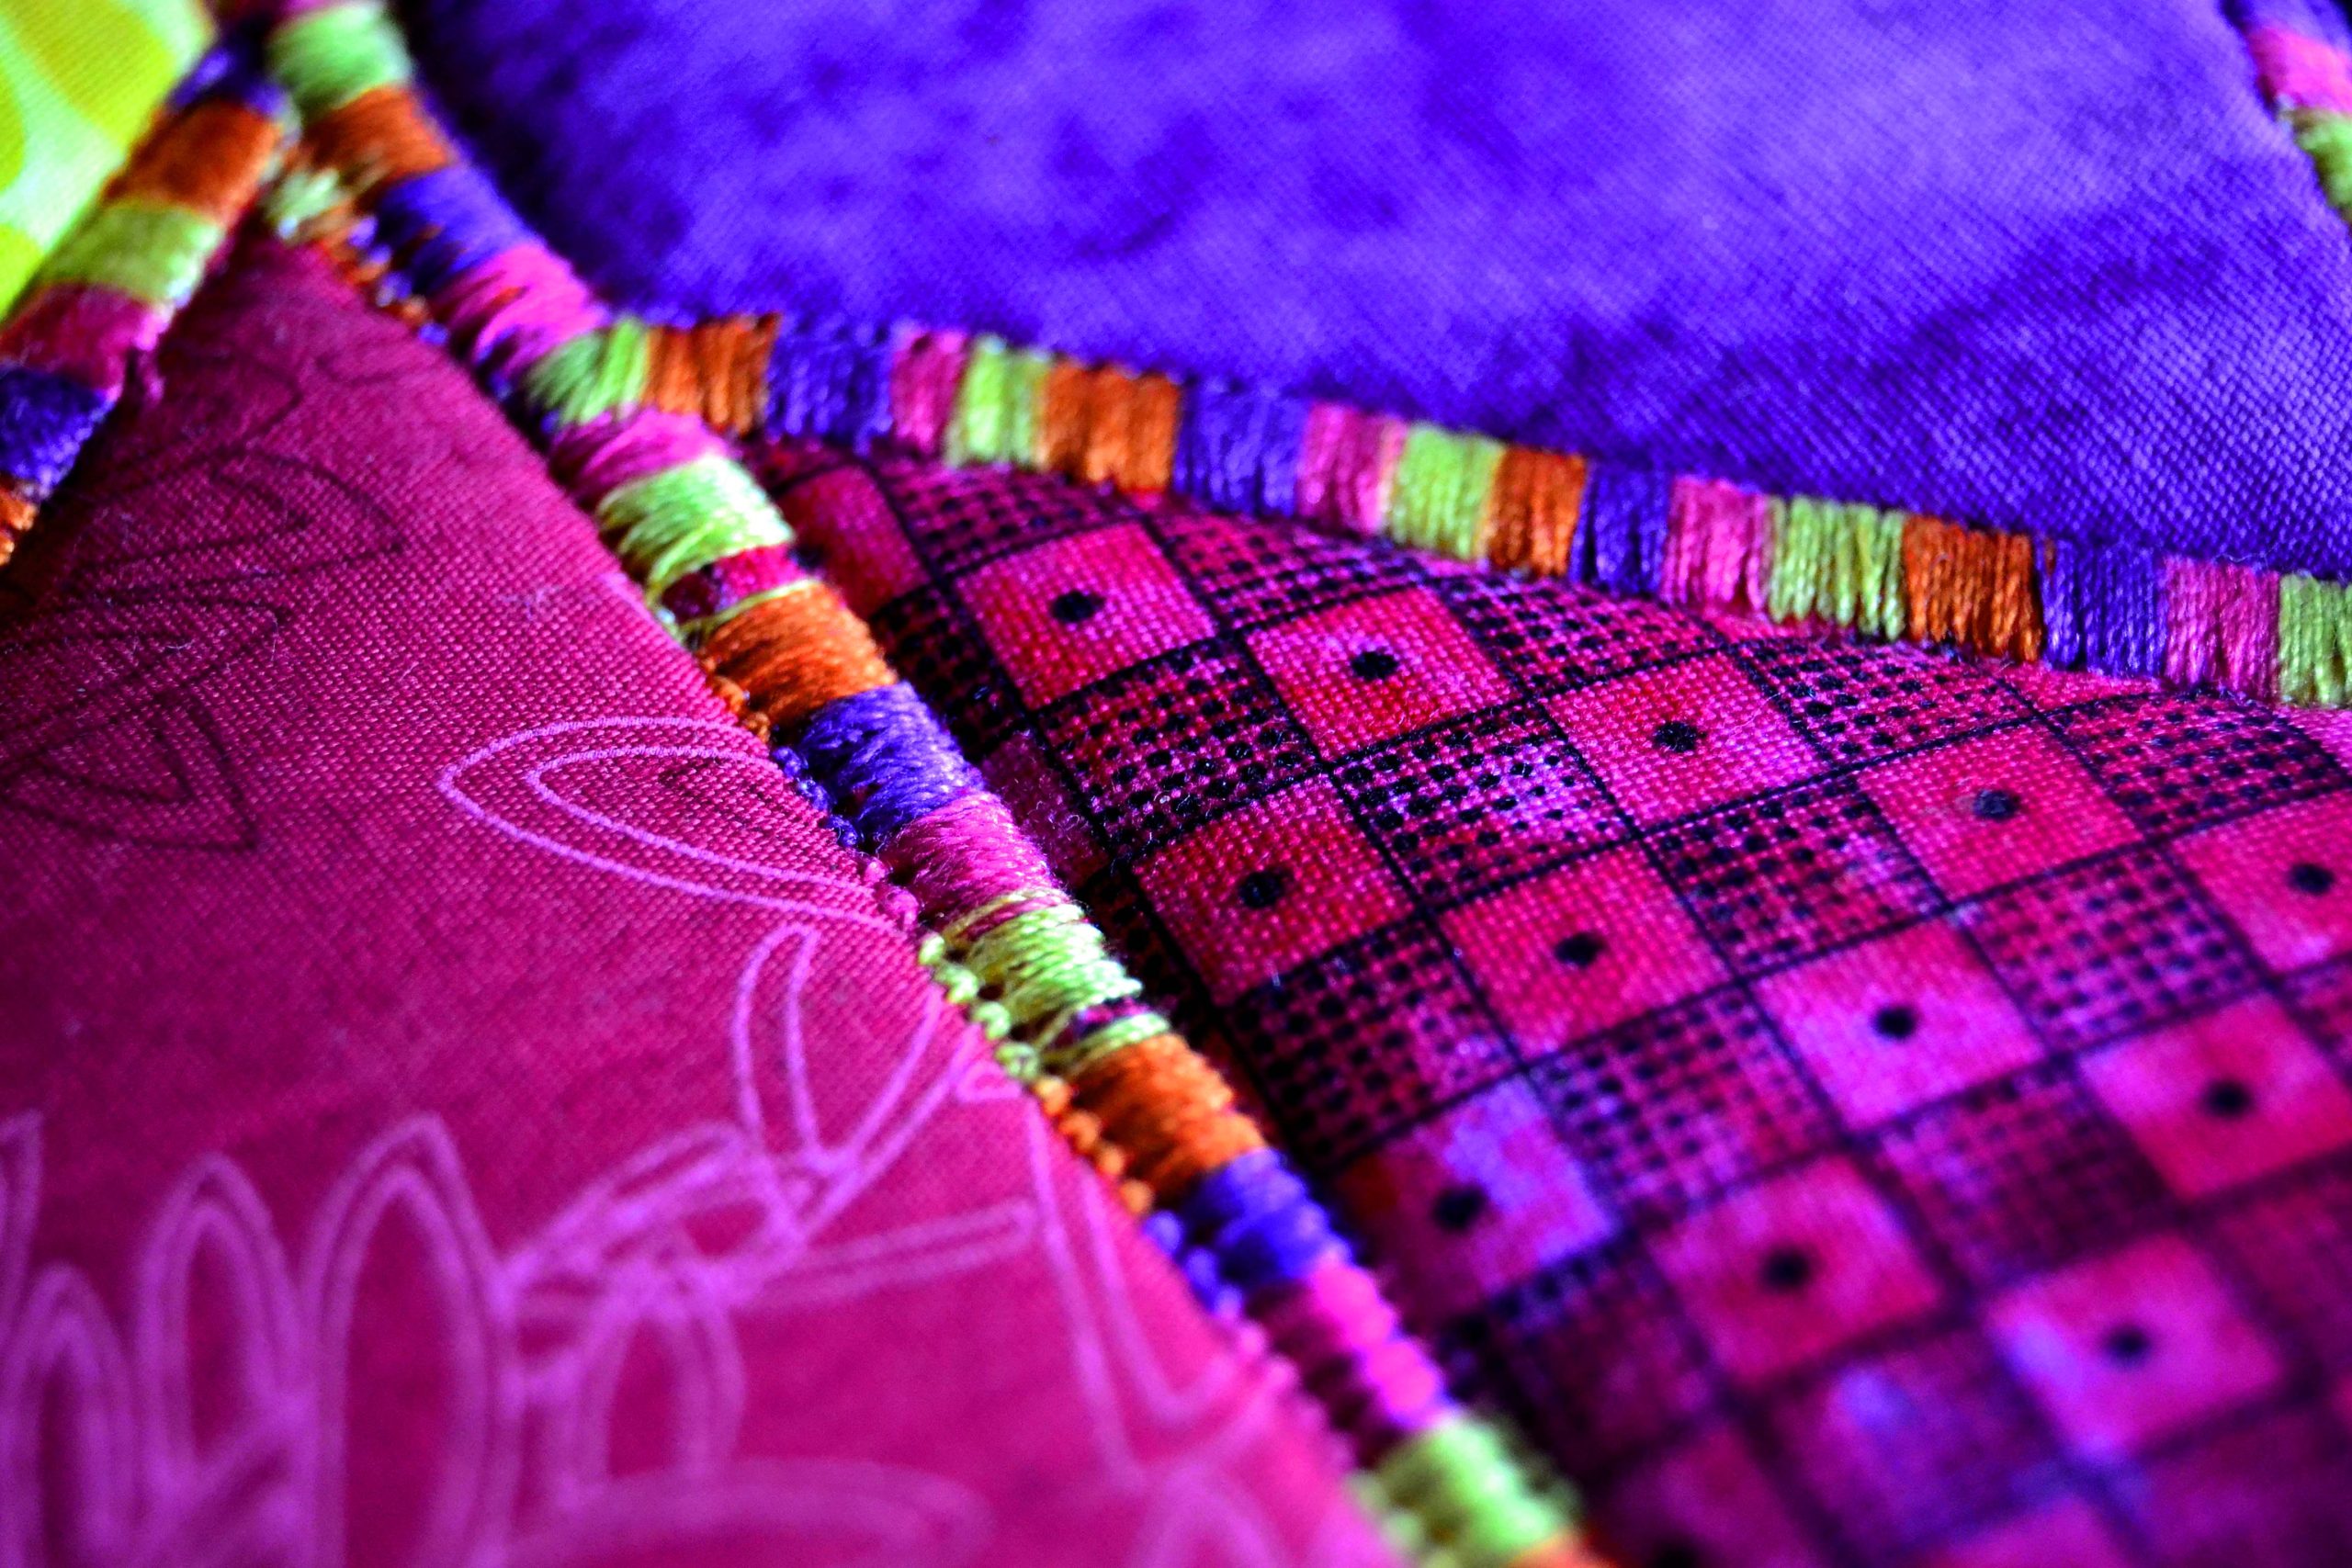
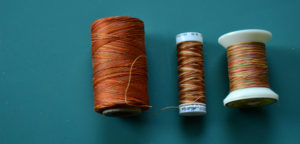
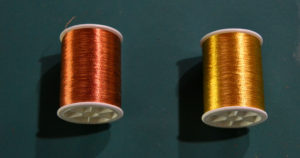
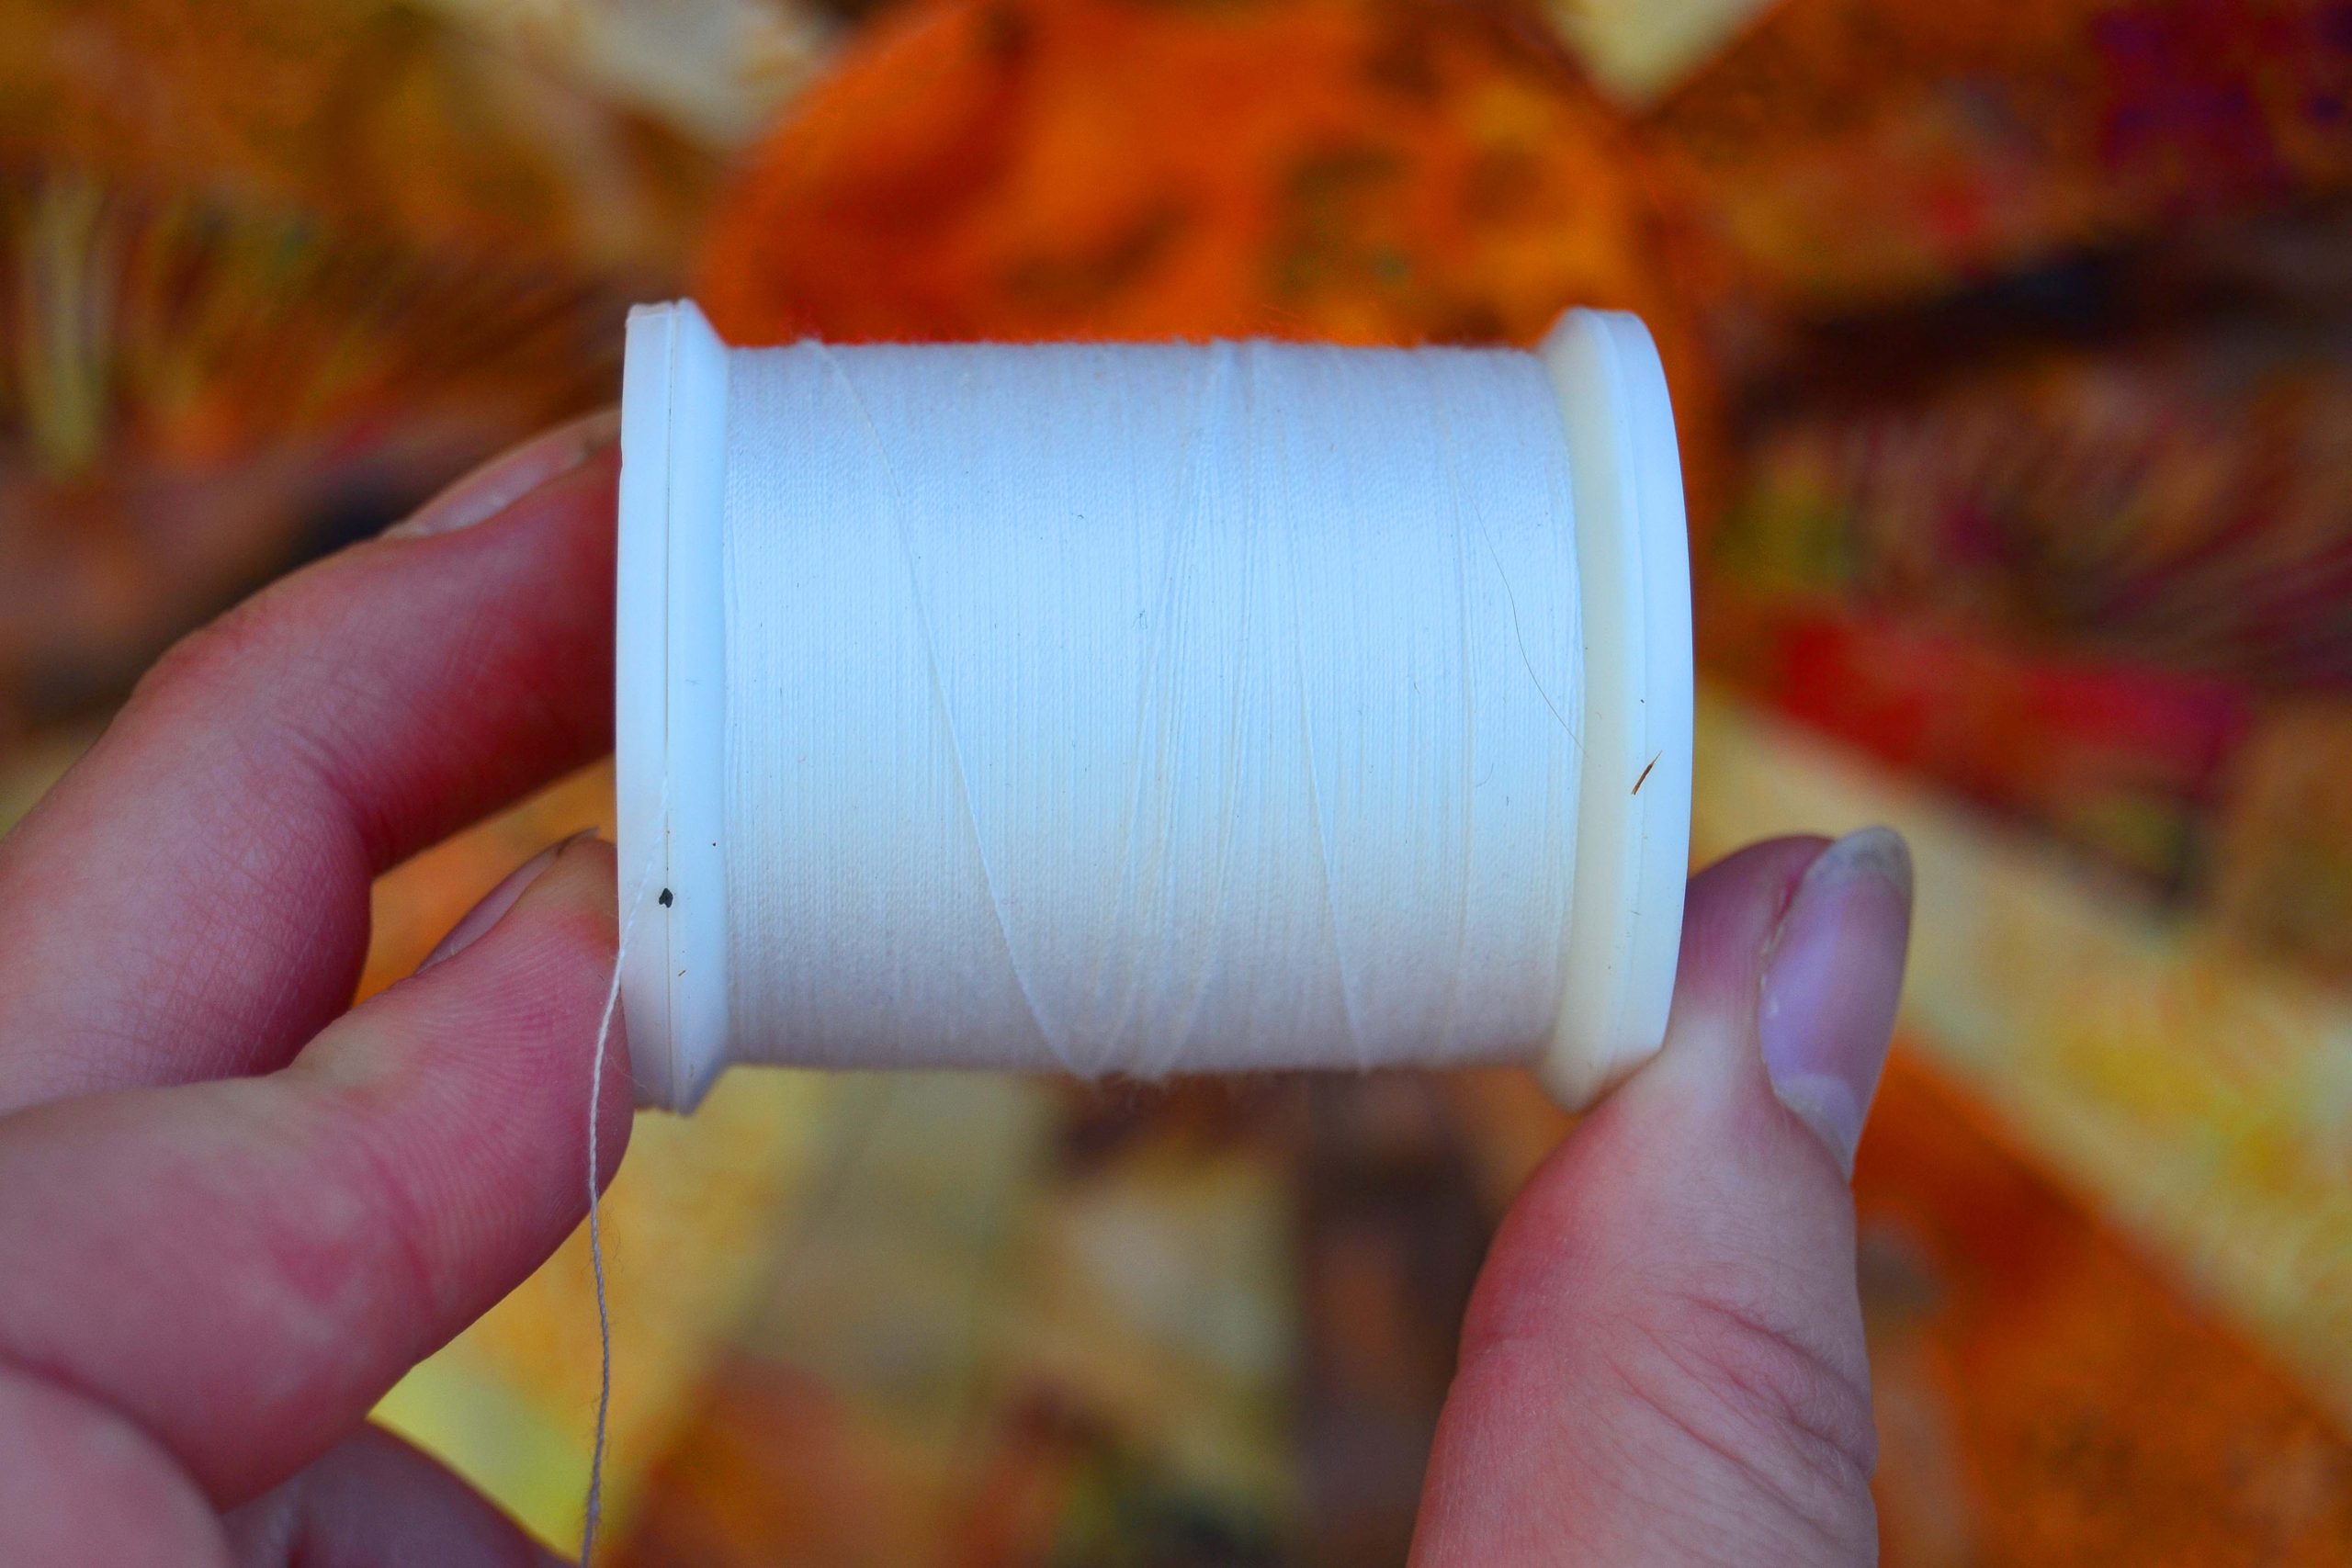
Thread – Thread – Thread – And More Thread
Think carefully before you pick your quilting thread.
The color you choose will make a great deal of difference to the finished look of your project. Here again, the quilt will let you know.
Sometimes you’ll want to highlight the design and not the quilting, and so you’ll need either invisible thread or a color that matches exactly. This is what I did with my mermaid panel. I wanted her to shine and the quilting to be almost invisible.

If the opposite is true, and the quilt design isn’t such a much, pick thread that will really make your quilting design pop right off your project.
I like to try my choices out on a scrap of corresponding fabric first, to make sure that my thread color and design are going to look like I think they will. Practicing on a fabric scrap will also let you adjust your tension and motor speed. If something isn’t right, you won’t have to pull it out.
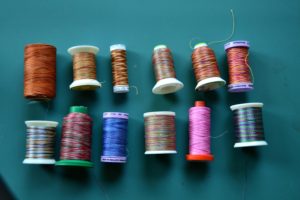
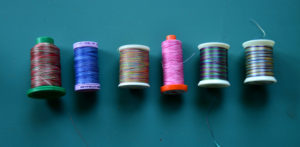
Think of everything in the box
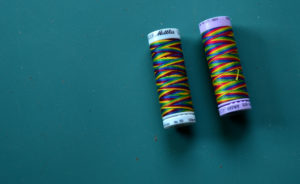
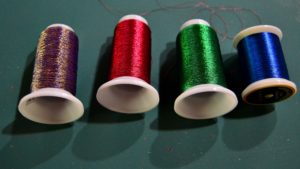
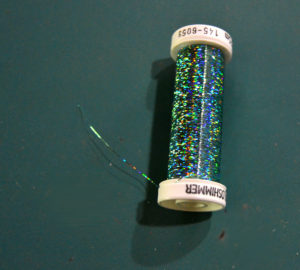
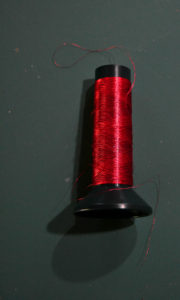
To aid in picking out the right thread, I go through all my thread boxes and pull out anything that I think might even remotely work.

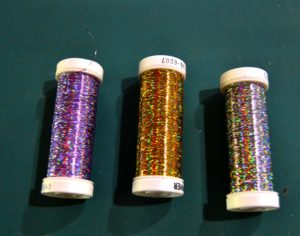
If I can’t tell if the thread is right just by laying the spool on my project, I unwind about a foot of it and puddle it on my project. This makes it fairly easy to see what it will look like once you sew with it.
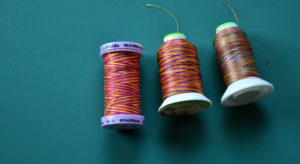
Don’t be afraid to try some really odd combinations – sometimes the weirdest thread/fabric combos are just what is needed.
A word about the importance of bobbin thread in free motion quilting
Your bobbin thread is important – and usually you’ll want it to just disappear into the backing of your quilt. Sometimes, however, your machine will drag the bobbin thread through to the front, just enough to show.
If this happens, make sure that your bobbin thread disappears on the front even at the expense of the stitching showing on the back.
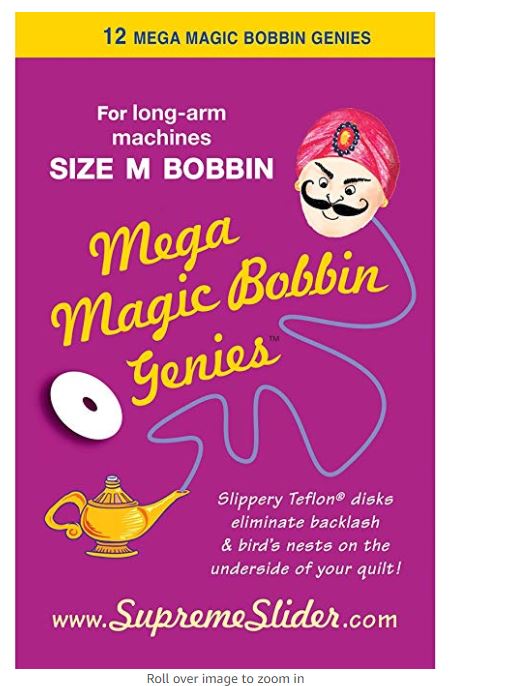
Before you load your bobbin into the bobbin case, I highly recommend that you first insert a magic bobbin washer. These are Teflon washers that feel like plastic. They go between your bobbin case and your bobbin, and fit any home sewing machine.
They’re made by a company called “Little Genie” and are absolutely magical in what they do for your quilting! If you’ve ever quilted a project and turned it over, just to discover a bunch of birds’ nests, you will know why you need this super little invention.
Such a simple thing, yet these little washers will eliminate 95% of all backlash tangles and birds’ nests on the underside of your quilts.
They come in a package of 12 and are very reasonably priced. Since they’re made out of Teflon they don’t wear out – I’ve only ever purchased one package and I’ve been using them for about 6 years.
The only trouble is that if you’re not careful when you take your bobbin out of its case, these little rascals will pop right out and fly away.
Good thing I have my kids to crawl around on the floor to find them again!
Not All Quilts Are Quilted Equally
Once you know what pattern you want to quilt and the top thread you’ll be using, give some thought to different areas of your project.
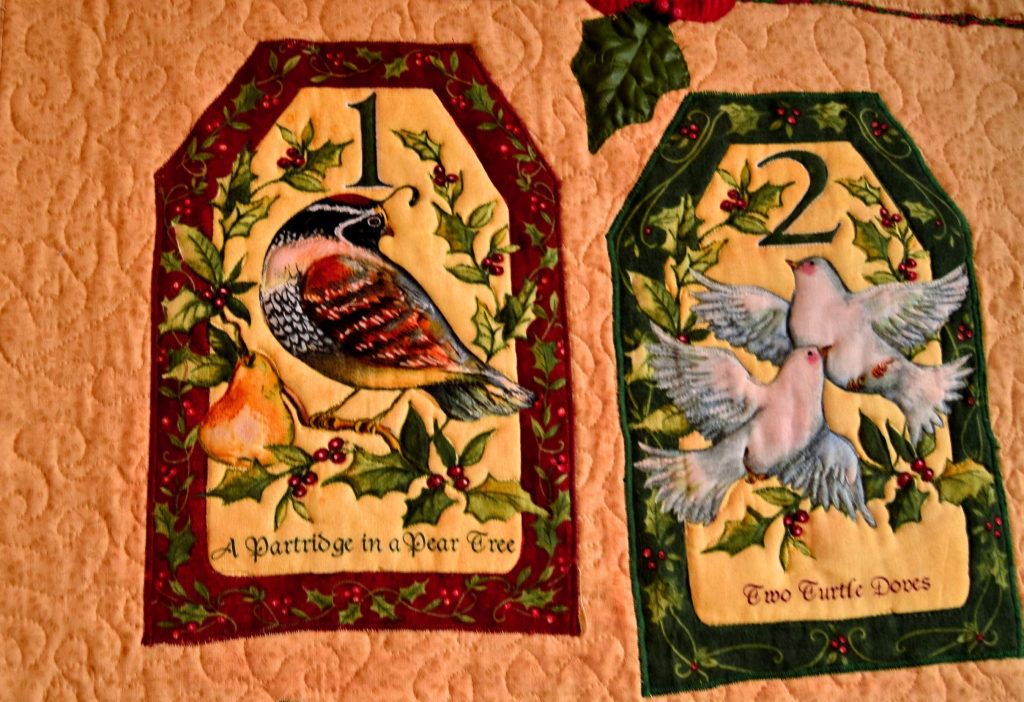
This is especially true for quilts that are made using printed fabric panels.
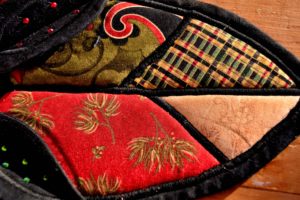
You may want to free motion quilt around the shapes in the panel, and then stitch in the ditch around whatever quilting blocks you’ve used to enhance the panel – as was the case with my ‘Home Pastures’ quilt.
Some areas only need a straight quilting stitch, no matter the pattern you’ll be sewing, but sometimes a smaller area will be screaming for a fancy stitch. If your machine has this feature, don’t be afraid to explore these. My Bernina has about 70 fancy stitches and I use these a lot, but only in small areas.
A word of caution, each different stitch usually has a motor speed that optimizes the pattern. If you try sewing that particular stitch too fast or too slow, the pattern will be skewed.
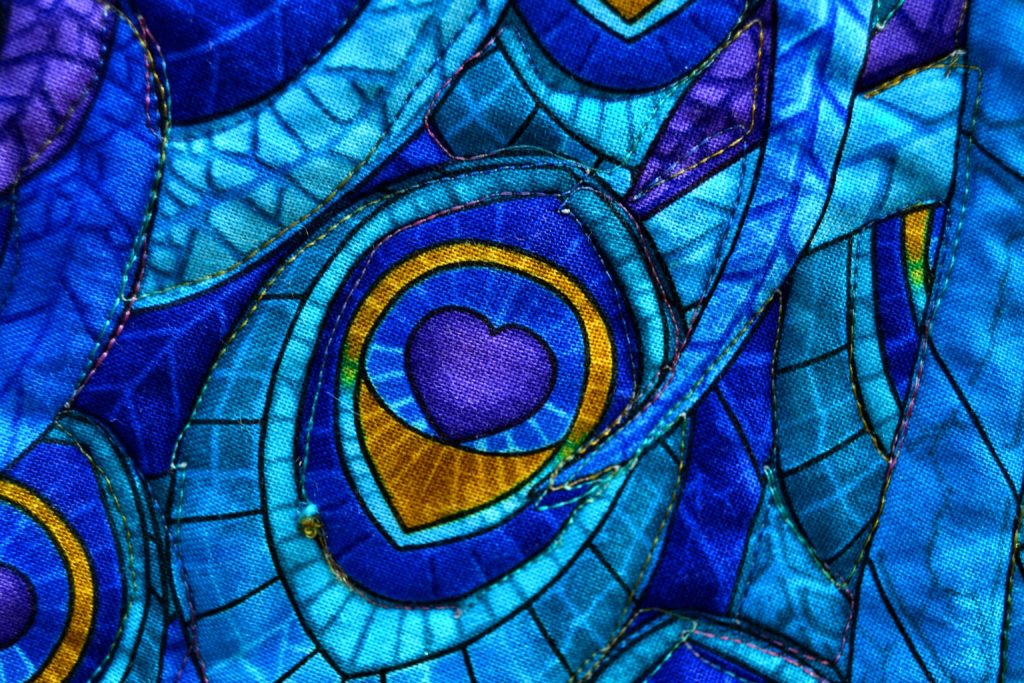
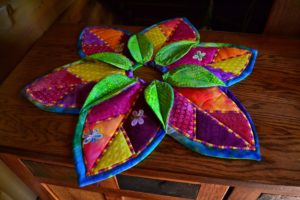
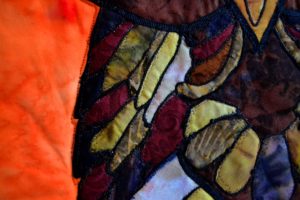
Here I used free motion quilting to follow and enhance the shapes of the feathers. 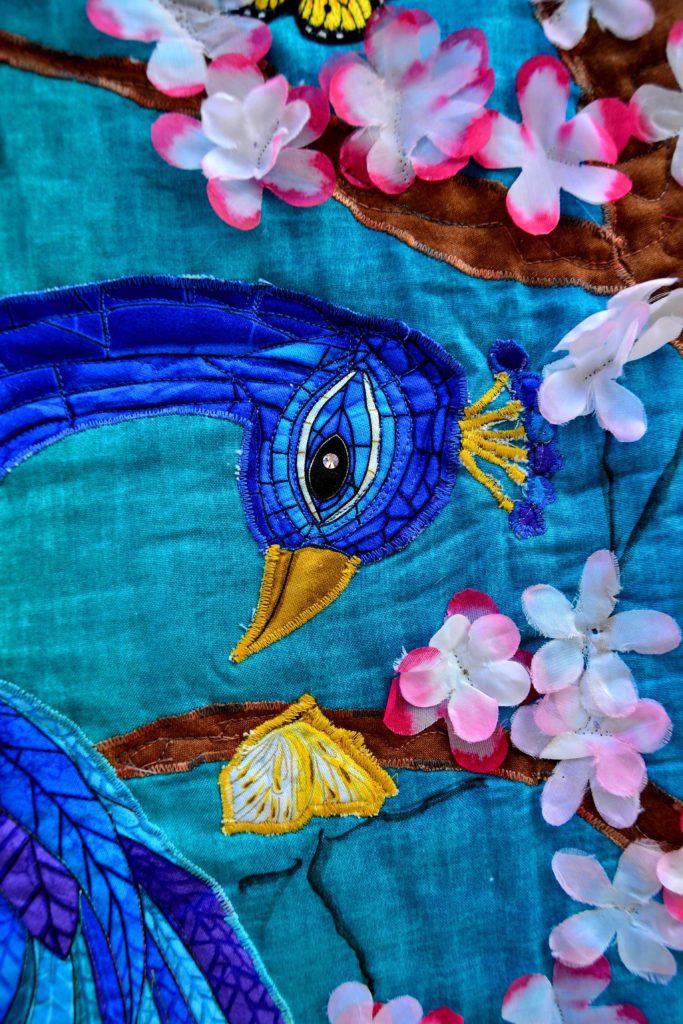
On the peacock’s neck and body I used free motion quilting to emphasize the stained glass – while on the flowers I used the same free motion quilting to sew the centers down. 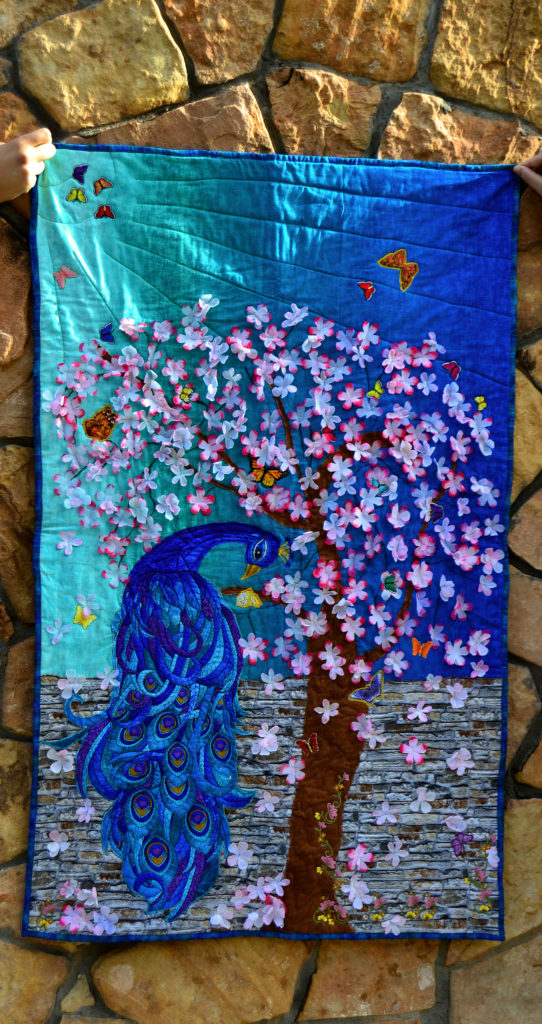
This used to frustrate me horribly until I sat down one day with a lot of scrap fabric, and played with each stitch and the motor speed till I found the optimal combination. I wrote it all down and Suzanna made me a chart that I keep in my sewing feet box.
Now, all I have to do is reference my chart and I’m good to go. I would highly recommend you do the same for your machine – it saves a great deal of time, frustration and thread!
Let’s Go Freewheeling with Free Motion Quilting
Now you’re finally ready to start!
- Your quilt sandwich ironed and crease free
- Your machine is loaded with your choice of thread
- And you’ve set your machine to the stitch you’ve chosen.
Now it’s time to put on the clear plastic free motion quilting foot, drop the feed dogs, position your quilt at your chosen starting point, and put the pedal to the metal.
Tips to Make Your Free Motion Quilting Go Faster & Look Better
1. Don’t trim your project before you quilt it.
Free motion quilting is especially bad at warping a quilt sandwich in every direction. If you trim before you quilt you will have to trim again when you’re done and you could lose important parts of your design.
2. Always start as close to the middle of your project as possible.
This helps you to smooth out any excess fabric to the edges as you quilt and eliminates bunching. As you quilt, use your hands, wrists or even your elbows to hold your fabric taut. The tighter you can hold it, the smoother your finished project. Once you have the middle done, move out towards the edges, smoothing as you go.
3. Get rid of thread tails before you start quilting.
When you arrive at your starting point, drop your free motion quilting foot, hold onto your top thread and run your needle through the quilt once to bring up the bobbin thread. Pull this through to the front, backstitch a few stitches and then start quilting.
This eliminates all those pesky thread tails on the back that get tangled in your quilting and are a pain to snip out later. I used to make the kids do this job, till I learned this trick, and they almost kissed my feet when I started this practice. Also remember to backstitch when you arrive at the end of your stitching, and snip off your thread as close as possible both front and back.
4. Don’t be too impatient to get all your quilting done in one go.
I used to be. Take the time to stop and tie off when the pattern demands it and then start again somewhere else. It makes a real difference to the final look. It can also make a difference to the warping of a quilt – as you can drag the sandwich completely out of kilter if you quilt too heavily to one side or the other without balancing it out.
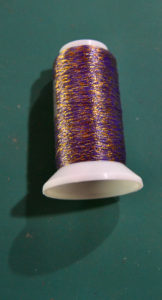
5. Don’t hesitate about changing your thread colors.
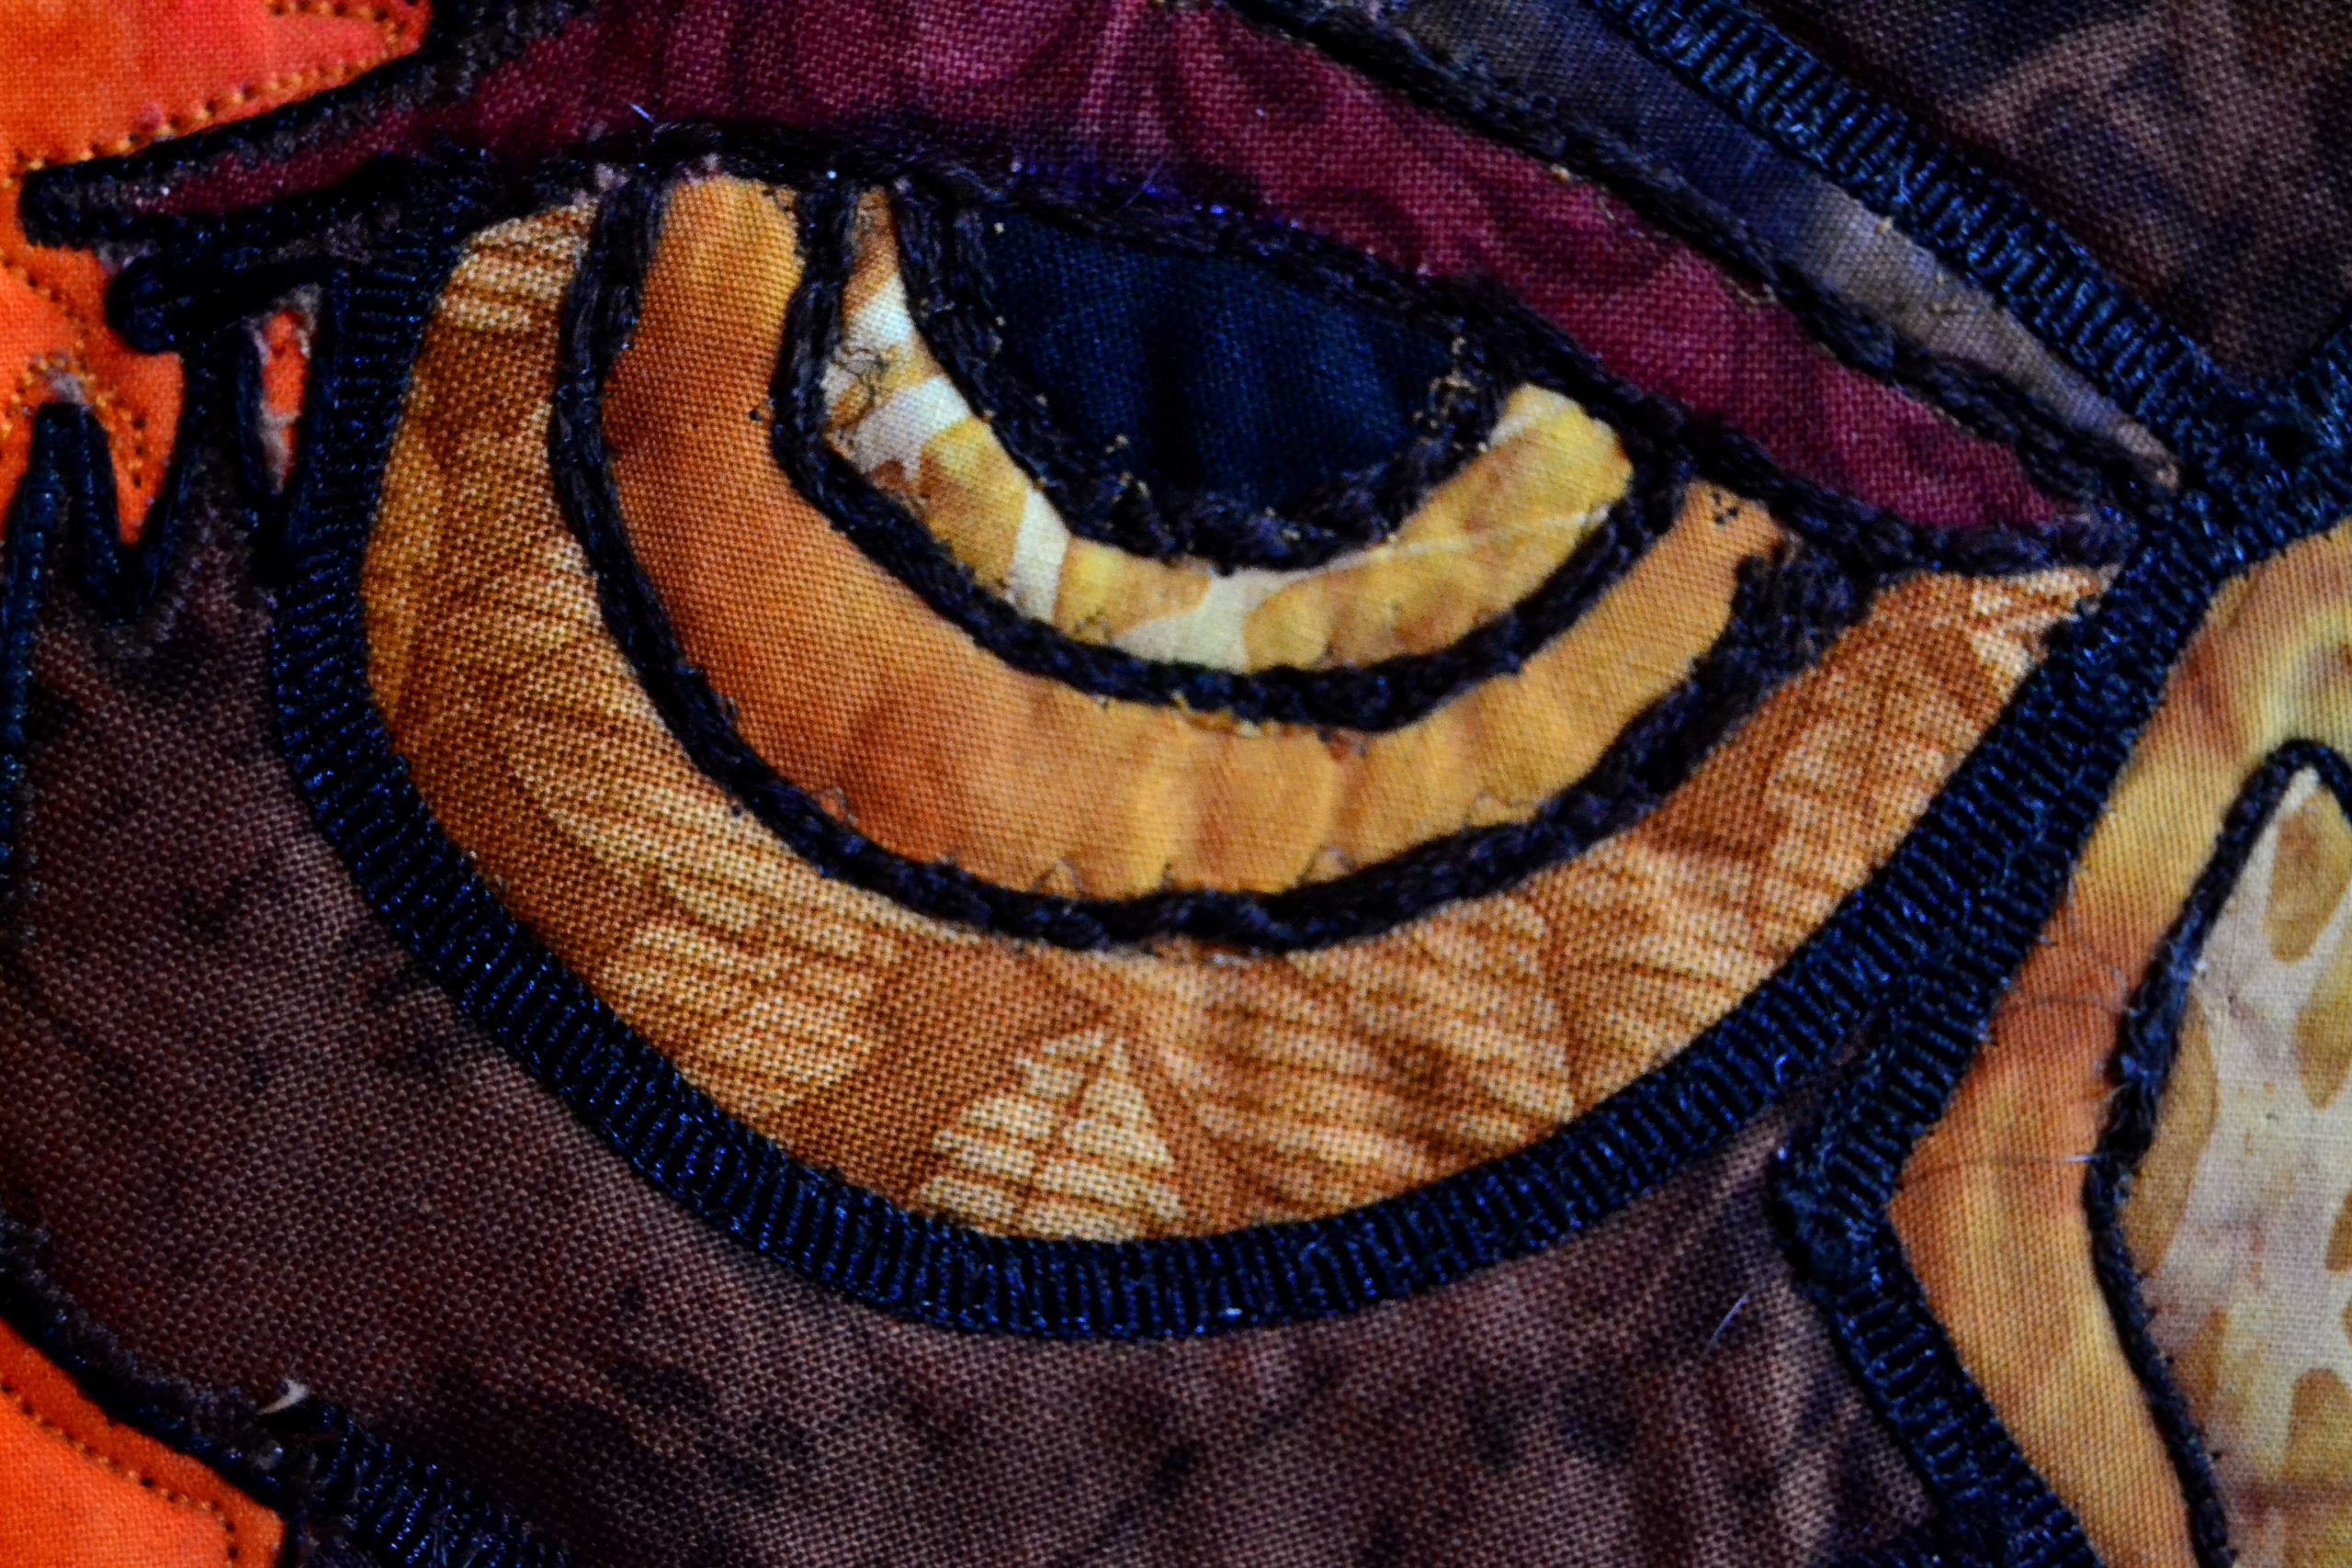
If you don’t like the effect of a thread on a differently colored section or the project demands it. Different colors in different places can make different design elements pop. Sometimes you may want to use metallic threads in places like eyes (on panel quilts) or match element colors, like on landscaping quilts with distinctive skylines.
6. Consider quilting gloves.
I have tried wearing those white quilting gloves that are supposed to help your hands grab the fabric more securely – and they do. But, (and there’s always a “but” isn’t there), they are a real pain when you need to work with your thread. Being who I am, this drives me crazy, always having to take them on and off so I stopped using them. If this doesn’t bother you then use them by all means, because they do help.
7. You can experiment with other quilting helps
Safety pins, bicycle clips, and more help some quilters – but remember that these will always have a downside. How you quilt best will depend upon your personality (patience level), how big your quilts are, and how easily you find it to create patterns without a guide.
8. When you quilt always remember to use a fast speed but slow hands.
There is a great temptation to swoop and dart and swirl around with your quilting because fee motion is so freeing. However, if you do this (and I did at first) your thread won’t be able to keep up, and there will be many places where your thread will jump large spaces, the quilting will be uneven, and you’ll be able to pull the entire line out with your fingers.
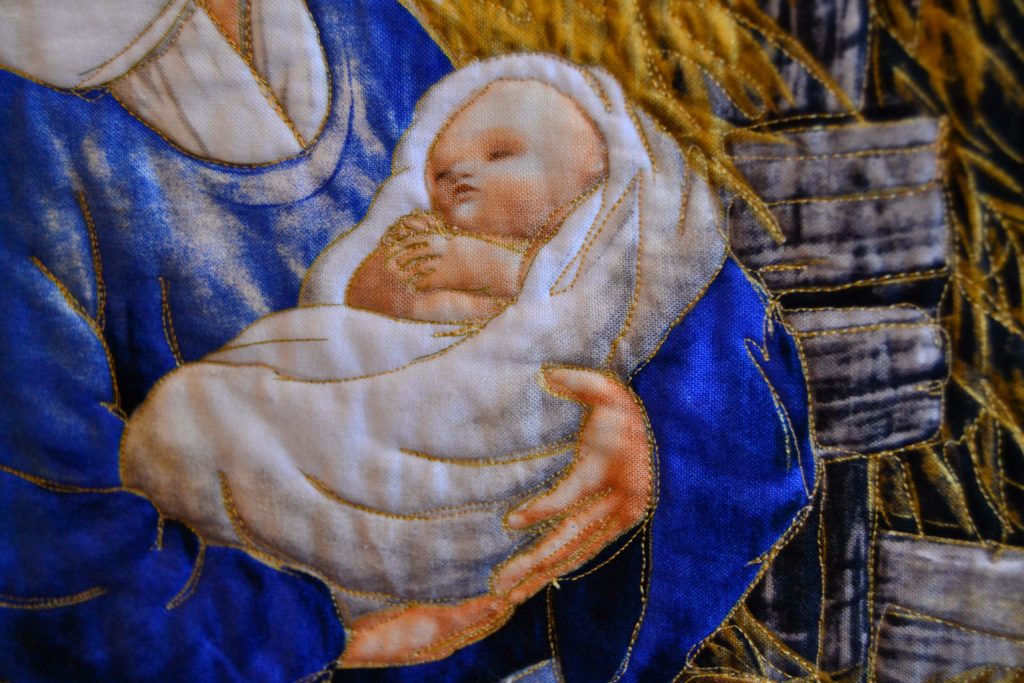
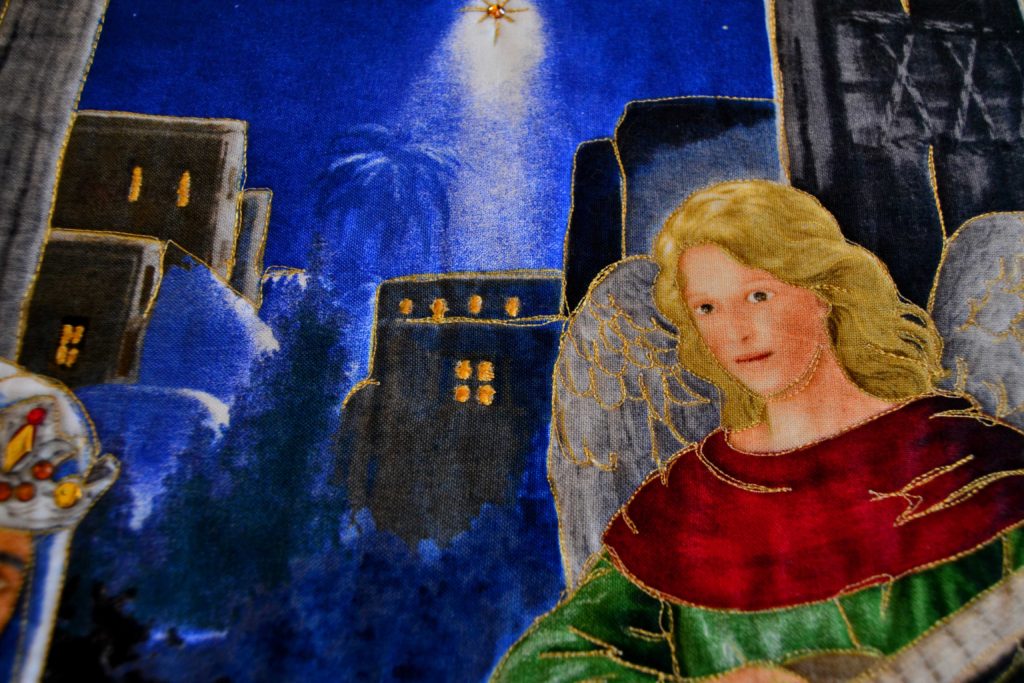
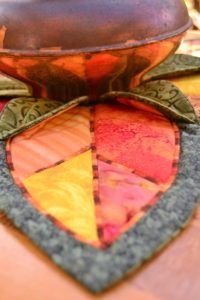
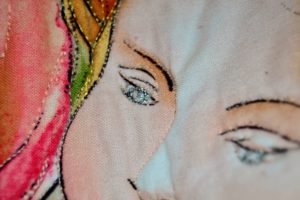
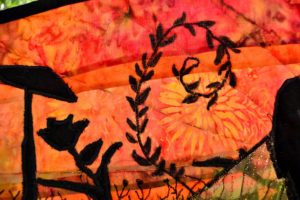
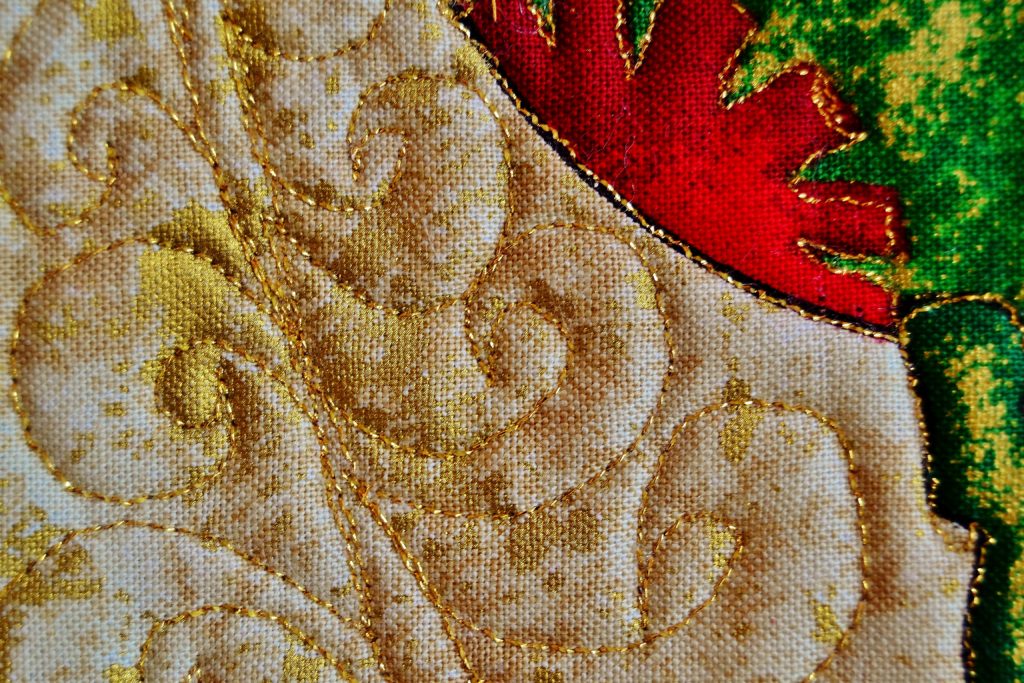
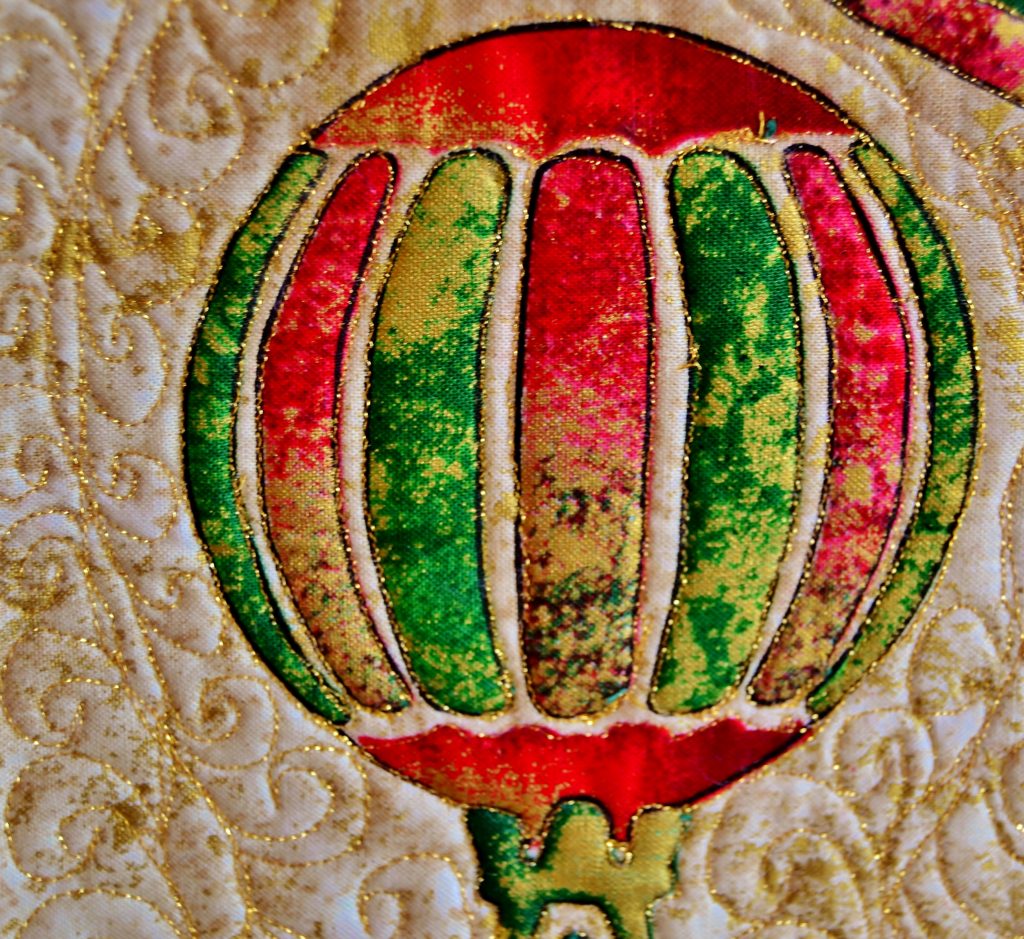
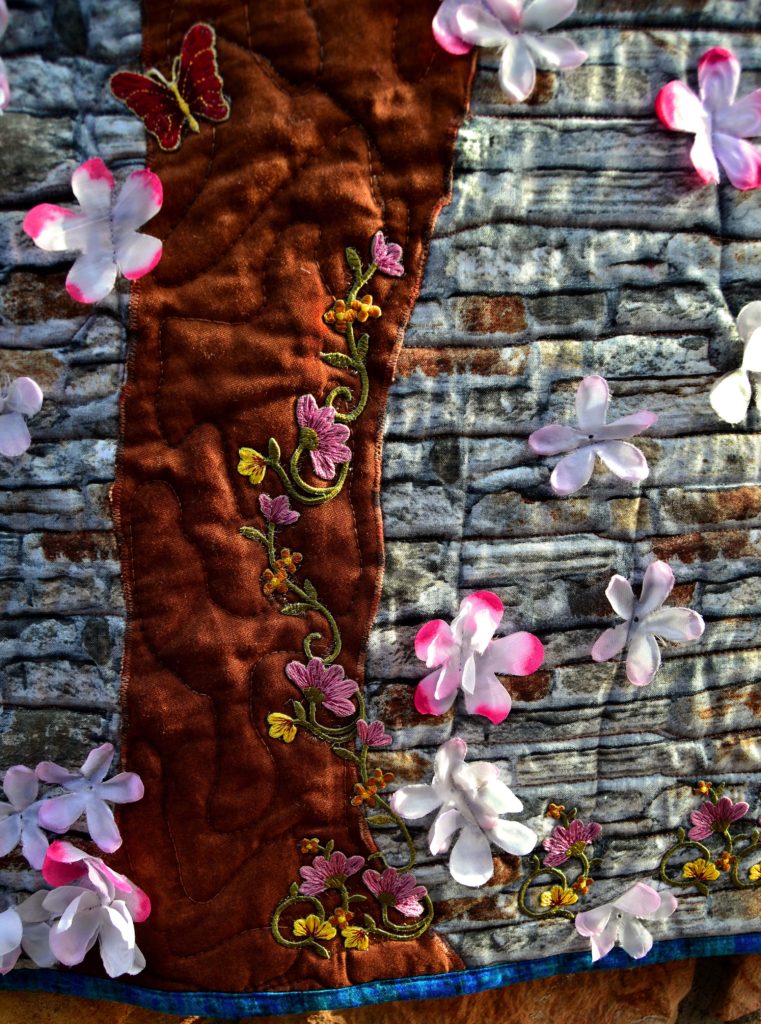
Here I used free motion quilting to trace the figures of the panel with gold thread – creating a 3D effect
So always remember, fast needle and slow hands!
These are all the tips I can think of right now. There is nothing like laying out your project after you’ve quilted it and being thrilled with how it’s turned out. So be brave intrepid fabric explorers and let your inner quilter loose!