
Every quilt must be finished off with an edge, or what quilters call “binding.” The trick is in knowing how to sew binding on a quilt, or a quilting project. Getting a beautiful, project-relevant, and most importantly flat binding onto the edge of your quilt is not as simple as it sounds.
It may not surprise my fellow rebelliously creative quilting artists to know that the first thing I did in learning how to sew binding on a quilt was to throw out the majority of “expert” advice.
It did take some trial and error, but I’ve been using my “Flat and Smooth Every Time” Binding Process for the last thirty or so projects I’ve done, and I get flat binding every time.
The idea of traditional binding is really pretty simple, you make binding by cutting your fabric into strips and sewing them together in one long strip.

The Hidden Binding Catch
Most quilt books and quilting patterns will tell you to cut your binding strips 2 ½” wide. You then sew your strips together on the bias, and then sew the strips around the edges of your nearly complete quilt sandwich.
There are, of course, a number of different techniques and instructions for how to sew binding on a quilt – some go fast and some are seriously time-consuming – but all of them will get an edge on your quilt.
They just won’t get your binding to look smoothly flat and professional.
Tricks & Tips to Get Your Quilt Binding to Lay Flat & Look Smooth Every Time
When I was new to quilting I tried a number of different techniques, line-by-line out of the quilting books, but I was not truly happy with any of them. And if you go back through some of my earlier projects and look closely at the bindings, you will see that my bindings didn’t lay perfectly flat.
Princess YellowBelly’s “Flat and Smooth Every Time” Binding Process
The true difference between our technique and every other quilt binding process is the strip widths. After that you can pretty much use any sewing technique you like, although our way of knowing how to sew binding on a quilt goes quickly and requires the least amount of nitty-picky work.
Step 1 – Pick the Right Binding Fabric
When you’re at the beginning of figuring out how to sew binding on a quilt; take a good look at your project and decide if you want your binding to fade away, to make a contrasting statement, or to be a frame for your project.
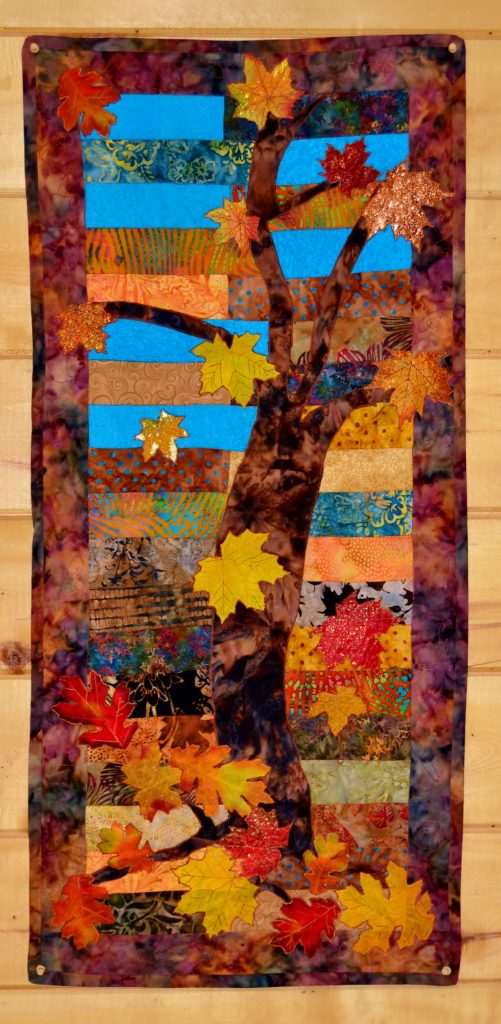
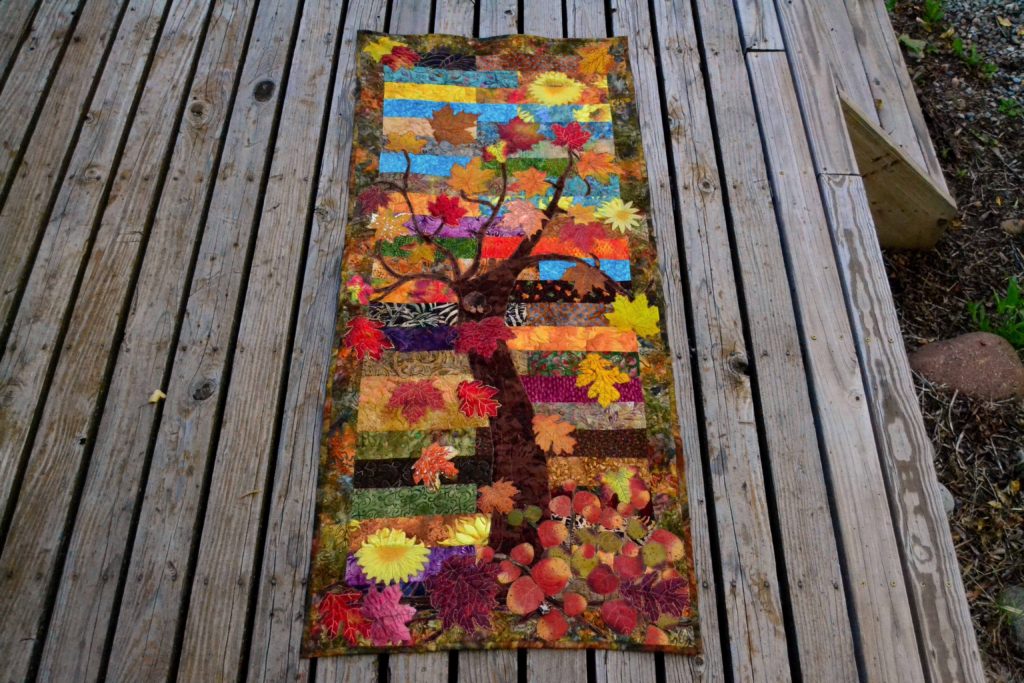
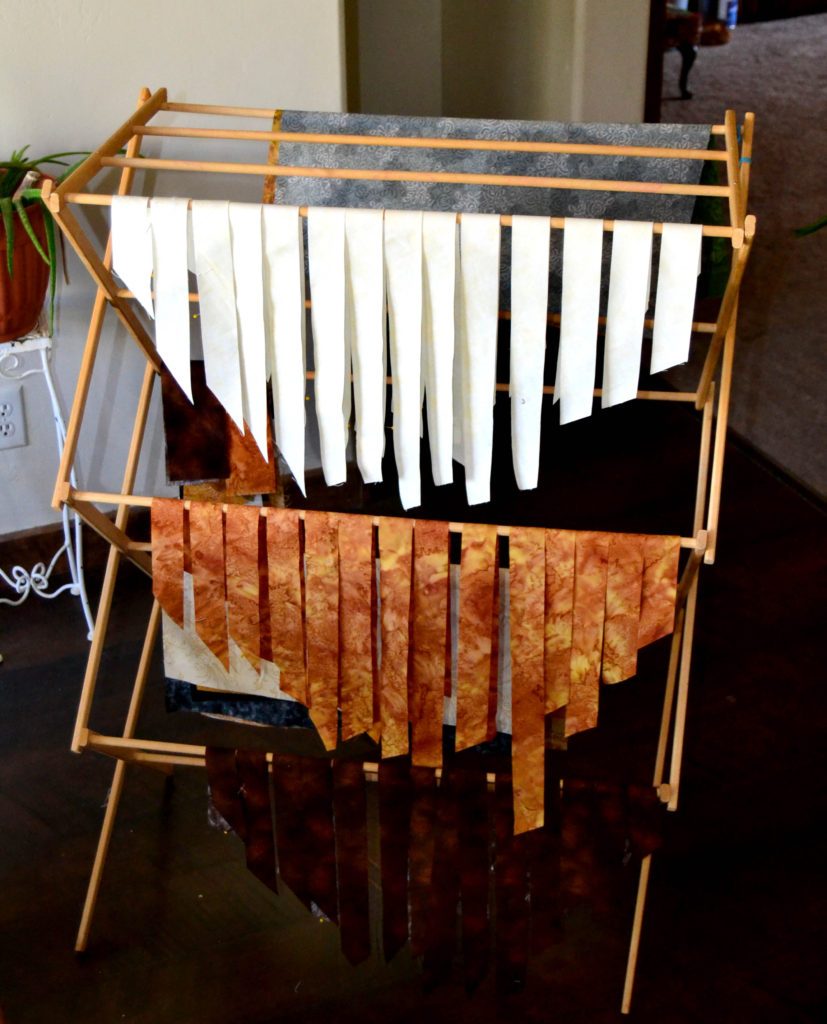
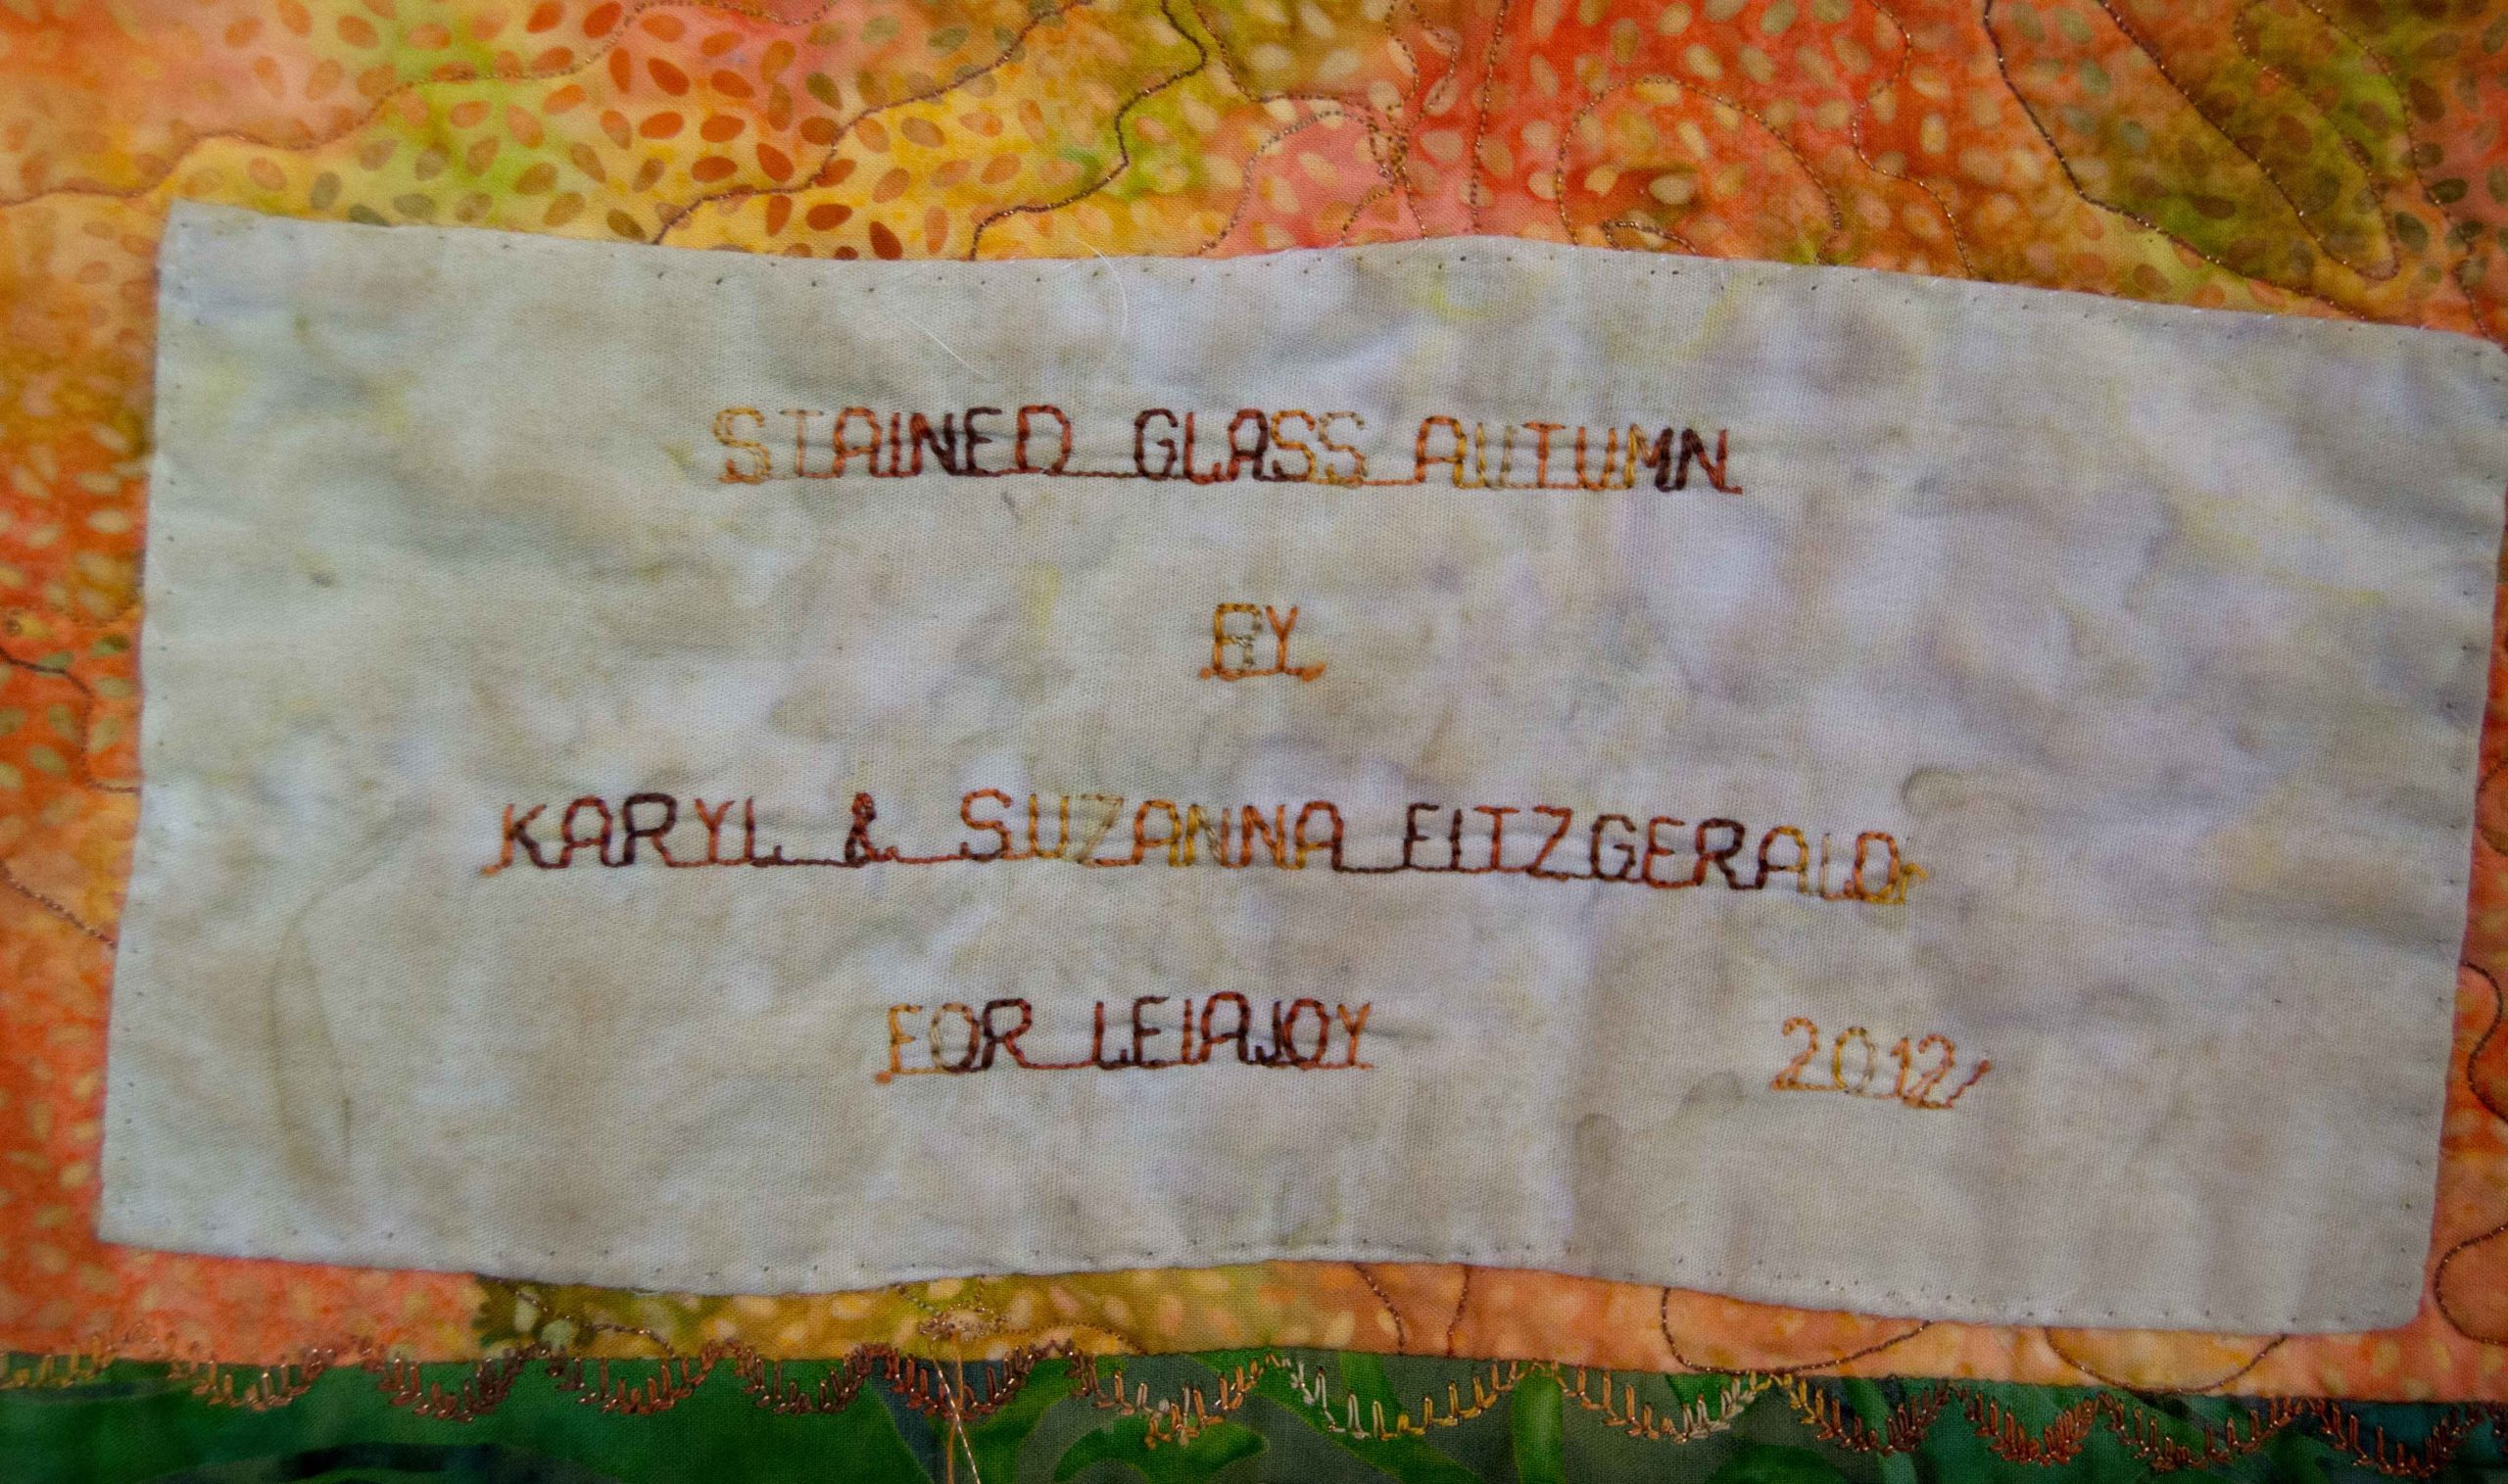
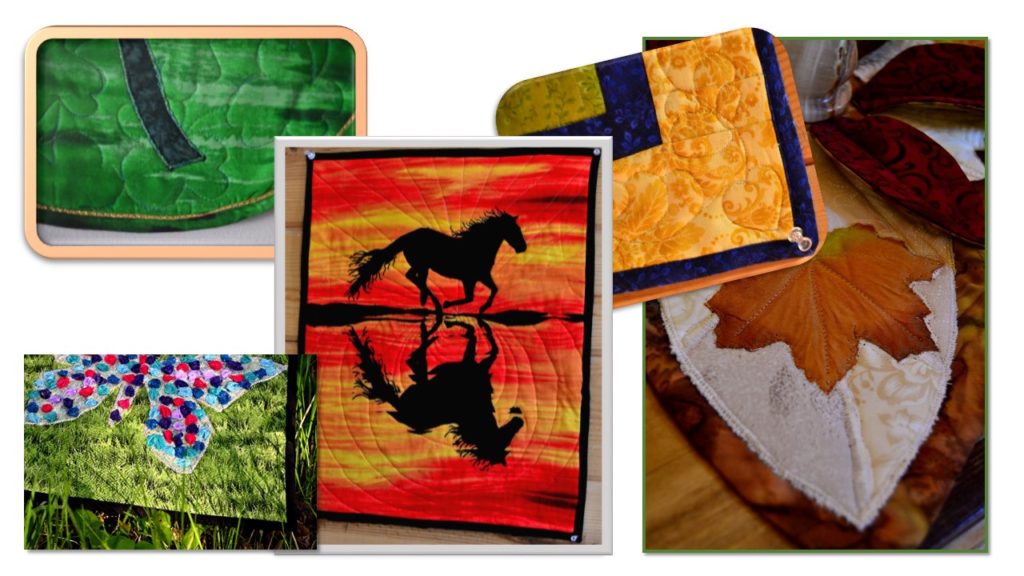
On my ‘Autumn Daze’ panels I used a mottled brown-green-gold batik fabric that I also used in the project itself. This binding is a great example of “fading away.” It simply finishes my fall-themed wall-hanging without drawing the eye away from the landscape scene.
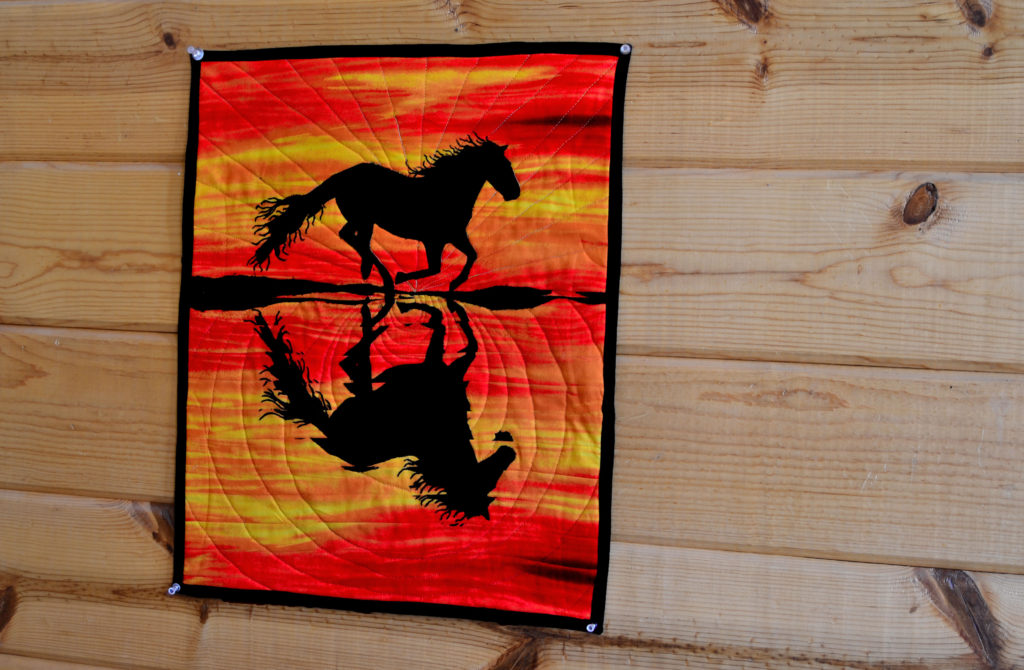
However, when I’m doing a silhouette such as ‘Running Wild,’ I bind it with black. This makes for a dramatic binding without distracting from the overall effect of my image, since the black binding picks up the black of the silhouette and nicely frames the panel.
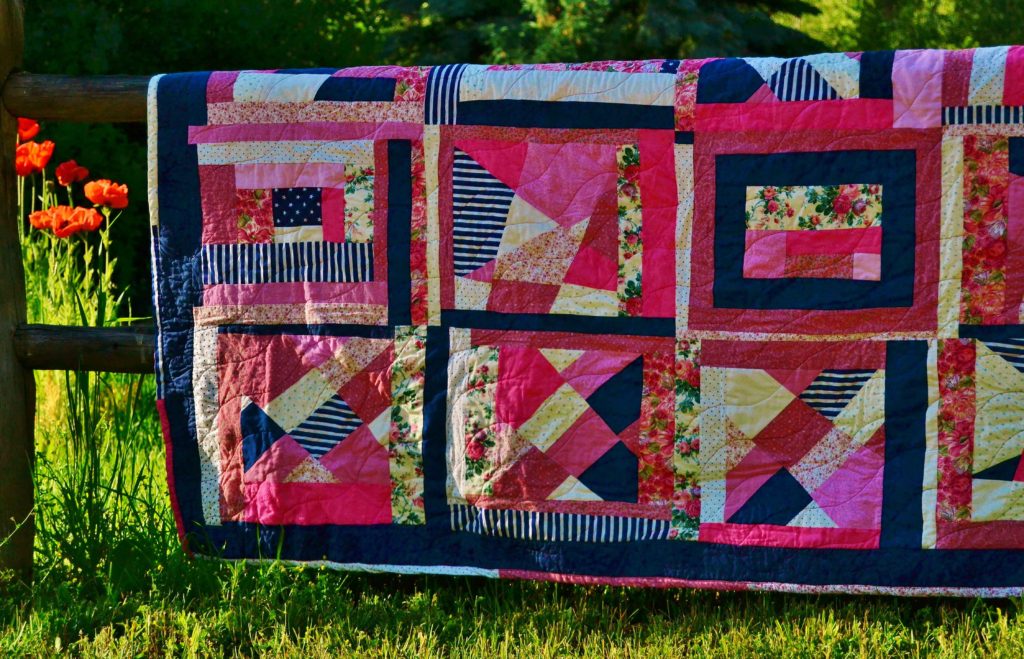
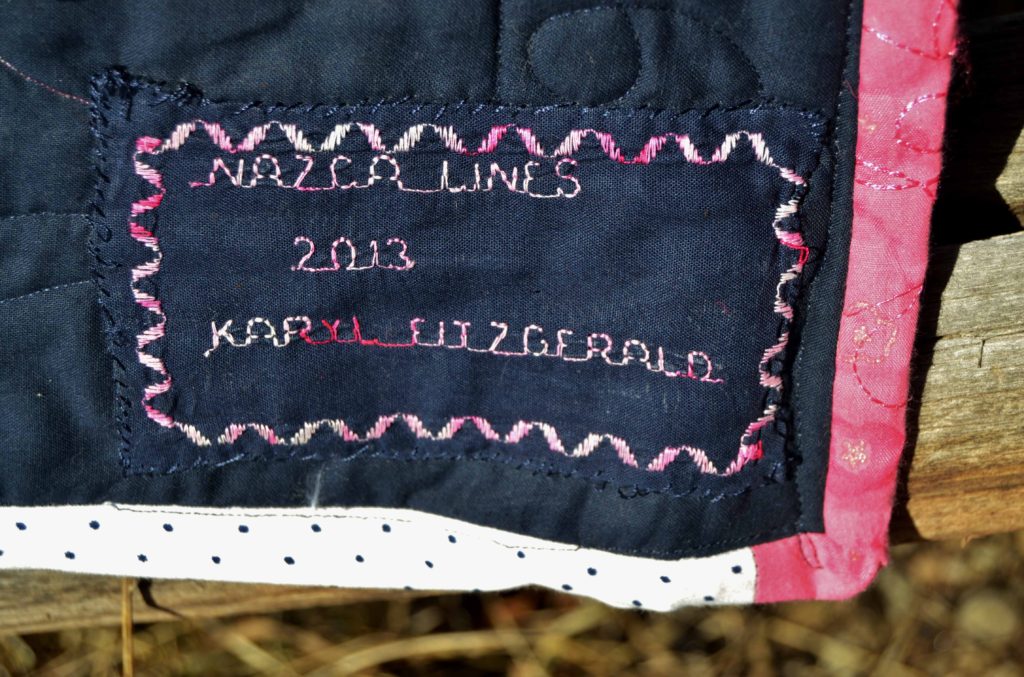
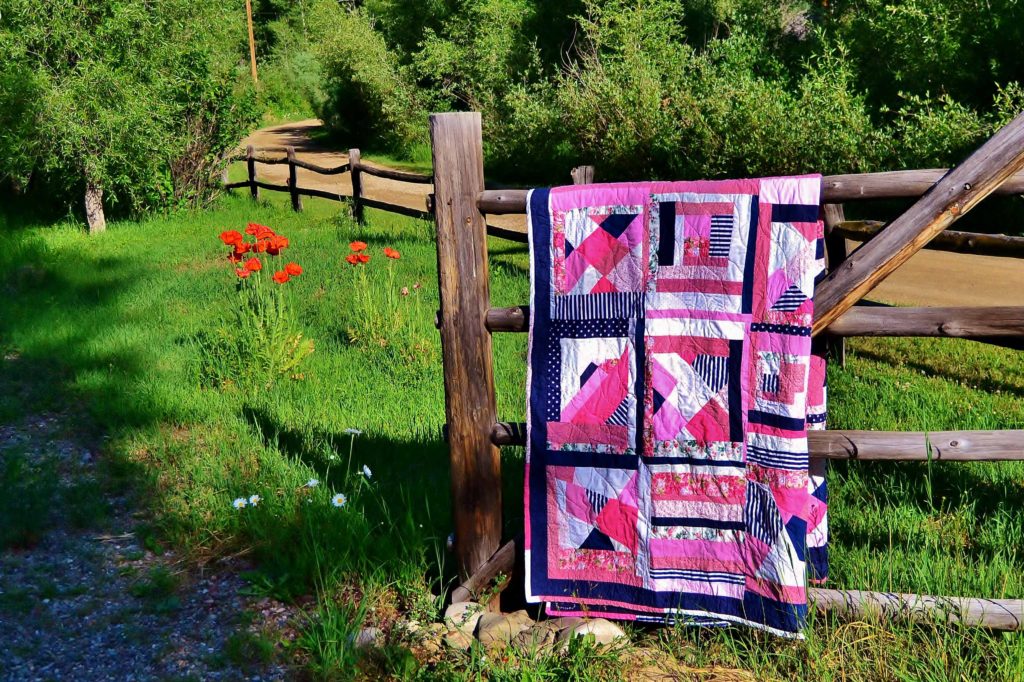
Sometimes, though, nothing will blend in – or you don’t want it to. Sometimes the binding itself needs to make a strong statement. This was the case with my ‘Nazca Lines’ quilt, where I used a candy-striped binding to finish off this crazy quilt with a definite statement.
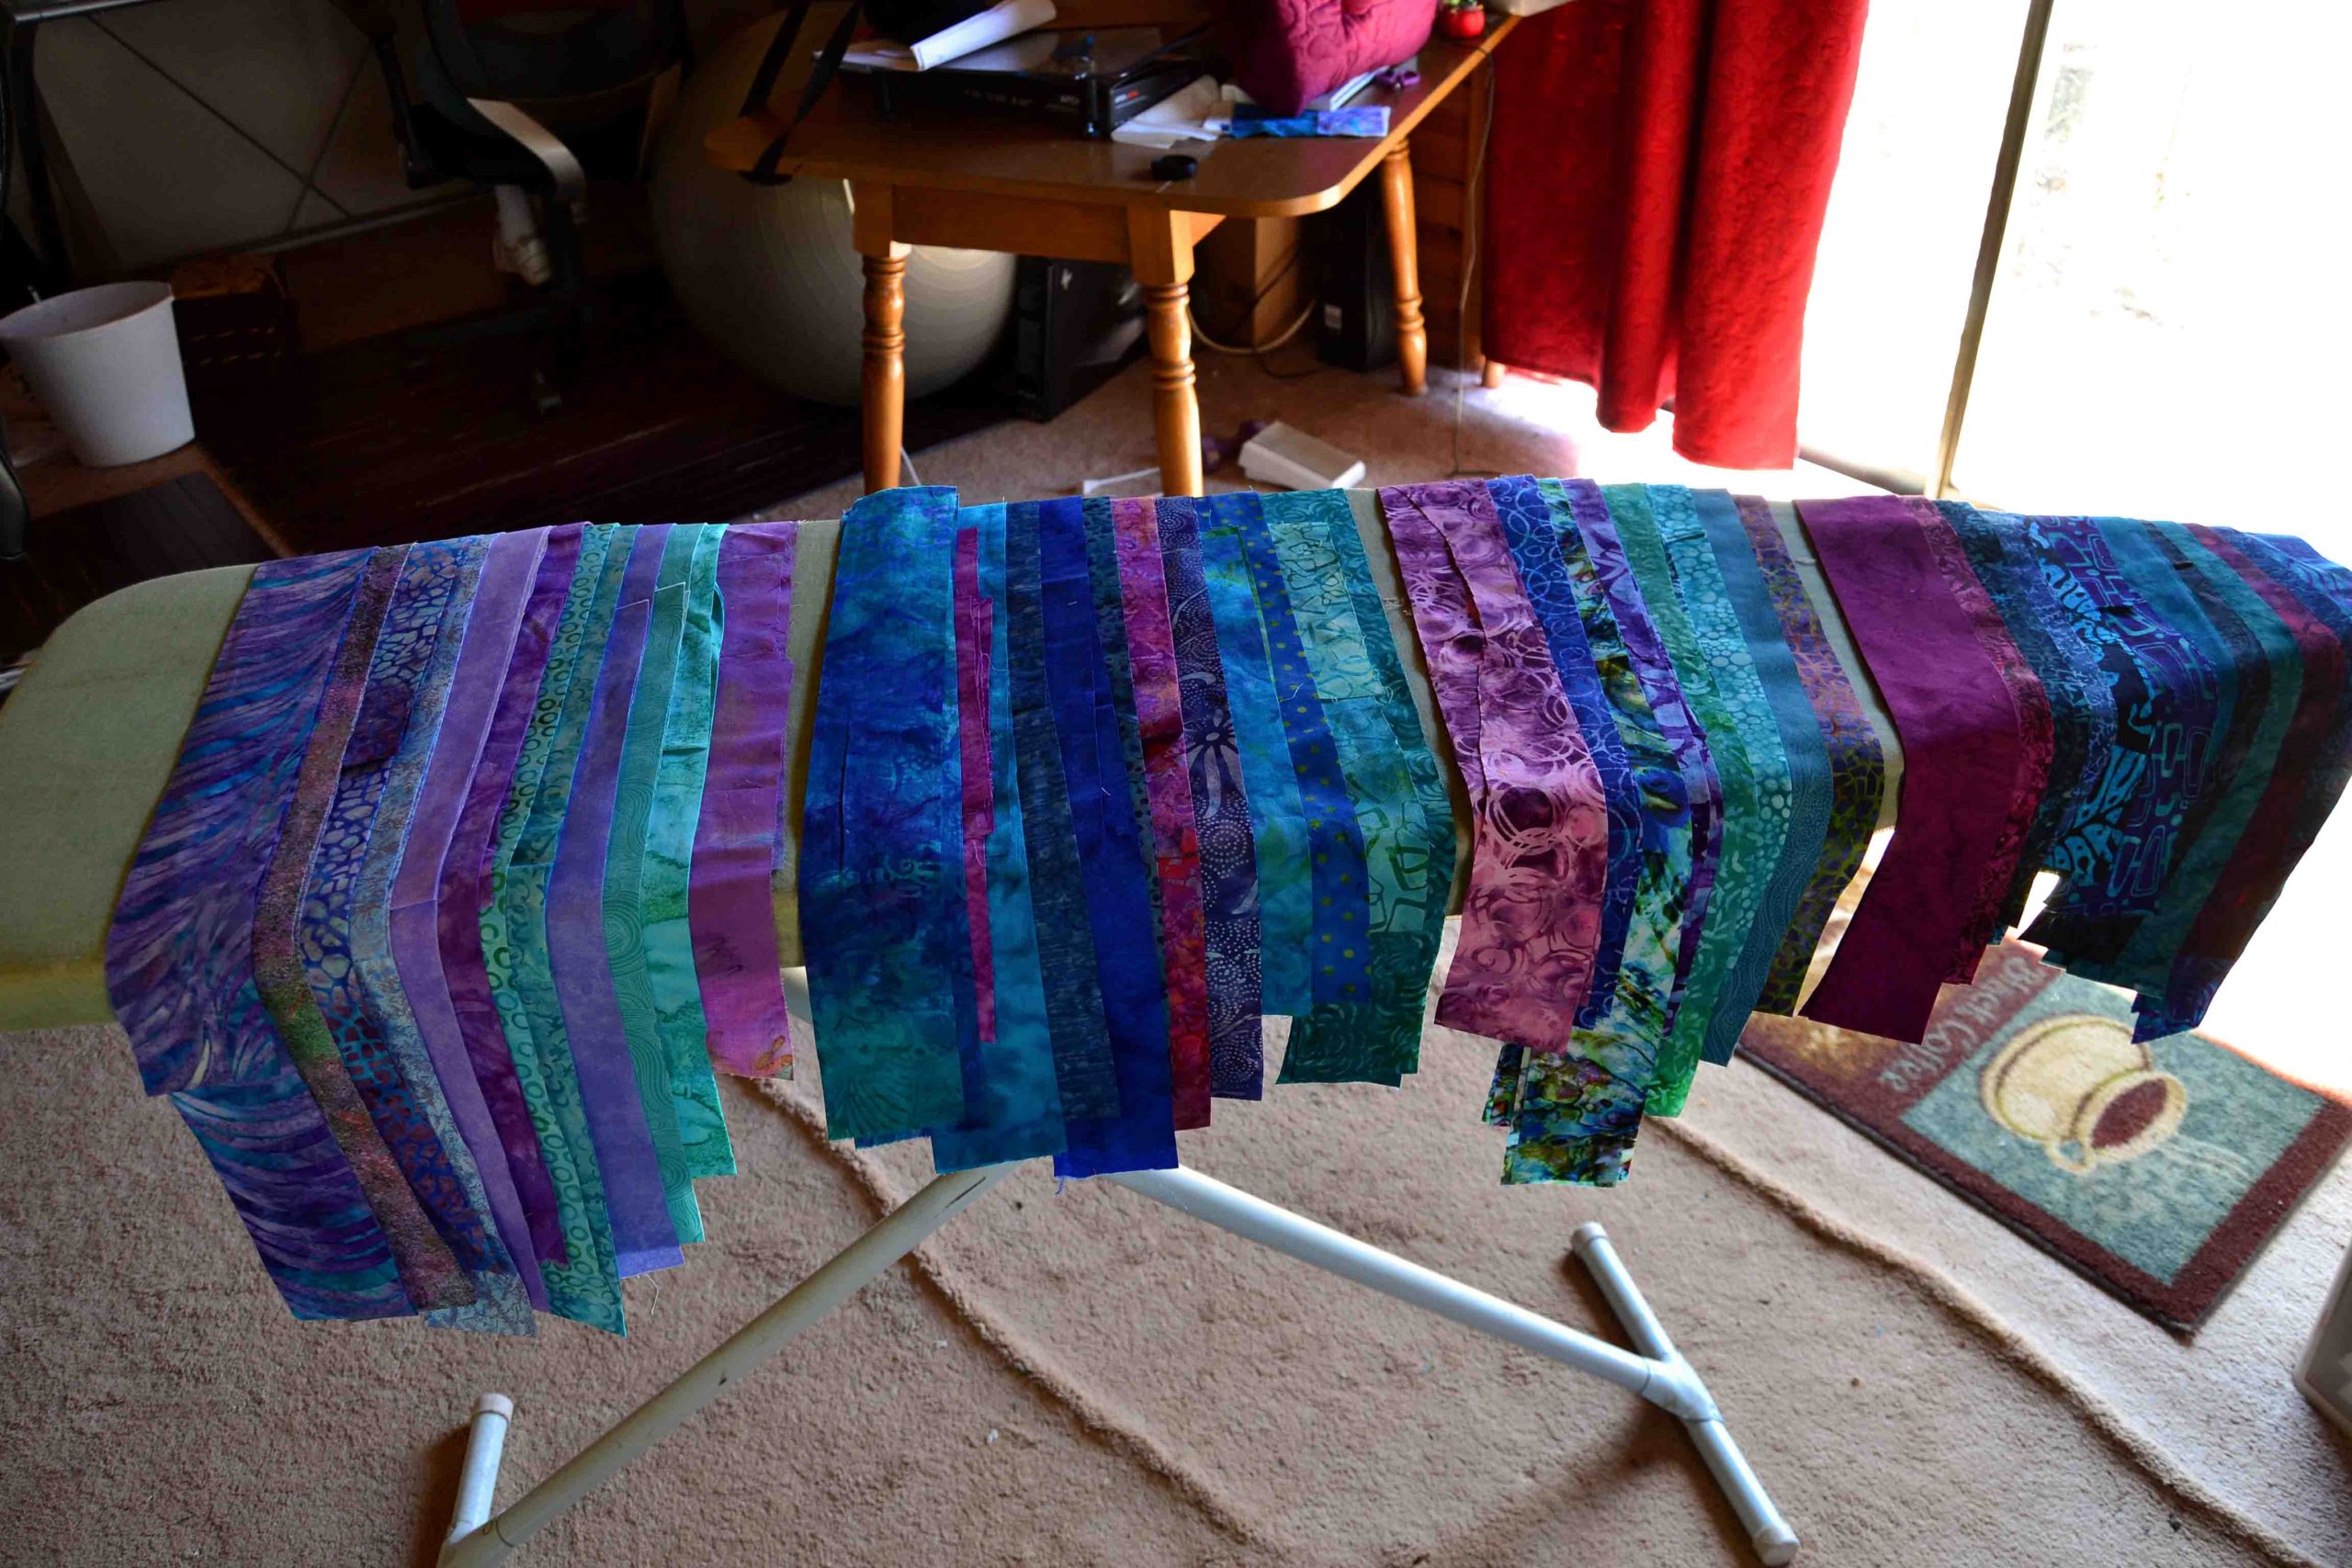
I always pick out a choice of fabrics that I think might work for a certain project and lay them out alongside my quilt.
It often surprises me which fabric looks best.
However, I do most often choose a fabric that I’ve already used in my project because it helps keep the flow going.
Step 2 – Cut Narrower Binding Strips
This is my biggest secret, and it’s so terribly simple I’d feel guilty about writing such a long article about it…if this one simple technique hadn’t saved me so much frustration.
Cut your binding strips 2 inches wide on the bias.
Having the narrower strips to start with means that the binding will have less wiggle room for making pleats. The binding will wrap much tighter around the edge of the quilt, which reduces your risk of getting bubbles, or loose fabric that can make your project look unprofessional.
Step 3 – Find the Grain of Your Binding Fabric
Before cutting, pull gently on your fabric in first one direction and then the other. The fabric will stretch quite a bit one way (this is called the lengthwise grain) and not nearly as much in the other direction (this is the crosswise grain). I have discovered that you ALWAYS want to cut your binding on the crosswise grain because it reduces the stretching and eliminates most of the wrinkles that happen when your fabric is stretching too far.
This means that you need to fold your material and cut it so that your lengthwise grain makes the 2 inches across, and the crosswise grain is the long 20 inches or so.
When you’ve sewn the binding to your quilt, the binding won’t stretch or pull loose with time, because the stitching will pin the stretchiness of the fabric into place forever. Cutting your fabric on the cross-wise grain usually requires re-folding and re-figuring but it is well worth your while.
Step 4 – Cut Extra Strips
Always Cut More than You Think You Need
It’d be easy to think that you need to cut the same length of binding strips as your quilt is around. But that’s not how it works – and don’t ask me why.
Once you have your fabric folded right, measure the length that each strip you cut will be. This will differ with each project depending on how you have to fold the fabric so that you can cut it on the cross-wise grain.
To figure out how many strips you’ll need to cut, simply divide the total circumference of your quilt by the length of each strip you will cut. For example, if your project is 157” around, add 15” for starting and finishing. This gives you 172” total. If your fabric strips will be 45” long each, simply divide 172 by 45 = 3.82, which means you cut 4 strips of 45” long each.
That total is the number of strips you’ll have to cut to make enough binding to finish your project.
Always remember to add approximately 10” – 15” to the total circumference of your quilt. Otherwise you’ll run short, and have to cut another strip or two and try to add them on while you’ve got most of your binding attached to the quilt – which is a major pain-in-the-neck.
Step Five – Creating Binding on the Bias
Once you have your strips cut, you’ll need to sew them back together again to make one long strip. When I started I simply joined each strip to the next one with a straight seam, but I gradually discovered that I didn’t like that look (it’s really obvious). Other problems with this method of how to sew binding on a quilt were:
- The seams were very thick and made a lump in the binding
- And they also didn’t go around corners or curves smoothly
So I learned how to sew them like a bias strip is sewn and that has made all the difference.
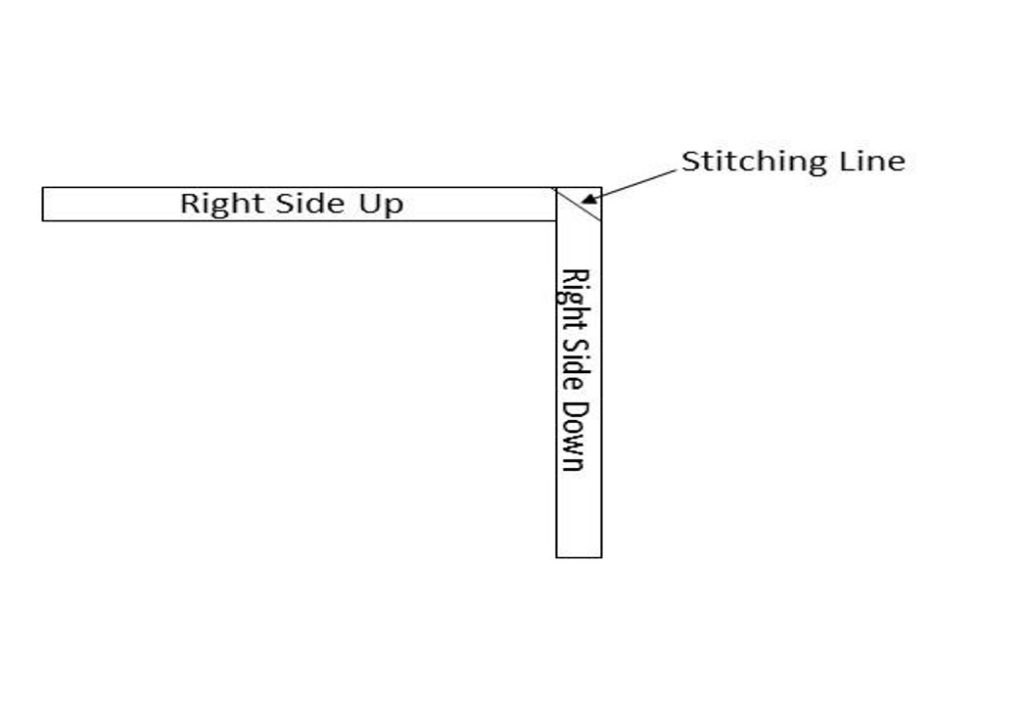
Sewing Bias Seams
Lay your strips end to end with right sides up.
Lay the 2nd strip on top of the 1st at right angles so that the 2 ends make a square. Pin this, and then sew a diagonal seam from one corner to the other.
Trim the excess down to ¼” and iron flat.
Turn to the right side. You should now have one long strip with a diagonal seam joining them together.
Repeat for as many strips as necessary.
Always check before you sew the next strip together that you are joining the right sides. With bias it’s not always easy to tell and then like me you’ll end up with a couple of strips sewn backwards right in the middle somewhere.
One of the great advantages of sewing your strips together with a bias seam is that your seam starts and ends at a different place so when you know how to sew binding on a quilt, you don’t sew through 2 seams at once. Much less bulk!
In fact, I often can’t find the joining seams on the binding when my project is finished!
Step 6 – Folding & Ironing
Iron your binding strip by laying out your binding strip wrong side up on your ironing board and spray starch. Before ironing, fold your binding strip in half, being careful to line up your edges, then iron down.
This will give you a long, continuous strip that is 1 inch wide with the right sides out.
Step 7 – How to Sew Binding on a Quilt (Backside First)
Sewing your binding strip to your project. This is one of my favorite steps. Not only is it the last one, but also one of the easiest.
Start by laying your strip on the back side of your project about 2/3rds of the way down one long side. This starting seam will be a straight across one and thus bulkier than the others, so I always try to put it where it will be the least obvious.
Line up the raw edge of your binding strip with the raw edge of your project. Leave approximately 4” loose at the beginning and start sewing a regular ¼” seam from there on. I never bother pinning the binding – I just smooth and gently tug the binding and project edges as I go.
Sew all the way around and stop approximately 4” from where the strip begins.
How To Sew Binding on a Quilt’s Corners – Back
There’s a trick to making your corners flat and smooth – of course there is! Here it is:
- Slow down as you come to a corner and stop altogether when you’re ½” – ¼” inch away.
- With the needle down, lift your foot and turn your project at a 45 degree angle toward the corner.
- Put your foot back down and finish your seam straight into the corner, pull your project completely out, and cut off your threads.
- Next, turn your project so that you will be ready to sew down the next side.
- Before beginning to sew, lift the long end of your binding strip up and over the side you’ve just sewn.
- Then fold it back down, so that is straight and even along both the top and side edges. Start sewing your ¼” seam again straight down from the edge.
Repeat for the 3 remaining corners.
Joining the Ends
Stop sewing when you get within 4” of the beginning of your binding. Overlap the ending strip with the beginning at least 4”. This will give you 8” to get your ending seam sewn and you will need every inch of it.
To mark where to sew your seam, bring both ends together so they meet. Mark this line with chalk at both ends, front and back. Then, open up both ends and with right sides together match up your chalk lines and pin.
Your middle creases should also match.
Baste this seam and then lay the binding down on your project. If the binding lies flat and smooth, then sew the seam with a regular stitch. If it’s too short or too long, simply baste a shallower of deeper stitch line until the binding fits precisely.
Trim off the excess binding, fold the remaining binding back together, and stitch down. Ta da!
Truth be told, joining the binding ends is nitpicky and annoying but necessary, and when you’ve done it a few times, easy.
Your binding should now be sewn down all the way around on the back side of your project with the raw edges even. Using a water spray or steam iron, pull the binding gently away from the backing and press it flat. This is also a very good chance to inspect your binding and make sure you caught both sides of it in your seam.
Step 8 – How to Sew Binding on a Quilt (Finish on the Front)
Thread your machine on top with thread that either matches your binding exactly or use invisible thread. This is NOT a place where you want your thread to show. Load your bobbin with thread that matches your backing fabric.
Every machine is different, so on a scrap piece of fabric, practice sewing right on the edge of a line. Note where your foot has to be, so that you don’t sew too shallow or too deep.
We do this because to sew your binding down on the front neatly, you must sew a 1/16” seam or less. Otherwise, the edge of the binding tends to curl up. So pay attention to where this seam line falls on your foot, and then place your foot in that exact same location on your binding.
And sew slowly!!!! If you go too fast, you will wibble wobble and either sew in too deep, or miss the edge altogether. The tendency, when you’re sewing such an exact seam is to watch your needle. I have found that you’ll sew a lot more accurately if you watch your foot. Keep your foot lined up with your fabric and you’ll be fine.
I’m a lot better at this than I used to be – so be patient and fix the wawaws when you’re done.
As you get ready to sew, you will see the seam line along the front where you sewed the binding down on the back. This is your guide. Simply fold the binding over until it just covers this seam and stitch it there.
How To Sew Binding on a Quilt’s Corners – Front
Of course, you must take special care in the corners. As you come to a corner use a pin to hold down the edge and sew far enough into the corner so that binding edge stays down.
Reverse just far enough so that you can overlap the next side over this, and then continue sewing.
When you’re all done, spray starch and iron your entire binding again. This helps to take out any wrikles that may have had the audacity to make an appearance and also leaves your binding looking crisp and perky.
A Final Note on the “Approved” Method of Binding
You will find many quilt books and “professional” quilters who turn their noses up at doing bindings this way. For them, it’s not done right unless you sew it onto the front first, turn it to the back, and then hand stitch it down.
Barb does it this way. It usually takes her a couple of weeks to hand sew the binding of a queen quilt. It takes me a couple of hours.
Choose wisely when you’re deciding how to sew binding on a quilt.
To the greater good of your quiltivity,
Karyl (aka Princess YellowBelly)
Hello, after reading this remarkable article i am too cheerful to share
my experience here with friends.
Hello everyone, it’s my first pay a visit at this web page, and article is genuinely fruitful for me, keep up
posting these types of articles or reviews.
You actually make it seem so easy with your presentation but I find this
topic to be actually something that I think I would never understand.
It seems too complex and extremely broad for me. I’m looking forward for your next post, I will try to
get the hang of it!