
Now that we’ve properly explored how useful and important it is to be able to mend all mendable clothes for your family – let’s check in on the clothes that you’ll mostly be mending, and a few handy tips and tricks on how to mend.
How to Mend Denim Blue Jeans
Read the first part of the mending journey…
Jeans are the hardest garments to mend because they are the thickest, but also because the pant legs are quite narrow and therefore hard to get under your sewing machine needle.
Preparing the Patch
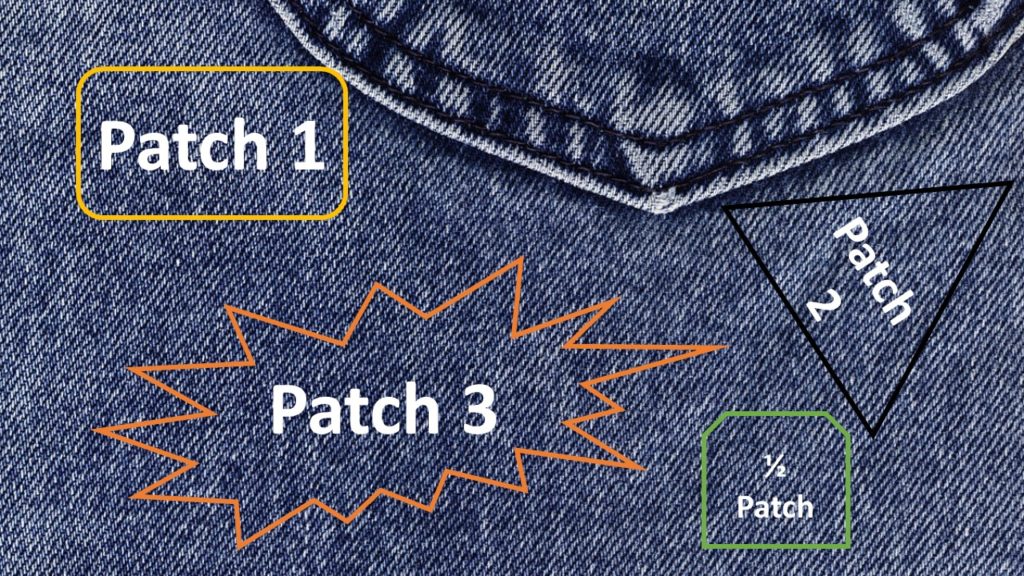
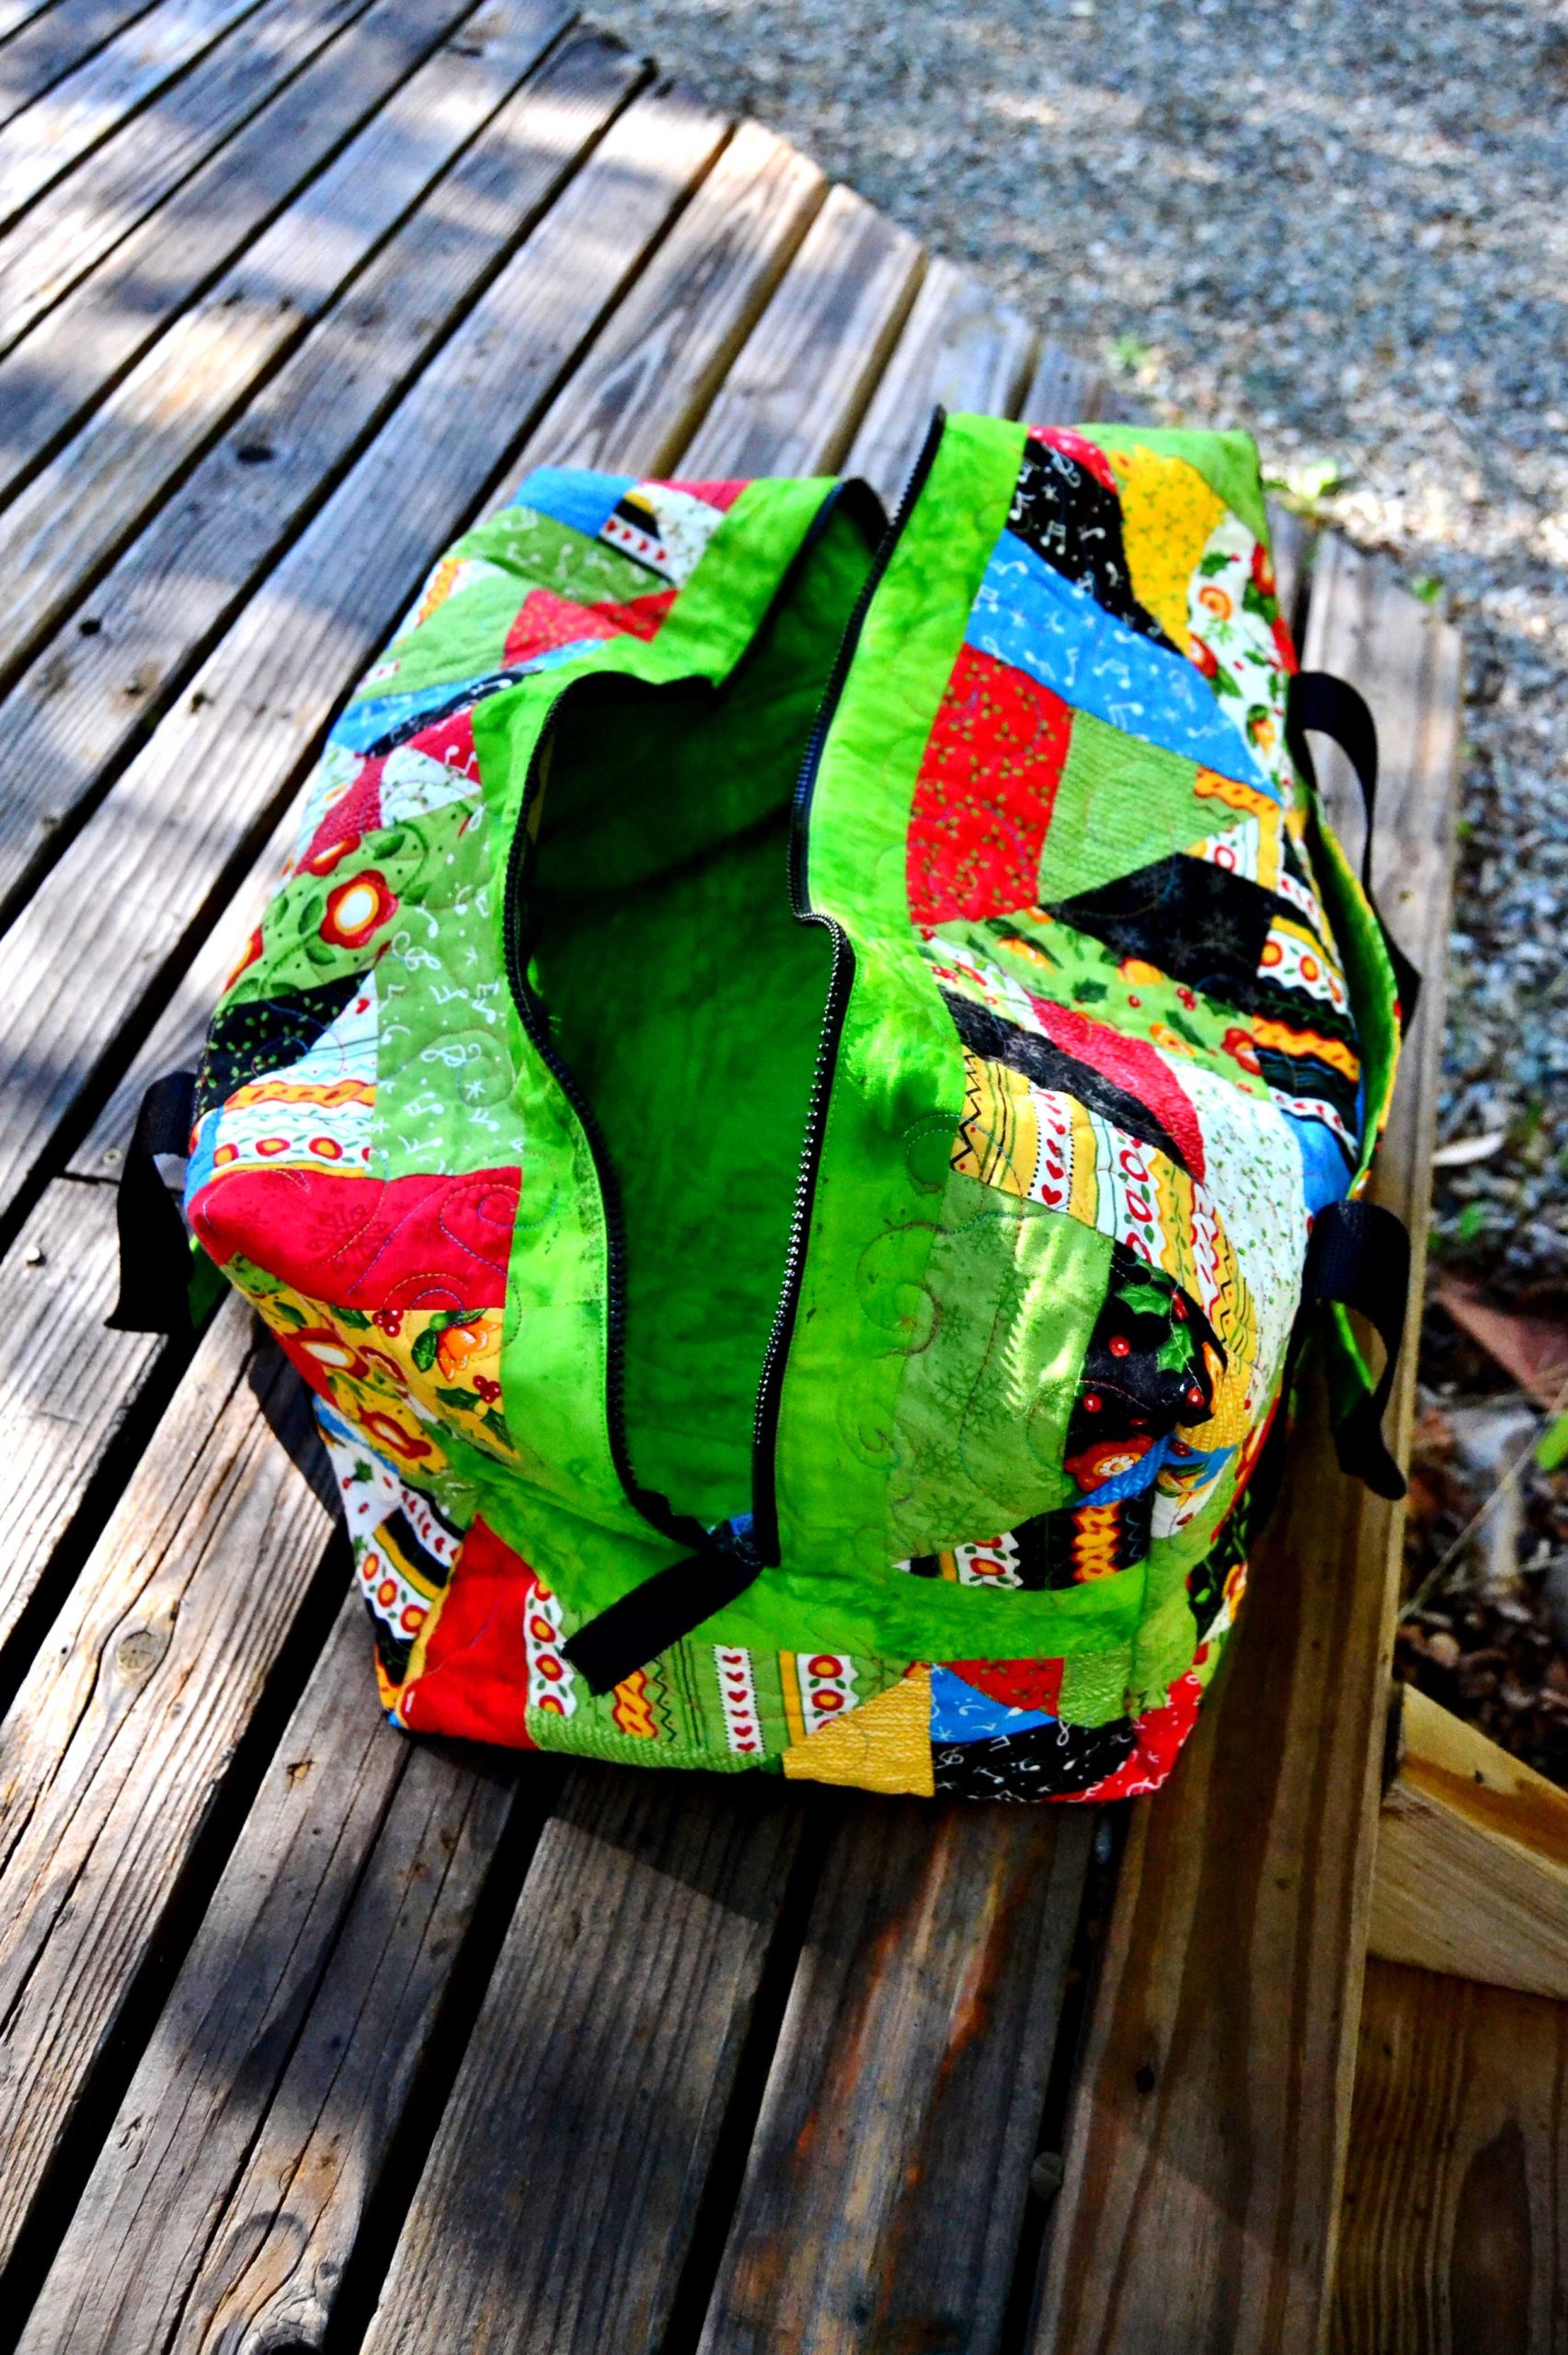
- Make a patch out of left-over denim you have in your stash.
Denim comes in all different shades of blue and many different colors as well. Try to find a patch that matches as closely as possible – sometimes the ‘inside’ color of a patch will match the ‘outside’ of the jeans’ color best.
- Make the patch big enough to cover the worn part around the hole, not just the hole itself.
If you just make it to cover the existing tear, you will have those same jeans to mend in just a short while with a new tear beside the patch you just put on.
- Cut your patch to fit the area it needs to cover – it doesn’t have to be perfectly square.
I just do this free-hand, and then I edge finish it with matching thread all around the outside.
Preparing the Tear
- Trim away any frays or white shreds of thread over the tear.
These just draw attention to the rotten spot.
- Turn your jeans inside out and pin the patch around 2 sides only.
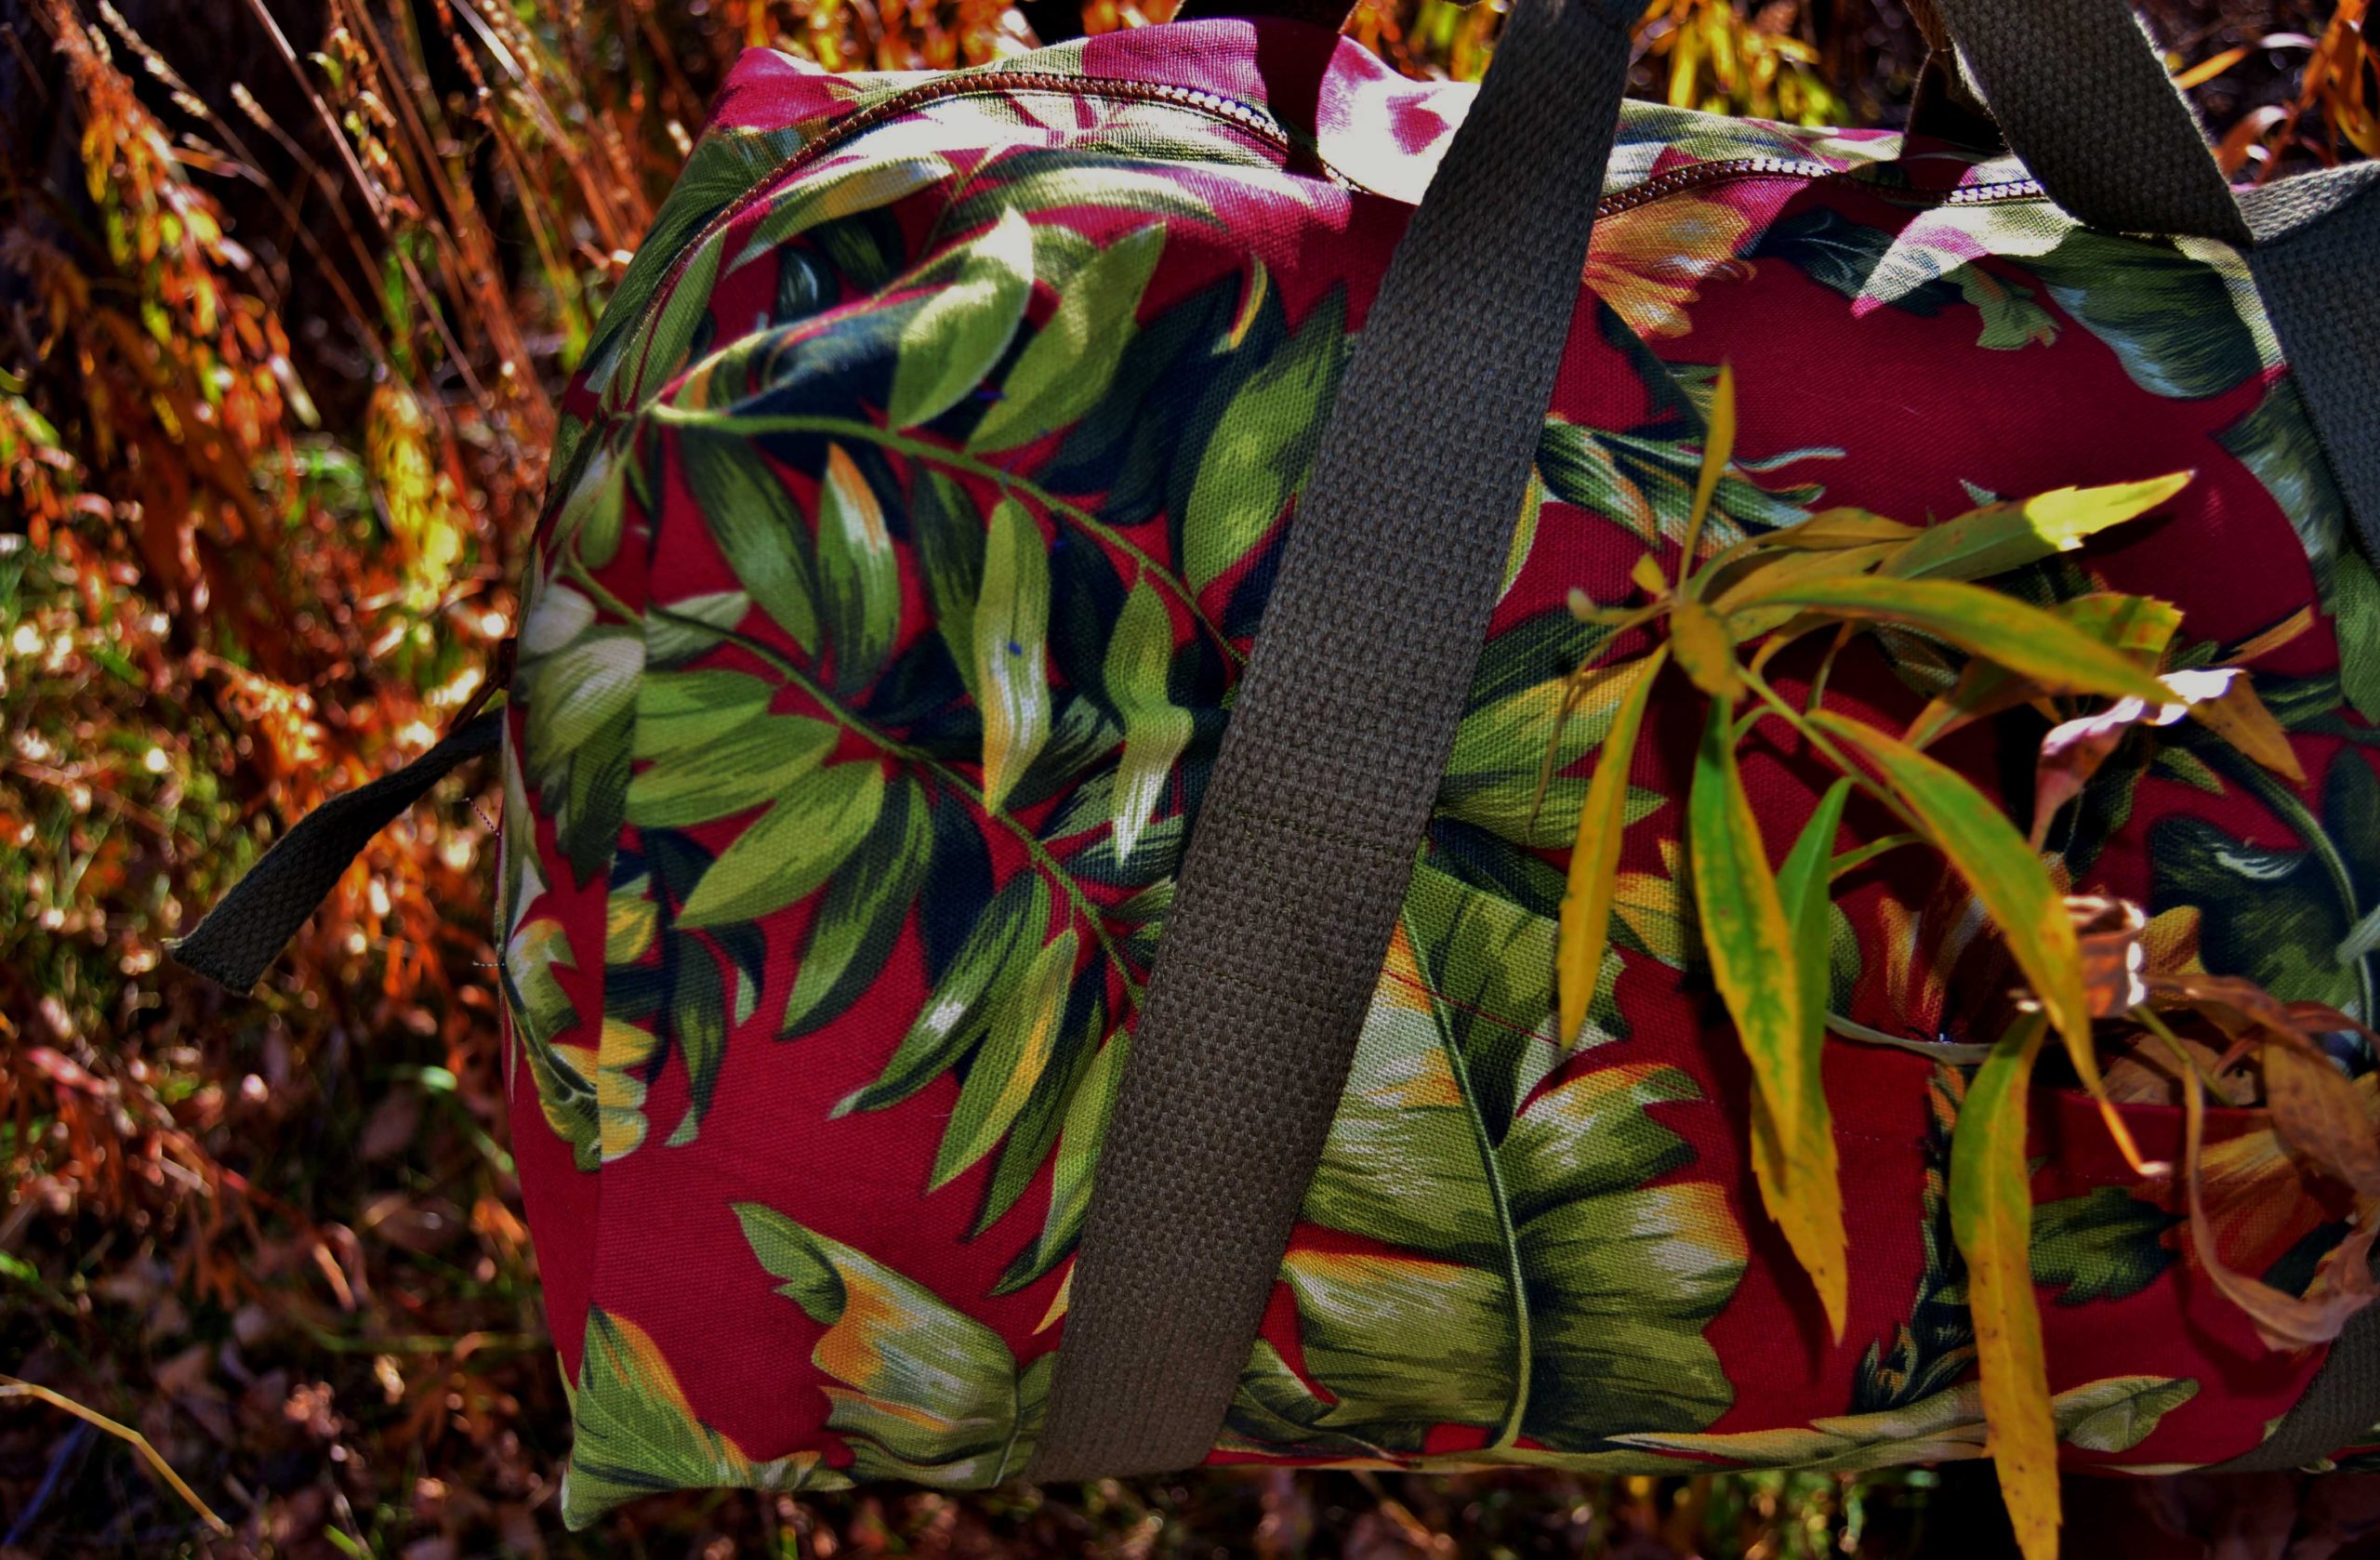
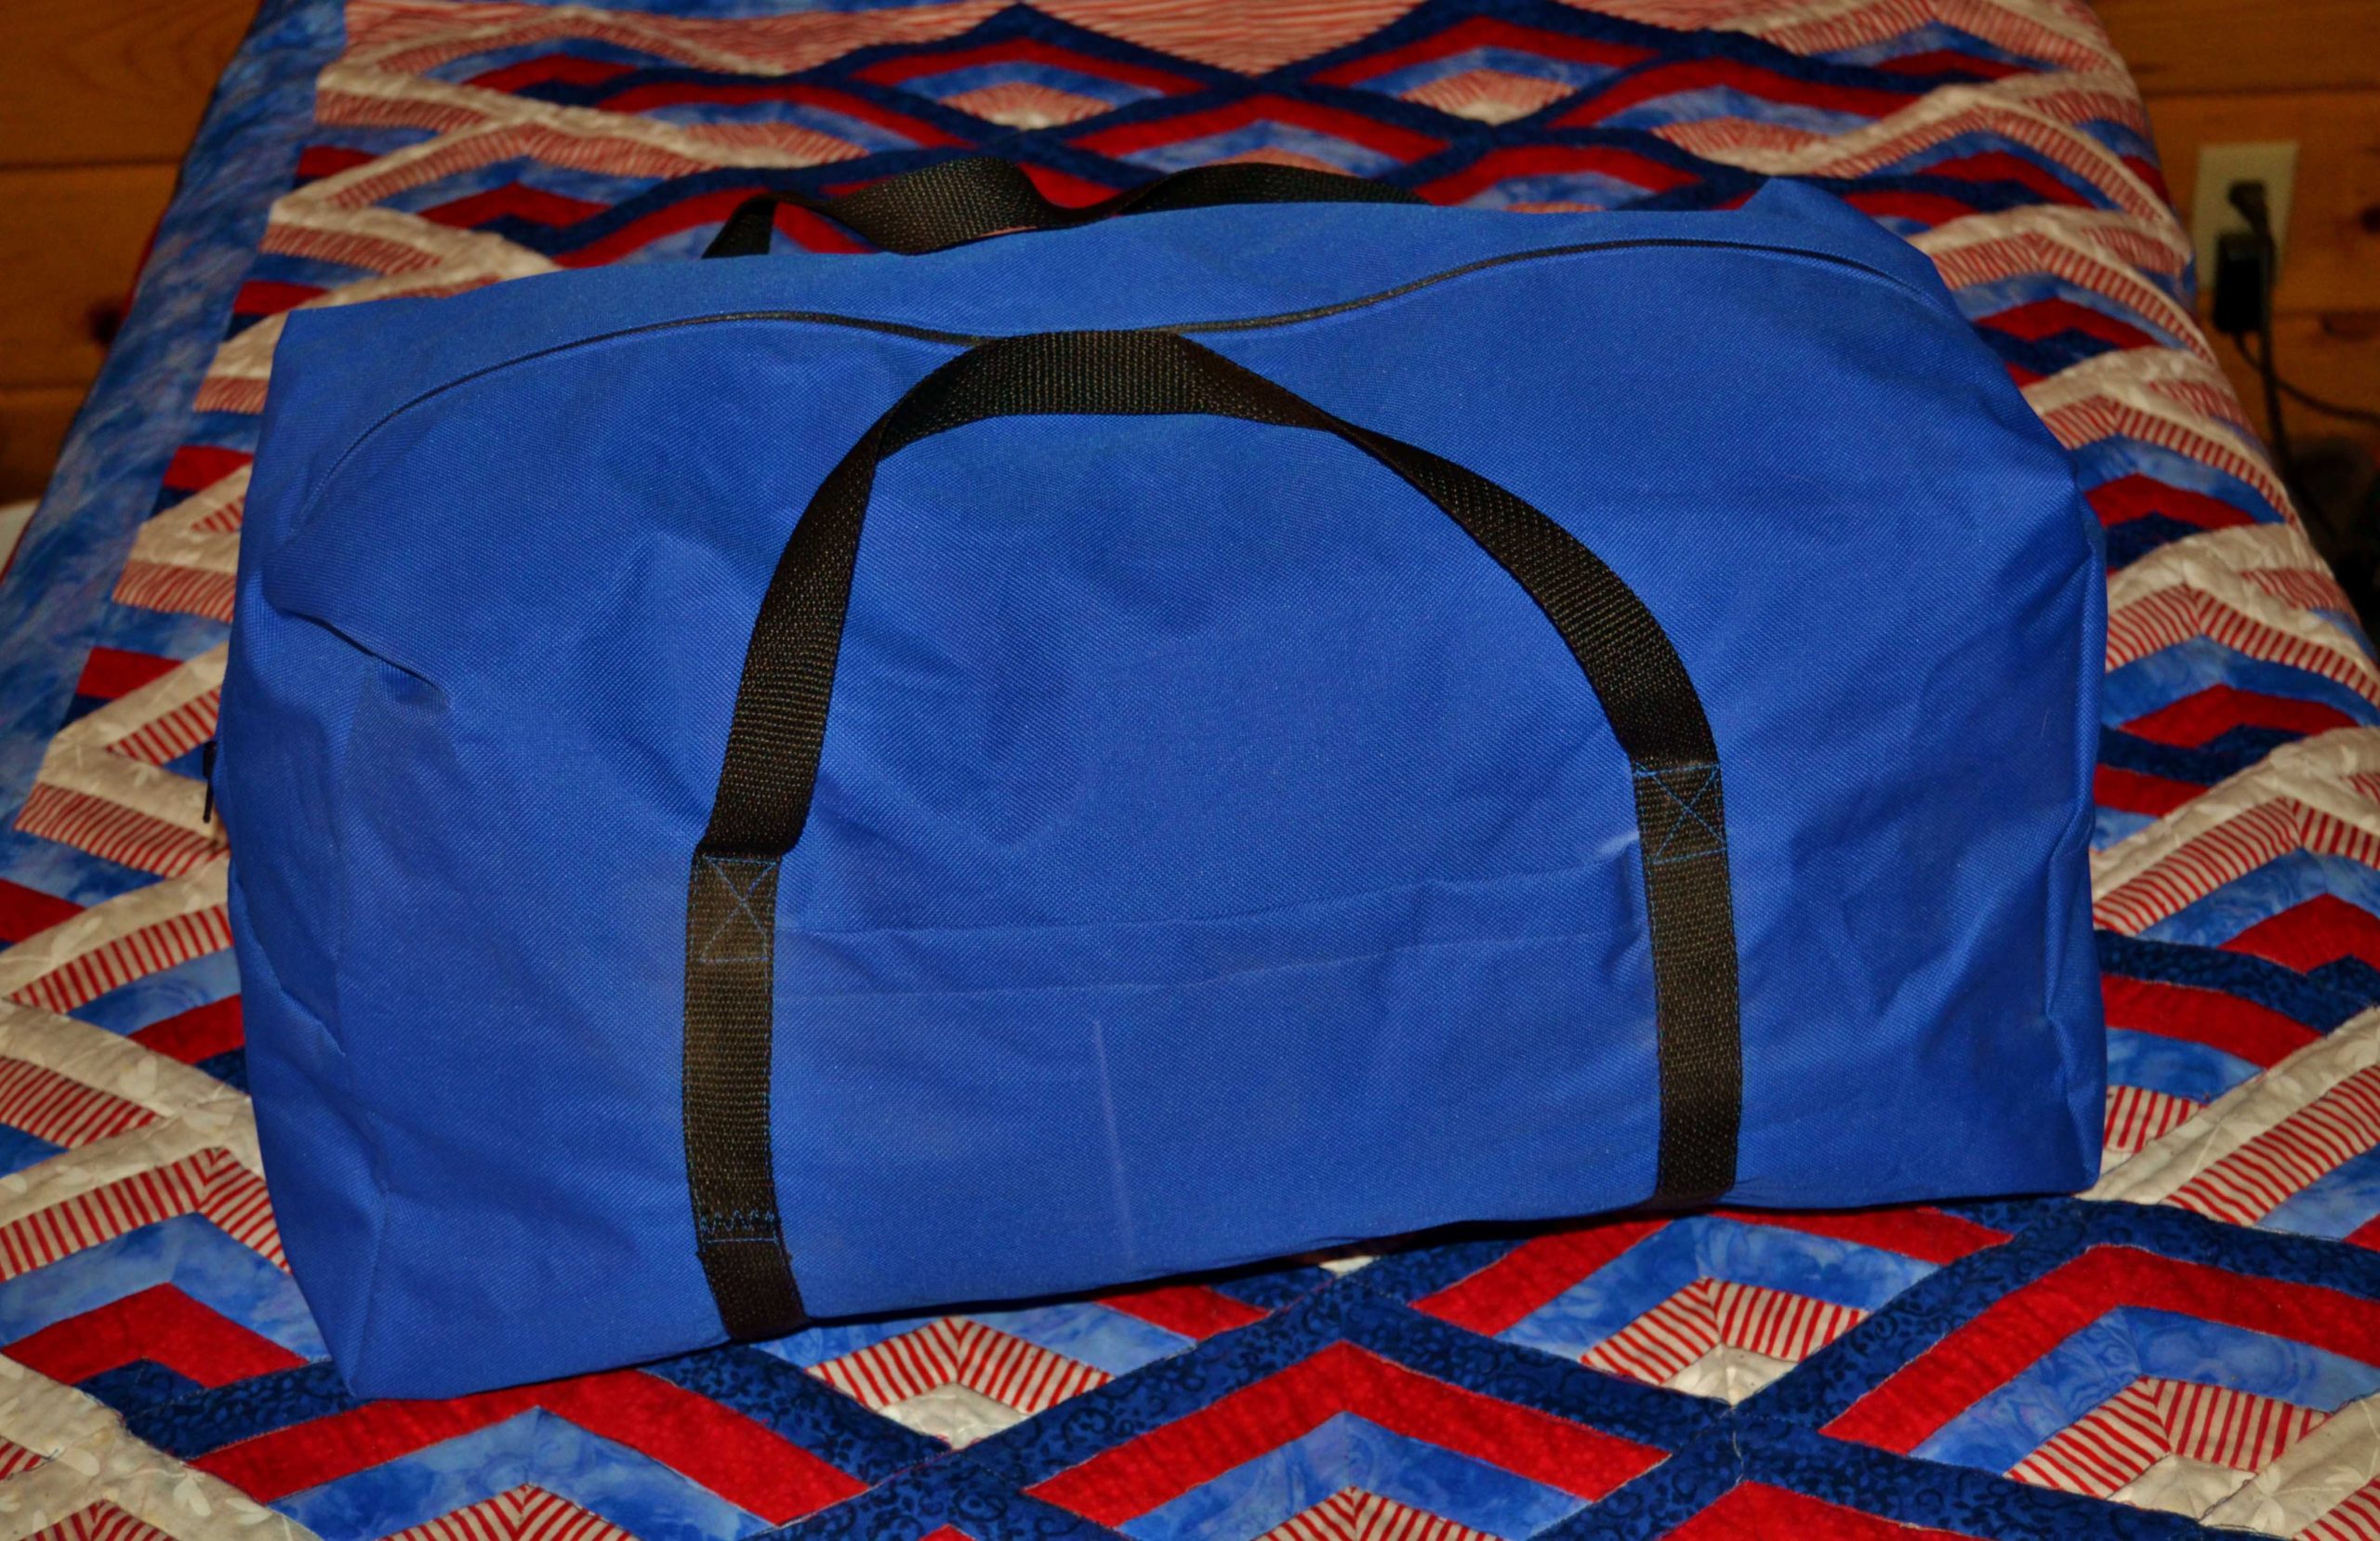
None of these are blue jean patches – but you can see the way patches work, and the different types of fabric that can be useful…
The jeans and the patch will both shift around as you sew and if you pin all 4 sides you will get pleats.
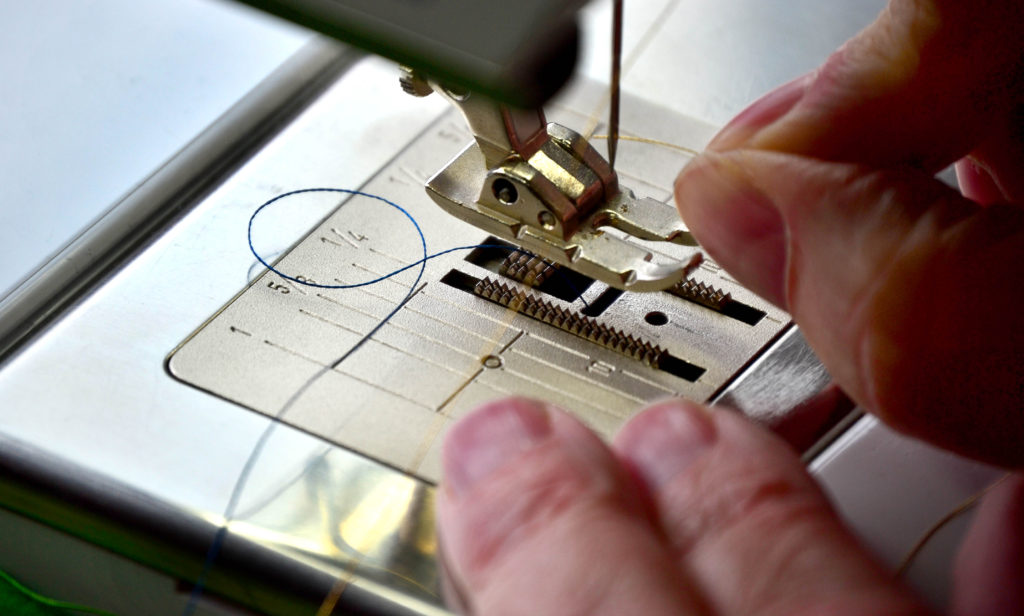
- Slide the storage caddy sleeve off of your machine
Doing this will allow you to slide the leg of the jeans over the narrower sleeve so you can sew flat and smooth. This will work for most pant legs and sleeves as well, not just jeans. If the fit is really tight, I will drop the feed dogs so that I can move the fabric more easily. If you find it just too tight and unworkable, sew your patch on by hand using a whip-stitch.
Mending the Hole
- Carefully sew a straight stitch all around your patch.
Make sure you have matching thread top and bottom for this part, if it’s close enough you may not even be able to see it once everything’s right side on and being worn.
- Double-sew back from the front.
Turn your jeans right-side-out and using a narrow zig-zag stitch around the edge of the tear so that it won’t fray any further. Done!
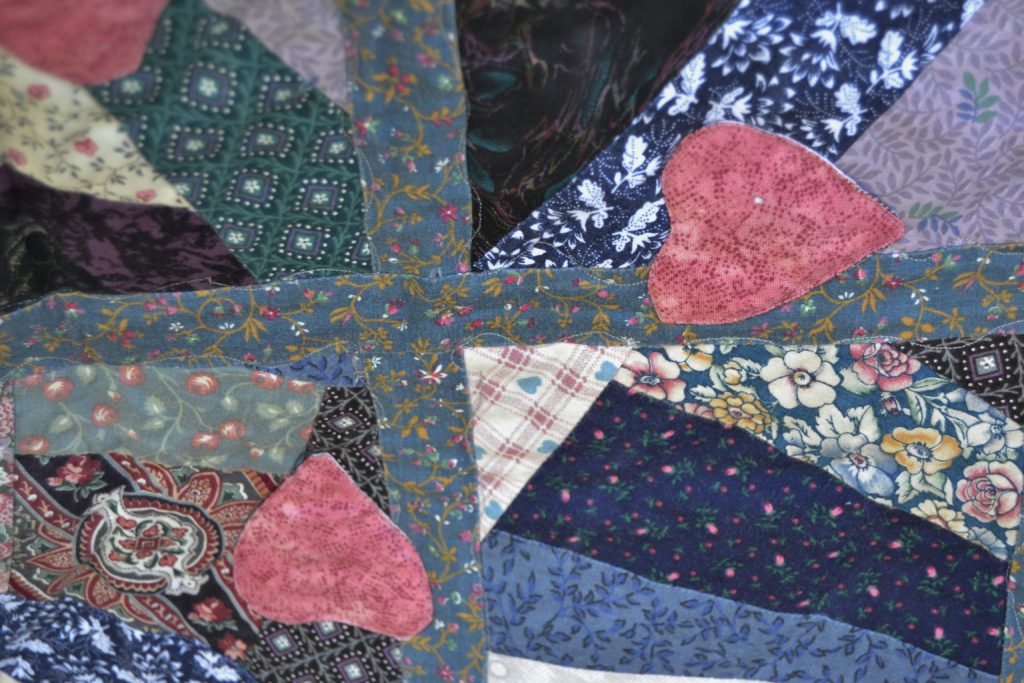
- If you can’t hide the patch – at all – start thinking of the denim like a blank canvas and get creative.
Sometimes I would make fancy patches for the girls’ jeans like hearts, stars or bunny shapes. These patches I would make out of bright, obvious colors and sew over the holes on the outside of their jeans so that everyone could see them.
A Few Extra Ways to Use Denim Patches
If your kids wear house slippers in the winter, chances are that the bottoms will wear through long before they will outgrow them. To extend their life, cut a piece of denim to fit, edge finish it, and sew it to the bottom of the slipper. When that wears through, layer on another patch. I have sometimes put 3 patches onto the bottoms as slippers as the kids passed them down to each other.
Sometimes the buttons on jeans are not sewn down well and will rip out, leaving a large hole behind. Make yourself a patch that fits over the hole and sew it down on the inside of the waist band and then sew the button back on. You have to give that button something solid to hold it so I make this a 2 layered patch.
How to Mend Underarm & Side Seams
The most common kind of “tear” that you’ll get in shirts and blouses aren’t tears at all. If the seams haven’t been sewn deep enough, or they get too much rough tear, sometimes the stitches in the seams will pop, and a hole will open.
These are my very favorite things to mend because they are so easy and quick to do and they’re invisible!
If a blouse or t-shirt has opened up along an underarm or side seam, simply align the seams again, zig-zag or serge over the hole extending the stitching ½” past each end and you’re done. If, when you turn the garment right-side-out the seam has a dip or bubble in it, turn it back to the inside and sew a straight stitch along the inside edge of the serge stitch.
This will even out any of those puckers.
If the hole or seam that needs mending is in a sweater do this by hand. If you whip-stitch across the entire hole from the inside and gently draw it tight as you go it will be invisible from the outside.
How to Mend the Devil’s Spawn – Zippers
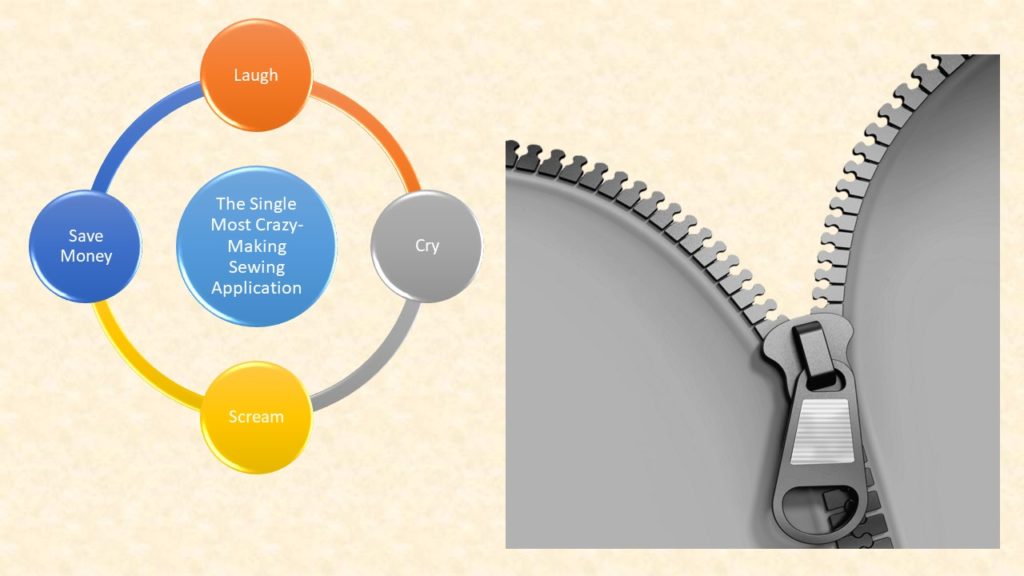
Zippers are the items we hate to replace because they take the longest and are the most intimidating. It’s an illusion! They’re not really that hard once you learn how, but they do take time and care – and if you’re like me the tedious work is annoying – so make sure that the garment is worth it before you start.
- Only use jeans zippers for jeans.
They are much heavier and much more durable than the regular zippers.
- Try to use the same length zipper as the old one.
If zippers are too long, you can cut off the excess after you sew them in, but jeans zippers are so heavy that they will ruin your scissors if you try this.
- Look carefully at how and where the zipper is sewn in – different manufacturer do it differently.
- Carefully use a seam ripper to pull out only one side of the old zipper.
- Remove all old threads and then pin the new zipper into place on that side.
- Use a zipper foot to baste in this first side.
- Now, tear out the second side and baste that side in.
When you’re satisfied with the way it looks and fits, sew it down for good. I always like to do this twice because zippers get a lot of use and wear and tear. You’re done!
How to Mend Missing Buttons
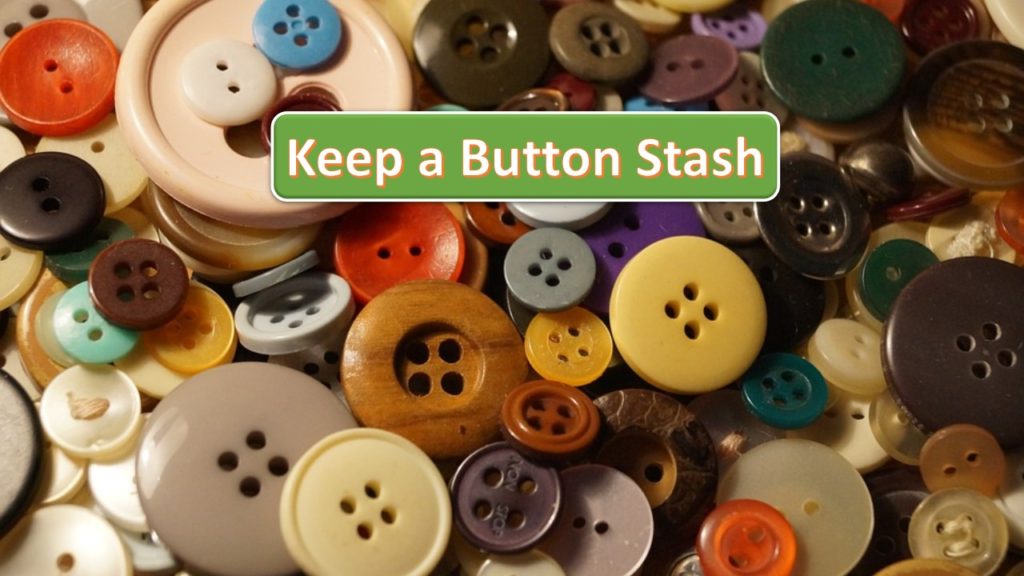
If you have the old button all you need to do is thread your hand sewing needle with matching thread and sew it back on. So I’ve trained my family to save all buttons and beads that fall off of clothes.
If you don’t save the garment, or if you don’t have the matching button, you’ll likely be able to match a button from the ones you’ve salvaged over the years.
If you can’t find one semi-identical, find one in the same color and shape category. If the missing button is anywhere from the neck to bellybutton area, then a different button will be extremely obvious. So remove the lowest button on the garment, sew it into the missing slot, and sew the not quite matching one into the lower spot.
No one will ever notice!
I find it a lot faster to do buttons by hand than fooling around taking the old foot off my machine, putting on the button sewing on foot, getting the spacing right, etc. Much simpler and faster to do it the old fashioned way!
I like to double my thread when I sew on buttons because it doubles the strength and halves the time it takes.
Sew through the button holes at least 8 times and then wiggle it. If it’s tight then slide your needle carefully through one of the holes but not through the fabric. Wrap your thread around the bottom of the button at least 3 times before pushing your needle through the fabric to the back.
Wrapping the thread around the underside of the button is the magic trick here – my Mom taught me that neat trick.

On the back slide the needle through the first layer of fabric and then pull the needle twice through the loop before gently pulling it tight. This gives you a double knot. I always do this twice to make sure my knots never come undone, and I can’t think of one instance when one of my buttons have come off.
Aw, this was an exceptionally nice post. Spending some time and actual effort
to create a very good article… but what can I say… I hesitate a
whole lot and don’t manage to get anything
done.
Remarkable! Its in fact awesome paragraph, I have got much clear idea on the topic of from this piece of writing.
Excellent post. I used to be checking continuously this
blog and I am inspired! Very useful information particularly the ultimate part 🙂 I maintain such info much.
I used to be looking for this certain info for
a long time. Thank you and good luck.
I was able to find good information from your blog posts.
I do not even know how I ended up here, but I thoughtthis post was good. I do not know who you are but definitely you’regoing to a famous blogger if you are not already 😉 Cheers!