Today I’d like to take a quick break from our regularly scheduled program and show you how you can make your sewing machine pay for itself hundreds of times over with a few simple mending techniques. Because I’m such a genius and so incredibly quick on the uptake (check it out, I’m winking), it didn’t take me any time at all after I married Michael to realize that I was going to have to learn to mend – and to do it well.
Practical Ways to Save Money with Your Sewing Machine– Mending Techniques Edition
At the time Michael was ranching; consequently he came into frequent contact with objects that were hard, unyielding and sharp. And since Michael is 6’6” tall, it was also incredibly difficult (at that time) to find clothes to fit him. It was either learn to mend or spend thousands of dollars on clothes for him alone.
And once the kids showed up – anyone with children knows that they are ground zero for holes and tears – the ability to mend became even more urgent. Over the years I learned numerous tips and tricks that’ll help stretch your clothing budget farther than the most elastic bungee cord.

Mending Tips
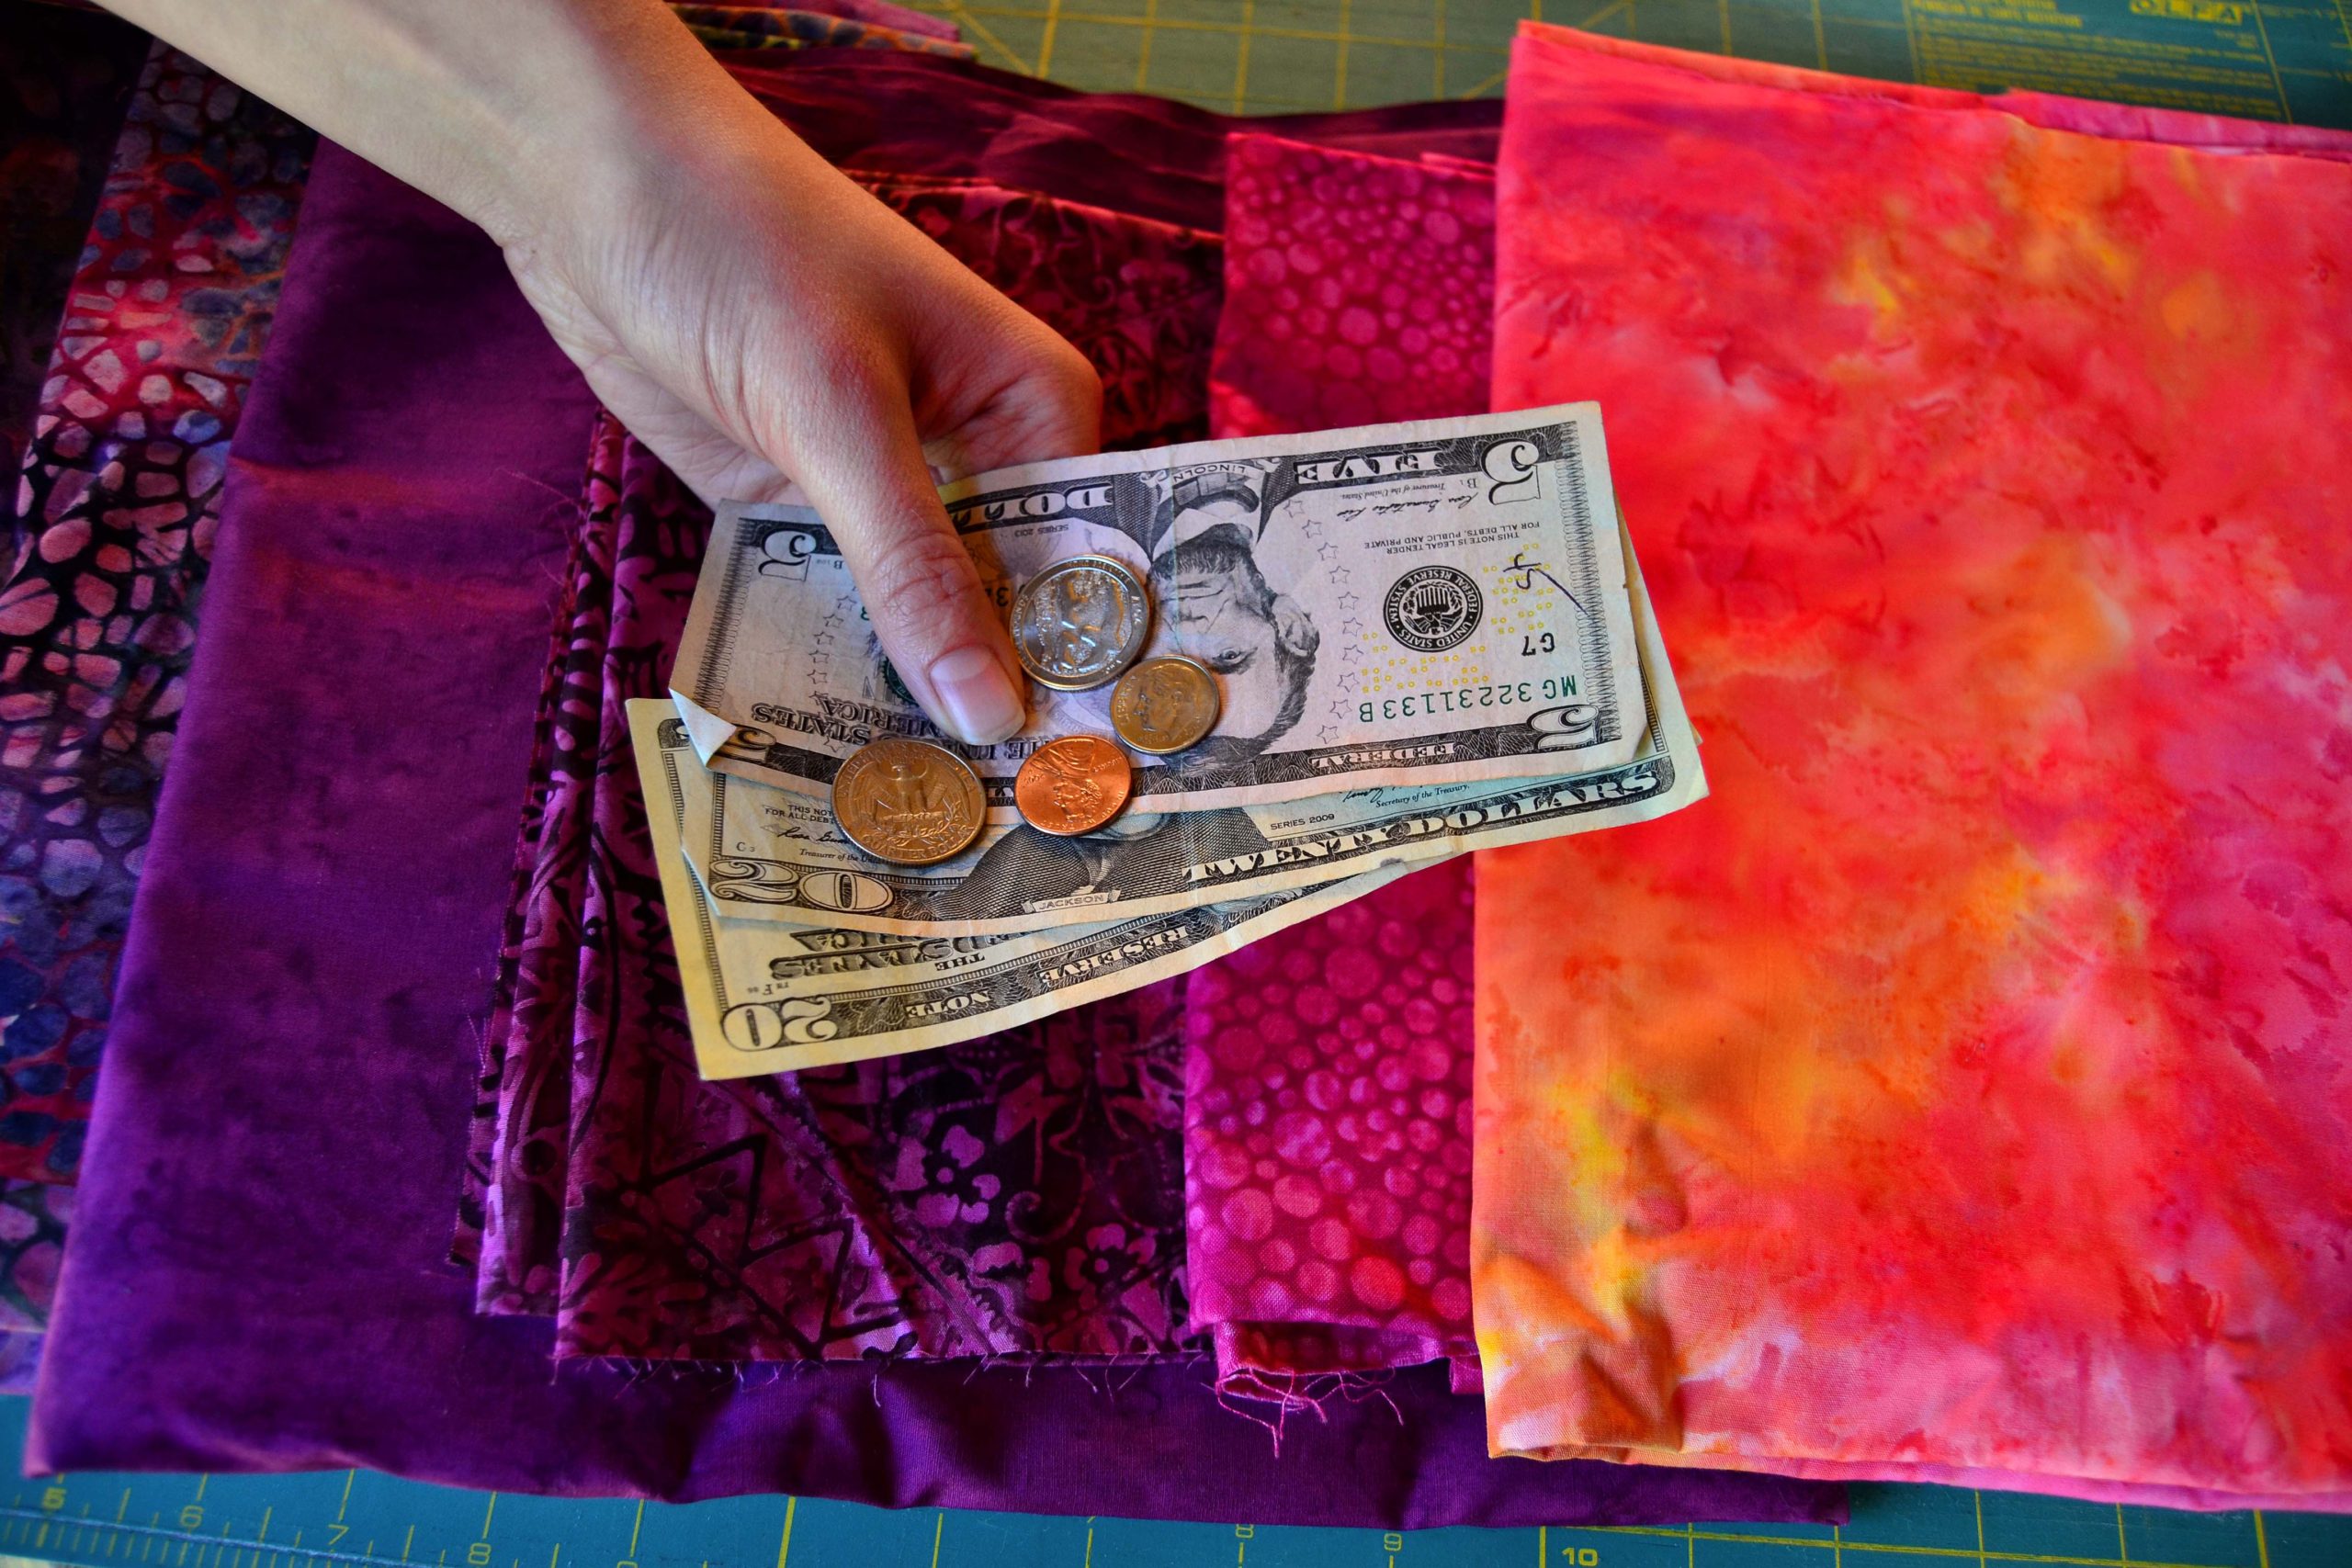
Using these tips will help you make your sewing machine pay for itself, many times over.
Use matching thread when you mend anything!
This one thing alone will make approximately 90% of your mending disappear into the woodwork and people will never see it. I used to be too tired, lazy etc. to do this, thinking that it wouldn’t matter and then forever after it’d scream ‘bad mending job!!!’
So I finally decided to take the extra time and effort to change my thread as often as needed to keep my mending ‘mostly’ invisible.
This is easy to do if you already quilt and have a nice stash of thread available to you. It’s amazing that 99% of the time I have the exact color and shade I need. If you don’t have a large stash of thread colors, try to get a good denim and the primary colors covered.

Mend from the inside.
If you want to mend invisibly then you have to do it from the inside of a garment. It’s much harder to see a single line of stitching around a patch on a pair of jeans when the patch is in the inside of the garment than it is to see the entire patch if you sew it onto the outside of the jeans – especially if you’re using matching thread.
If you’re putting a patch on anywhere – inside or out – edge finish it first.
This mending technique corrals all the frays and makes the patch look much more professional, like you actually planned to put that patch just there all along. Also, if the patch is on the inside the frays won’t tickle you to death.
Use the right size needle when you mend.
If you use the most common size needle – size 14 – to try to mend a chiffon or silk garment you will get big holes everywhere and the garment will get caught up in the feed dogs by the too heavy needle. If you use a size 14 needle when you’re mending jeans, your needle will break. So stock the entire spectrum of needle sizes and change them around as needed.
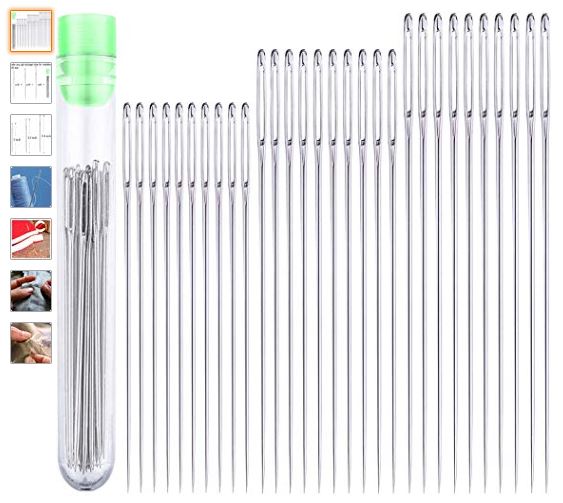
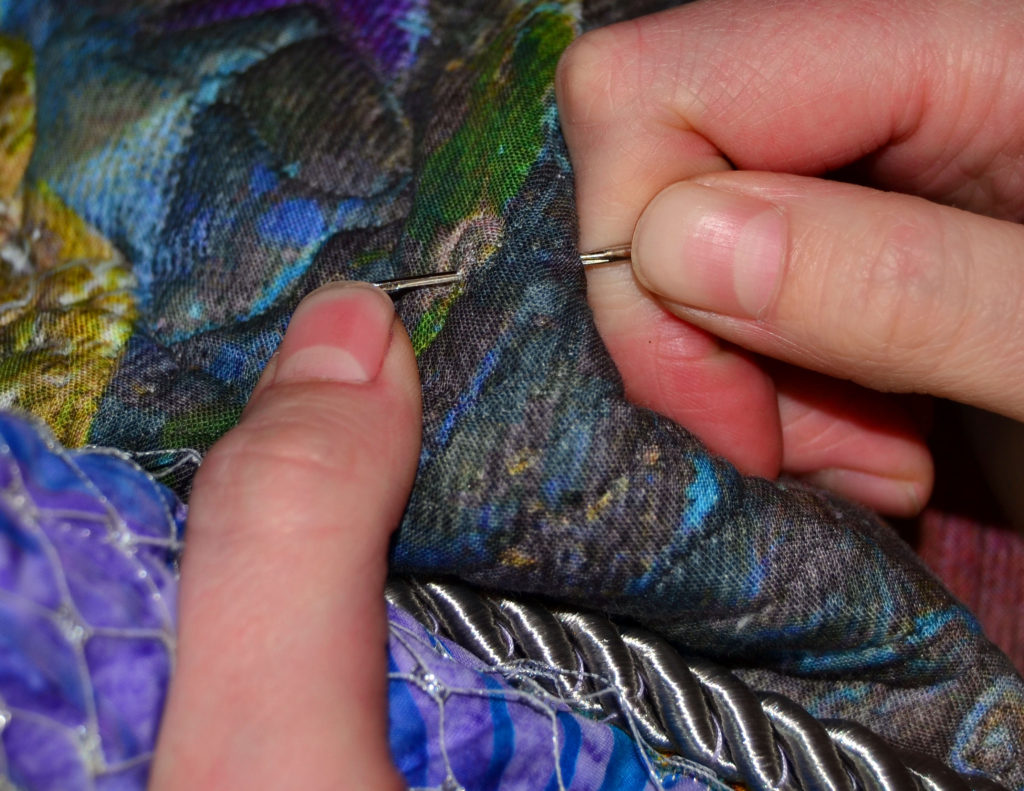
Don’t shy away from hand mending.
There are a lot of instances where mending by hand is not only the most invisible choice, but there are places where even a sewing machine cannot easily go. Just like sewing machine needles, you will need a variety of different sizes, so invest in a multiple-sized pack.
Remember the old adage – a stitch in time saves nine.
This is as true today as when the phrase was coined. As soon as you notice a hole anywhere, a missing button, a catching zipper, etc. train yourself and your family to put that garment straight onto the mending pile.
Even if it takes you awhile to get to your mending, at least the damage will not be getting any worse.
Save up your mending until there are at least 3 things in your pile.
Then, when the mending mood strikes you will have a few things to work on. I get really frustrated if I have to fix one thing every time before I can start on my quilting project, which is what I really want to do.
Consider who you are mending a garment for.
If it’s for Michael I will go to great lengths to fix something because, like I said, it’s hard finding clothes for him and the cost is quite high. If it’s a t-shirt for a 2 year old, depending on how bad it is, I might just chuck it because they’ll outgrow it in no time and you can replace it from the thrift store for 75 cents.
I don’t know about you, but I’m worth more than 75 cents/hour.
Consider fabric glue as a mending medium.
Not everything needs to be sewn. Suzanna has a favorite skirt that’s in perfect shape. It’s the chiffon overskirt that’s developing a few holes and since it’s such light fabric as well as almost sheer any stitching will glare out. So I glued the holes! The glue dries invisibly and Bob’s your uncle! So give that option a think.
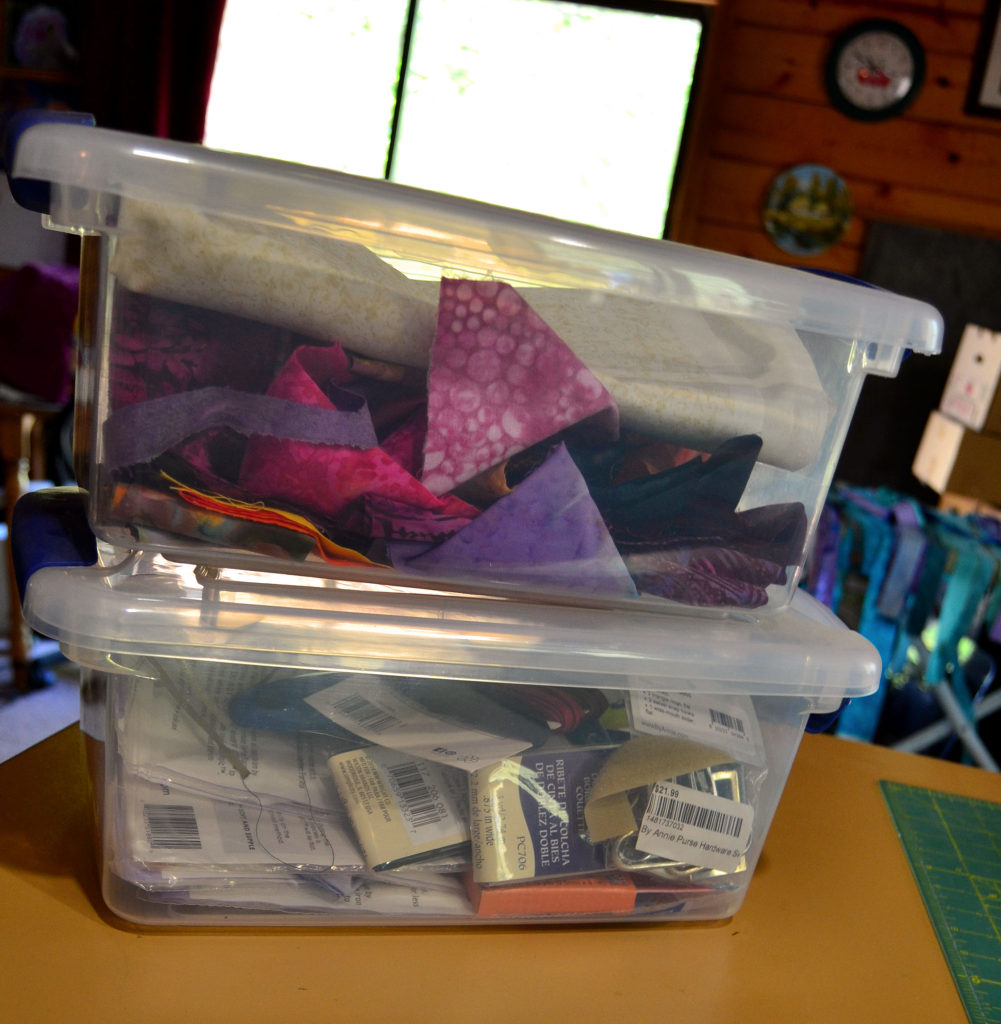
Keep a mending stash.
By this I mean anything that’ll help make mending work better and faster:
- A button box
- An extra zipper container
- Zippers cut out of old jackets
- Still good pieces you cut out of otherwise worn out jeans
- Old t-shirts
- Curtains that are too faded to use (but the fabric’s still good, so why not use it to mend holes in shirts?)
I use all of these things to mend other stuff – no need to waste perfectly good mending materials. The basic mending technique to use in building your mending stash is the basic Salvagers Mindset.
Whenever you’re going to throw out any garment, go over it and cut out anything you think you might could use to mend something else.
I make patches for jeans from the let-over pant legs of old jeans, I cut out any good zippers and rip off all buttons, trim, etc. before I throw anything away. So, whenever I need a patch, I usually have what I need in my stash.
It will save you from my #1 big mistake.
Suzanna needed a new zipper in her green skirt and search as I might, I could not find a matching colored zipper in any store anywhere! So, finally I ordered one off the internet and when it came, not only was it the wrong color (lime green sludge) but I got 50 of them!!! I ended up using a beige zipper I already had.
Building Your Mending Stash Saves $$$
While you’re doing that, keep tuned for the next article, where I’ll share more hands-on mending techniques on various tricky garments, like jeans!
To the greater good of your quiltivity,
Karyl (aka Princess YellowBelly)
P.S. When Mending Techniques Become Quilting Aids
Oftentimes as my quilting has grown to consume 85-90% of my sewing life I’ve found that many of the things I save for mending are also useful and usable in fabric art quilt projects.

- Buttons
- Beads
- Bows
- Trim
- Jean patches
- And flowery materials
Are all remarkably useful in making quilts just a little bit more special. The only thing I haven’t been able to cross-purpose so far are zippers (the devil’s spawn!) and you never know…
The journey continues with a few more practical methods.
This is very interesting, You’re a very skilled blogger.
I have joined your rss feed and look forward to seeking more of your
great post. Also, I’ve shared your web site in my social
networks!
I am really pleased to glance at this weblog posts which includes lots
of valuable data, thanks for providing these statistics.