If you’re one of those people – like us here at Princess YellowBelly Designs – who just loves printed quilt panels, but isn’t quite sure how to add the borders to make them into a quilt on your own…keep reading. In this blog I’ll show you to “build a border wall” of sorts, to your own specifications, and how to go about calculating a quilt borders, or borders, so that you can turn panels into quilts of art!
This is actually a project I’m engaged in right now.
Here, There Be Dragons
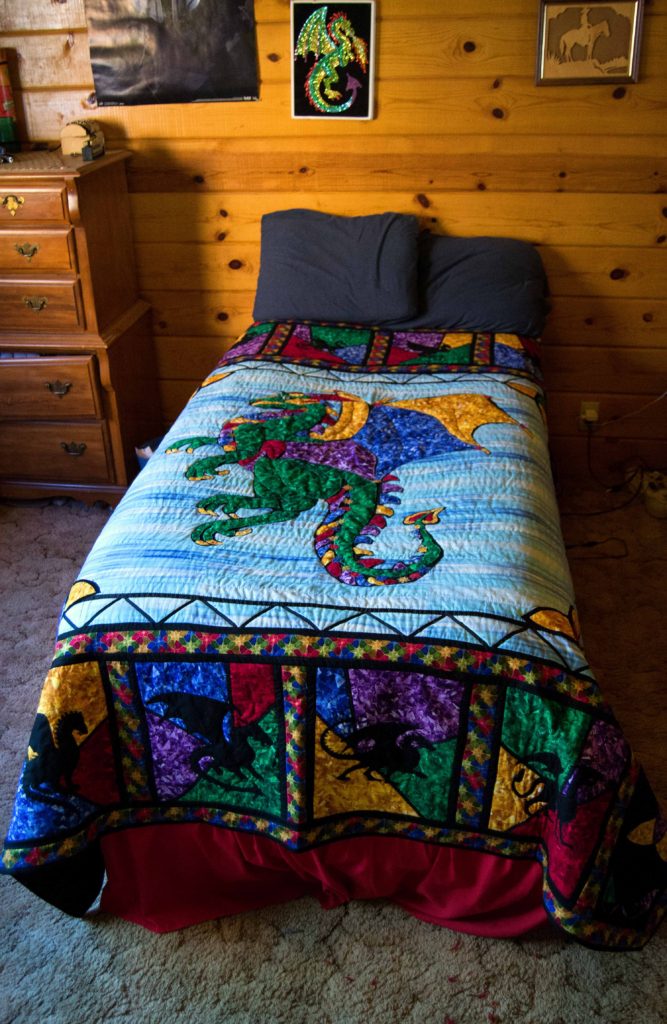
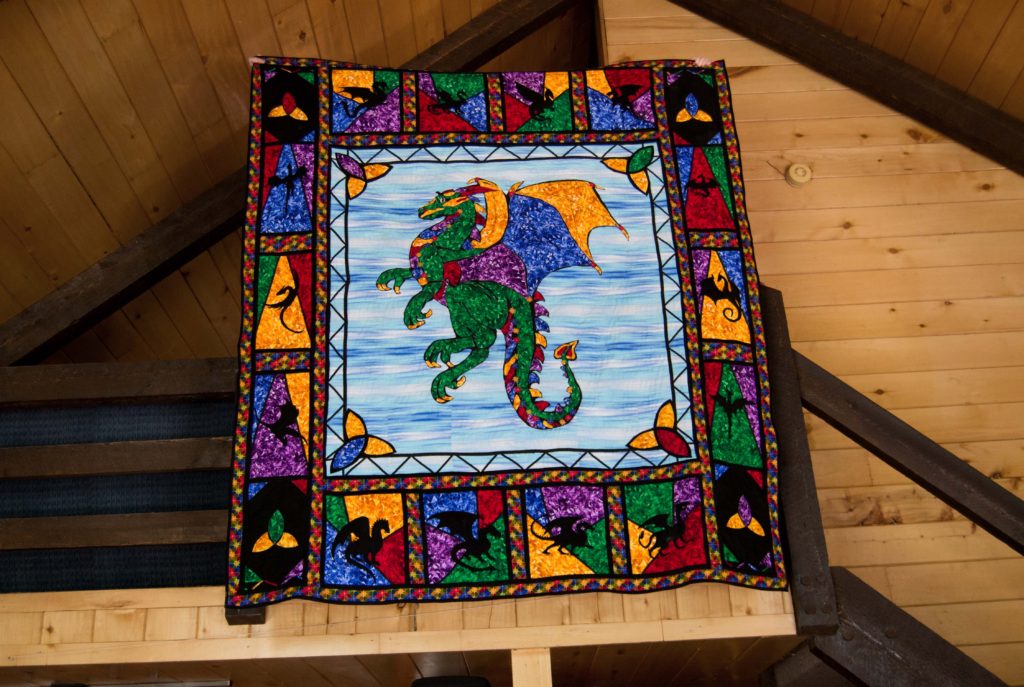
My daughter, Leiajoy, LOVES dragons, so when I saw a set of dragon panels being sold as part of a quilting kit at my local quilt store, I immediately thought of her. Of course, the quilt came with a pattern and coordinating fabrics and supplies needed, etc.
Don’t get me wrong, it was a beautiful quilt indeed, but being me, I decided that I could do it my way, and do it better…at least what I think of as better.
So I purchased the main panel, the 6 smaller – 12”x12” – coordinating panels, and 1 yard each of 2 of the coordinating fabrics, but not the pattern. I didn’t like the pattern at all because when I first noticed the quilt in the store, what caught my attention was the interior, pieced border. It was big, bold and beautiful, and totally nullified the middle panel completely.
Calculating a quilt border means choosing complimentary colors, patterns, and themes to enhance the main feature.
I had to get up close and personal before I could see the middle panel, while the smaller ones faded altogether.
The Purpose of Quilted Border Walls
Fellow seamsters, this is not what a border wall is for!
The function of an interior border wall is to separate important elements from one another while also supporting and highlighting those elements so that they can shine on their own. And the function of an outside border wall is to separate the important elements from the infinity of noise that is the rest of the world.
Borders do this by providing an attractive but less bold appearance than the main quilt elements, not by jumping up and down in your face and screaming:
“Look at me, look at me, look at me now
I may be a border but I’m really WOW!
The main part of this quilt is basic old stock…
But I am the border and I really ROCK!
You get the idea. So, let’s look at borders and how they can be both functional and beautiful without taking over the entire narrative.
Interior vs. Exterior Borders
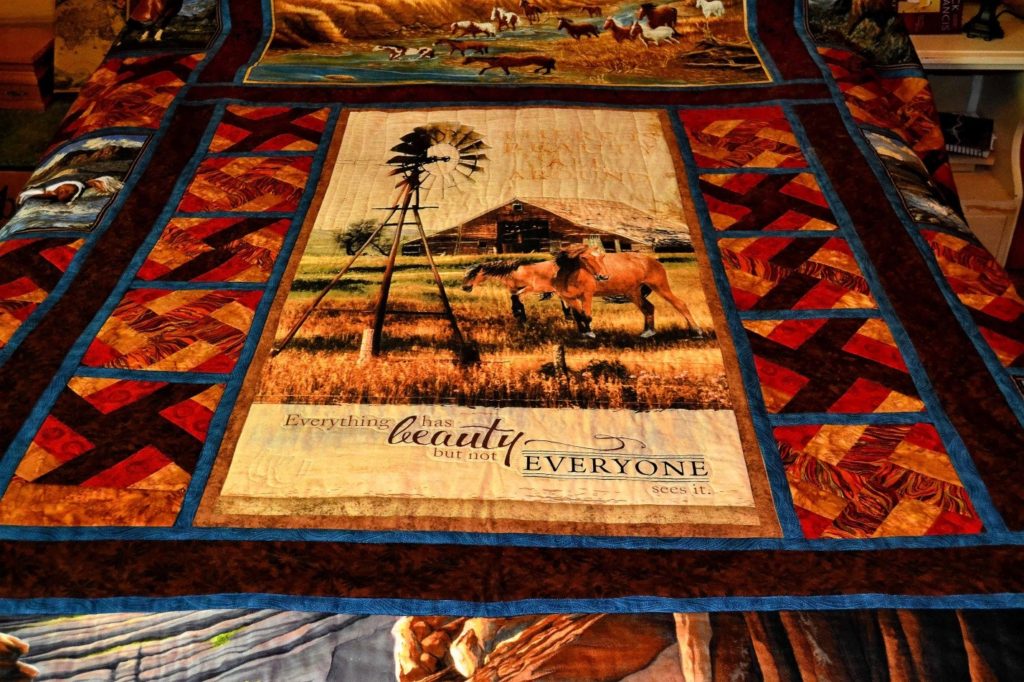
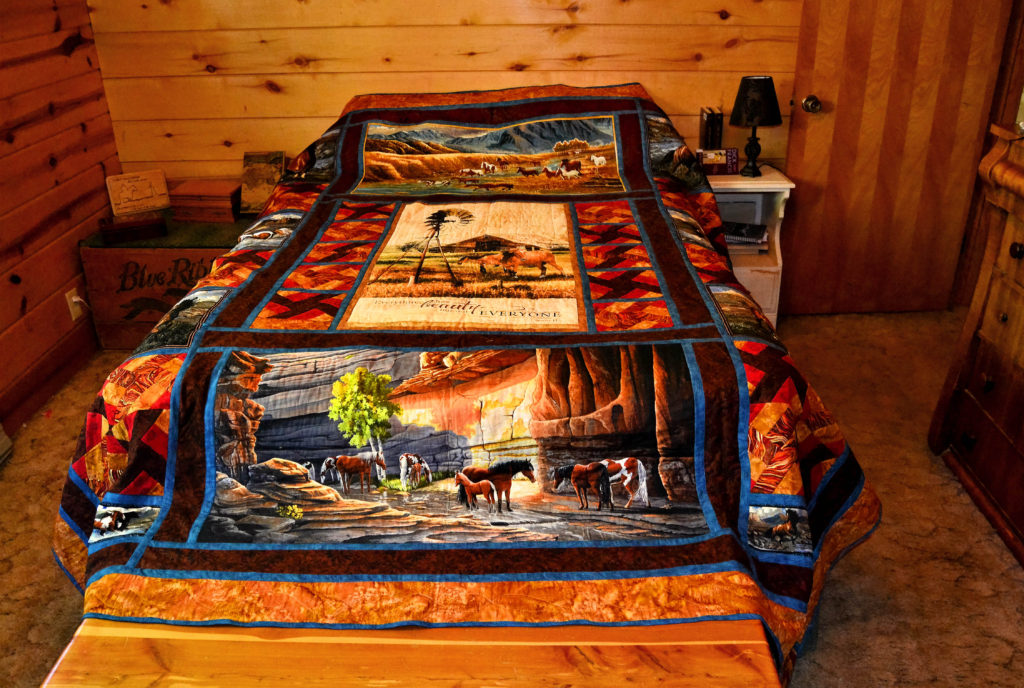
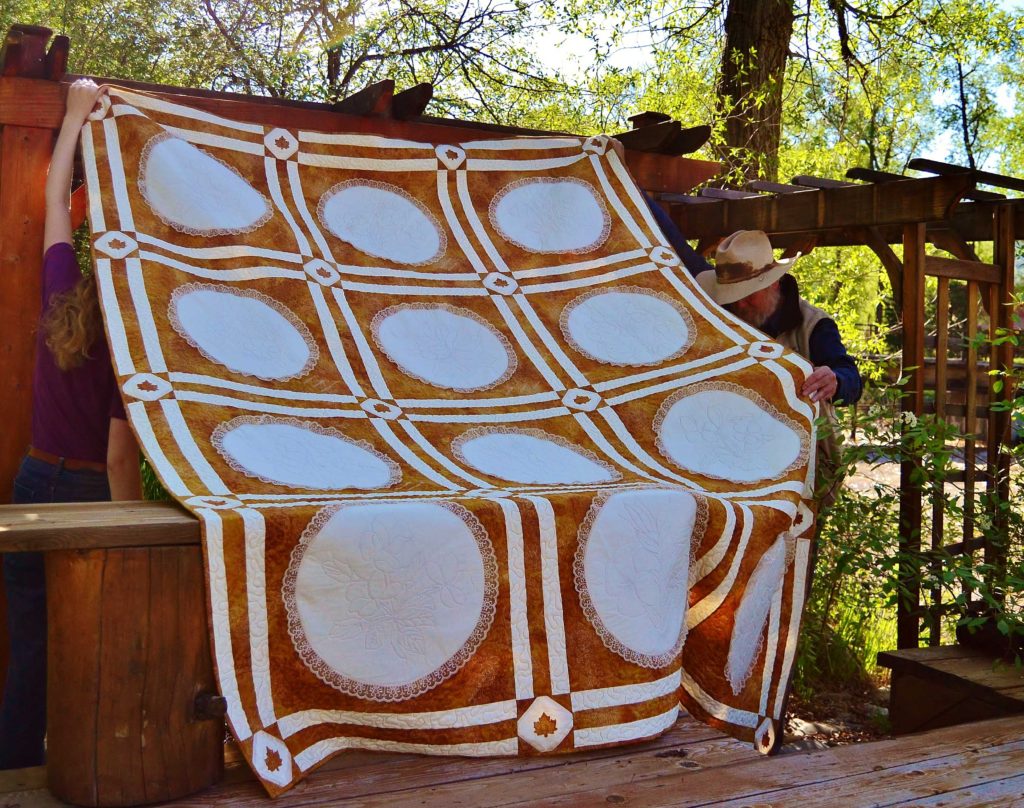
Mostly you only have interior borders if you’re sewing a panel quilt that has coordinating smaller side panels, such as my Home Pastures quilt – and now the new dragon quilt, of course.
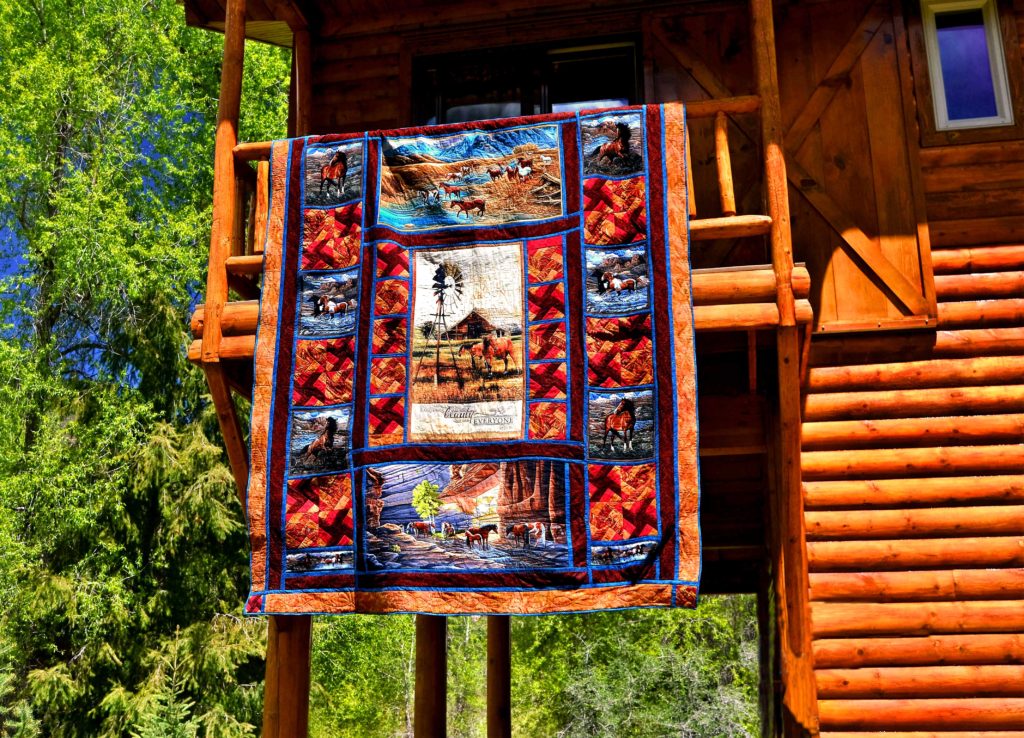
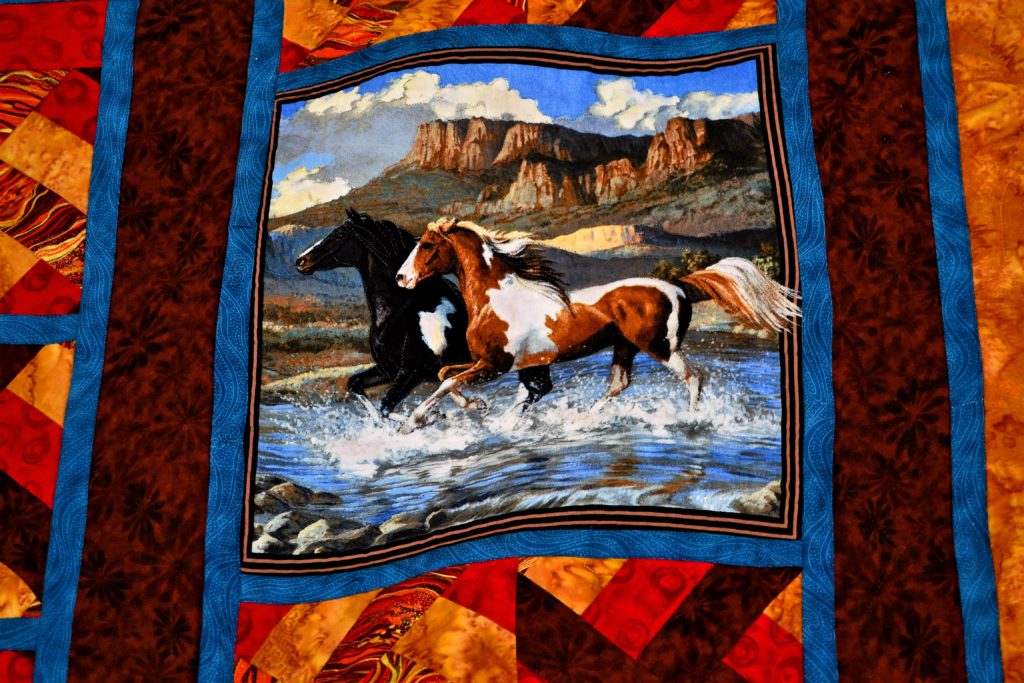
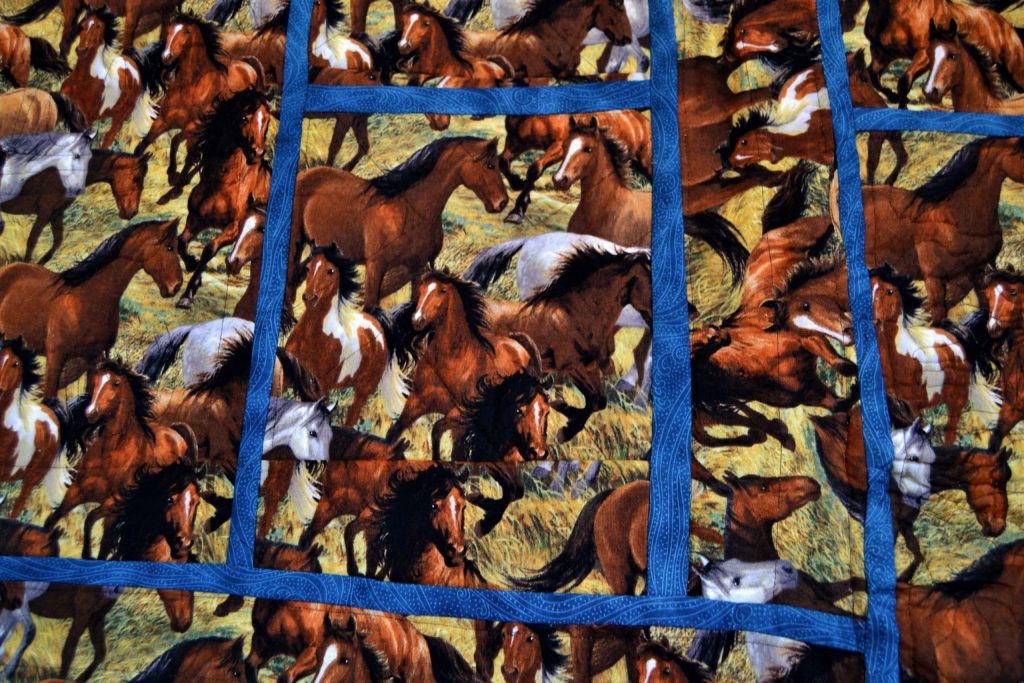
I used 3 large panels and 6 smaller ones to make my queen size western horse quilt and it took a lot of borders and sashing to separate them all.
Unless you’re using some kind of infinite quilt pattern – of which there are a few – you’ll probably want to put an exterior border on your quilt eventually. If this isn’t a panel quilt, I recommend using scraps from the main quilt.
For panel quilts, an exterior border should almost always be a continuation of the inner borders, either in an exact replica, or in the theme.
3 Things to Consider When Calculating a Quilt Border’s Color Scheme
One of the most important part of calculating a quilt border is in choosing the correct color scheme. This is one of the big reasons that the border in the original dragon quilt didn’t work – in my opinion. Too many big, bold colors that actually overwhelmed the more intricate panels.
Thing One
Study the colors in all of the panels and choose which shades you want to bring out in the borders.
You should use a minimum of 4 different colors (unless you’re doing some kind of monotone quilt) so that you have enough to make different design patterns. Remember that your aim is to enhance, not overwhelm, so mix lights with mediums and darks.
This helps your eye to see but not to linger.
Thing Two
When I was teaching my ankle biters to choose their own clothes and dress themselves, they would sometimes come out with eye-crossing combinations that almost required sunglasses to view.
So I made a rule – no more than 4 colors and 2 patterns for any one outfit!
This was a great rule for creative but not blinding dressing and it’s a great rule for border walls as well! Sometimes I’ll use more than 4 fabrics, but they are shades of the same color and not completely different colors altogether.
Thing Three
Go through your quilting patterns and choose one that is not overly complicated and that connects with your panel theme if possible.
For the Home Pastures quilt I chose to do a windmill block pattern because there’s a windmill in the main panel and because windmills are a common site on many ranches.
Also, choose a pattern that you can easily enlarge or reduce as the situation calls for it. In the Home Pastures quilt, I used the windmill block exclusively, but I used it in 3 greatly different sizes.
The neat thing about the windmill block is that every 2nd block is the obverse of the first one, so that it appears that you’re using more than 4 colors because they are flipped. Many, but not all, simple patterns work like this – so take that into consideration.
Plan Ahead!
Next, choose which fabrics you will use for the border blocks, which fabric for the sashing, and so on, and stick with them! Don’t decide to change something halfway through your project.
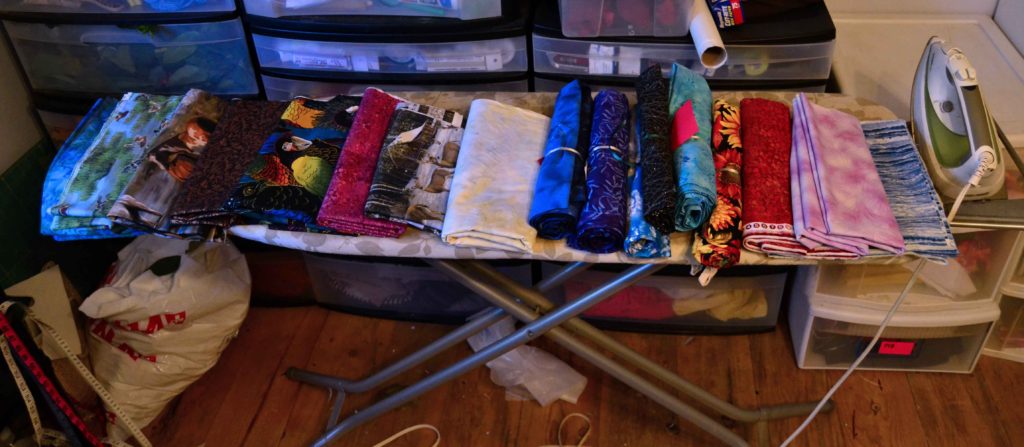
Find a place where you can lay out one side of your quilt and your border choices and stand back and look at them objectively. It’s easy to switch your choices around before you start cutting and sewing; much more difficult later, and more expensive.
Also, think about the purpose of your border walls as you’re calculating a quilt border.
Some borders only need to be thin ribbons – and sashing will often work for this purpose. Other times the borders may take up more space than the main panel, but you still need to concentrate on elevating that main element rather than hiding it.
Don’t Choose a Fabric You Don’t Like Just “Because”
The colors and patterns you choose should be individual to you and reflect your likes.

It can be tempting to pick something because it’s popular, trendy, or simply on sale. But trust me, you’ll regret it – especially if you’re deeply in love with your main panel. Sooner or later that “lesser” fabric will turn into a sore tooth.
Telling a Story with Your Quilting Elements – Including the Border Wall
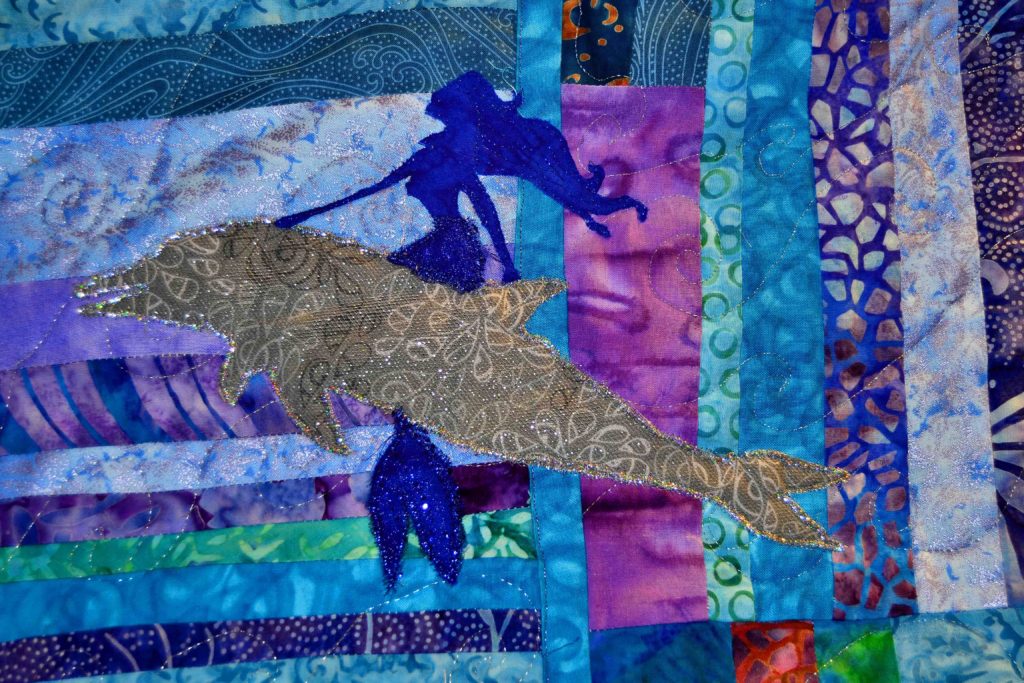
In my Ocean Maidens quilt, there is only the main panel, all the rest is border. Three interior borders, and a large wide outer border.
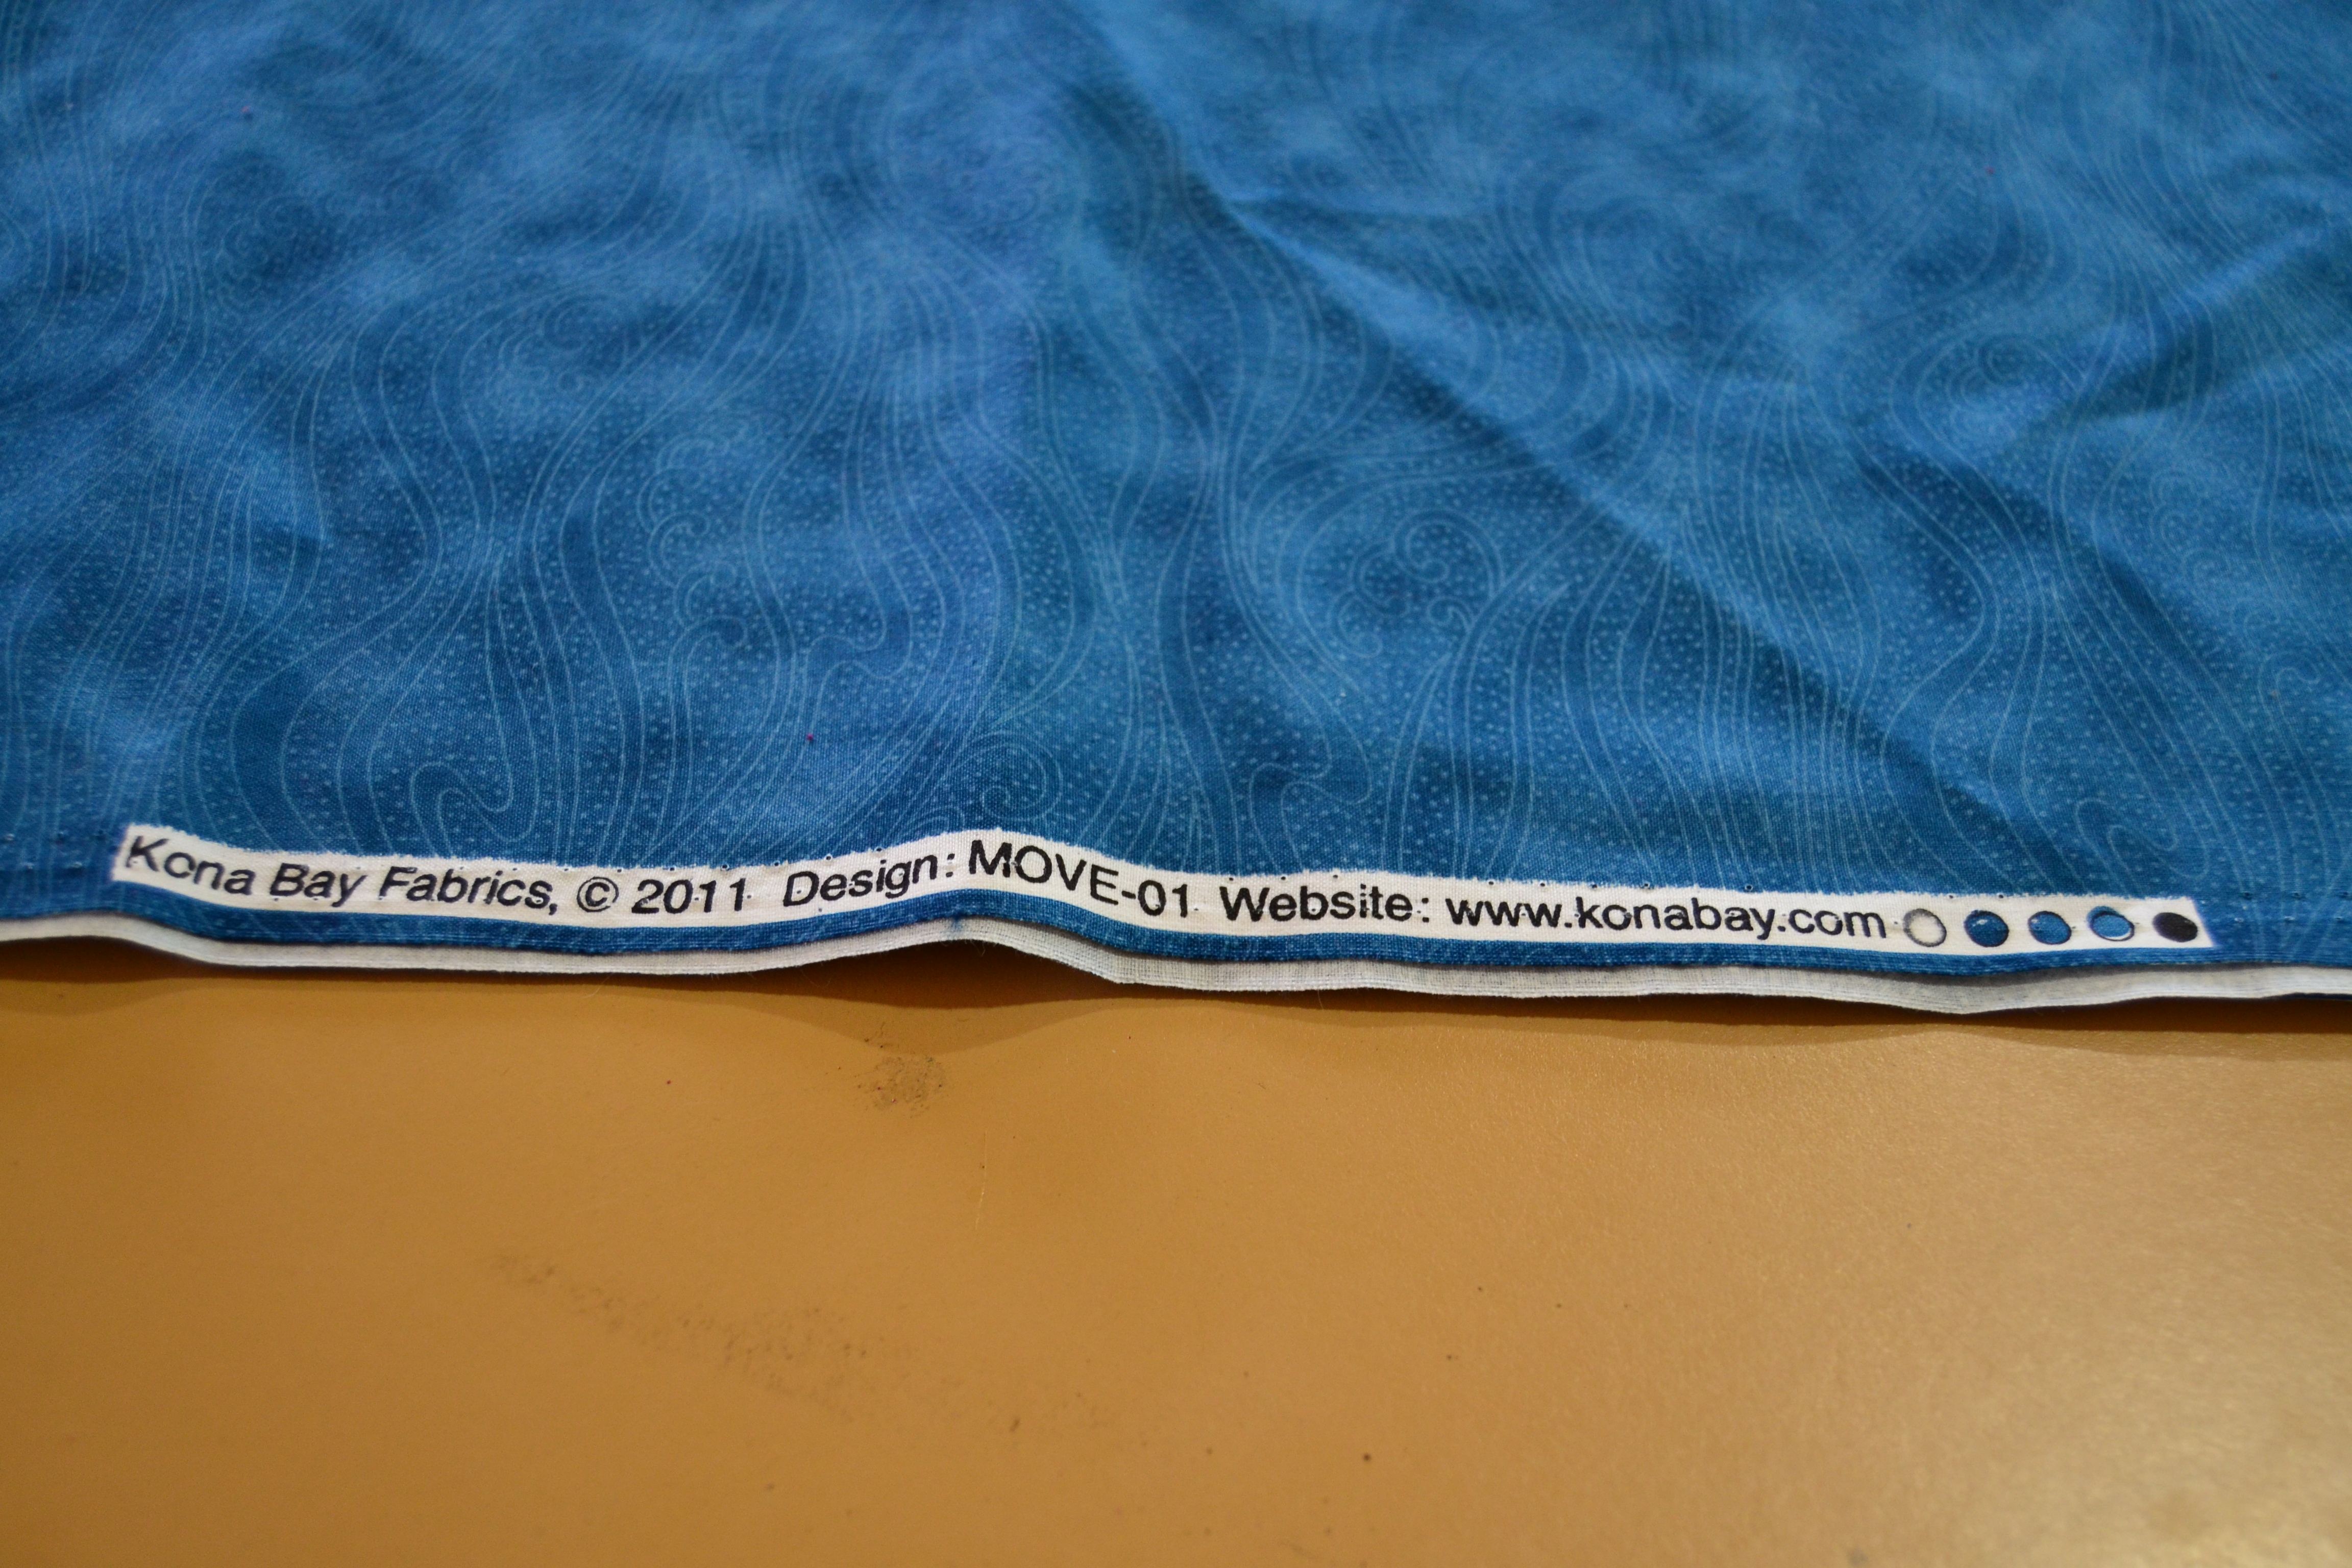
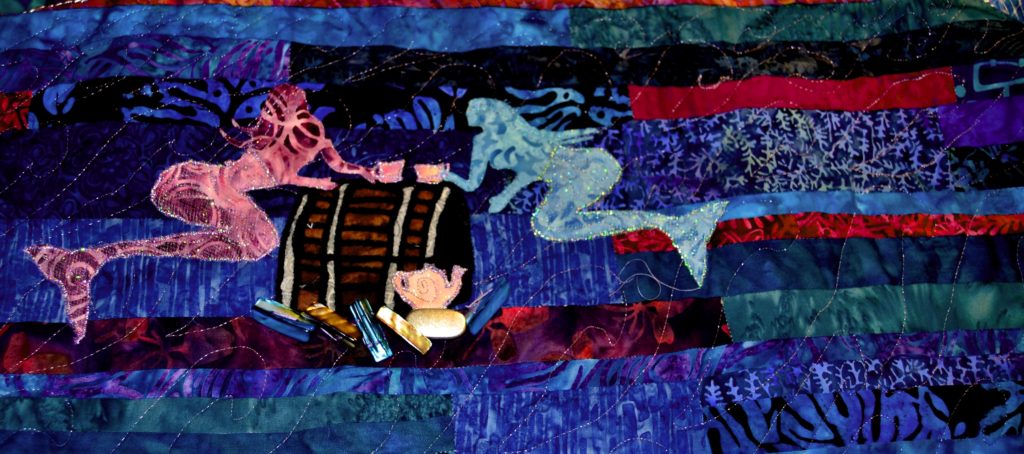
I thought very carefully about how I could incorporate the theme of the mermaid into the borders and which colors I should use. Suzanna insisted that mermaids are magical creatures and that silver was the color for magic, so we chose fabrics that went well with our silver accessories, were water-ish, and blended well together. Then we thought about how that mermaid came to be perched on her rock having tea and reading and decided that she obviously came in with the tide and got caught in a tide pool.
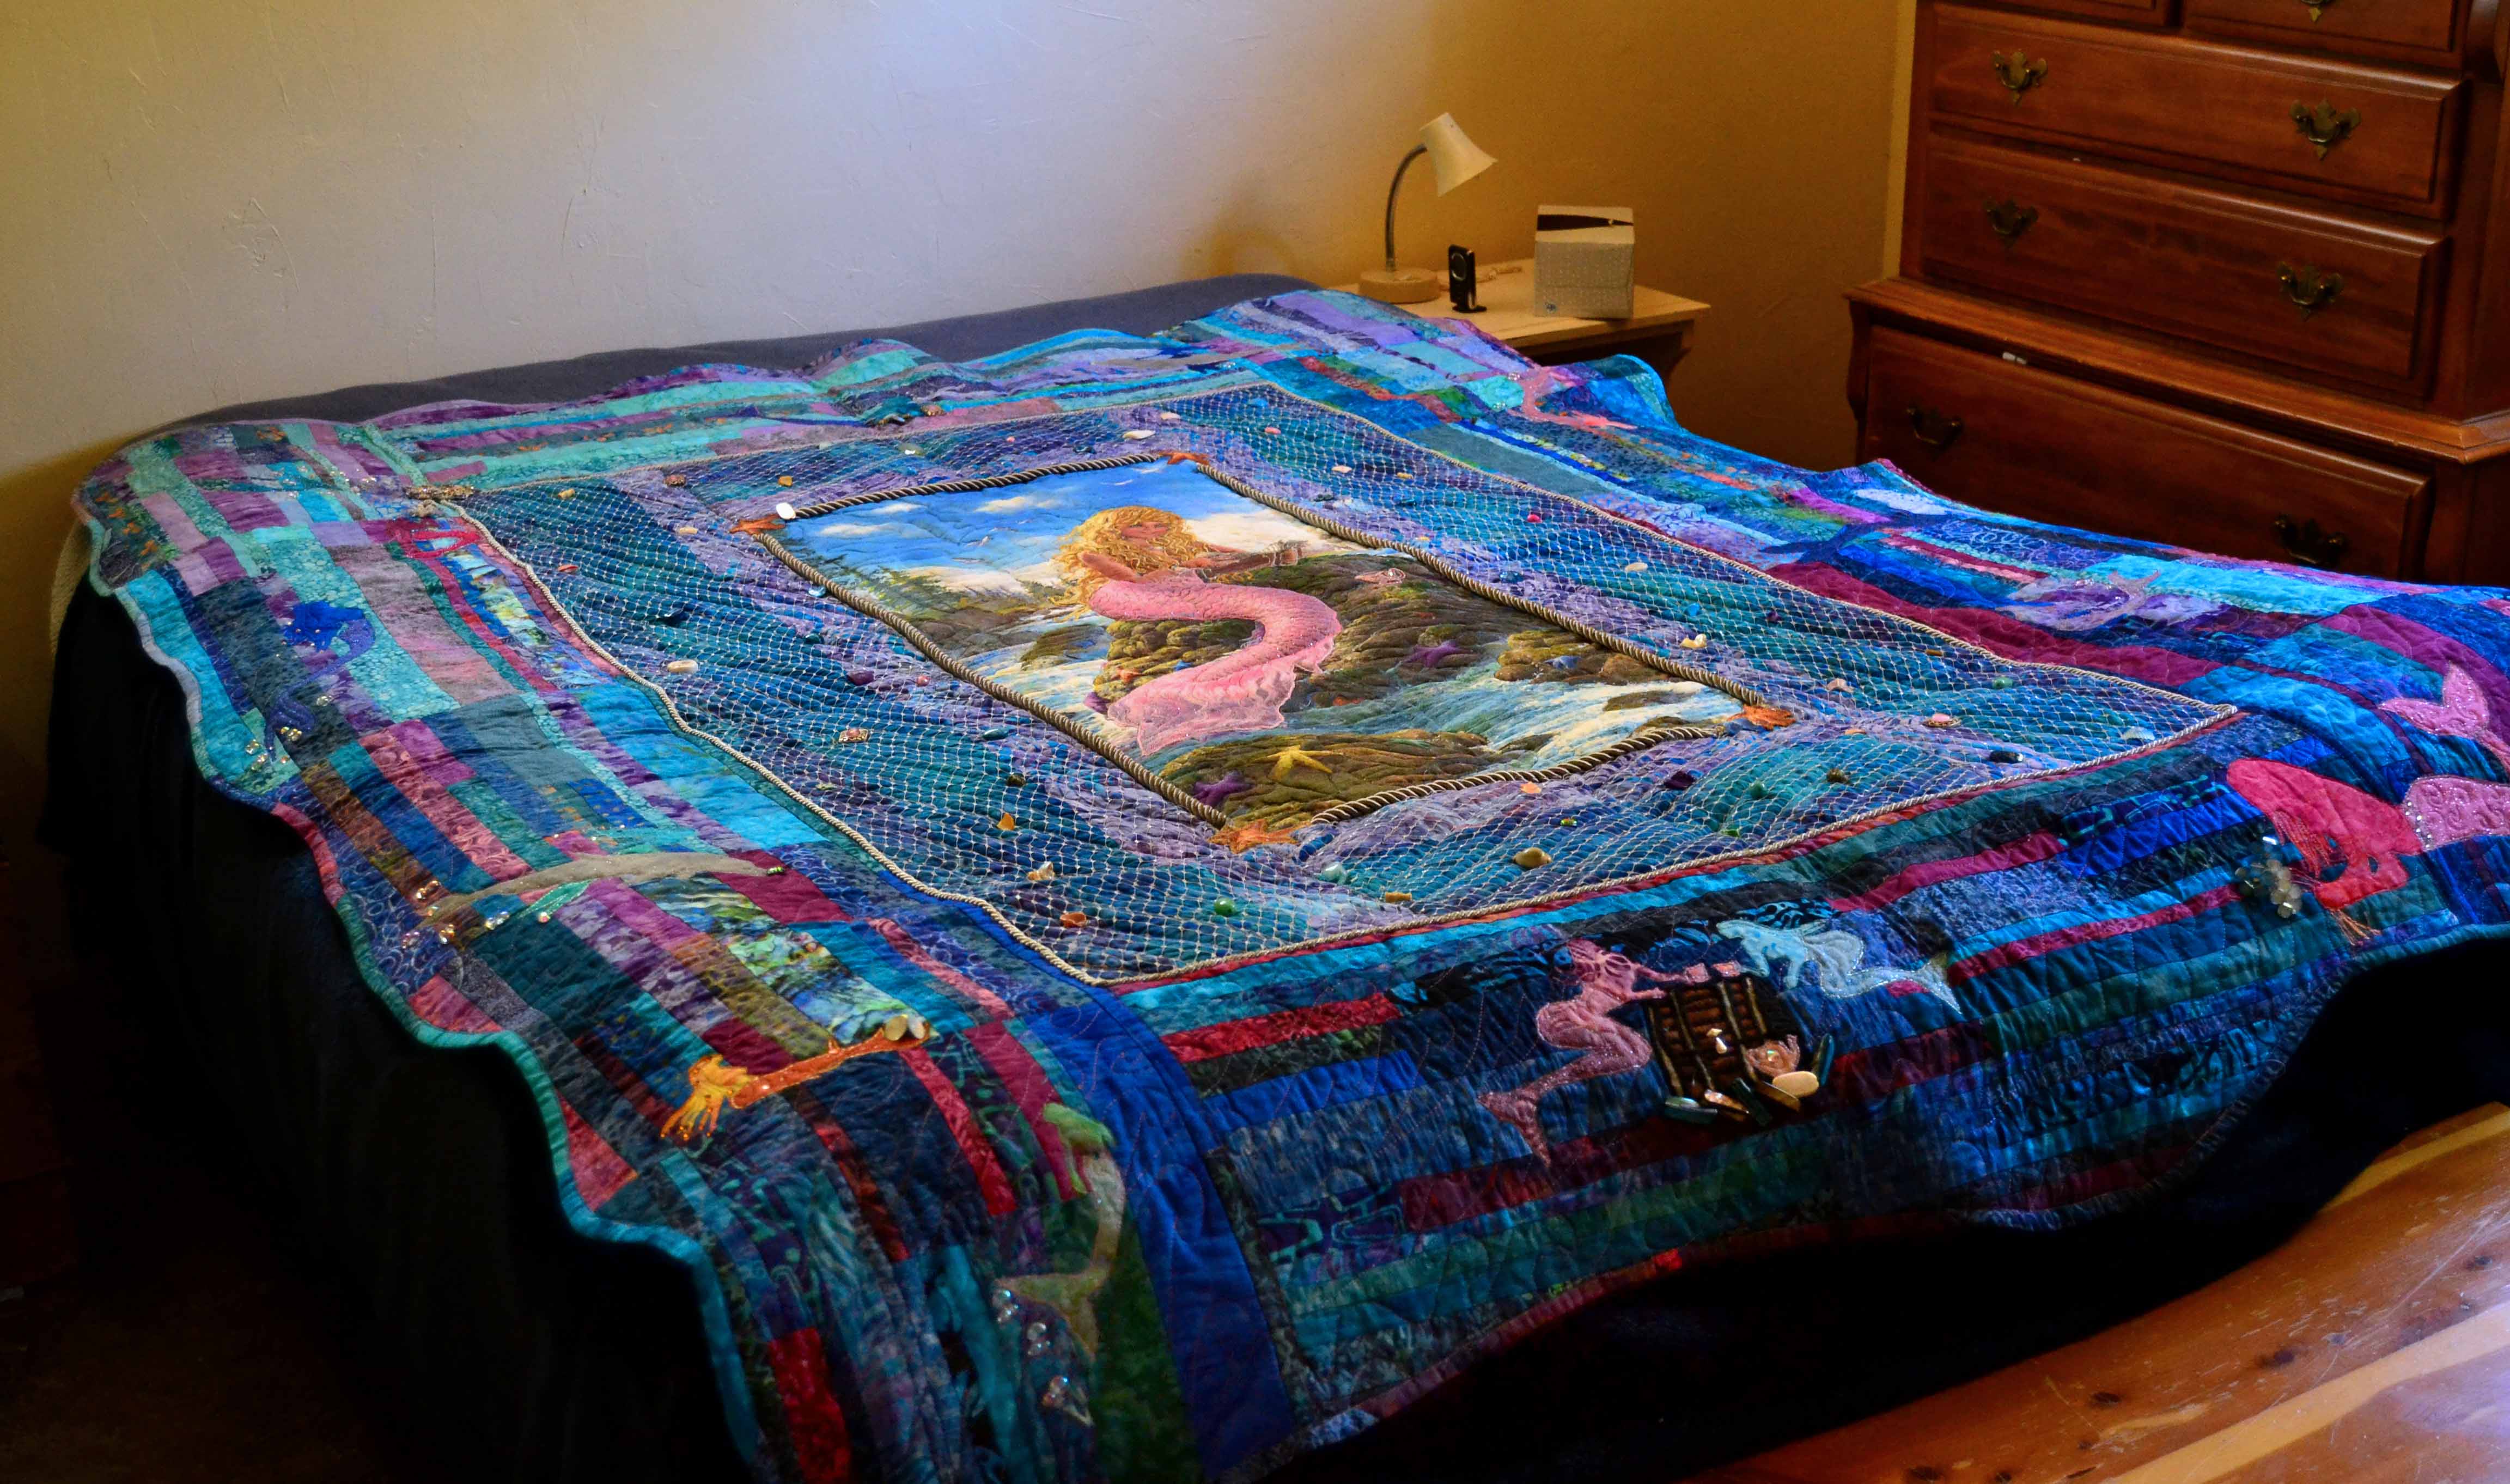
With this in mind, our inner 3 borders became the tide pool and the outer border the sea where all the rest of the mermaids are frolicking.
My advice to you is to not just jump straight in and start quilting a panel quilt.
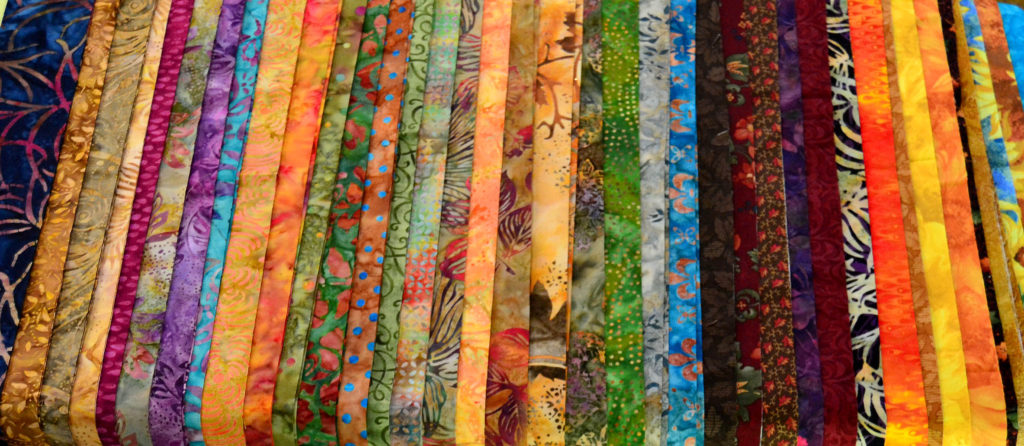
First go through your stash and set aside any fabrics that might work in your quilt. Move them around, look at patterns and let everything percolate through your brain for as long as it takes until you have a clear vision of what you want the finished to quilt to look like, what you want it to say, and how you’re going to achieve that.
Patterns for Borders
Like most things, there are patterns that lend themselves well to borders and those that don’t.
My number one piece of advice to you is ignore any and all patterns that are difficult to make, either in the cutting or construction phases. You don’t want patterns that use specialized rulers, for instance, or require appliqueing, etc.
Remember, your borders are transition sections, NOT the main show! That said, let’s look at designs that work well for both interior and exterior borders.
Interior Borders
Some patterns lend themselves very well to borders, especially interior borders. I usually choose them for their simplicity for two reasons. The first one being that you have to do all your own calculating on a panel quilt’s borders. This sometimes requires heavy-duty math, even with a simple pattern and a calculator. The second reason is that it saves time, and helps to highlight the main element.
Strips

Truth be told, strips are the #1 choice for most borders, both interior and exterior.
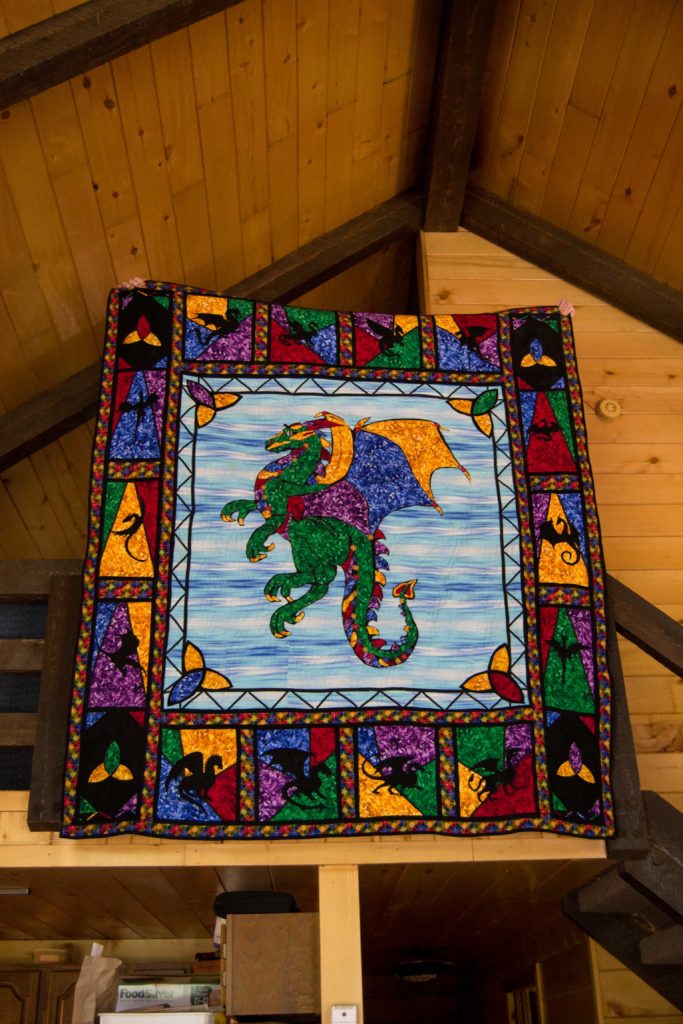
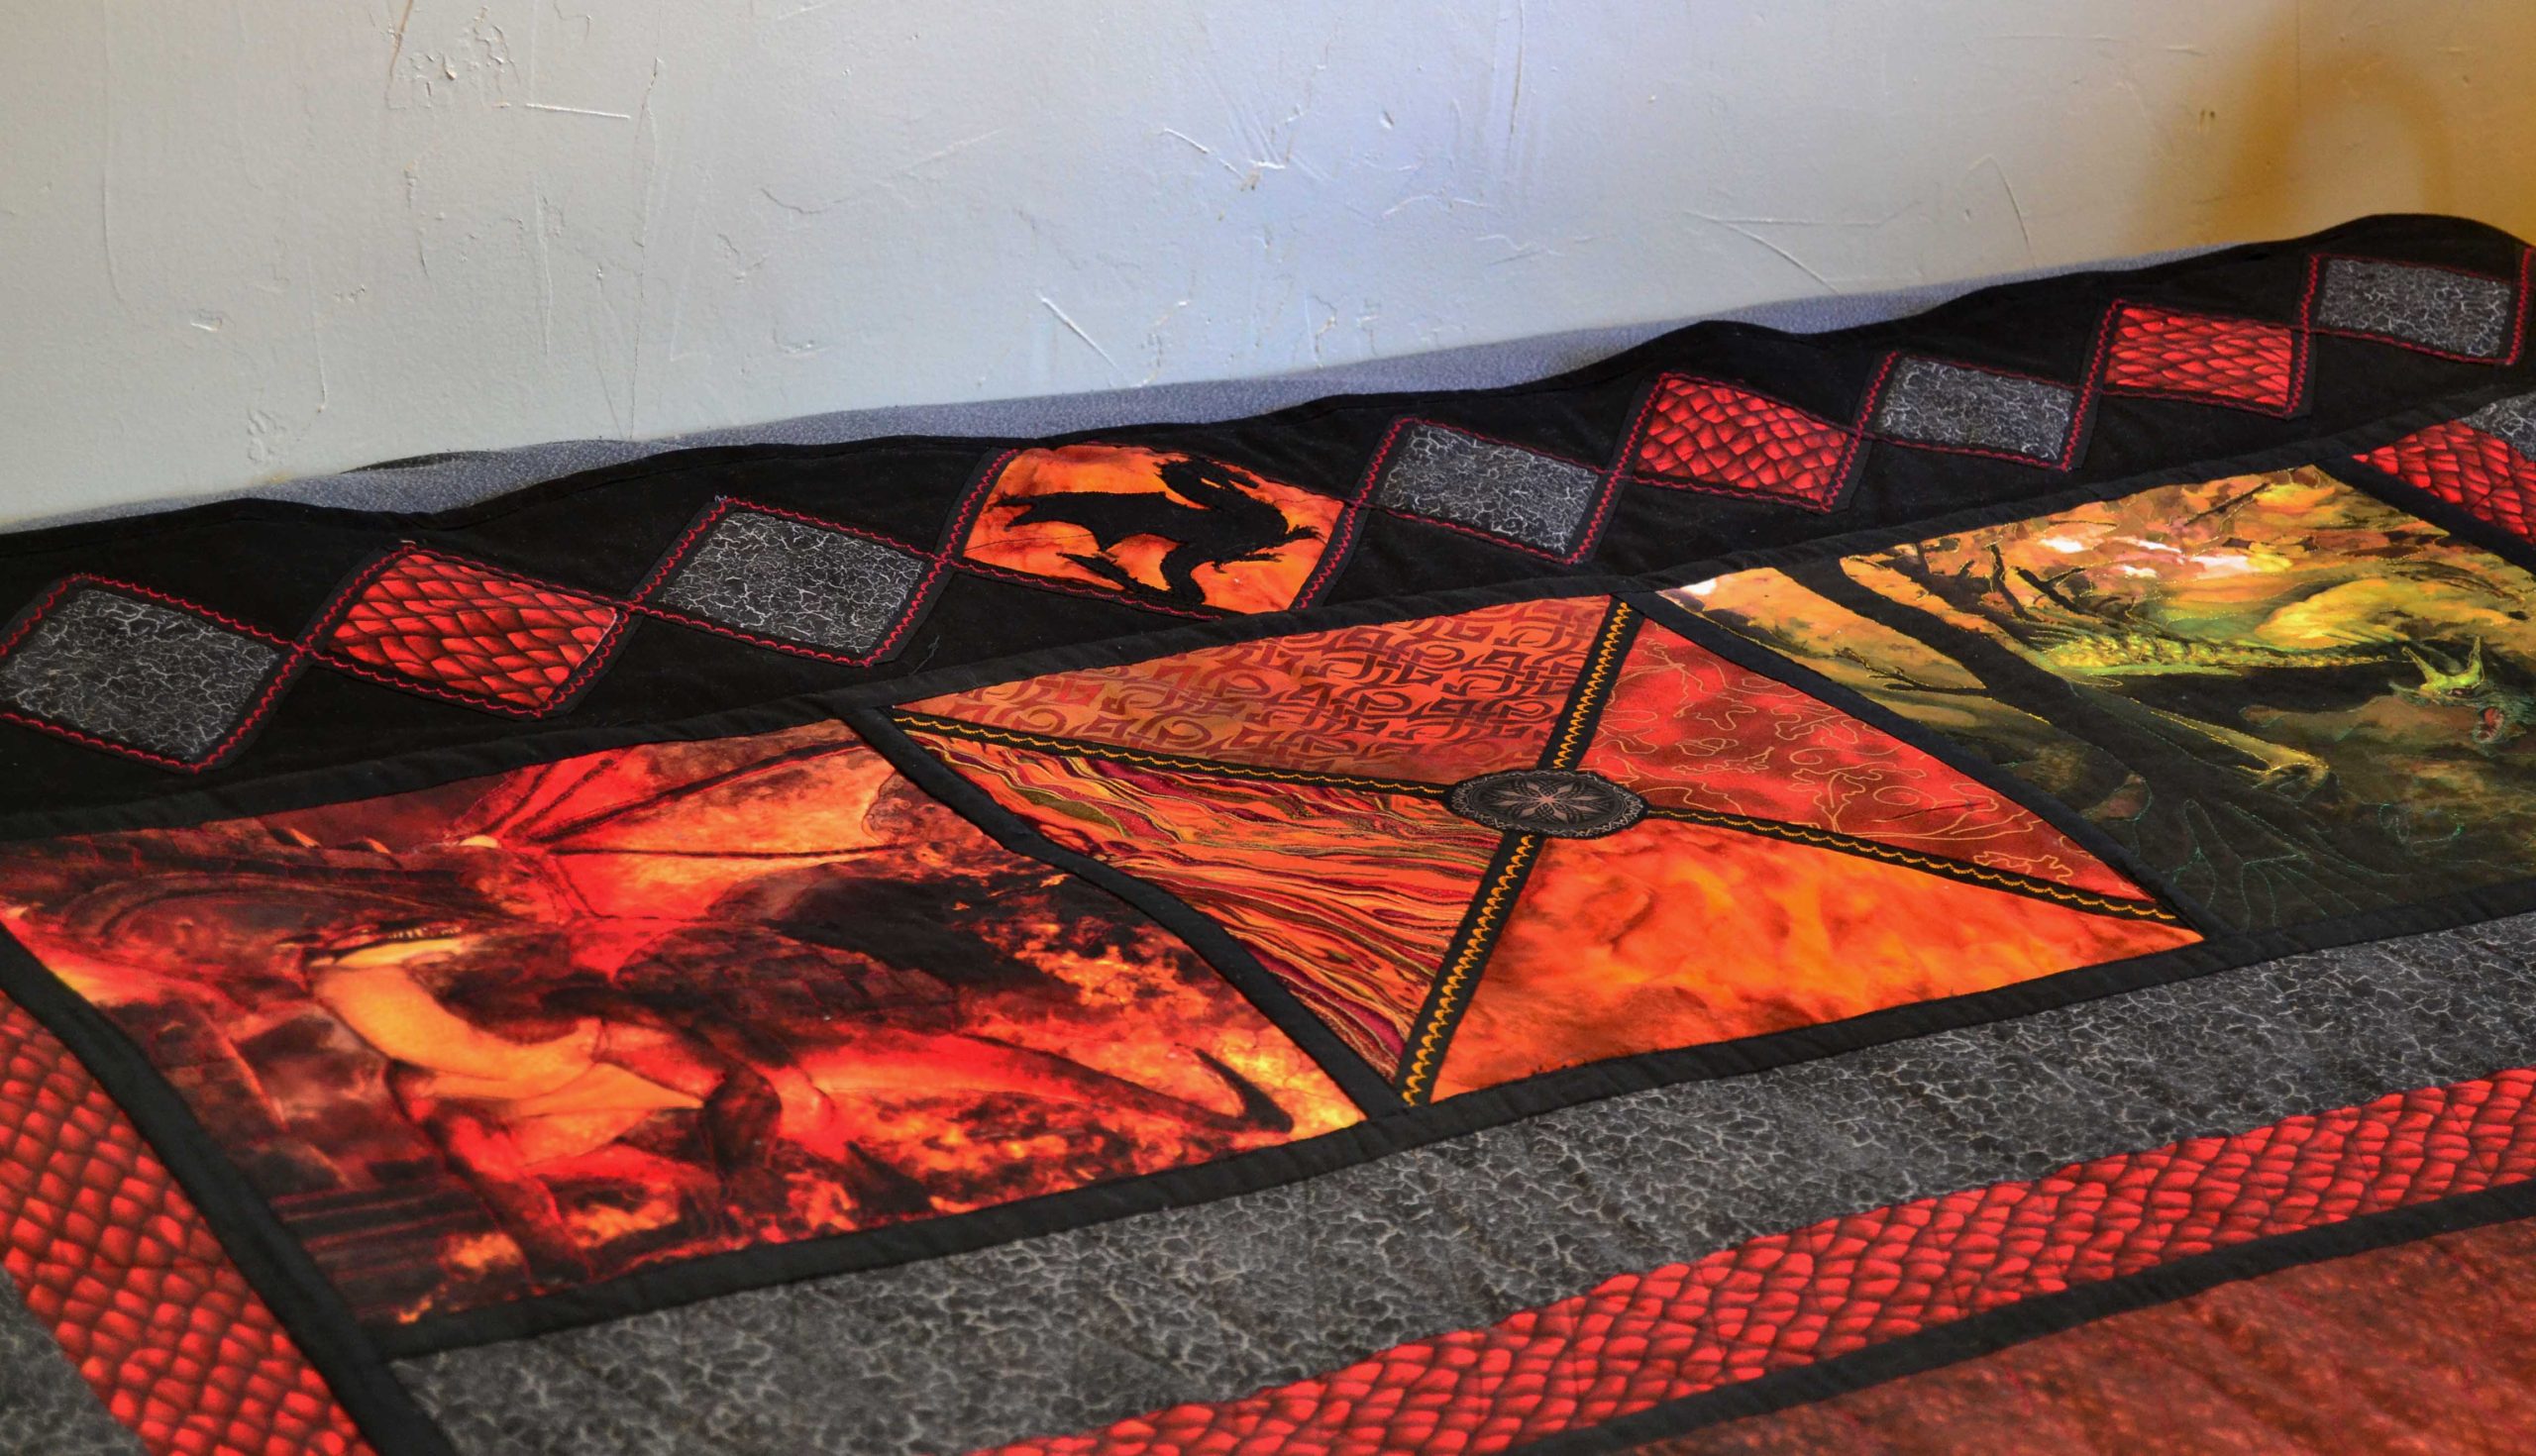
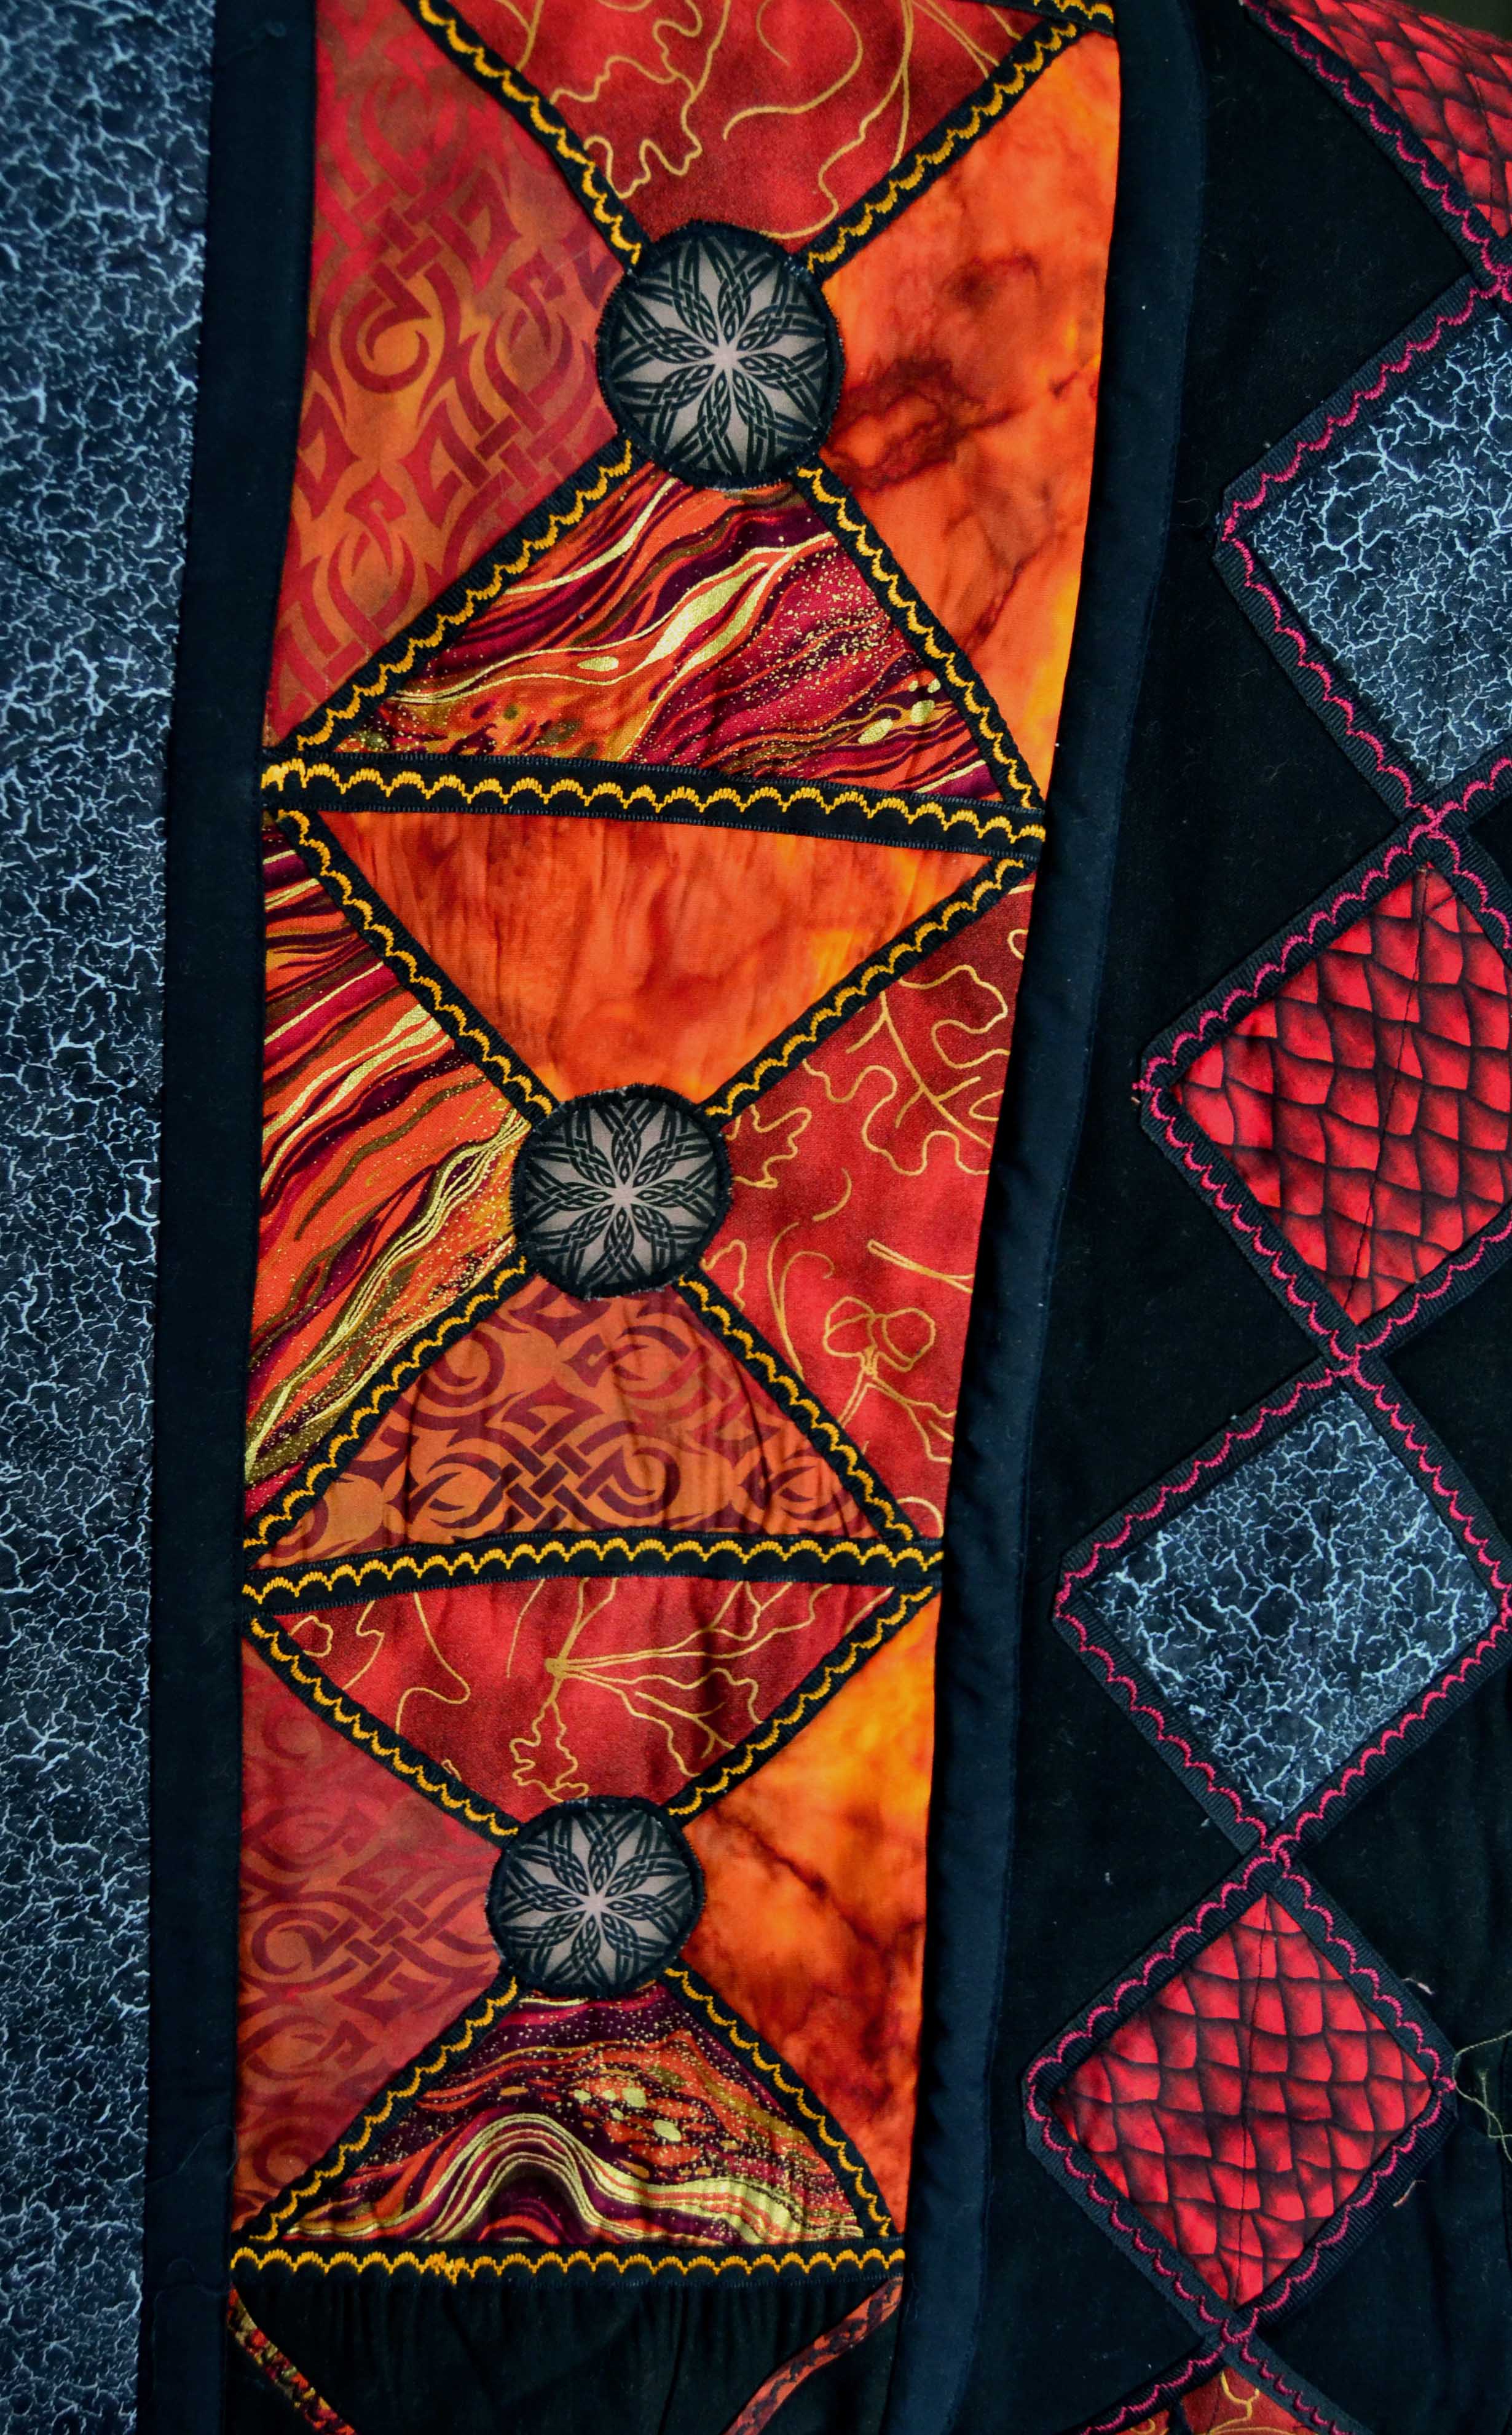
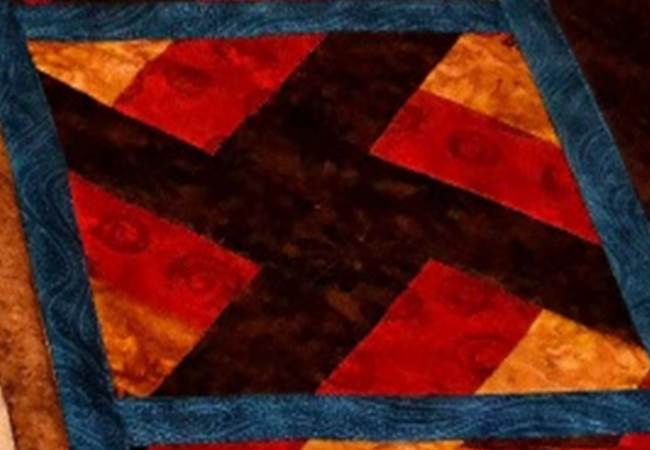
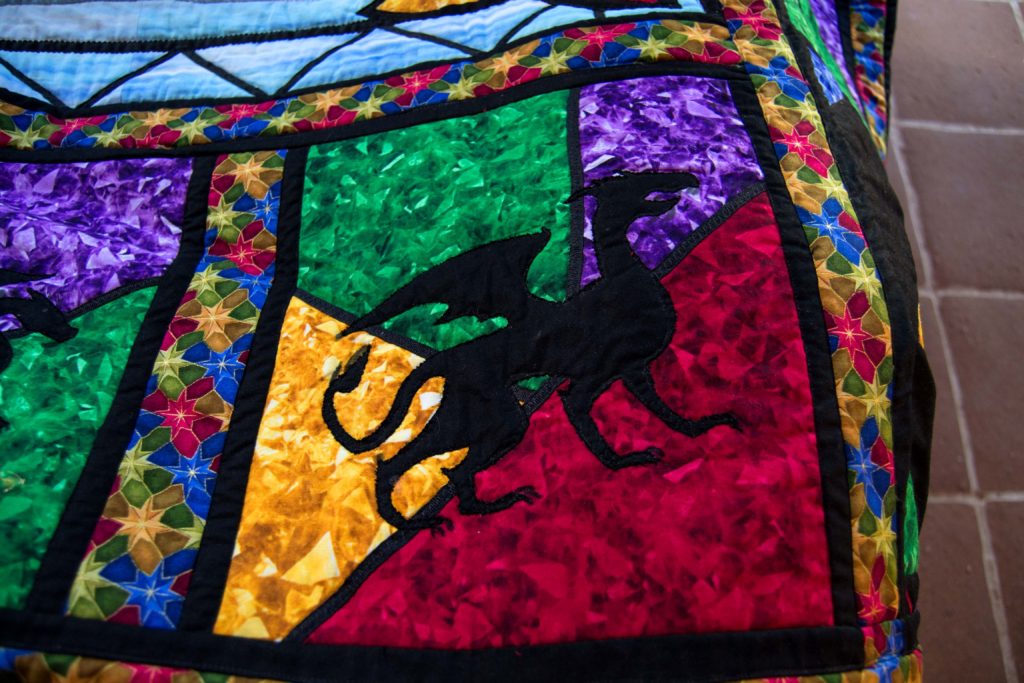
I’ve used them exclusively in some quilts – such as Dragons in my Window – but I try never to use them alone. For instance – in Dragons – the grosgrain leaded design around the large interior window acts as the first interior border, the black sashing functions as the 2nd, and the jeweled strips are the 3rd.
Because the jeweled fabric I used for this interior border was so bright, I didn’t make it into a pattern but left it alone just the way it came. It coordinated beautifully with my theme and I also used separate stars from it on the main dragon itself, to help pull it altogether.
Another way to use strips creatively in an interior border is to use them to separate other interior borders as in my Home Pastures quilt.
Here the brown strips separate the windmill blocks which are the main interior border and give the quilt a neutral breathing space.
Another way to make an interior strip border is to use 2-3 different fabrics and vary the width of each set of strips. For instance – make the 1st strip 1-1/2” wide, the 2nd strip 2-1’2”s wide and the 3rd 3-1/2” wide.
This lends interest and movement at the same time.
Squares
Square blocks are infinitely changeable and designable and as such can meet any border requirement you can imagine. Listed are just a few:
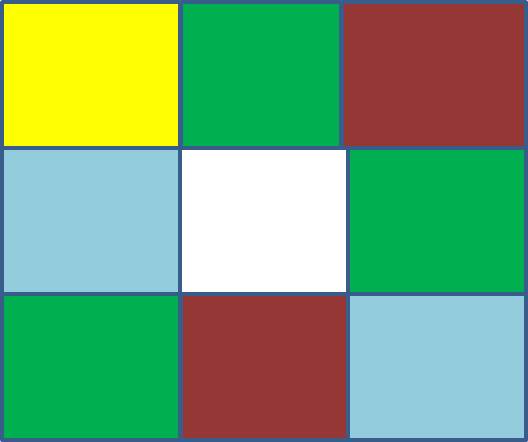
Patch – These are very easy to make and allow you to incorporate an entire spectrum of colors and shades.
4-Patch – These are just like 9-patch, but even simpler.
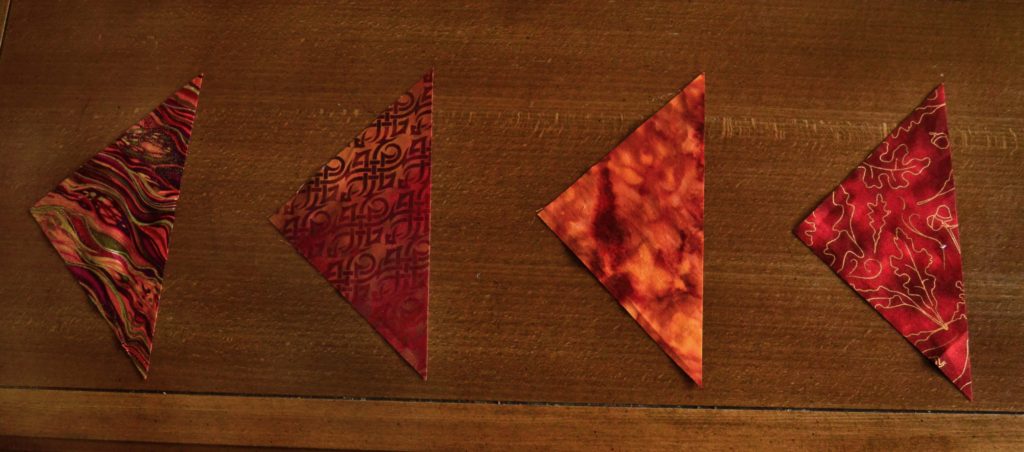
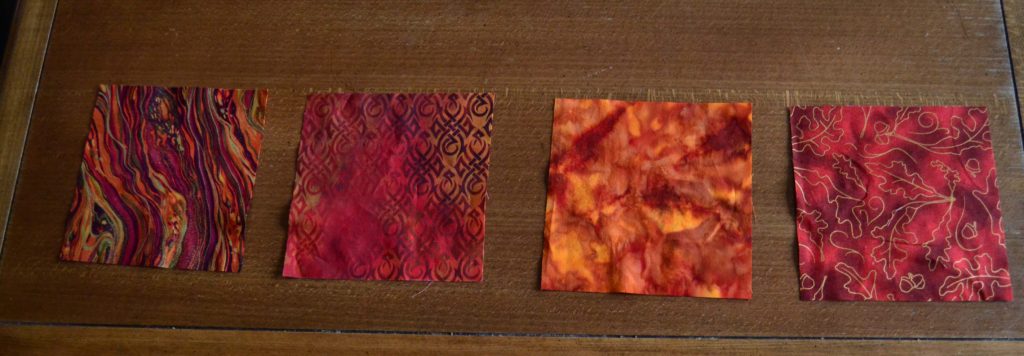
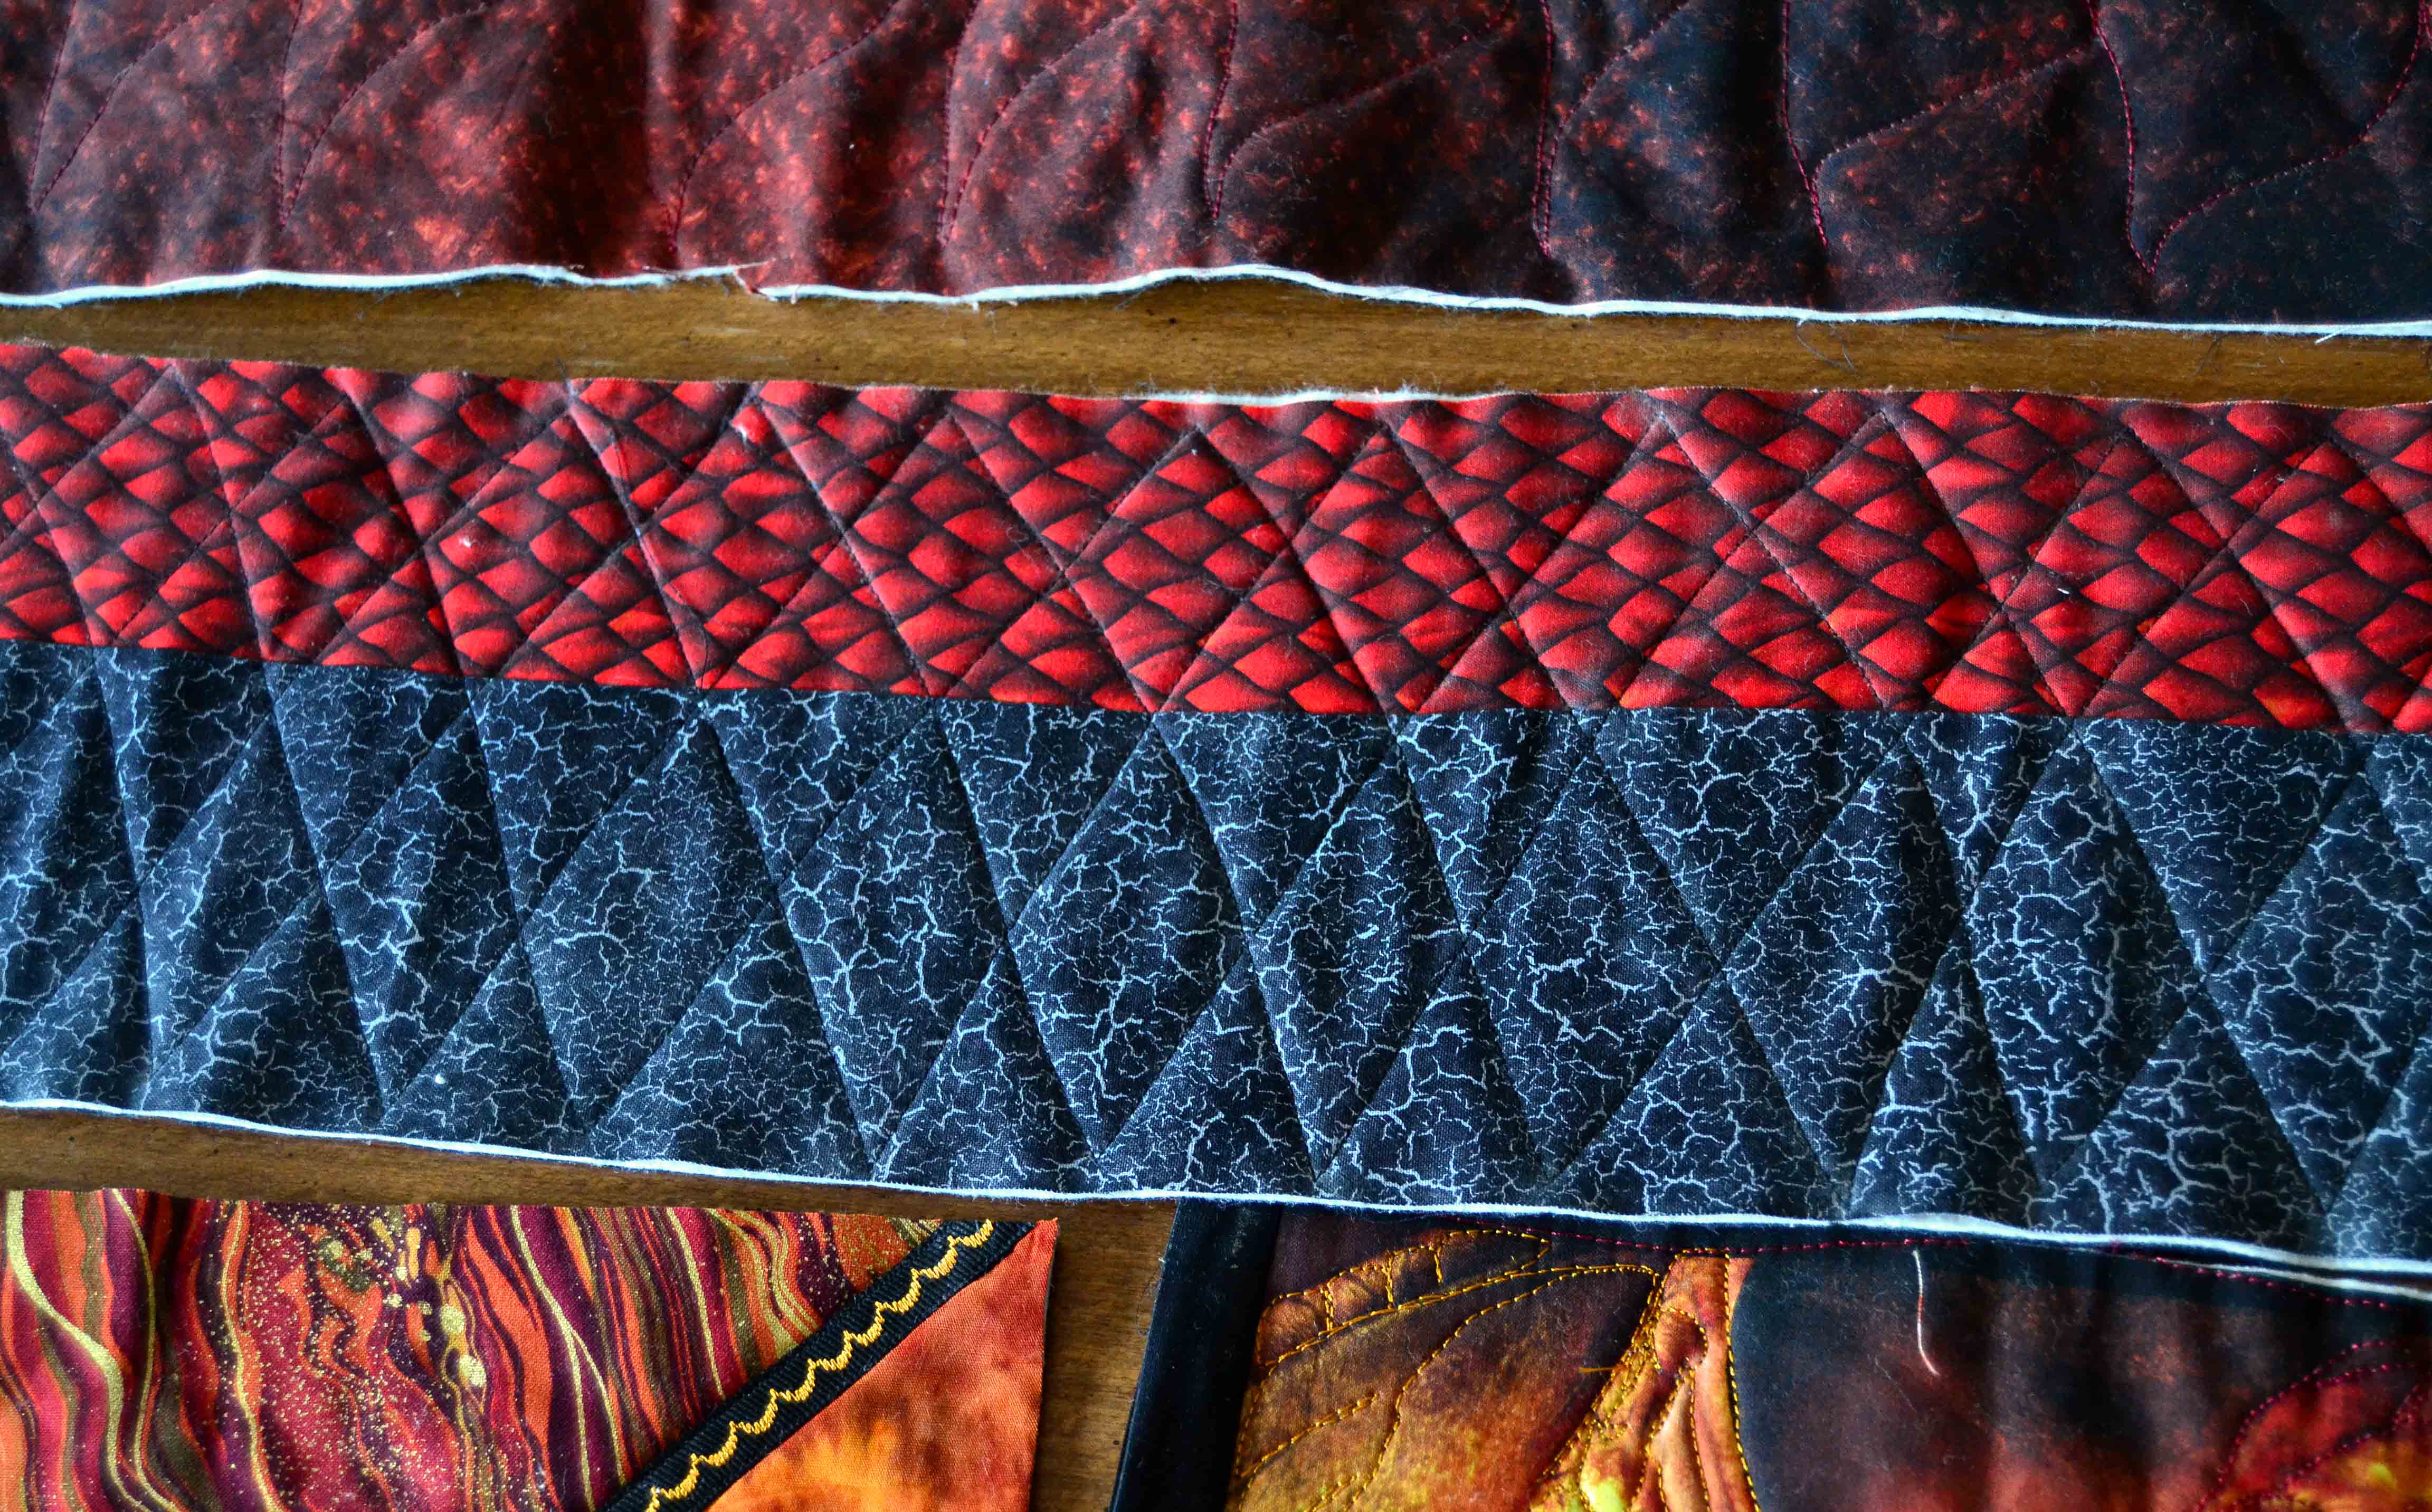
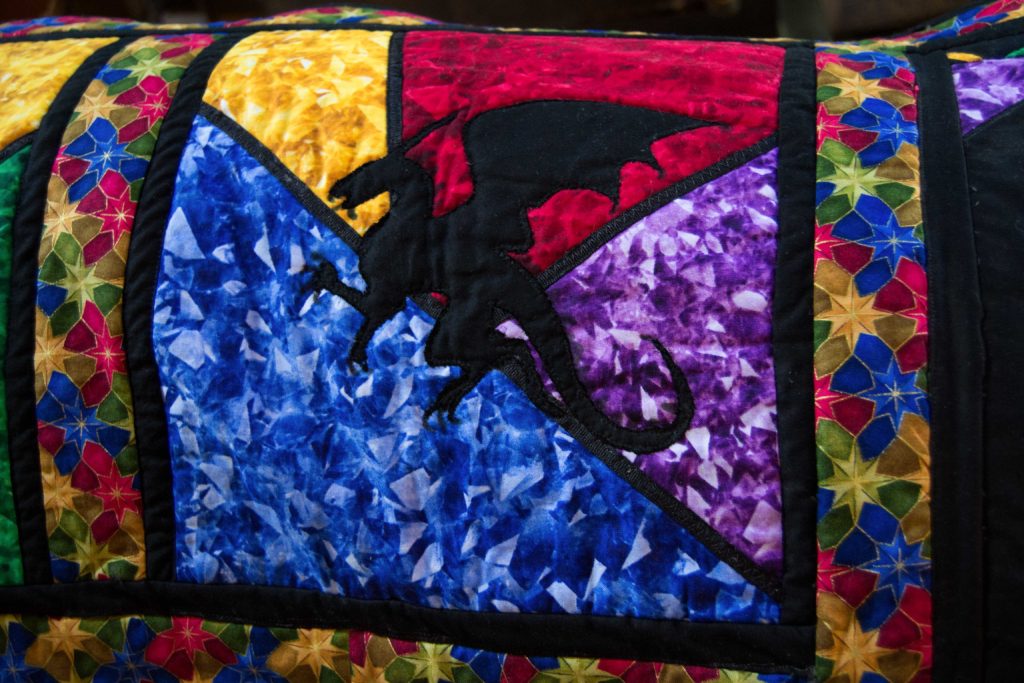
4-Patch Triangles – These are just as simple as the regular 4-patch, but give a completely different look to the finished block. You simply cut each block on the diagonal, re-sew with another color, re-cut on the opposite diagonal, and re-sew with a coordinating section. This triangular configuration can be very eye-catching without being overwhelming.
2 Triangle Block – This requires one less step than the 4-patch triangular block. Simply cut a block on the diagonal and re-sew with another color.
Plain Squares – Set on point solid squares are also very attractive especially if the square itself is a bold color while the 4 surrounding triangles are fabrics from your quilt.
Windmill/ Pinwheel – This is one of my favorite because, as I said earlier, it gives you 2 completely different looking squares with only the same amount of effort as making one takes. Windmill blocks are made from 4 different fabric strips, and their genius lies in the way they’re cut and re-sewn.
Consider Adding Embellishments
Any of you who’ve read my blogs know that I love enhancement in any form, from ribbons to flowers, from beads to buttons. Look at your border blocks and think if you can add anything to them to enhance the theme of your quilt.
In my Ocean Maidens quilt, we added silver netting and silver rope along with ‘jewels’ to help along the idea of a tide pool.

In the dragon quilt I’m making now, I’m going to construct my interior borders from 4-patch triangle blocks and then I’m going to cover the seams with black grosgrain ribbon to give it a stained glass look, because (for me) dragons are medieval-ish and so are stained glass windows. I may even have to add a fancy stitch across each ribbon with the threads I’m using to quilt the panels.
The beauty’s in the details, friends!
Exterior Borders
Most exterior borders are made of strips and are mainly used to bring the quilt up to the size you want it.
Calculating a Quilt Border with a Super-Wide, Single Exterior Border
If you have only a narrow width to construct, one strip of one width is fine. If your exterior border needs to be more than 3” wide, however, please consider using more than one strip and alternating their widths as I mentioned above.
This adds interest, flow and color and is much more attractive than one very wide border.
We constructed the Ocean Maidens border this way, using 3 different widths, a plethora of colors and shades and then appliqued mermaids onto it to help detract from the width of the whole thing.
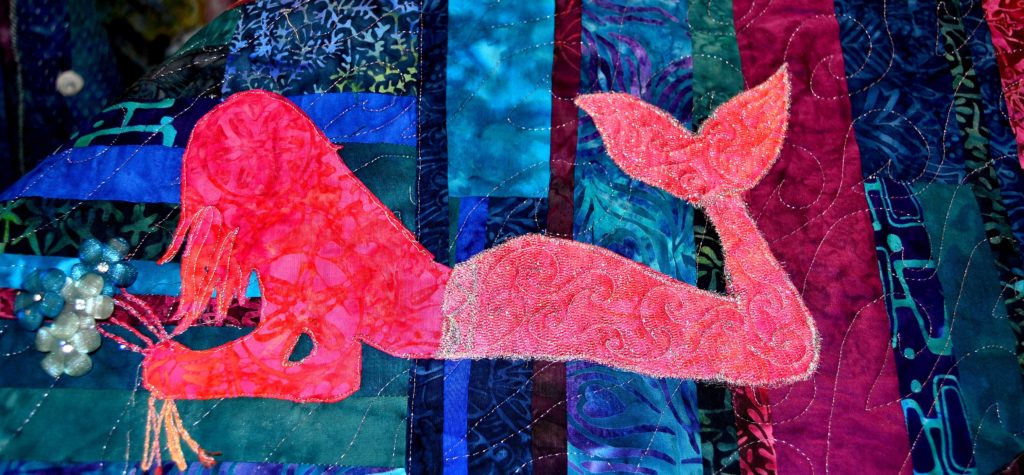
To me, a very wide border just looks desperate, so anything you can add to it to visually lessen the impact is a plus.
If you do need a wide border, consider inserting a filler border in between an outer and inner strip. For instance, you can place a coordinating triangle border or a 4-patch, etc., in between your 2 outer border strips.
Most of the borders I mentioned as working with interior borders will also work with an exterior border – given some resizing and imagination.
Basically, there are a LOT of different ideas for exterior borders floating around in the quilting universe, and if constructing complicated and visually stunning exterior border is your thing then more power to you!
The Easiest Exterior Border Ever – the Piano Key Border
This is exactly what it sounds like. You simply take all the fabrics you’ve used in your quilt, cut them all the same width and length you need, and sew them together horizontally. This is a great border for children’s quilts as it adds a lot of visual interest.
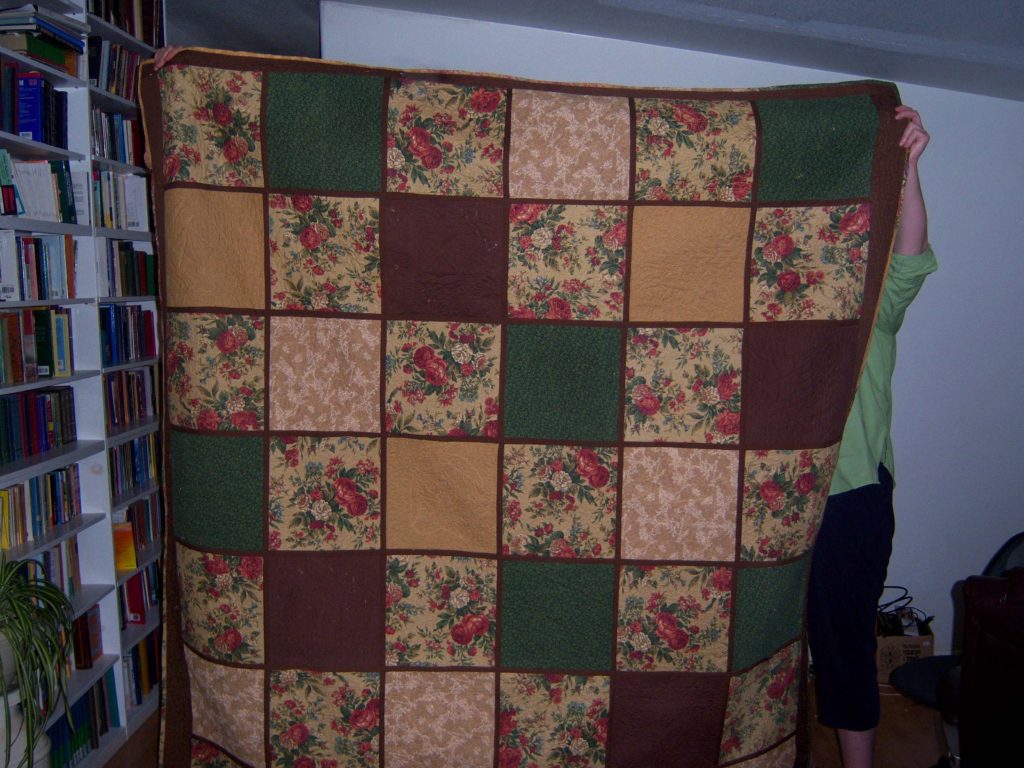
Sweet Roses’ first border is a large pinwheel block, the second is a piano key, the third is a solid strip, and the final is another scrappy piano key…
Sashing
I always construct my panel quilts as if they were “quilt as you go” blocks. This technique requires sashing, and this is also a border, don’t forget!
As such, it should coordinate well with the colors of your quilt and you can use it to either ‘pop’ by itself or blend in with the rest of the border. The choice is yours but remember, even though sashing is very narrow, it makes a big impact so choose wisely. You’ll use a lot of it.
Final Note on Calculating a Quilt Border
When you have decided what size blocks you’re going to make for your borders, cut the basic, starting blocks or strips at least 2”-3” larger, longer, and wider than you want your finished blocks to be.
This gives you plenty of wiggle room because you need to factor in the inches that the seams will take up, as well as the fact that crazy blocks NEVER sew back together with all of the edges nice and even, no matter how careful you are.
Trust me on this – I have made hundreds of these blocks. So you will need to have the extra room for trimming the block down to the size you want it.
To the greater good of your quiltivity (and please let us know if you’d like us to do patterns or instructional videos on any of these techniques and patterns via karyl@pybdesigns.com.)
Your Guide to Quiltivity,
Karyl Fitzgerald
Princess YellowBelly Designs’ “original-pattern-designing, straight-seam-sewing, seam-ripping-mistake-fixing, verbose-wording, how-to-do-it-funner-faster-easier-instructing, quilting-artist”Resident Genius
Fantastic website. A lot of useful information here.
I’m sending it to a few buddies ans additionally
sharing in delicious. And obviously, thanks for your sweat!
I like the valuable info you provide on your articles. I will bookmark your blog and test
once more here regularly. I am quite sure I will learn many new stuff proper here!
Good luck for the next!
Nice post. I was checking constantly this blog and I’m impressed!
Extremely helpful information particularly the last part
🙂 I care for such information much. I was looking
for this particular information for a very long time.
Thank you and good luck.