Once you have finished one of your masterpieces, the question instantly becomes; “How do I keep it this way?” This is an excellent question and one that needs to be considered carefully, especially with fabric art creations that often incorporate elements that are not washable or dry-cleanable. Knowing how to clean a quilt properly will help extend the life of your masterpiece into an heirloom.
When I consider my creations I often think about Leonardo da Vinci and Vincent Van Gogh; both men produced a work of art that everyone recognizes instantly.
The first, of course, is the Mona Lisa that has survived basically unchanged for over 500 years. This is astounding and deserves recognition. Obviously, right alongside his genius is the fact that Signore da Vinci used paint and techniques that have stood the test of time.
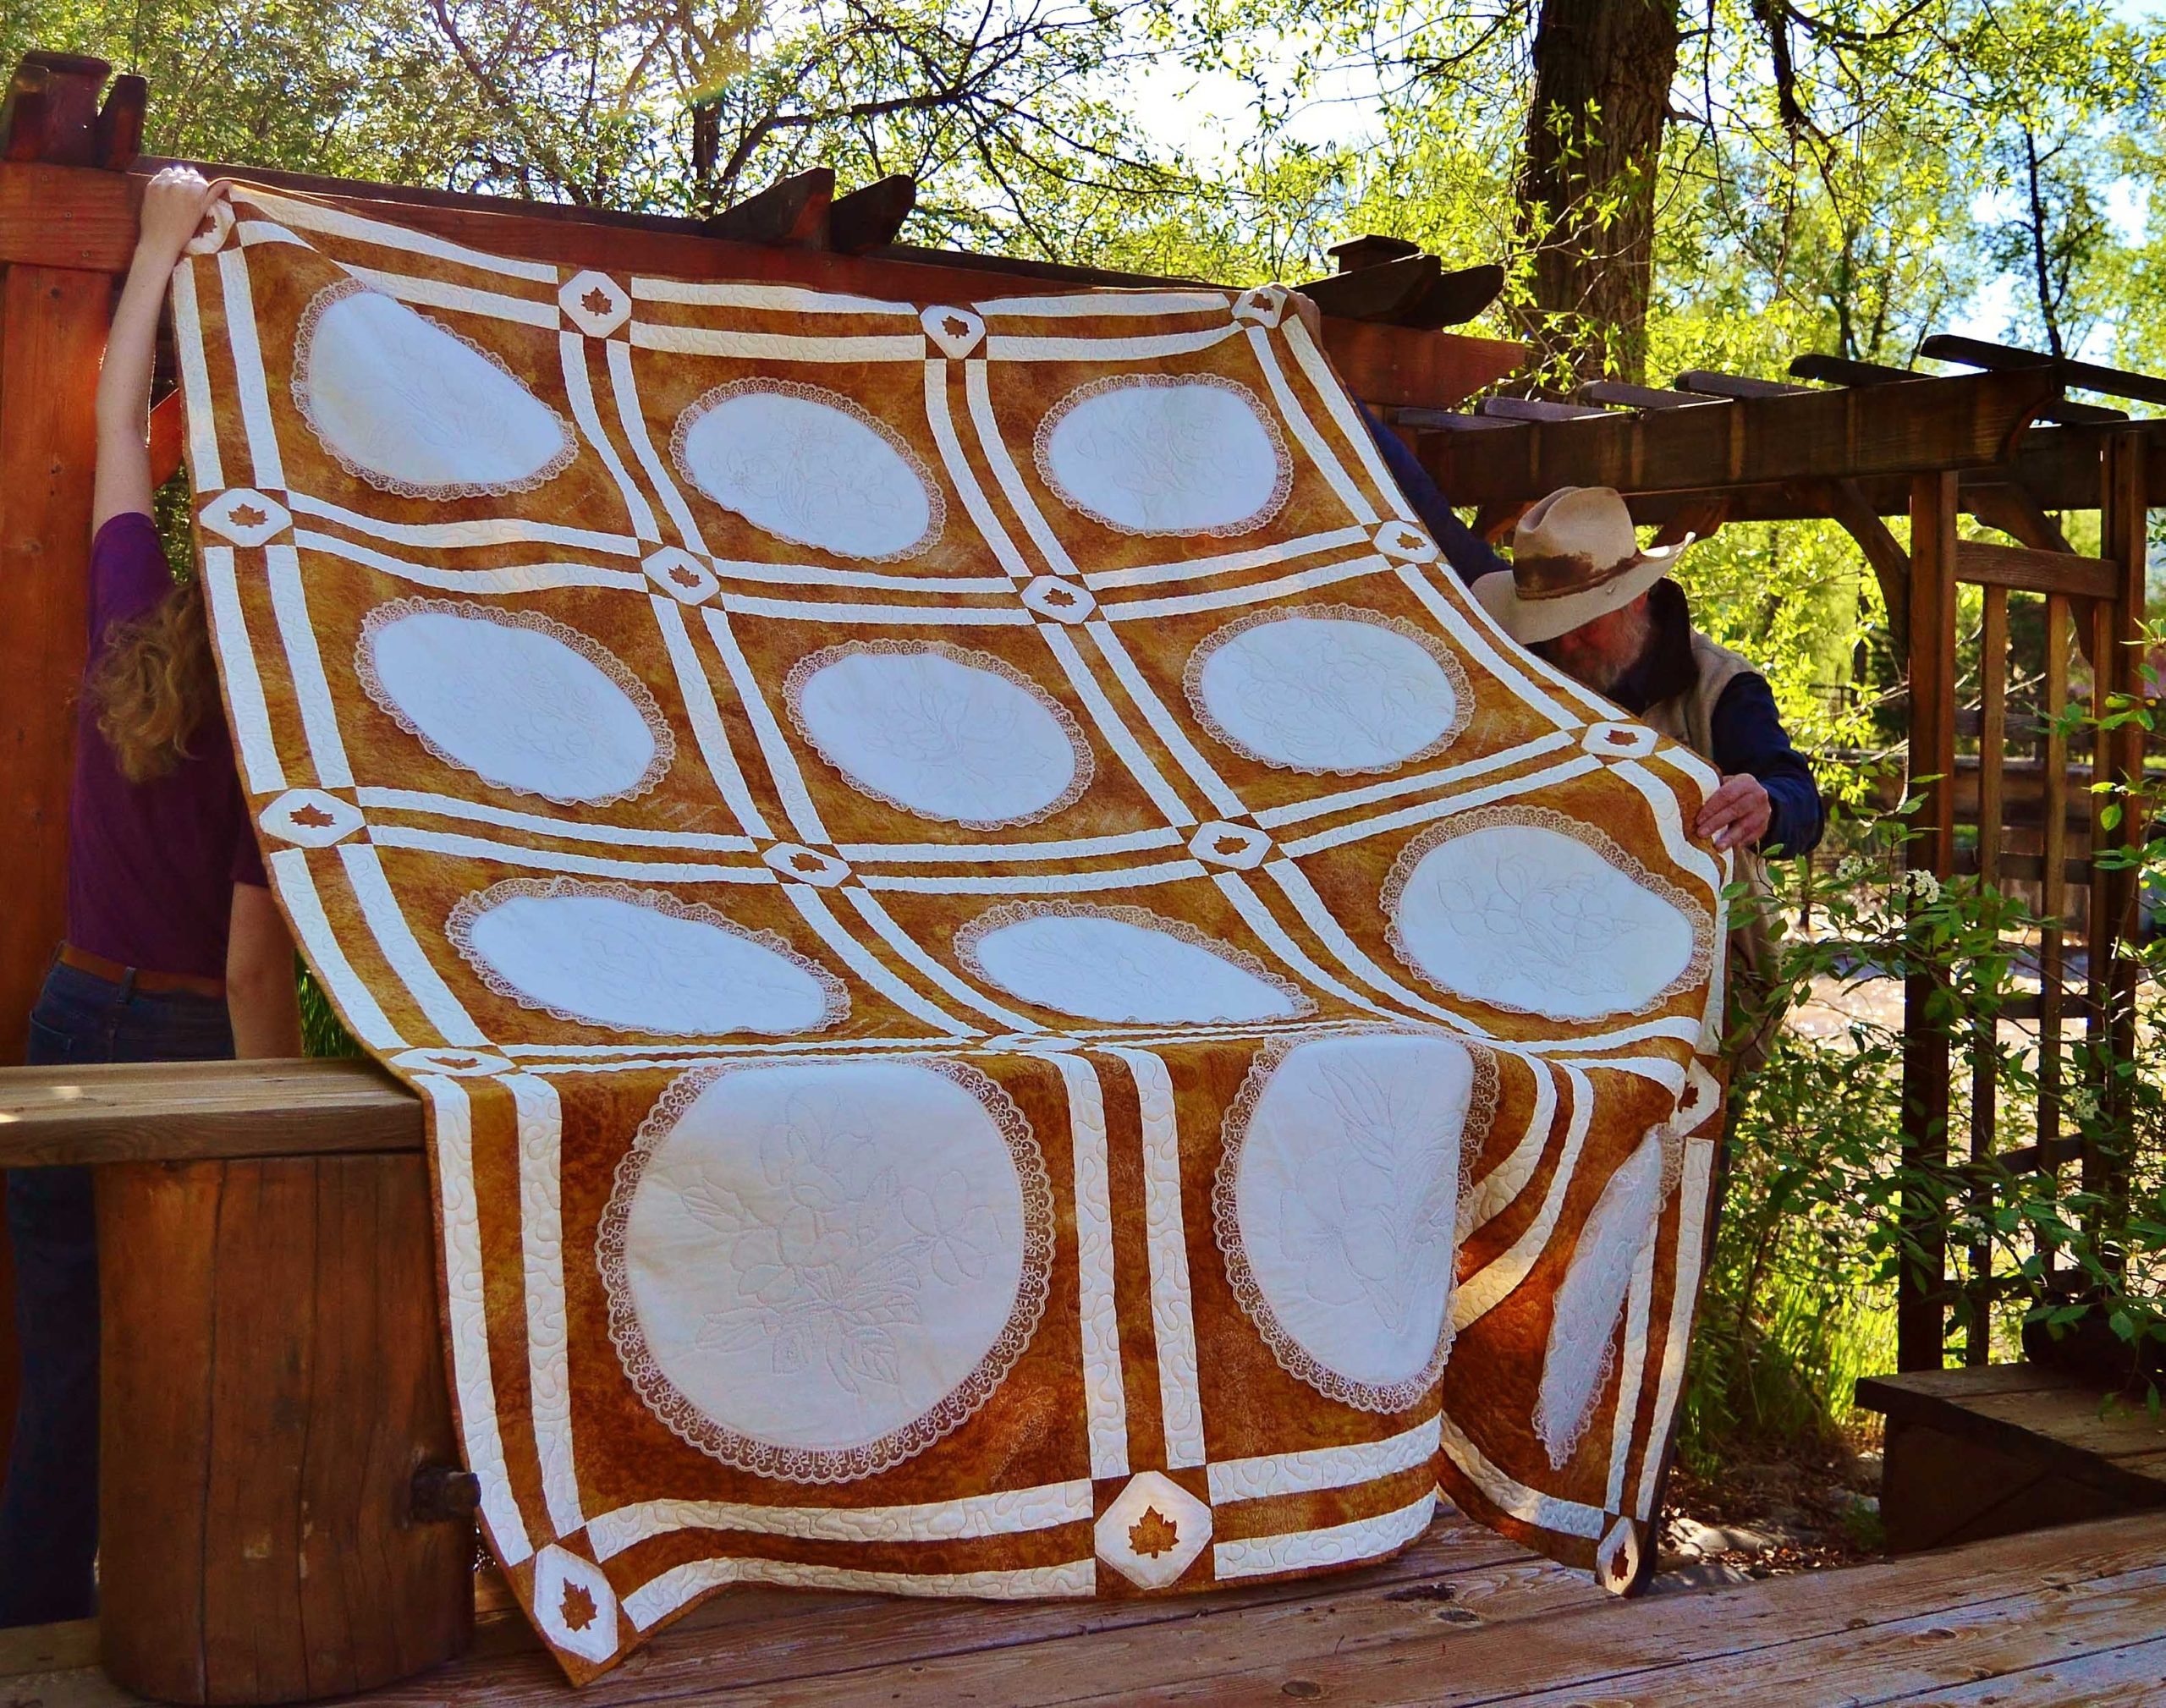
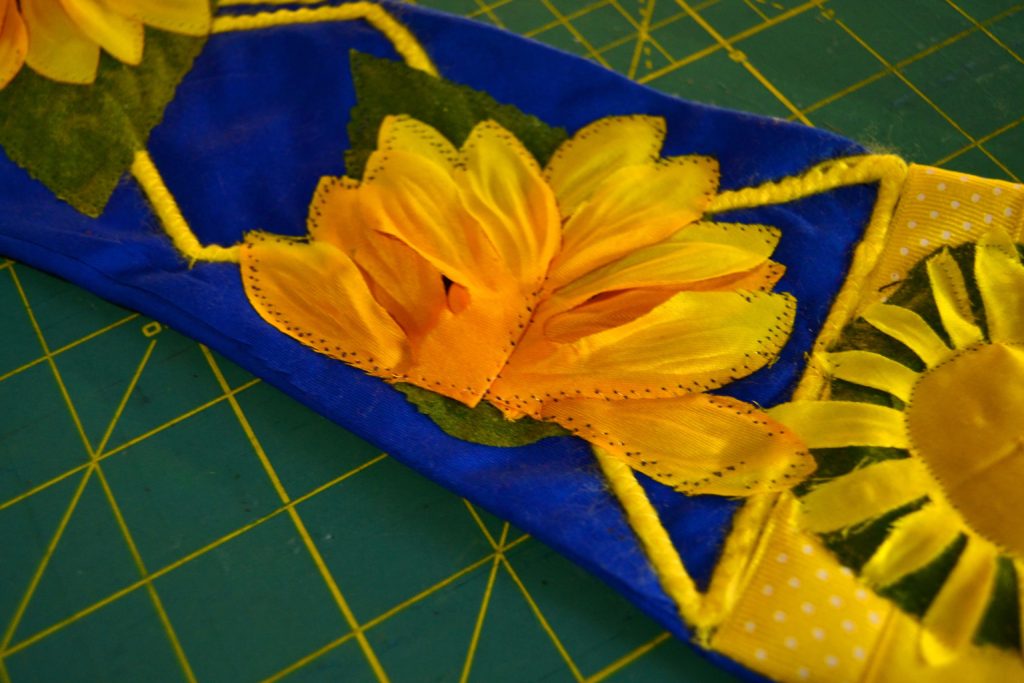
These embroidered squares are over 30 years old – and still crispy clean and in mint condition.
Van Gogh’s creation – The Sunflowers – has not been so fortunate, as the brilliant yellow that he used to paint the sunflowers gradually turned a dark green.
It’s not the technique that’s flawed, but the mediums these artists used. Of course, as it’s been over 500 years since Van Gogh painted those sunflowers, and since he’s been dead for quite a while, I doubt that he cares. Just the fact that the Sunflowers are still around is as astonishing as the work itself.
What Lessons in Quilt Cleaning Can We Learn from Signore Da Vinci?
When someone creates something great, and it sticks around longer than the creator’s lifetime, we no longer call it a painting, a quilt, or a piece of pottery.
We call these items masterpieces – especially if they’re hanging in a museum.
On a personal level – especially when the artwork stays in the family, as quilts most often do – we call them heirlooms.
But getting heirlooms isn’t an accident.
First you have to recognize that your quilt has the potential to become an heirloom. Which is strangely hard to do. It’s an odd thing, to think of your hobby project as something of great value that has the potential to survive beyond your own lifetime and become a family treasure.
The next step is simple; you have to be ready to preserve that heirloom.
Especially since fabric and thread can be just as touchy and temporary materials as paints and canvas. Think of the preservation process following your quilt creation as if it were the business of being an art-restorer.
You’re restoring your art every time you clean your masterpiece.
Preserving a Quilt Before You Sew the First Stitch
As always, the first step in a big project starts before you start. You have to think about how you’re going to preserve your quilt, and how to clean a quilt properly, before you put your foot down on your machine’s presser foot.
Always, always, always use the best products available to create your masterpieces.
It’s no good using the cheapest option on fabrics, thread, batting, etc., if you want your creations to stand the test of time.
Take your time during construction, making sure that each step is performed to the best of your ability.
Both of Da Vinci’s works have survived in part, because they were beautifully constructed. Da Vinci was a technical genius as well as a painting master.
Sometimes, in order for your creative genius to shine, you have to go out on a limb.
Just as Van Gogh did when he mixed the paints that produced the beautiful yellow he wanted for his sunflowers. It was a risk, which I’m sure he knew, and which hasn’t stood the test of time. But, the painting itself is still a masterpiece.
And as you look at the moldering, green sunflowers of today, your imagination can recreate their splendor during the days of the Renaissance. Sometimes, flaws can enhance the beauty of a creation.
Start beating the value of your quilt into everyone’s heads right now.
Because of his creative genius, his skill, his vision, and his recognized greatness in his day, succeeding generations have made sure that Da Vinci’s masterpieces have survived.
This is the goal we are shooting for here – that our creations, while not world renowned, will be so appreciated by our future generations that they will take the time and care necessary to keep them safe and beautiful.
So, assuming that you have used the absolute best materials available for your creation and have constructed it to the best of your ability, how do you preserve it for future generations?
Deciding the Monetary Value of Your Quilt
The first thing is to ascertain about your quilt once you’ve finished it is its value; not just emotionally, but monetarily as well.
It’s always going to be easy to love your quilt and adore it for the memories that went into it and around it. It’s a lot harder to put a dollar figure on it – not because you don’t value your quilt, but because you probably don’t value your time and skill.
That’s a whole other problem, by the way, and we may address it in another episode.
For now, just know that, being humans, the higher any object is valued monetarily, the more it’s valued by us. When you’re figuring out the value of your quilt, make sure to add in your time with a decent wage. As well as:
- The cost of all materials
- Wear and tear on your machine
- And the cost of the utilities (heat, electricity, etc.).
When I first started doing this, I was stunned by how much these creations really cost.
Keep track of the time you spend on each project. This is hard for me because I tend to get in the creative zone and that’s all I really care about. Thankfully, Suzanna’s a little more hard-nosed when it comes to business and keeps me honest instead of me just estimating.
Of course, telling someone (like my sister) how much the quilt I gave her was worth and how to take care of it properly doesn’t always work, but at least I did my best to insure it was protected.
The bottom line is, you preserve your quilt best by attaching an honestly high price tag to it.

Now, the real question: How to clean a quilt?
The quick answer is, clean your quilts and other fabric art projects as seldom, and as gently, as is humanly possible, because of one central principle you MUST remember:
THE MORE YOU WASH YOUR CREATIONS IN A WASHMACHINE, THE FASTER THEY WILL DETERIORATE!!!
4 Ways to Keep Quilts in Pristine Condition
So, with the idea that you will only wash your pieces twice a decade – here are some ways of keeping a quilt clean:
Avoid beds if your family is careless or your materials were necessarily fragile…
- Fold your quilts carefully, placing acid-free tissue paper in between each fold, and store them away in a cedar chest, or a zipped plastic bag, etc.
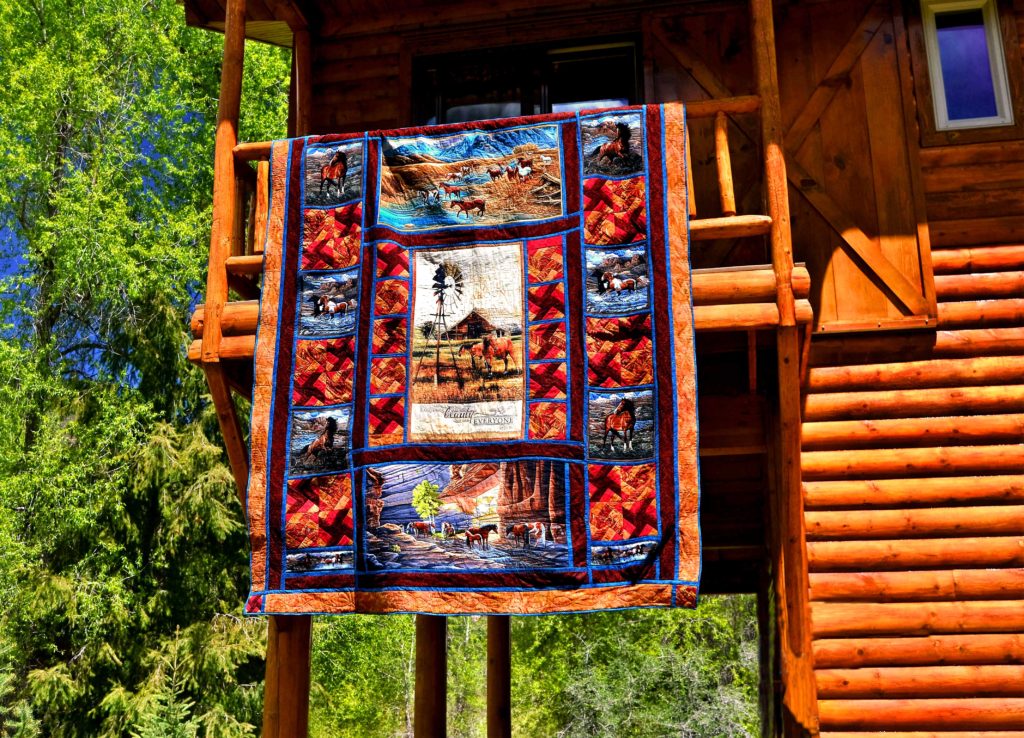
- Display them on walls, stair banisters, etc. where they are only decorative objects and are never used.
When using your quilts on a bed, take proper precautions…
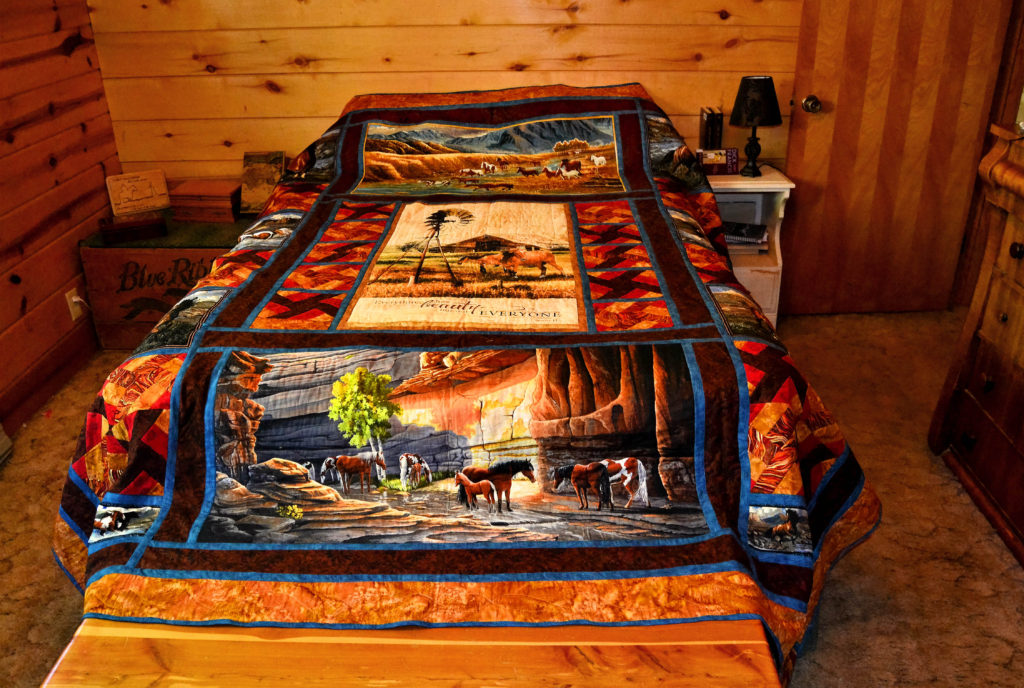
- Put them on your beds, but never sit or lie on them and take them off before you go to bed.
This is just using your bed as a display item, and gets old very fast – at least for me.
- Put them on your bed, but keep a folded blanket at the foot, and lay this over the quilt before you lay down on the bed.
I like to read on my bed and take frequent naps so I do this religiously. I’ve trained Michael and the kids to do this as well. This does 2 things; keeps the quilt clean and stops most of the wear and tear it would otherwise incur.
How to Clean a Quilt

When I do feel the need to wash one of my quilts, it’s only every 3-4 years, and then I take it into a laundromat with extra-large washers. I wash my masterpiece on a cool, gently cycle and use as little as possible of a (very) gentle soap – such as Woolite – to wash it.
Then I bring it home and hang it to dry.
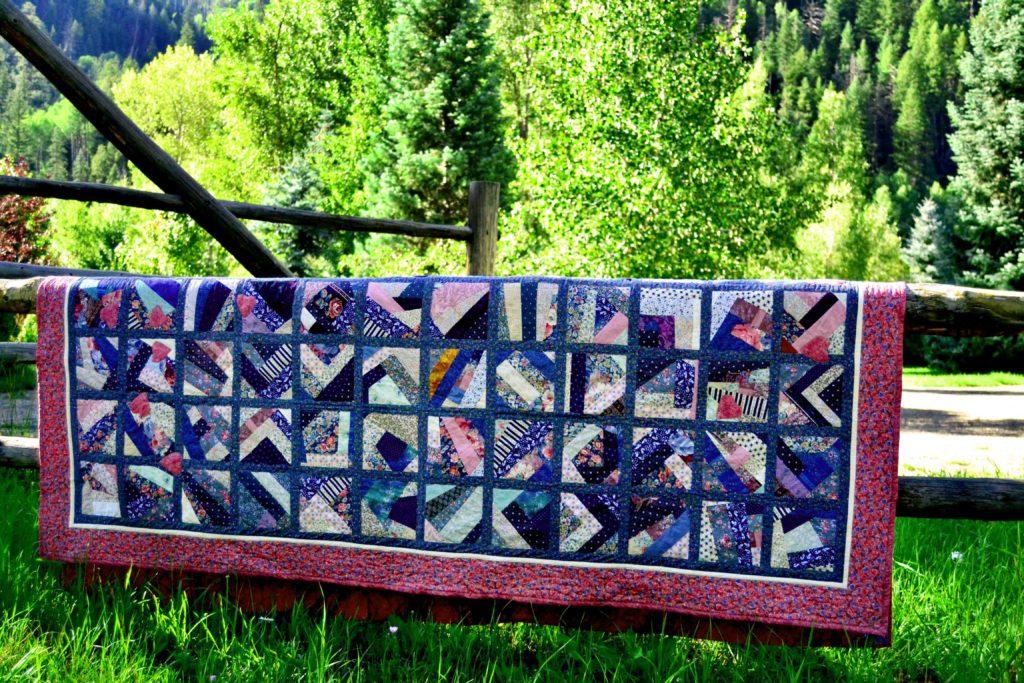
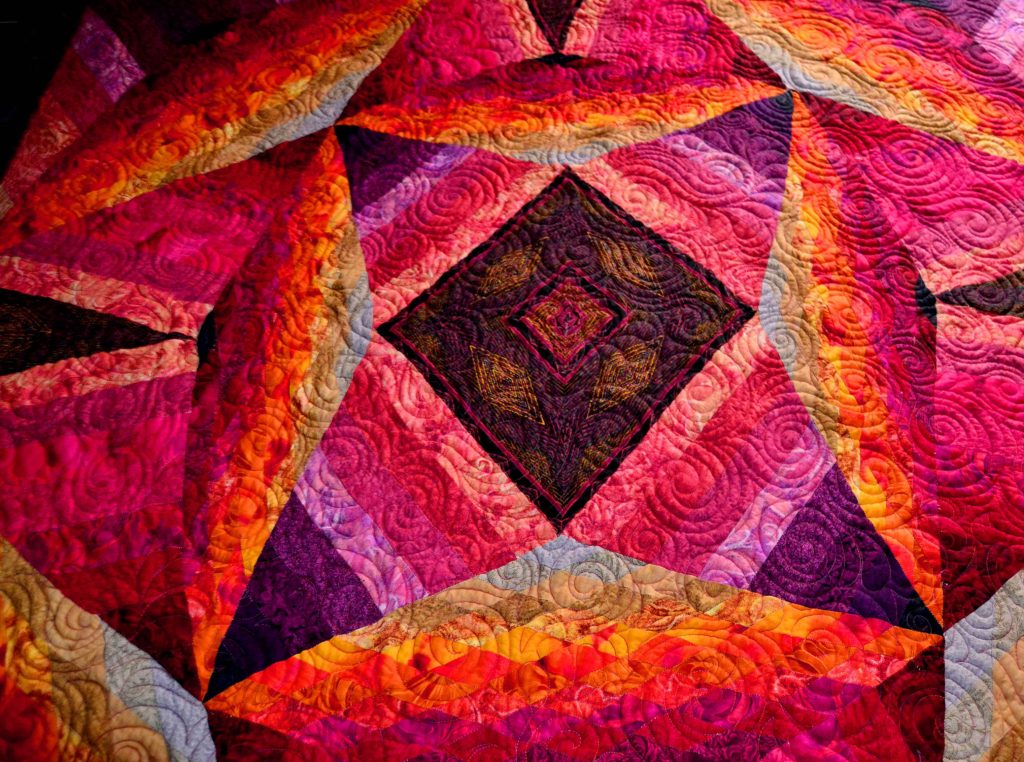
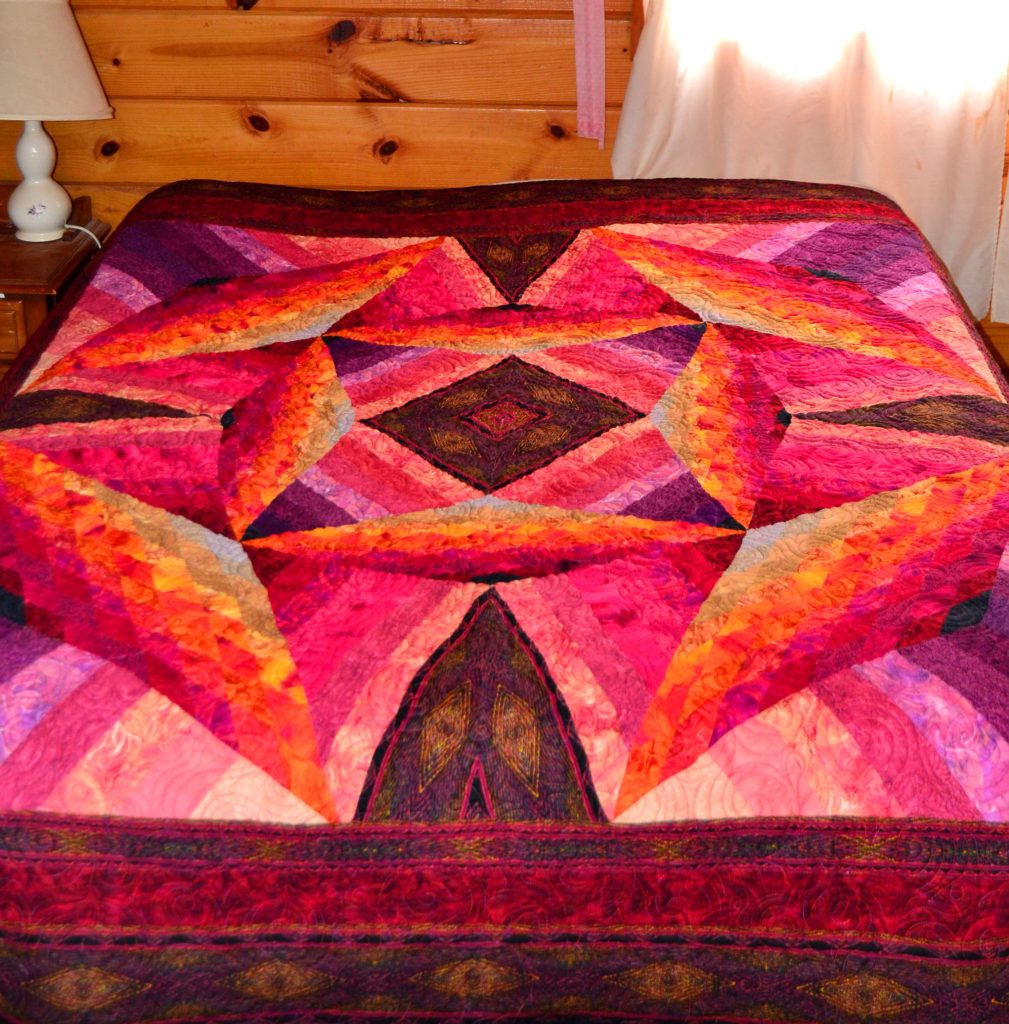
In 10 years of use, my queen sized double wedding ring quilt has been washed 3 times and I’ve only had to repair 2 slightly opened seams. In contrast, my sister completely ignored the care instructions I sent with her queen stack & whack quilt.
My infidel of a sister not only laid on the naked quilt, but let her husband eat cereal (with milk & sugar) while watching TV on it!
…And let the dog and cat use it as a 2nd bed.
OK, yes, this was our cat, on our unfinished quilt top…But that was a rare occurrence during the quilting process and we had to lint brush it anyway!
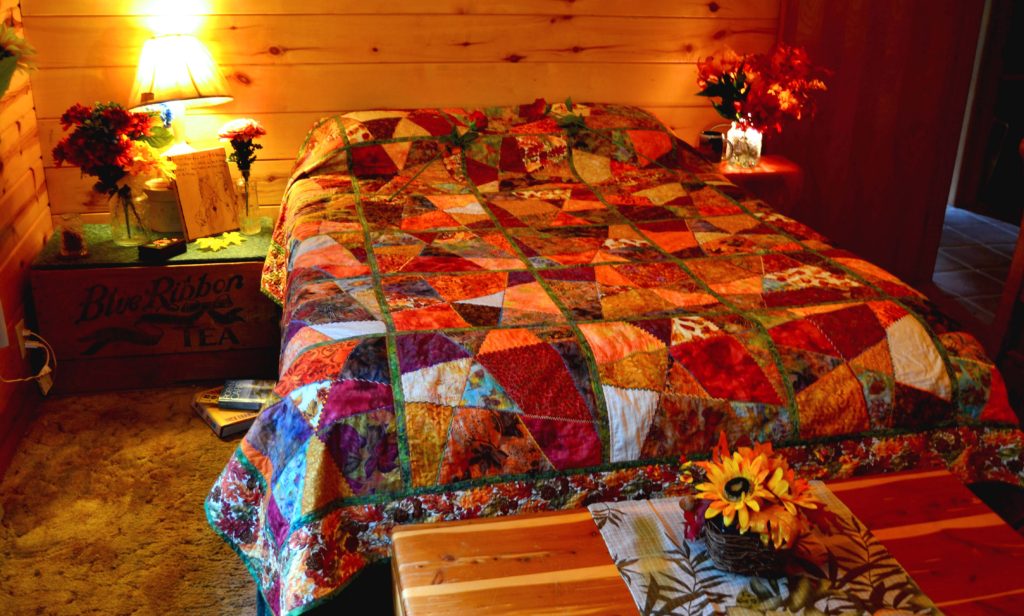
As a result, that quilt was washed so often that it is completely worn through in many places and she has had to put it away for good, and it’s only 7 years old. Take heed, readers: if you want to pass your quilts down the line, treat them gently.
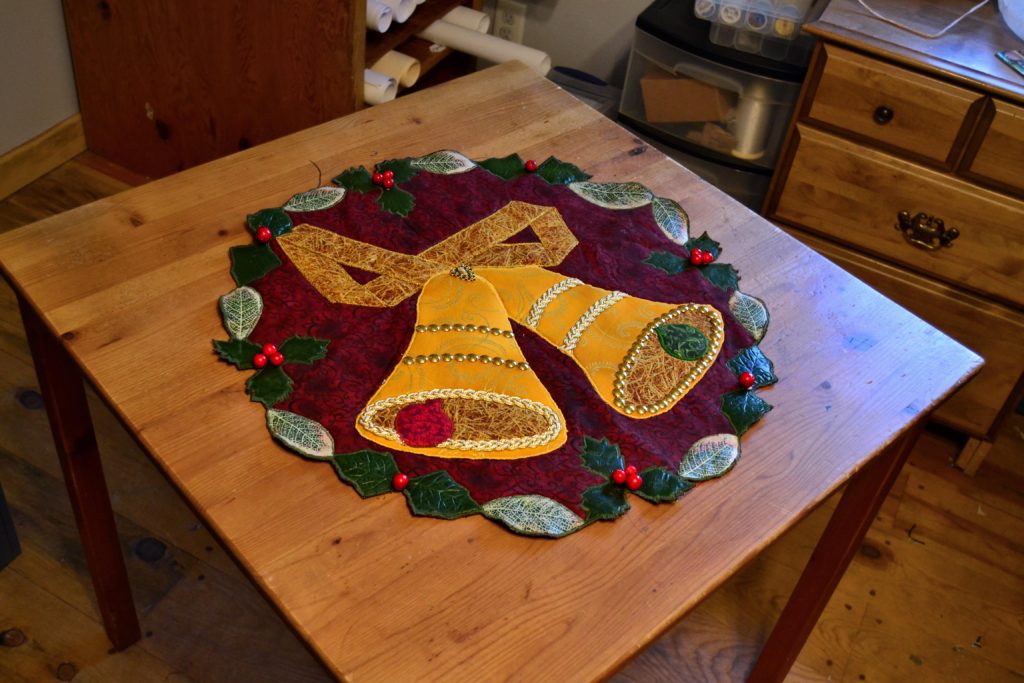
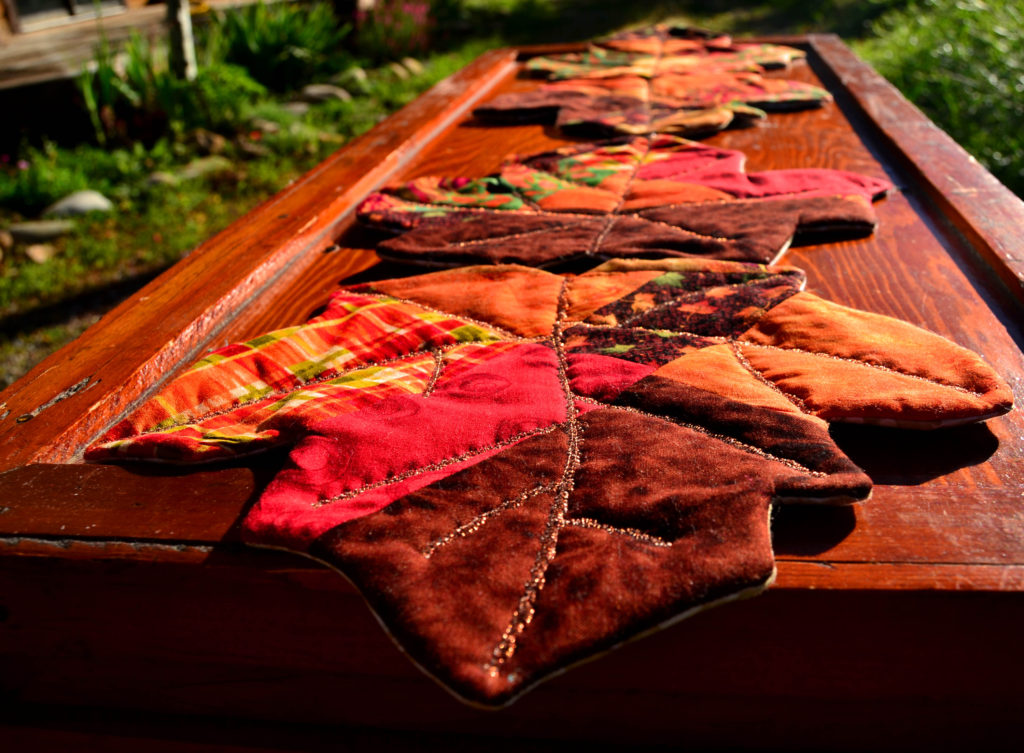
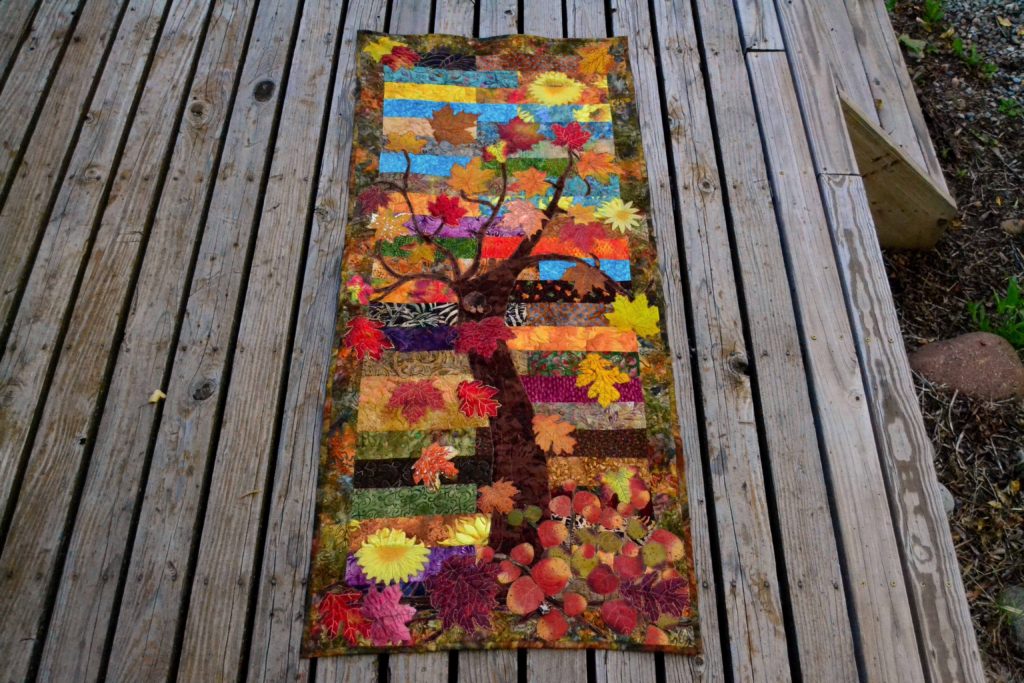
How to Clean Table Toppers
Smaller quilting projects are just as artistically wonderful as the big quilts, and keeping them clean can be quite a challenge, especially if you have younger children. But, with careful handling they can be kept nicely for many years.
- Don’t set containers of food directly on your table toppers.
Use potholders or privets for this purpose. Don’ lay any utensils on it either – basically the table topper is just there for looking at and for ambiance.
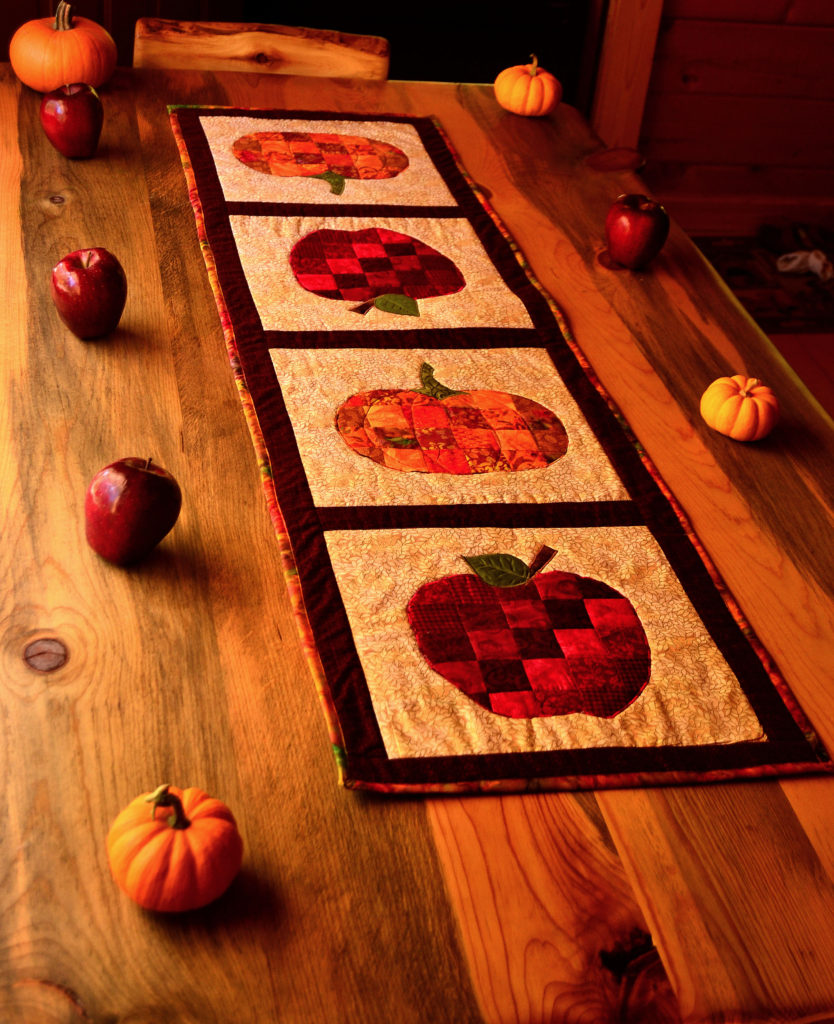
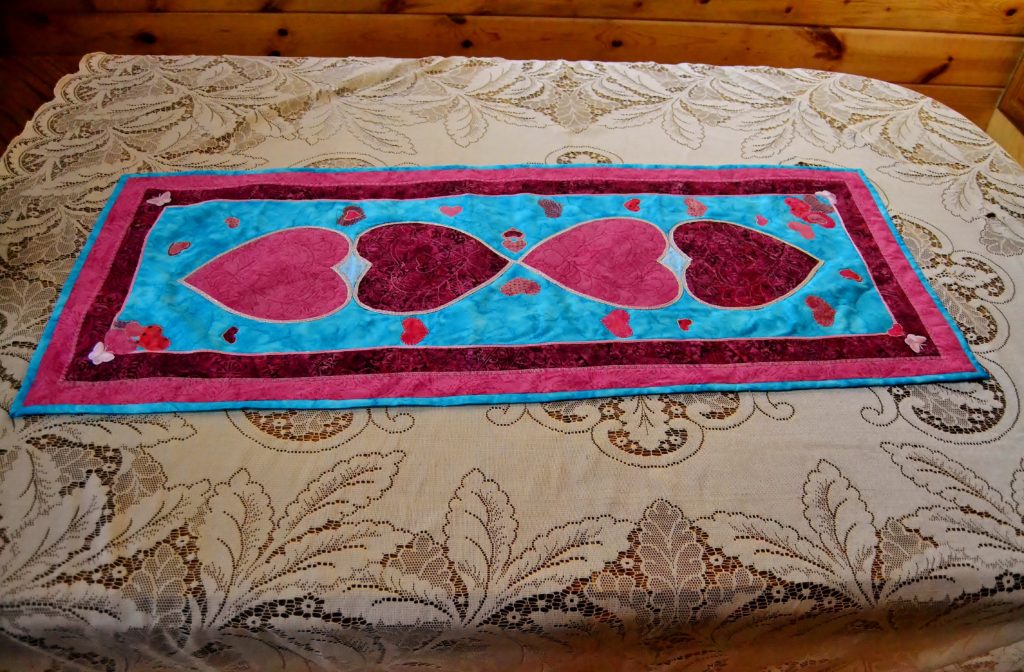
- Change your table toppers out frequently (every couple of months).
I like to have my toppers reflect the changing seasons, so mine get switched out 4-6 times/year, since I also change them for the big holidays. This reduces the amount of wear on each table topper.
- If any food, etc. is dropped on your topper, only wash out that spot – by hand and with a gentle soap and leave it to dry naturally.
When I remove the topper to replace the one I have been using, I check it carefully for dirt or stains – I fix these if there are any by washing them on the gentle cycle and air drying them.
- For extended life, use a lint brush
Before storing my table runners I run a lint brush over both the front and back. It is simply amazing how much yuck a lint brush can pick up.
How to Clean Wall Hangings
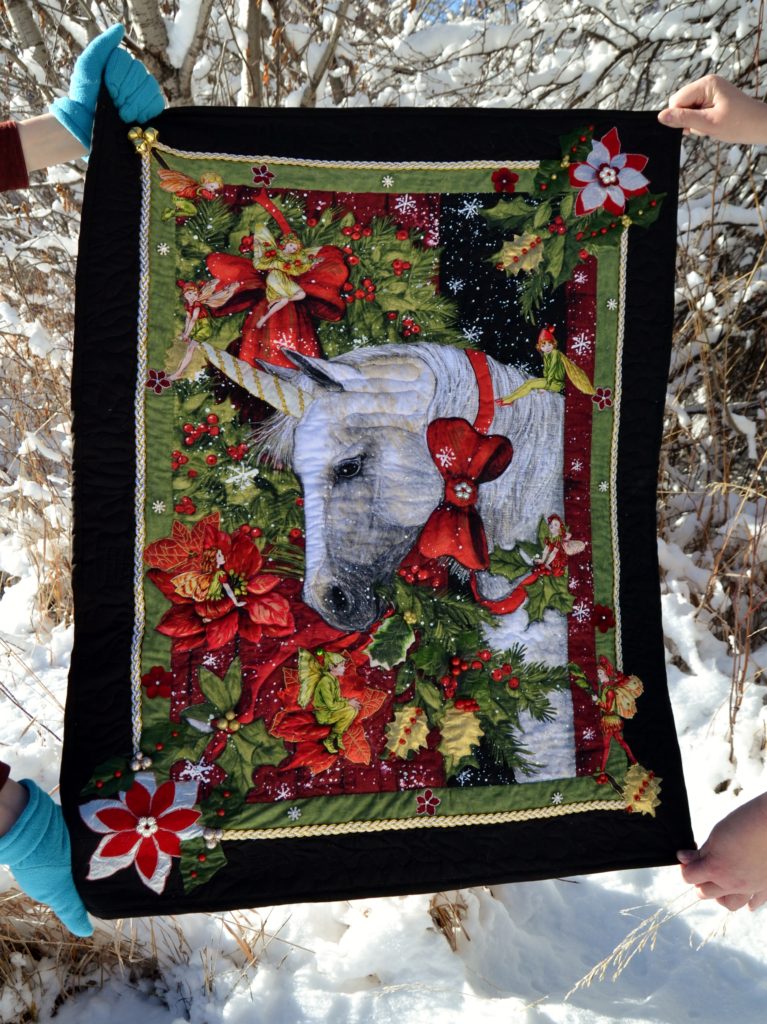

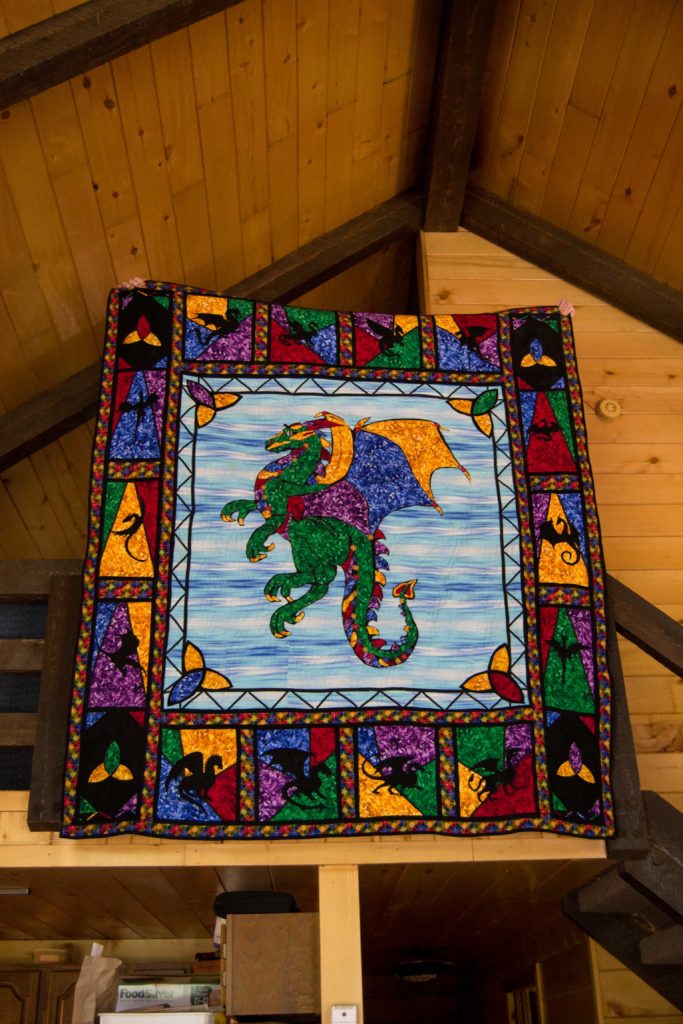
- The first thing to make sure of is that your wall hanging is well supported and not just sagging against your walls.
If the hanging is small enough or doesn’t weigh much, I often secure it with thumb tacks right at the corners where the binding meets the main body of the hanging. I do this on all four corners using clear tacks and most people never even notice them.
- For larger or heavier hangings, I sew a hanging sleeve on the back, insert a dowel and hang it from that.
This is a very nice professional looking choice, and if you hang a lot of your creations on the walls, I would recommend this.
- If you have small children, place your hangings up high enough that curious, sticky & dirty fingers can’t reach it.
The greatest challenge for wall hangings is the dust, and depending on where you live this can be a real problem. Because I live in the Southwest, dust is my nemesis.
- To circumvent this, I change my hangings out frequently and lint brush them front & back before I store them away.
If your fabric art has been hanging around a long time, the dust film can become slightly oily and this does not come off with a lint brush, so it will have to be washed. Once again, use a mild soap on a gentle cycle with only warm water, and air dry.
However, if your wall hangings, like many of mine, have elements that will be destroyed by water, then dry cleaning is your go to option. Thankfully, Woolite has come out with an At Home Dry Cleaning product that comes in sheets that you just throw in the dryer with your item.


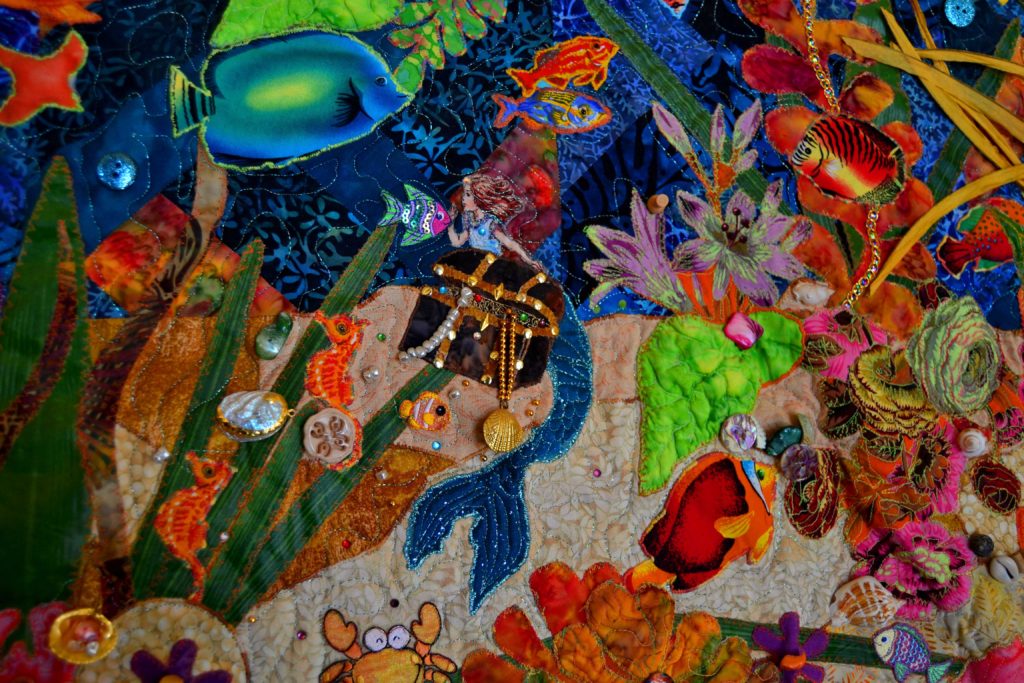
Set your dryer at a medium temperature if you can, and only let your item stay in there for 5 minutes – SET the timer!!!
This will clean off any oil or dirt that has accumulated on your hanging without dissolving or softening any fabric glue or non-washable items on your hanging.
How to Keep a Quilt Clean with Long-term Storage Techniques
If you keep a lot of the things you make, they will begin to pile up, in a big way, and you just can’t store everything in cedar chests.
My solution has been to use the 18 gallon rubber storage tubs with lids that you can get anywhere.
These tubs store fabric – I use much bigger tubs to store my quilts!
As well as the plastic zippered bags that sheet sets, quilts, mattress pads etc. are sold in.
These are great because they are see-through, come in a lot of different sizes, and are squashy, so you can really stuff them in.
When I run low on these, I go to my local thrift store and ask for them at the desk, they usually have a bunch. These are also great to use to ship your creations to family and friends because they insure that your item will arrive in pristine condition.
If you follow these few, simple guidelines and encourage your family and friends to do the same, your creations should survive the test of time – maybe not as long as Da Vinci’s have, but long enough that your grandkids & great-grandkids will be able to appreciate your creative genius!
P.S. Special Thanksgiving Surprise!
To thank our subscriber readers during this Thanksgiving holiday, we’re offering an unprecedented 10% discount coupon throughout our entire store, here at Etsy.com. The newsletter with the coupon will be mailing tomorrow – and this opportunity will be gone with it if you haven’t already subscribed, so I do urge you to do so!